

Hyline Offroad CJ LOUVERED HOOD PANEL User Manual
Proudly Made In USA
Parts List
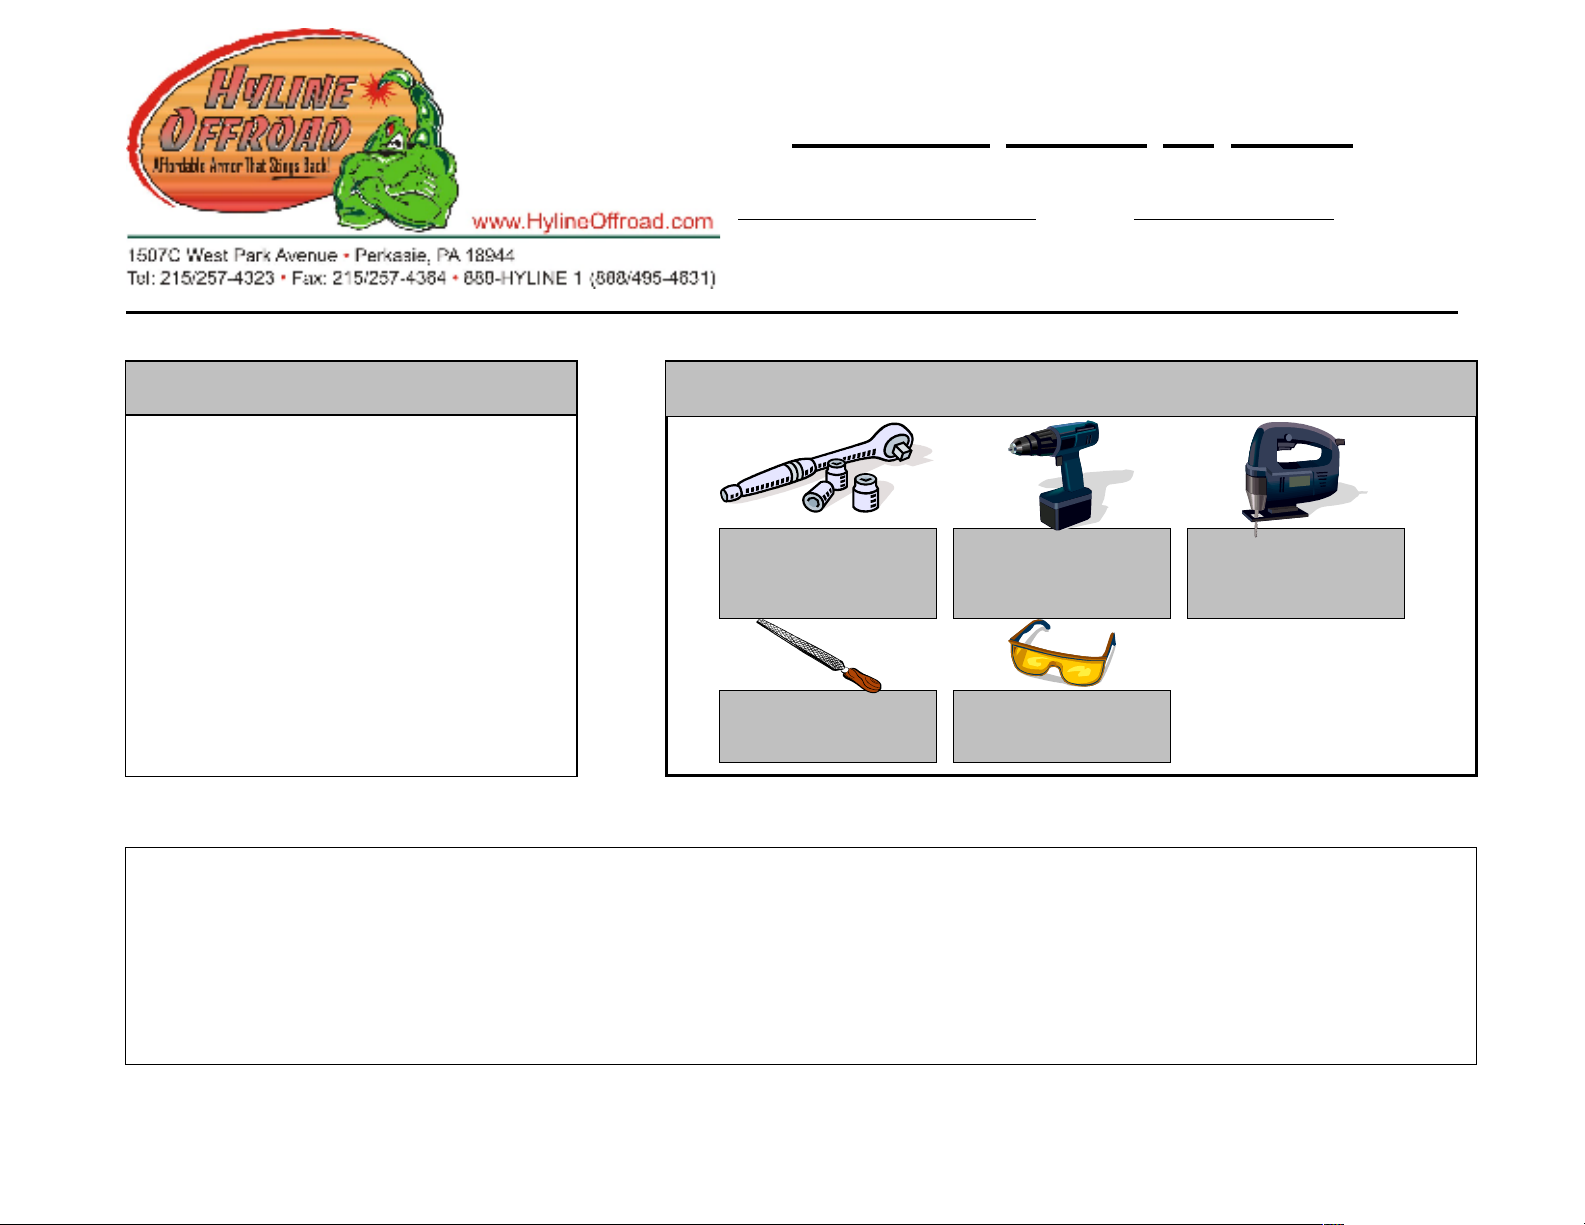
Tools Needed
Qty:
1 Hood Louver Panel
1 Steel Template
28 Nylon Locknuts
2 10-32 Pan Head Screws
Installation Instructions:
CJ Hood Louver Panel
Part Number: CJ-50HLP
Ratchet
1/2” Socket
File OR Sandpaper
1/16” & 1/4” Bit
Safety Glasses
Drill
Vehicle Fitment:
1972 – 1986 CJ-5, 6, 7, & 8
Jig Saw OR
Cut Off Wheel
Congratulations on your purchase of the Hyline Offroad Hood Louver Panel. All of our products are completely
manufactured in our facility located in Perkasie, PA. They are designed and engineered by Offroad enthusiasts just
like you to be rock solid at an affordable price. Hyline Offroad would like to thank you for your recent purchase
and look forward to serving you in the future.
Optional Winch Installation
Hyline Offroad Staff
C:\Users\RHerd\AppData\Local\Temp\CJ-50HLP InstallationInstructions.doc Page 1 of 4
REV 0 06/17/09
***BEFORE INSTALLING***
PLEASE READ INSTRUCTIONS BEFORE BEGINNING INSTALLATION
If you ordered the Hood Louver Panel raw you should paint, anodize, powder coat, etc. now before
installation onto vehicle. PEEL OFF THE VINYL PROTECTANT COVERING BEFORE PAINTING OR
FINISHING. If Hood Louver Panel was was ordered black powder coated your now ready to continue
to step 1.
Hood Louver Panel Installation
Step 1 – As a safety precaution - Remove the hood from your vehicle before drilling or cutting. First, remove the
engine grounding strap, hood light, and/or windshield washer hose from hood, if applicable. Then unbolt
the 4 bolts from the hood hinges. Hood should now be free to remove from vehicle.
Step 2 – Once the hood is removed, place the hood on a flat, solid work area. Then remove the windshield
u-shape tie down bracket in center of hood. Tie down bracket unbolts from under the hood.
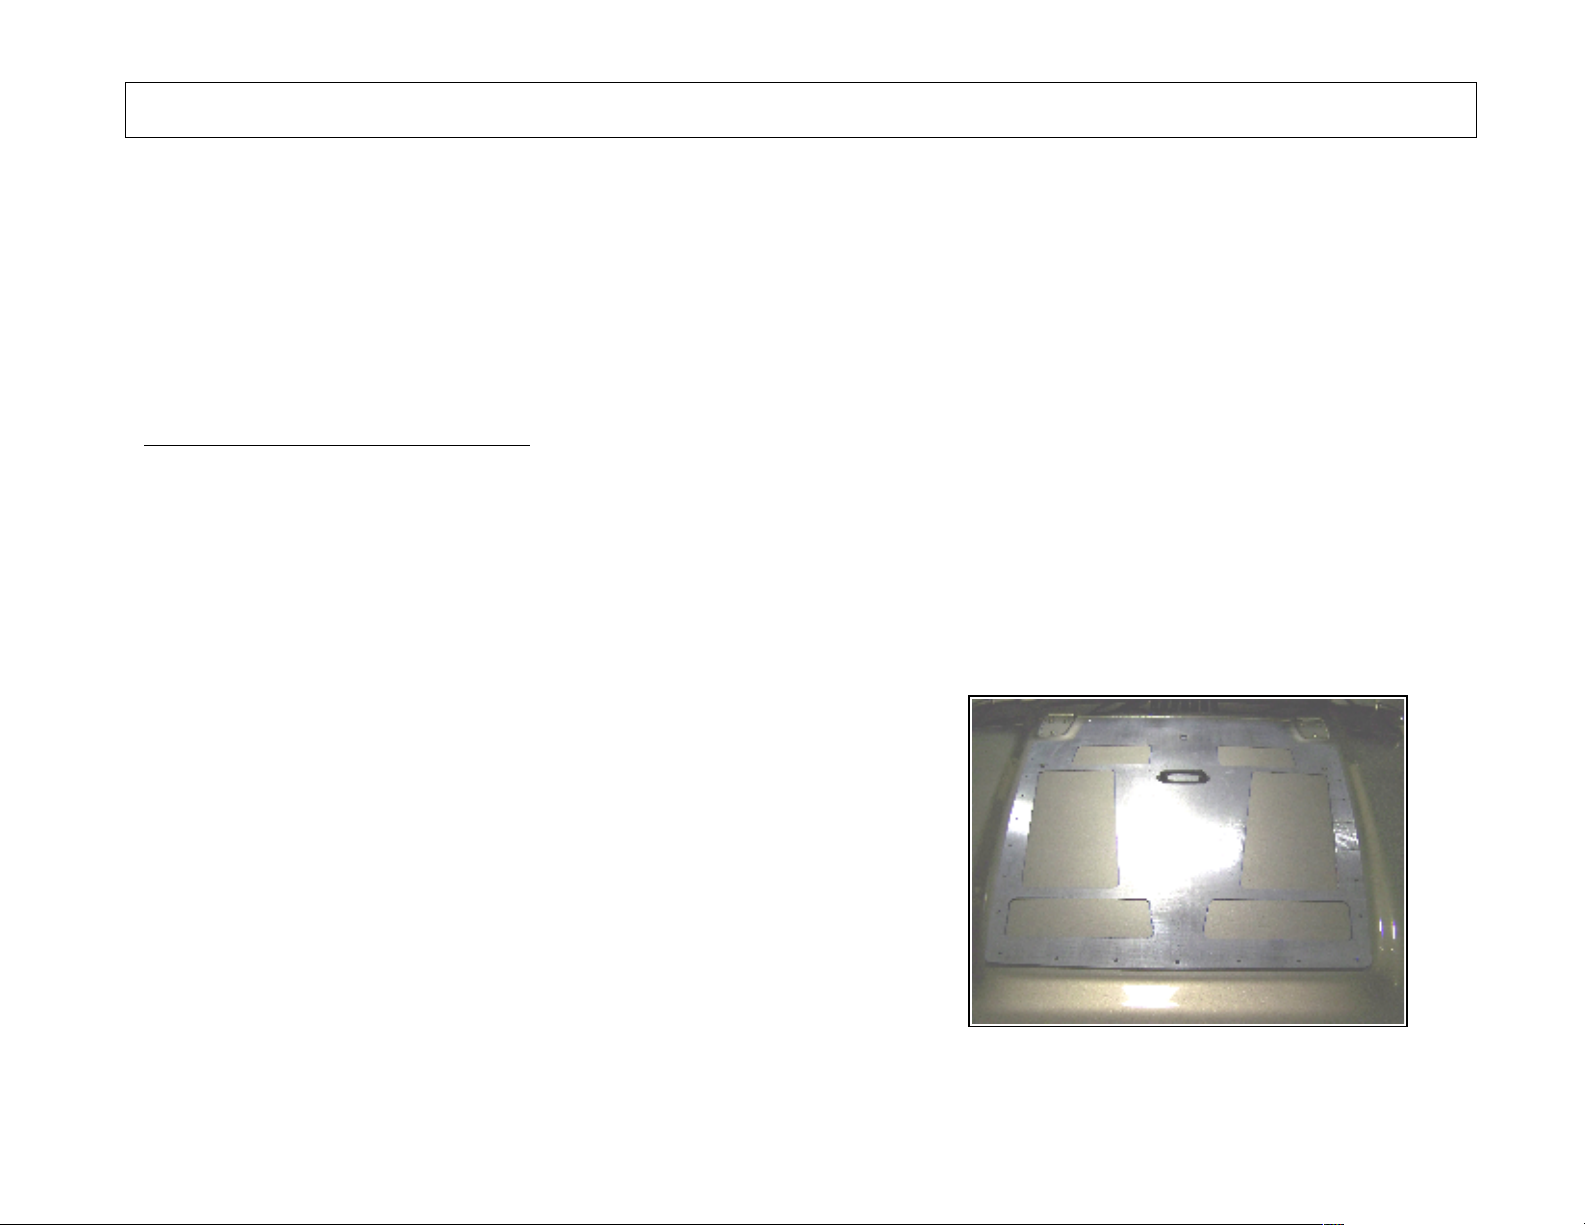
Step 3 – Place steel template in the center of hood as seen
in (Figure 1). **Picture may vary from your Template.**
Visually make sure the holes in the template are centered
with the holes for the windshield tie down bracket.
Step 4 – Re-install the U-Shape tie down bracket and tighten nuts
securely, as these will hold the template in place while drilling
in Step 6.
Figure 1
C:\Users\RHerd\AppData\Local\Temp\CJ-50HLP InstallationInstructions.doc Page 2 of 4
REV 0 06/17/09
 Loading...