

Page 1
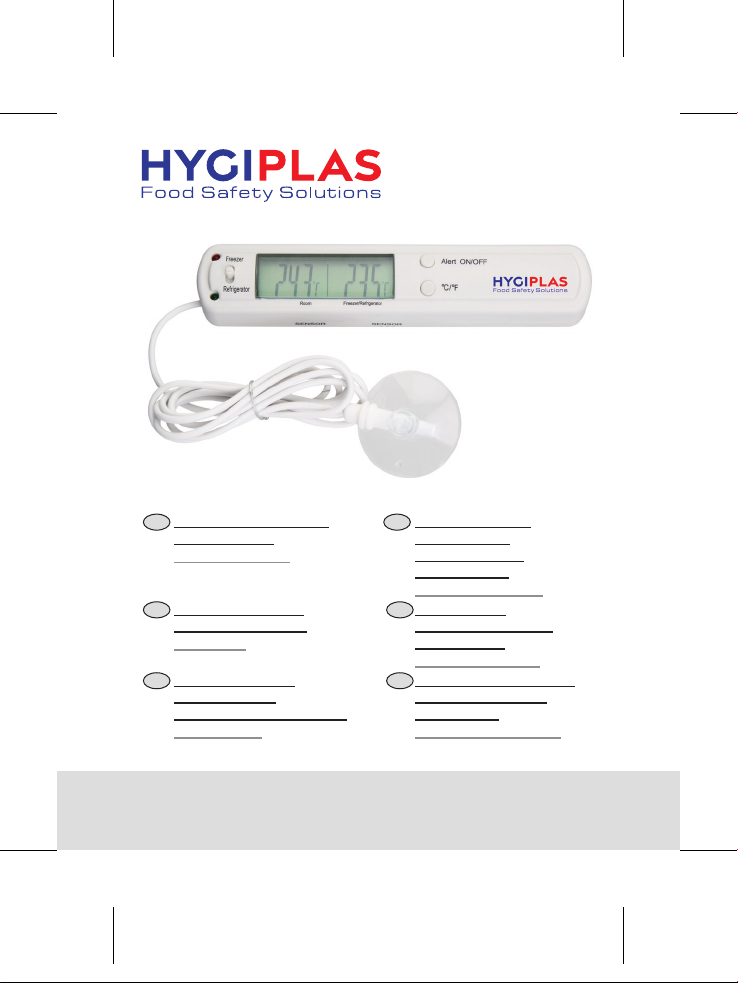
Fridge/Freezer
Alarm Thermometer
Instruction manual
Fridge/Freezer Alarm
NL
Thermometer
Instruction manual
Koelkast / vriezer
NL
alarmthermometer
Handleiding
Thermomètre de
FR
régrigérateur/
congélateur avec alarme
Mode d’emploi
2
Thermometer mit
DE
Alarmfunktion
für Kühlschrank/
Gefrierschrank
4
Bedienungsanleitung
Termometro
IT
Allarme per Frigo /
Congelatore
6
Manuale di istruzioni
Termómetro de Alarma
ES
para Refrigerador/
Congelador
Manual de instrucciones
Model • Modèle • Modell • Modello • Modelo • Malli:
F314
8
10
12
Page 2
EN
Safety Instructions
• Clean the probe immediately after each measurement to avoid cross
contamination.
• Do not expose the appliance to temperatures over 50ºC/122ºF or use in ovens.
• The accuracy of this device has been tested as part of the manufacturing quality
control process.
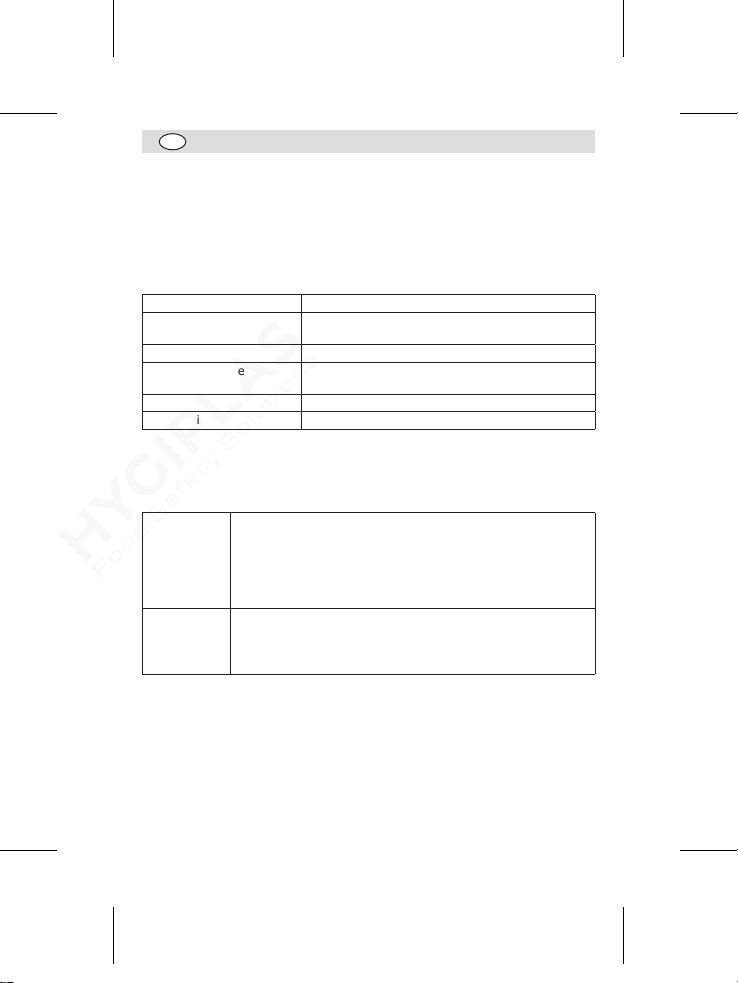
Technical Specification
Temperature Range -40°C ~ 70°C (-40°F ~ 158°F)
Display Accuracy • ±1°C/±1.8°F for the range of -20°C ~ 70°C
Display Reading Update 10 seconds
Safety Zone Range • Refrigerator: 2°C ~ 8°C (35.6°F ~ 46.4°F)
Battery 1 x 1.5V, AAA
Product Dimensions 26 (H) x 135 (W) x 17.3 (D) mm
Installation
1. Open the battery compartment cover and insert the battery correctly. Then close
the cover.
2. Mount the thermometer as instructed below.
Thermometer It is intended to detect the room temperature or temperature of
Probe sensor It is intended to detect the internal temperature of a refrigerator/
Operation
• Slide the mode switch to “Freezer” or “Refrigerator” as needed.
• The left screen displays the room temperature while the right screen displays the
internal temperature of the refrigerator/freezer.
Select temperature unit
• Press the “°C/°F” button to select the desired temperature unit.
a place where it is located. A convenient position would be the
outside wall of a refrigerator/freezer.
• Clean the surface area where the unit is to be mounted.
• Attach the velcro pads to the mounting surface and to the back
freezer. Hence, place it well inside.
• Clean the inside wall where the sensor is to be mounted.
• Press the suction cup firmly onto the wall to fix the sensor well.
• ±2°C for other ranges
• Freezer: -9.5°C ~ -23°C (+14.9°F ~ -9.4°F)
of the appliance. Then join together.
2
Page 3
EN
Alert function
• Pressing the “Alert ON/OFF” button to turn on the alert function.
• When the temperature is beyond the safety zone, alarm will sound and LED lights
will flash for 5 seconds every minute, indicating the temperature inside the fridge/
freezer needs to be adjusted.
• Pressing the “Alert ON/OFF” button to turn off the alert function.
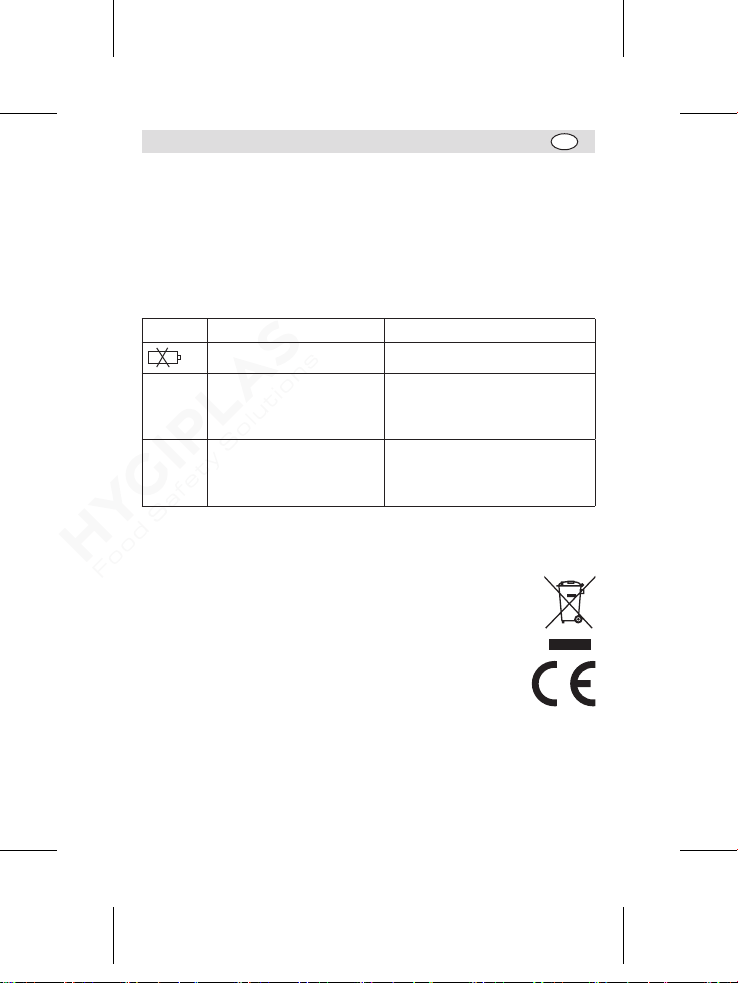
Symbols
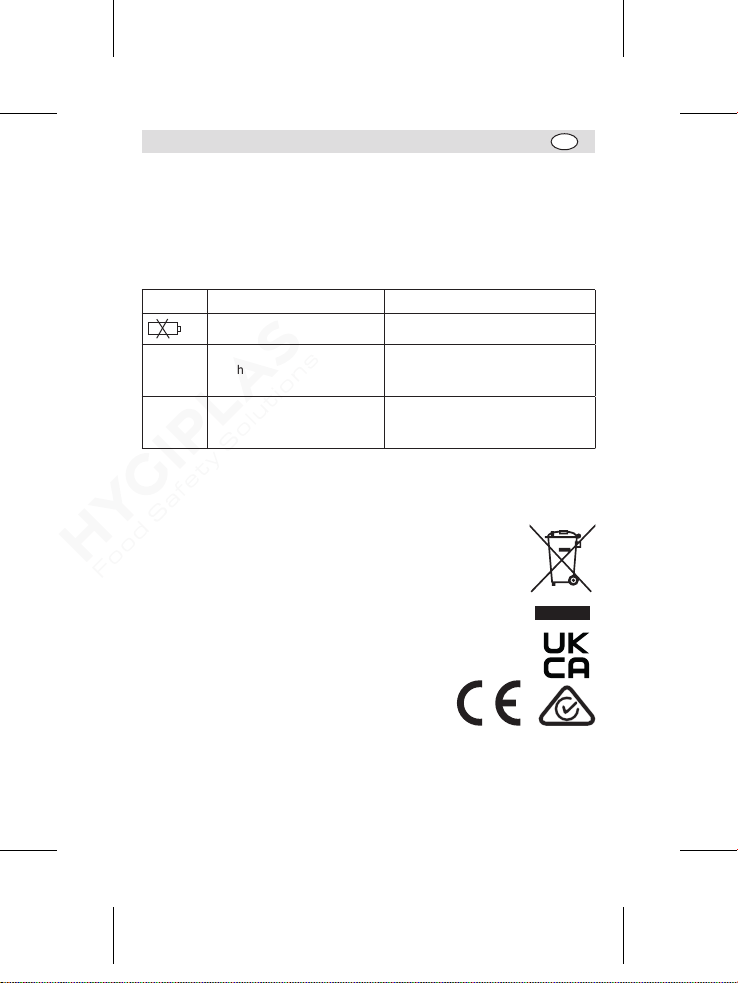
Symbol Description Action required
Low battery voltage Replace the battery
LLL 1. Sensor open circuit
HHH 1. Sensor short circuit
Compliance
Dispose of depleted batteries in accordance with local regulations, within the EC
there are nominated disposal points for batteries.
The WEEE logo on this product or its documentation indicates that the
product must not be disposed of as household waste. To help prevent
possible harm to human health and/or the environment, the product
must be disposed of in an approved and environmentally safe recycling
process. For further information on how to dispose of this product
correctly, contact the product supplier, or the local authority responsible
for waste disposal in your area.
HYGIPLAS parts have undergone strict product testing in order
to comply with regulatory standards and specifications set by
international, independent, and federal authorities.
HYGIPLAS products have been approved to carry the
following symbol:
2. The reading is out of low
range (-40°C)
2. The reading is out of high
range (70°C)
1. Return the thermometer for repair
2. Keep the measurement above low
range
1. Return the thermometer for repair
2. Keep the measurement below
high range
All rights reserved. No part of these instructions may be produced or transmitted in any form or by
any means, electronic, mechanical, photocopying, recording or otherwise, without the prior written
Every effort is made to ensure all details are correct at the time of going to press, however, HYGIPLAS
reserve the right to change specifications without notice.
permission of HYGIPLAS.
3
Page 4
NL
Veiligheidstips
• Reinig altijd onmiddellijk de sensor na elk gebruik om kruislingse besmetting te
voorkomen.
• Stel het apparaat niet bloot aan hogere temperaturen dan 50ºC/122ºF en gebruik
het apparaat niet in de oven.
• De nauwkeurigheid van dit apparaat is getest als onderdeel van het
kwaliteitscontroleproces van de productie.
Technische specificaties
Temperatuurbereik -40°C ~ 70°C (-40°F ~ 158°F)
Nauwkeurigheid van
weergave
Bijwerking van
schermuitlezing
Veiligheidszonebereik • Koelkast: 2°C ~ 8°C (35,6°F ~ 46,4°F)
Batterij 1 x 1,5V AAA
Productafmetingen 26 (H) x 135 (B) x 17,3 (D) mm
Installatie
1. Open het deksel van het batterijcompartiment en plaats de batterij op de juiste
manier. Sluit vervolgens de klep.
2. Numereer de thermometer zoals hieronder aangegeven.
Thermometer Het is bedoeld om de kamertemperatuur of temperatuur van een
Sonde sensor Het is bedoeld om de interne temperatuur of temperatuur van een
Bediening
• Schuif de modusschakelaar naar “Vriezer” of “Koelkast” indien nodig.
• Het linker scherm geeft de kamertemperatuur weer, terwijl het rechter scherm de
interne temperatuur van de koelkast / vriezer toont.
Selecteer temperatuureenheid
• Druk op de knop °C/°F om de gewenste temperatuureenheid te selecteren.
4
plaats waar het zich bevindt te detecteren. Een handige positie is de
buitenmuur van een koelkast / vriezer.
• Reinig het oppervlak waar het apparaat moet worden gemonteerd.
• Bevestig de klittenbandpads op het montageoppervlak en op de
koelkast / vriezer te detecteren. Plaats het daarom goed binnenin.
• Reinig het oppervlak waar de sensor moet worden gemonteerd.
• Druk de zuignap stevig op de muur om de sensor goed te
• ±1°C/±1,8 °F voor het bereik van -20°C ~ 70°C
• ±2°C voor andere bereiken
10 seconden
• Vrieskast: -9,5°C ~ -23°C (+14,9°F ~ -9,4°F)
achterkant van het apparaat. Doe dan samen.
bevestigen.
Page 5
NL
Alert functie
• Druk op de knop “Alert ON/OFF” om de waarschuwingsfunctie in te schakelen.
• Als de temperatuur de veiligheidszone overschrijdt, klinkt er een alarm en
knipperen de LED-lampjes elke minuut 5 seconden om aan te geven dat de
temperatuur in de koelkast / vriezer moet worden aangepast.
• Druk op de knop “Alert ON/OFF” om de waarschuwingsfunctie uit te schakelen.
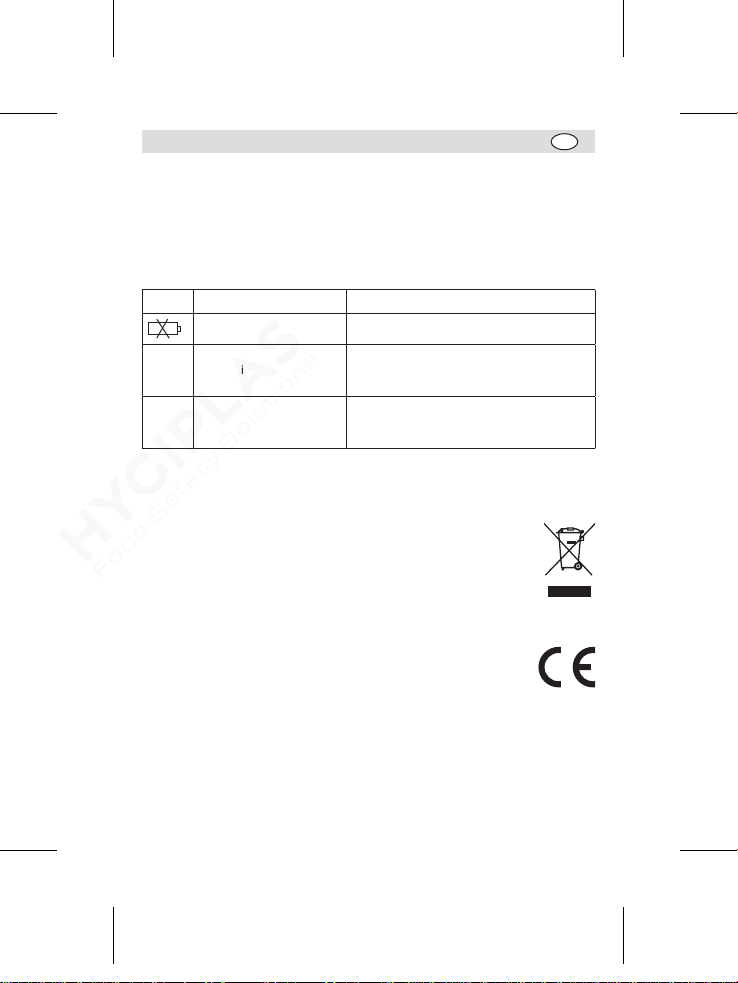
Tekens
Teken Beschrijving Nodige actie
Batterij bijna leeg Vervang de batterijen
LLL 1. Open circuit van sensor
2. De uitlezing ligt onder
het bereik (-40°C)
HHH 1. Kortsluiting in sensor
2. De uitlezing ligt boven
het bereik (70°C)
Productconformiteit
Lege batterijen in overeenstemming met de plaatselijke regelgeving als afval laten
verwerken. Binnen de EG bestaan er aangewezen inleverpunten voor batterijen.
Het WEEE-logo op dit product of bijbehorende documentatie geeft
aan dat het product niet onder huisvuil valt en als zodanig ook niet
mag worden verwerkt. Ter preventie van mogelijke gevaren voor de
gezondheid van personen en/of voor het milieu, dient men dit product in
overeenstemming met het voorgeschreven en milieuveilige recyclingproces
als afval te verwerken. Raadpleeg uw productleverancier of uw plaatselijk
afvalverwerkingsbedrijf voor meer informatie over de juiste afvalverwerking
van dit product.
De onderdelen van HYGIPLAS producten hebben strenge producttesten
ondergaan om te voldoen aan wettelijke regels en specificaties die
door internationale, onafhankelijke en landelijke overheden worden
voorgeschreven.
HYGIPLAS producten zijn goedgekeurd en voorzien van het volgende
symbool:
1. De thermometer moet worden
gerepareerd
2. Houd de uitlezing boven de onderste grens
1. De thermometer moet worden
gerepareerd
2. Houd de uitlezing onder de bovenste grens
Alle rechten voorbehouden. Het is verboden om deze handleiding, hetzij volledig of gedeeltelijk, elektronisch of
mechanisch te reproduceren, kopiëren, op opslagmedia op te slaan of op enigerlei wijze over te dragen, zonder
Wij hebben er alles aan gedaan om er zeker van te zijn dat op publicatiedatum van de handleiding alle details
correct zijn, desondanks, behoudt HYGIPLAS het recht voor om specificaties zonder aankondiging te wijzigen.
oorafgaande goedkeuring van HYGIPLAS.
5
Page 6
FR
Conseils de sécurité
• Nettoyez la sonde immédiatement après chaque relevé, pour éviter la
contamination croisée.
• L’appareil ne doit pas être exposé à des températures supérieures à 50ºC/122ºF
ou utilisé à l’intérieur d’un four.
• La précision de cet appareil a été testée dans le cadre du processus de contrôle
de la qualité de la fabrication.
Spécifications techniques
Limites de températures -40°C ~ 70°C (-40°F ~ 158°F)
Précision de l’affichage
Actualisation du relevé à l’écran
Zone de sécurité • Réfrigérateur : 2°C ~ 8°C (35,6°F ~ 46,4°F)
Pile 1 x 1,5V AAA
Dimensions 26 (H) x 135 (L) x 17,3 (P) mm
Installation
1. Ouvrez le capot du compartiment de la batterie, insérez correctement la batterie,
puis refermez le capot.
2. Installez le thermomètre comme indiqué ci-dessous.
Thermomètre Il est conçu pour détecter la température de la pièce ou du lieu où
Capteur Il est conçu pour détecter la temperature intérieure d’un
Utilisation
• Placez l’interrupteur sur le mode « Congélateur » ou « Réfrigérateur » selon le besoin.
• L’écran de gauche affiche la température de la pièce, tandis que l’écran de droite
affiche la température interne du réfrigérateur/congélateur.
Sélectionnez l’unité de température
• Appuyez sur le bouton « °C/°F » pour sélectionner l’unité de température souhaitée.
6
il se trouve. Il est pratique de le placer sur la paroi extérieure du
réfrigérateur/congélateur.
• Nettoyez la zone où l’unité doit être installée.
• Attachez les pads Velcro sur la zone concernée ainsi qu’à l’arrière
de l’appareil. Puis reliez les parties.
réfrigérateur/congélateur. Placez-le donc bien vers l’intérieur.
• Nettoyez le mur intérieur où le capteur doit être installé.
• Appuyez fermement la ventouse sur le mur pour bien fixer le capteur.
• ±1°C/±1,8°F pour l’intervalle de -20°C ~ 70°C
• ±2°C pour les autres intervalles
10 secondes
• Congélateur : -9,5°C ~ -23°C (+14,9°F ~ -9,4°F)
Page 7
FR
Fontion alarme
• Appuyez sur le bouton « Alarme marche/arrêt » (Alert ON/OFF) pour activer la
fonction alarme.
• Quand la température dépasse la limite de sécurité, l’alarme se déclenche et les
lumières LED clignotent pendant 5 secondes toutes les minutes, pour indiquer que
la température à l’intérieur du réfrigérateur/congélateur doit être ajustée.
• Appuyez sur le bouton « Alarme marche/arrêt » (Alert ON/OFF) pour désactiver la
fonction alarme.
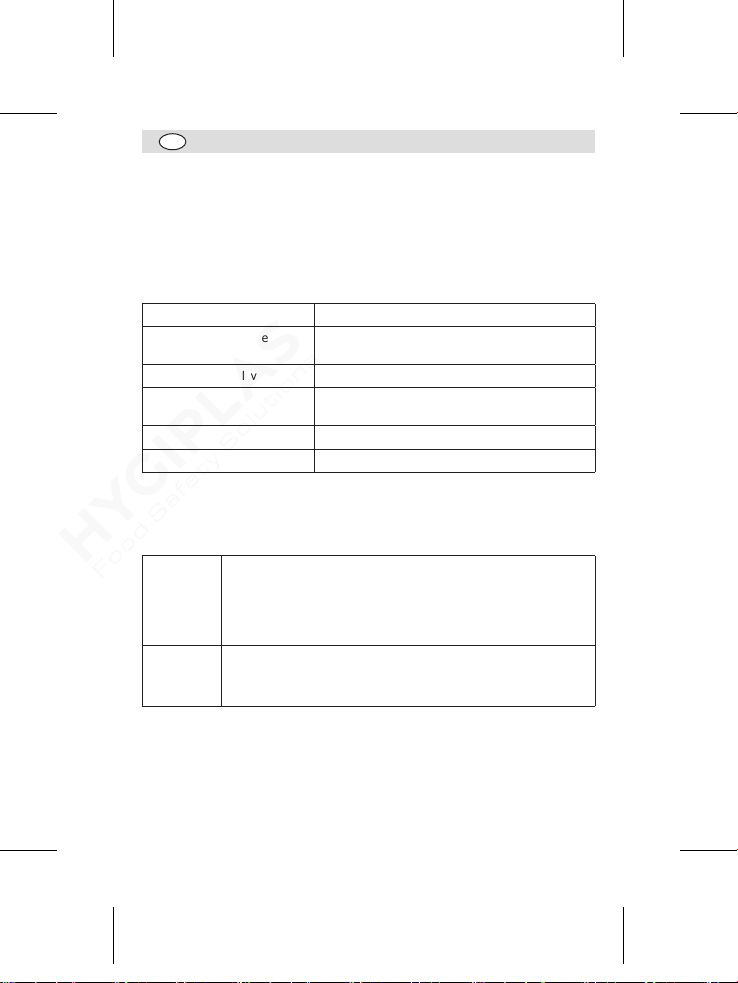
Symboles
Symbole Description Action requise
Faible tension de la pile Changer la pile
LLL 1. Circuit de capteur ouvert
HHH 1. Court-circuit du capteur
Conformité
Jetez les batteries usagées conformément aux réglementations locales. Au sein de l’Union européenne,
il existe des points d’élimination désignés pour les piles.
Le logo WEEE qui figure sur ce produit ou sa documentation indique qu’il ne doit pas
être mis au rebut avec les ordures ménagères. Pour éviter qu’il ne présente un risque
pour la santé humaine et / ou écologique, confiez la mise au rebut de ce produit à un
site de recyclage agréé respectueux de l’environnement. Pour de plus amples détails
sur la mise au rebut appropriée de ce produit, contactez le fournisseur du produit ou
l’autorité responsable de l’enlèvement des ordures dans votre région.
Les pièces HYGIPLAS ont été soumises à des tests rigoureux pour pouvoir être
déclarées conformes aux normes et spécifications réglementaires définies par les
autorités internationales, indépendantes et fédérales.
Les produits HYGIPLAS ont été déclarés aptes à porter le symbole suivant :
Tous droits réservés. La production ou transmission, partielles ou intégrales, sous quelque forme que
ce soit ou par n’importe quel moyen, tant électronique que mécanique, sous forme de photocopie,
contenus dans le présent mode d’emploi soient corrects en date d’impression. Toutefois, HYGIPLAS se
2. Le relevé se trouve hors de
la plage inférieure (-40°C)
2. Le relevé se trouve hors de
la plage supérieure (70°C)
d’enregistrement ou autre de ce mode d’emploi sont interdites sans l’autorisation préalablement
Nous nous efforçons, par tous les moyens dont nous disposons, de faire en sorte que les détails
réserve le droit de changer les spécifications de ses produits sans préavis.
accordée par HYGIPLAS.
1. Renvoyer le thermomètre pour
réparation
2. Maintenir la mesure au-dessus de
la température la plus basse
1. Renvoyer le thermomètre pour
réparation
2. Maintenir la mesure en dessous
de la température la plus élevée
7
Page 8
DE
Sicherheitshinweise
• Die Sonde nach jeder Messung sofort reinigen, um eine Verunreinigung durch
andere Stoffe zu vermeiden.
• Das Gerät nicht Temperaturen über 50°C aussetzen und es nicht in Öfen verwenden.
• Die Genauigkeit dieses Geräts wurde im Rahmen der Qualitätskontrolle bei der
Herstellung geprüft.
Technische Spezifikationen
Temperaturbereich -40°C ~ 70°C (-40°F ~ 158°F)
Displaypräzision • ±1°C/±1,8°F für den Bereich von -20°C bis +70°C
Aktualisierung des
angezeigten Werts
Sicherheitsbereich • Kühlschrank: 2°C ~ 8°C (35,6°F ~ 46,4°F)
Batterie 1 x 1,5V AAA
Abmessungen 26 (H) x 135 (B) x 17,3 (T) mm
Installation
1. Öffnen Sie den Deckel des Batteriefachs und setzen Sie die Batterie mit korrekter
Polarität ein. Dann schließen Sie das Batteriefach wieder.
2. Installieren Sie das Thermometer wie nachstehend beschrieben.
Thermometer Das Thermometer misst die Temperatur des Ortes, an dem es
Sensor Der Sensor erfasst die Innentemperatur des Kühlschranks bzw.
Bedienung
• Stellen Sie den Umschalter für den Betriebsmodus auf „Freezer“ (Gefrierschrank)
oder „Refrigerator“ (Kühlschrank).
• Das linke Display zeigt die Zimmertemperatur an, während das rechte Display die
Innentemperatur des Kühlschranks bzw. Gefrierschranks anzeigt.
Temperatureinheit wählen
• Drücken Sie die Taste „°C/°F“, um die gewünschte Temperatureinheit zu wählen.
8
• ±2°C für andere Bereiche
10 Sekunden
• Gefrierschrank: -9,5°C ~ -23°C (+14,9°F ~ -9,4°F)
sich befindet. Eine geeignete Position wäre die Außenwand eines
Kühlschranks bzw. Gefrierschranks.
• Reinigen Sie die Oberfläche, auf der das Gerät montiert werden soll.
• Befestigen Sie die Klettverschlüsse an der Montagefläche und auf
der Rückseite des Geräts. Dann installieren Sie das Gerät.
Gefrierschranks. Er muss daher innen angebracht werden.
• Reinigen Sie die Innenwand, an der Sensor montiert werden soll.
• Drücken Sie den Saugnapf fest auf die Wand, um den Sensor
ordnungsgemäß zu befestigen.
Page 9
DE
Alarmfunktion
• Mit der Taste „Alert ON/OFF“ (Alarm EIN/AUS) wird die Alarmfunktion
eingeschaltet.
• Wenn die Temperatur außerhalb des sicheren Bereichs liegt, ertönt ein Alarm
und die LEDs blinken für 5 Sekunden pro Minute und zeigen damit an, dass die
Temperatur im Kühlschrank bzw. Gefrierschrank angepasst werden muss.
• Drücken der Taste „Alert ON/OFF“ (Alarm EIN/AUS), um die Alarmfunktion
auszuschalten.
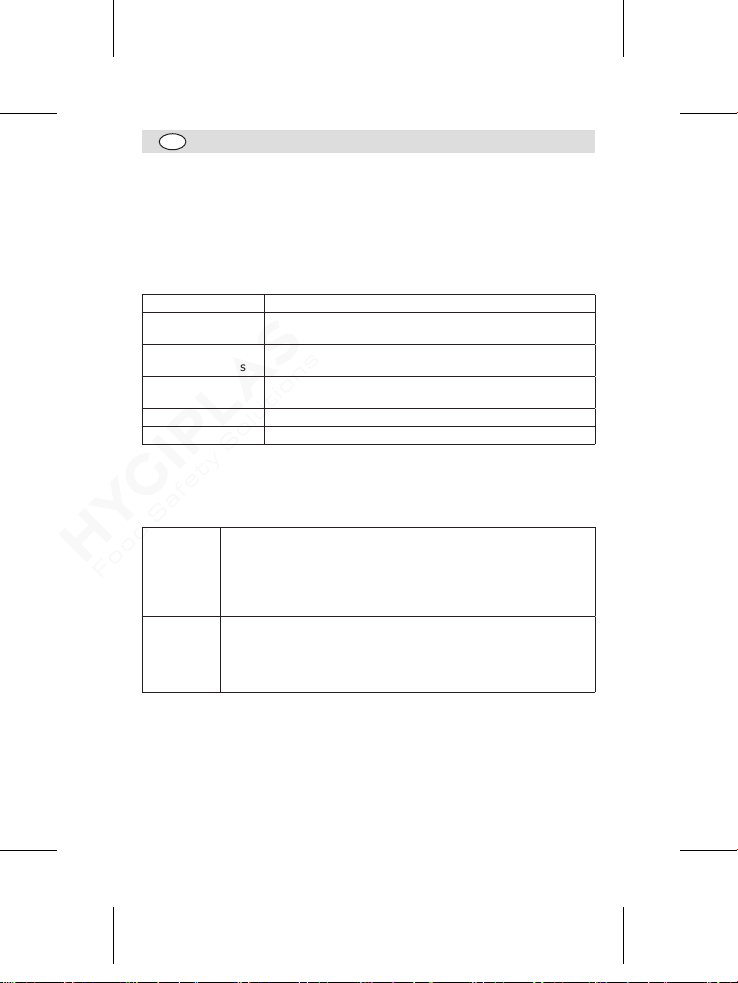
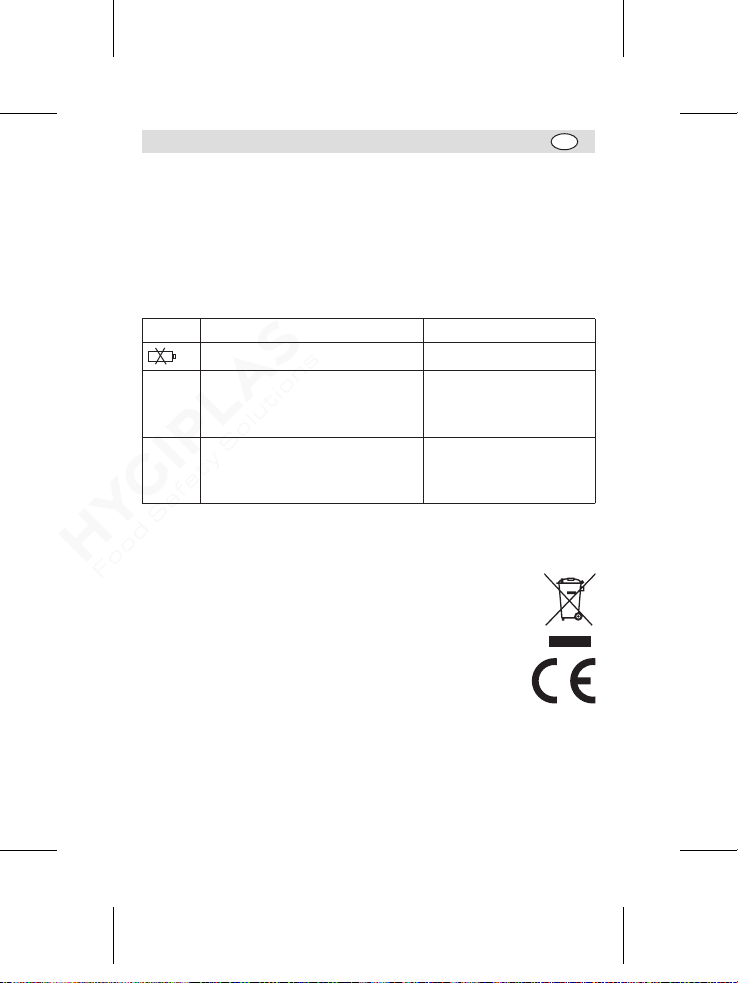
SYMBOLE
Symbol Beschreibung Maßnahme
Niedrige Batteriespannung Batterien auswechseln
LLL 1. Sensor meldet offenen Schaltkreis
2. Gemessener Wert liegt außerhalb des
unteren Messbereichs
HHH 1. Sensor-Kurzschluss
2. Gemessener Wert liegt außerhalb
des oberen Messbereichs (70°C)
Konformität
Leere Batterien gemäß den örtlichen Vorschriften entfernen. In EU-Ländern gibt es ausgewiesene
Stellen zur Batterieentsorgung.
Das WEEE-Logo an diesem Produkt oder in der Dokumentation weist darauf hin, dass
das Produkt nicht mit dem normalen Hausmüll entsorgt werden darf. Um potenziellen
Gesundheits- bzw. Umweltschäden vorzubeugen, muss das Produkt durch einen
zugelassenen und umweltverträglichen Recyclingprozess entsorgt werden. Ausführliche
Informationen zur korrekten Entsorgung dieses Produkts erhalten Sie von Ihrem
Produktlieferanten oder der für die Müllentsorgung in Ihrer Region zuständige Behörde.
Alle HYGIPLAS-Produkte werden strengen Tests unterzogen, um die Einhaltung von
Normen und Spezifikationen internationaler und nationaler Behörden und unabhängiger
Organisationen zu gewährleisten.
HYGIPLAS-Produkte dürfen durch folgendes Symbol gekennzeichnet werden:
Alle Rechte vorbehalten. Diese Anleitung darf ohne vorherige schriftliche Genehmigung von
HYGIPLAS weder ganz noch teilweise in irgendeiner Form oder auf irgendeinem Wege - einschließlich
elektronischer, mechanischer Verfahren, durch Fotokopieren, Aufnahme oder andere Verfahren -
Es werden alle Anstrengungen unternommen um sicherzustellen, dass alle Angaben bei der Drucklegung
korrekt sind. HYGIPLAS behält sich jedoch das Recht vor, Spezifikationen ohne Vorankündigung zu ändern.
(-40°C)
vervielfältigt oder übertragen werden.
1. Das Thermometer zur
Reparatur zurücksenden
2. Die Messung über dem
unteren Bereich halten
1. Das Thermometer zur
Reparatur zurücksenden
2. Die Messung über dem
oberen Bereich halten
9
Page 10
IT
Suggerimenti per la sicurezza
• Pulire la sonda immediatamente dopo ogni misurazione per impedire contaminazioni.
• Non esporre l’apparecchio a temperature superiori a 50ºC/122ºF e non utilizzare
nel forno.
• La precisione di questo dispositivo è stata testata nell’ambito del processo di
controllo della qualità di produzione.
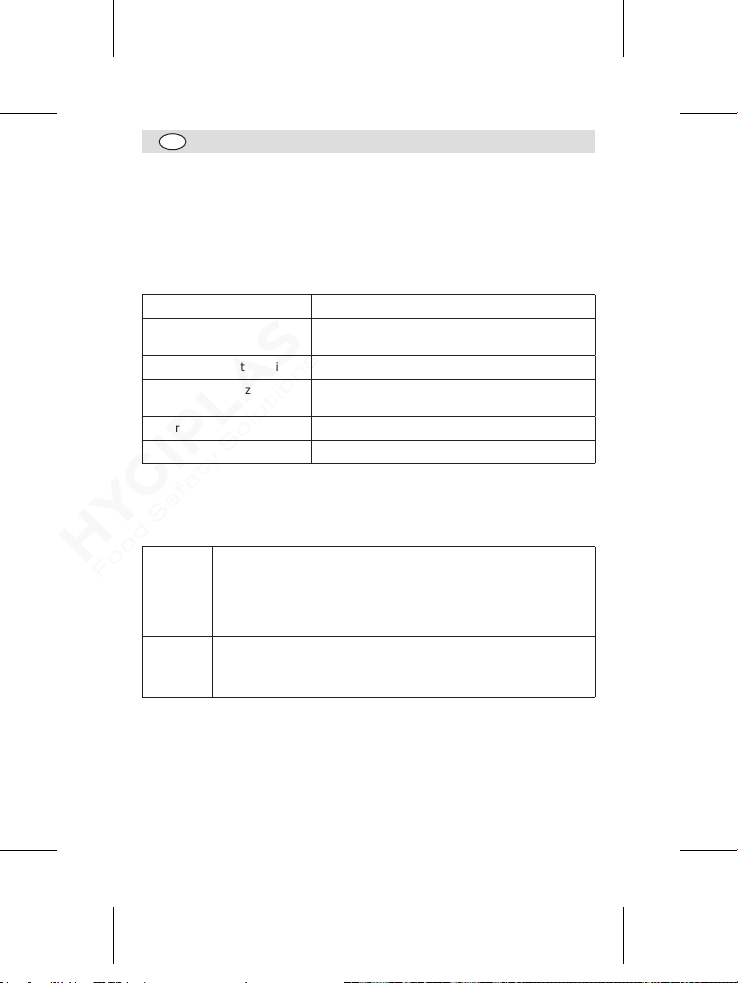
Specifiche tecniche
Intervallo di temperatura -40°C ~ 70°C (-40°F ~ 158°F)
Accuratezza display • ±1°C/±1,8°F con un intervallo tra -20°C ~ 70°C
Aggiornamento lettura display 10 secondi
Intervallo di sicurezza
Batteria 1 x 1,5V AAA
Dimensioni prodotto 26 (H) x 135 (W) x 17,3 (D) mm
Installazione
1. Aprire la copertura del compartimento della batteria ed inserire la batteria
correttamente. Quindi chiudere la copertura.
2. Montare il termometro come riportato sotto.
Termometro È inteso a rilevare la temperatura ambiente o la temperatura del luogo
Sonda È inteso a rilevare la temperatura interna di un frigorifero/ Congelatore.
Operazione
• Far scorrere l’interruttore su modalità “Congelatore” o “Frigo” in base alle esigenze.
• La schermata sinistra visualizza la temperatura ambiente, mentre la schermata
Selezione l’unità di temperatura
• Premere il tasto “C°/F°” per selezionare l’unità di temperatura desiderata.
in cui si trova. Una posizione comoda sarebbe la parete esterna di un
frigorifero/congelatore.
• Pulire la superficie in cui deve essere montata l’unità.
• Collegare le pastiglie di velcro alla superficie di montaggio e alla
parte posteriore dell’apparecchio. Quindi unirle.
Quindi, posizionarlo bene all’interno.
• Pulire la parete interna in cui deve essere montato il sensore.
• Premere saldamente la ventosa sulla parete per fissare bene il sensore.
destra indica la temperatura interna del frigorifero/congelatore.
10
• ±2°C per altri intervalli
• Frigo
: 2°C ~ 8°C (35,6°F ~ 46,4°F)
• Congelatore
: -9,5°C ~ -23°C (+14,9°F ~ -9,4°F)
Page 11
IT
Funzione di allerta
• Premere il pulsante “Allerta ACCESO / SPENTO” (Alert ON/OFF) per attivare la
funzione di avviso.
• Quando la temperatura è al di là della zona di sicurezza, l’allarme suona e le
luci a led lampeggiano per 5 secondi ogni minuto, indicando che la temperatura
all’interno del frigorifero/ congelatore deve essere regolata.
• Premere il pulsante “Allerta ACCESO / SPENTO” (Alert ON/OFF) per disattivare la
funzione di avviso.
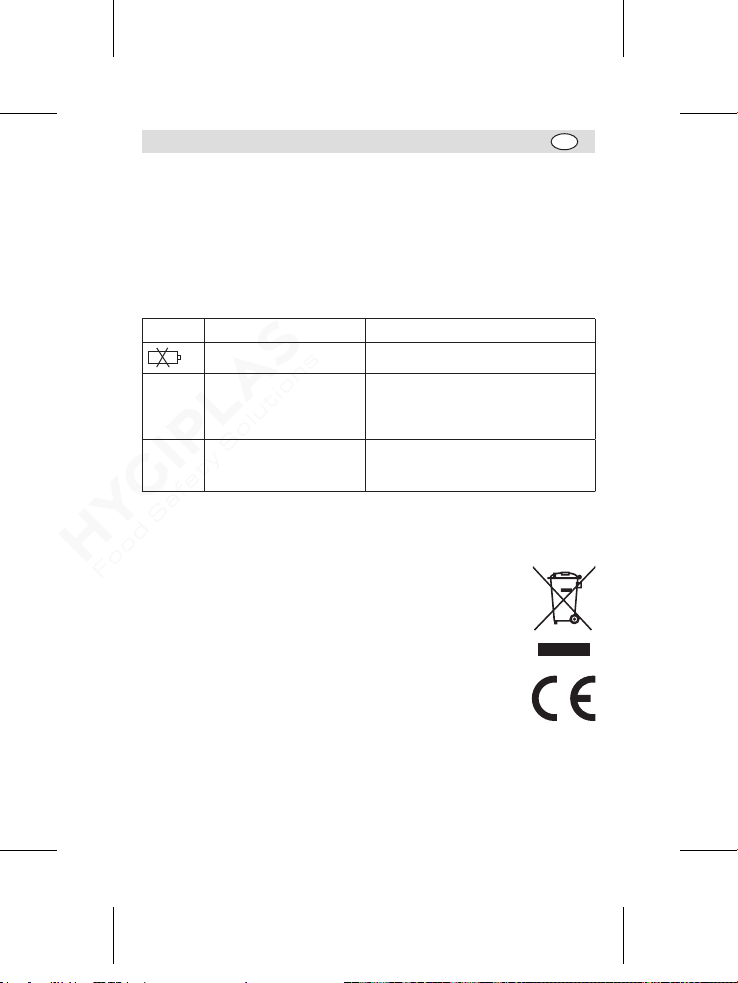
Simboli
Simbolo Descrizione Azione richiesta
Bassa tensione della batteria Sostituire le batterie
LLL 1. Circuito sensore aperto
2. Lettura fuori intervallo
basso (-40°C)
1. Restituire il termometro per la riparazione
2. Mantenere la misurazione al di sopra
dell’intervallo basso
HHH 3. Cortocircuito sensore
Conformità
Eliminare le batterie scariche in base alle normative locali, nei Paesi della Comunità
Europea esistono punti di smaltimento specifici per le batterie.
Il logo WEEE riportato su questo prodotto o sulla relativa documentazione
indica che il prodotto non può essere smaltito come normale rifiuto
domestico. Per evitare possibili danni alla salute e/o all’ambiente, il
prodotto deve venire smaltito utilizzando una procedura di riciclaggio
approvata e sicura per l’ambiente. Per ulteriori informazioni su come
smaltire in maniera corretta questo prodotto, contattare il fornitore del
prodotto o l’ente locale responsabile per lo smaltimento dei rifiuti.
I componenti HYGIPLAS sono stati sottoposti a un rigoroso collaudo ai
fini della conformità agli standard e alle specifiche normative previste
dalle autorità internazionali, indipendenti e federali.
I prodotti HYGIPLAS sono autorizzati a esporre il seguente simbolo:
Le informazioni contenute sono corrette e accurate al momento della stampa, tuttavia HYGIPLAS si
4. Lettura fuori intervallo
alto (70°C)
Tutti i diritti riservati. È vietata la riproduzione o la trasmissione in alcuna forma, elettronica,
meccanica, mediante fotocopiatura o altro sistema di riproduzione, di qualsiasi parte delle presenti
istruzioni senza la previa autorizzazione scritta di HYGIPLAS.
riserva il diritto di modificare le specifiche senza preavviso.
1. Restituire il termometro per la riparazione
2. Mantenere la misurazione al di sotto
dell’intervallo basso
11
Page 12
ES
Consejos de Seguridad
• Limpie la sonda inmediatamente después de cada medición para evitar la
contaminación cruzada.
• No exponga el aparato a temperaturas por encima de 50ºC/122ºF ni lo utilice en
hornos.
• La precisión de este dispositivo se ha comprobado como parte del proceso de
control de calidad de fabricación.
Especificaciones Técnicas
Rango de temperaturas -40°C ~ 70°C (-40°F ~ 158°F)
Precisión de pantalla • ±1°C/±1,8°F para el rango de -20°C ~ 70°C
Actualización de lectura de pantalla 10 segundos
Rango de zona de seguridad Refrigerador: 2°C ~ 8°C (35,6°F ~ 46,4°F)
Pila 1 x 1,5V AAA
Dimensiones del producto 26 (alto) x 135 (anchura) x 17,3 (fondo) mm
Instalación
1. Abrir la tapa del compartimento de la batería e inserte la batería correctamente.
Luego cierre la tapa.
2. Monte el termómetro de la siguiente manera.
Termómetro El objetivo es detectar la temperatura ambiente o la temperatura
Sonda del
Sensor
Funcionamiento
• Deslice el interruptor de Modo a “Congelador” o “Refrigerador” según sea
necesario.
• La pantalla izquierda muestra la temperatura ambiente, mientras que la pantalla
derecha muestra la temperatura interna del Refrigerador/Congelador.
Seleccionar la Unidad de Temperatura
• Presionar el botón “°C/°F” para seleccionar la unidad de temperatura que usted
desee.
12
de un lugar donde está recubierto. Una posición conveniente sería
la pared exterior de un Refrigerador /Congelador.
• Limpiar el área de la superficie donde se montará la unidad.
• Colocar las almohadillas de velcro en la superficie de montaje y
en la parte posterior de la unidad. Entonces se unirán.
Está destinado a detectar la temperatura interna de un
Refrigerador/Congelador. Por ende, colóquelo bien adentro.
• Limpiar la pared interior donde se va a montar el sensor.
• Debe presionar firmemente la ventosa contra la pared para fijar
bien el sensor.
• ±2°C para otros rangos
Congelador: -9,5°C ~ -23°C (+14,9°F ~ -9,4°F)
Page 13
ES
Función de Alerta
• Presionando el botón “Alert ON/OFF” puede activar la función de Alerta.
• Cuando la temperatura está más allá de la zona segura, sonará la alarma y las
luces LED parpadearán durante 5 segundos cada minuto, indicando la temperatura
dentro del Refrigerador.
• Presionando el botón “Alert ON/OFF” para desactivar la función de alerta.
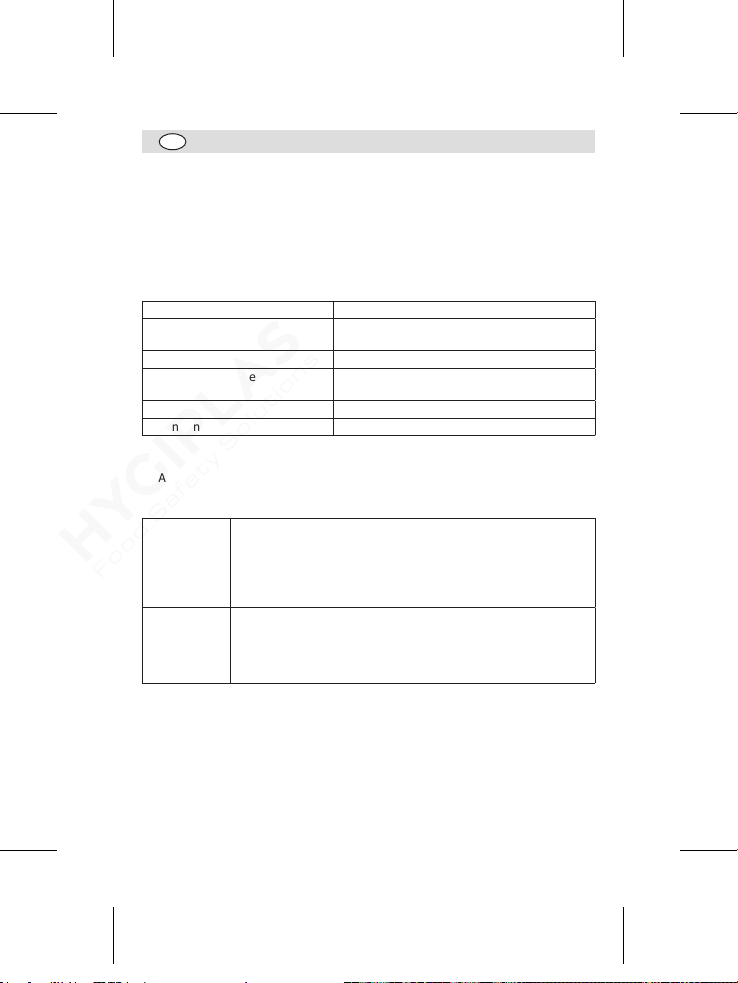
Simbolos
Símbolo Descripción Acción requerida
Nivel bajo de pila Cambie las pilas
LLL 1. Circuito abierto en sensor
HHH 1. Cortocircuito en sensor
Cumplimiento
Deseche las pilas agotadas de acuerdo con la legislación local, en la CE existen
puntos designados para la disposición de pilas.
El logotipo WEEE en este producto o su documentación indica que no debe
eliminarse como un residuo doméstico. Para ayudar a prevenir posibles
daños a la salud humana y/ o el medio ambiente, el producto debe
eliminarse en un proceso de reciclaje aprobado y medioambientalmente
seguro. Para obtener más información sobre cómo eliminar correctamente
este producto, póngase en contacto con el proveedor del mismo o la
autoridad local responsable de la eliminación de residuos en su zona.
Las piezas HYGIPLAS han pasado estrictas pruebas de productos para
cumplir las especificaciones y normas reguladoras establecidas por las
autoridades internacionales, independientes y federales.
Los productos HYGIPLAS han sido autorizados para llevar el símbolo
siguiente:
Se ha hecho todo lo posible para garantizar que todos los datos son correctos en el momento de su
publicación; sin embargo, HYGIPLAS se reserva el derecho a modificar las especificaciones sin que
2. La lectura está fuera del
rango inferior (-40°C)
2. La lectura está fuera del
rango superior (70°C)
Reservados todos los derechos. Puede estar prohibida la reproducción o transmisión en cualquier
forma o por cualquier medio electrónico, mecánico, de fotocopiado, registro o de otro tipo, de
cualquier parte de estas instrucciones sin la autorización previa y por escrito de HYGIPLAS.
medie notificación previa.
1. Devuelva el termómetro para su
reparación
2. Mantenga la medición por encima
del rango inferior
1. Devuelva el termómetro para su
reparación
2. Mantenga la medición por debajo
del rango superior
13
Page 14
UK 0845 146 2887 Fourth Way, Avonmouth,
Eire Unit 9003, Blarney
NL 040 – 2628080
FR 01 60 34 28 80
BE-NL 0800-29129
BE-FR 0800-29229
DE 0800 – 1860806
ES 901-100 133
AU 1300 225 960 15 Badgally Road,
Bristol, BS11 8TB United
Kingdom
Business Park, Blarney
Co. Cork, Ireland
Campbelltown, 2560,
NSW, Australia
Page 15
DECLARATION OF CONFORMITY
Equipment Type • Uitrustingstype • Type d'équipement •
Fridge/Freezer/Alarm Thermometer
Model • Modèle • Modell • Modello • Modelo • Malli
F314
Application of Council Directives(s)
ElectroMagnetic Compatibility (EMC) Directive
Producer Name • Naam fabrikant • Nom du producteur •
Hygiplas
Producer Address • Adres fabrikant • Adresse du producteur •
Date • Data • Date • Datum • Data • Fecha • Data
24thSeptember 2019
Signature • Handtekening • Signature • Unterschrift
Full Name • Volledige naam • Nom et prénom • Vollständiger Name •
Ashley Hooper
Position • Functie • Fonction • Position • Qualifica • Posición • Função
Technical & Quality Manager
• Conformiteitsverklaring • Déclaration de conformité • Konformitätserklärung • Dichiarazione di conformità •
Gerätetyp •
Tipo di apparecchiatura• Tipo de equipo • Tipo de equipamento
• Declaración de conformidad • Declaração de conformidade
Toepassing van Europese Richtlijn(en) • Application de
la/des directive(s) du Conseil • Anwendbare EU-Richtlinie(n)
• Applicazione delle Direttive • Aplicación de la(s) directiva(s)
del consejo • Aplicação de directiva(s) do Conselho
Name des Herstellers • Nome del produttore • Nombre del
fabricante • Nome do fabricante
Anschrift des Herstellers • Indirizzo del produttore • Dirección
del fabricante • Morada do fabricante
I, the undersigned, hereby declare that the equipment specified above conforms to the above Directive(s) and Standard(s).
Ik, de ondergetekende, verklaar hierbij dat de hierboven gespecificeerde uitrusting goedgekeurd is volgens de bovenstaande Richtlijn(en)
en Standaard(en).
Je soussigné, confirme la conformité de l'équipement cité dans la présente à la / aux Directive(s) et Norme(s) ci-dessus
Ich, der/die Unterzeichnende, erkläre hiermit, dass das oben angegebene Gerät der/den oben angeführten Richtlinie(n) und Norm(en)
entspricht.
Il sottoscritto dichiara che l'apparecchiatura di sopra specificata è conforme alle Direttive e agli Standard sopra riportati.
El abajo firmante declara por la presente que el equipo arriba especificado está en conformidad con la(s) directiva(s) y estándar(es) arriba
mencionadas.
Eu, o abaixo-assinado, declaro que o equipamento anteriormente especificado está em conformidade com a(s) anterior(es) Directiva(s) e
Norma(s)
2014/30/EU
EN 61326-1:2013
Restriction of Hazardous Substances Directive
(RoHS) 2015/863 amending Annex II to Directive
2011/65/EU
Fourth Way,
Avonmouth,
Bristol, BS11
8TB, UK
Unit 9003,
Blarney
Business Park,
Blarney, Co.
Cork, Ireland
15 Badgally Road,
Campbelltown,
NSW 2560,
Australia
Firma • Firma • Assinatura
Nome completo • Nombre completo • Nome por extenso
Page 16

F314_ML_90x130mm_v2_2023/04/13
 Loading...