

Page 1

Ivy Large Sideboard
hygena
451/9281
Width - 145cm
Depth - 45cm
Height - 68.5cm
Issue 1- 29-10-15
Page 2
Do not stand or put excessive
weight on the product, this
could cause damage.
Page 3
2
0345 6400 800
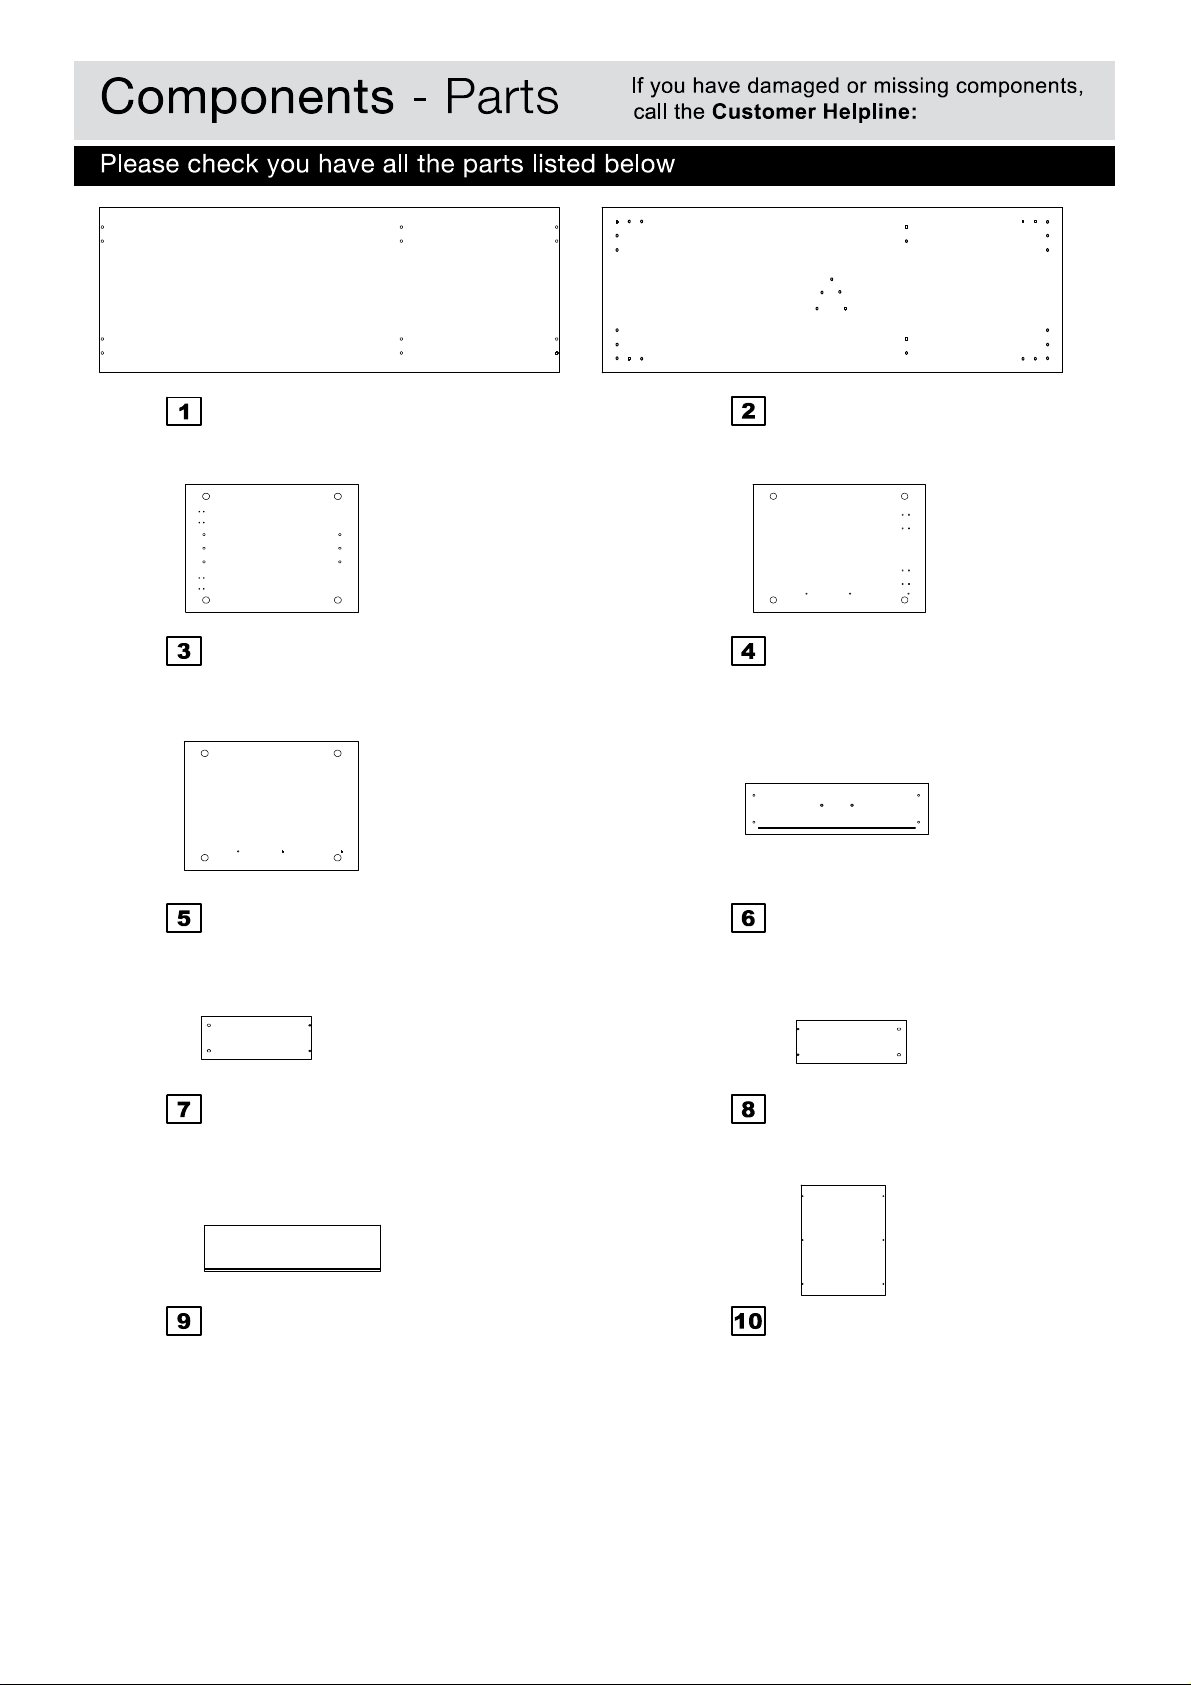
(145x44.7x1.5cm)
Top panel x 1
(49x44.7x1.5cm)
Side panel (right) x 2
(49x44.7x1.5cm)
Divider x 1
(35x16.5x1.2cm)
Drawer side panel (left) x 1
(145x44.7x1.5cm)
Base panel x 1
(57.5x23.7x1.5cm)
Drawer front x 1
(35x16.5x1.2cm)
Drawer side panel (right) x 1
(49x44.7x1.5cm)
Side panel (left) x 2
Underside
Underside
Inside
Inside
(53x18x1.2cm)
Drawer back x 1
(34.5X55.4X0.5mm)
Drawer base x 1
Page 4
Legs x 5
3
0345 6400 800
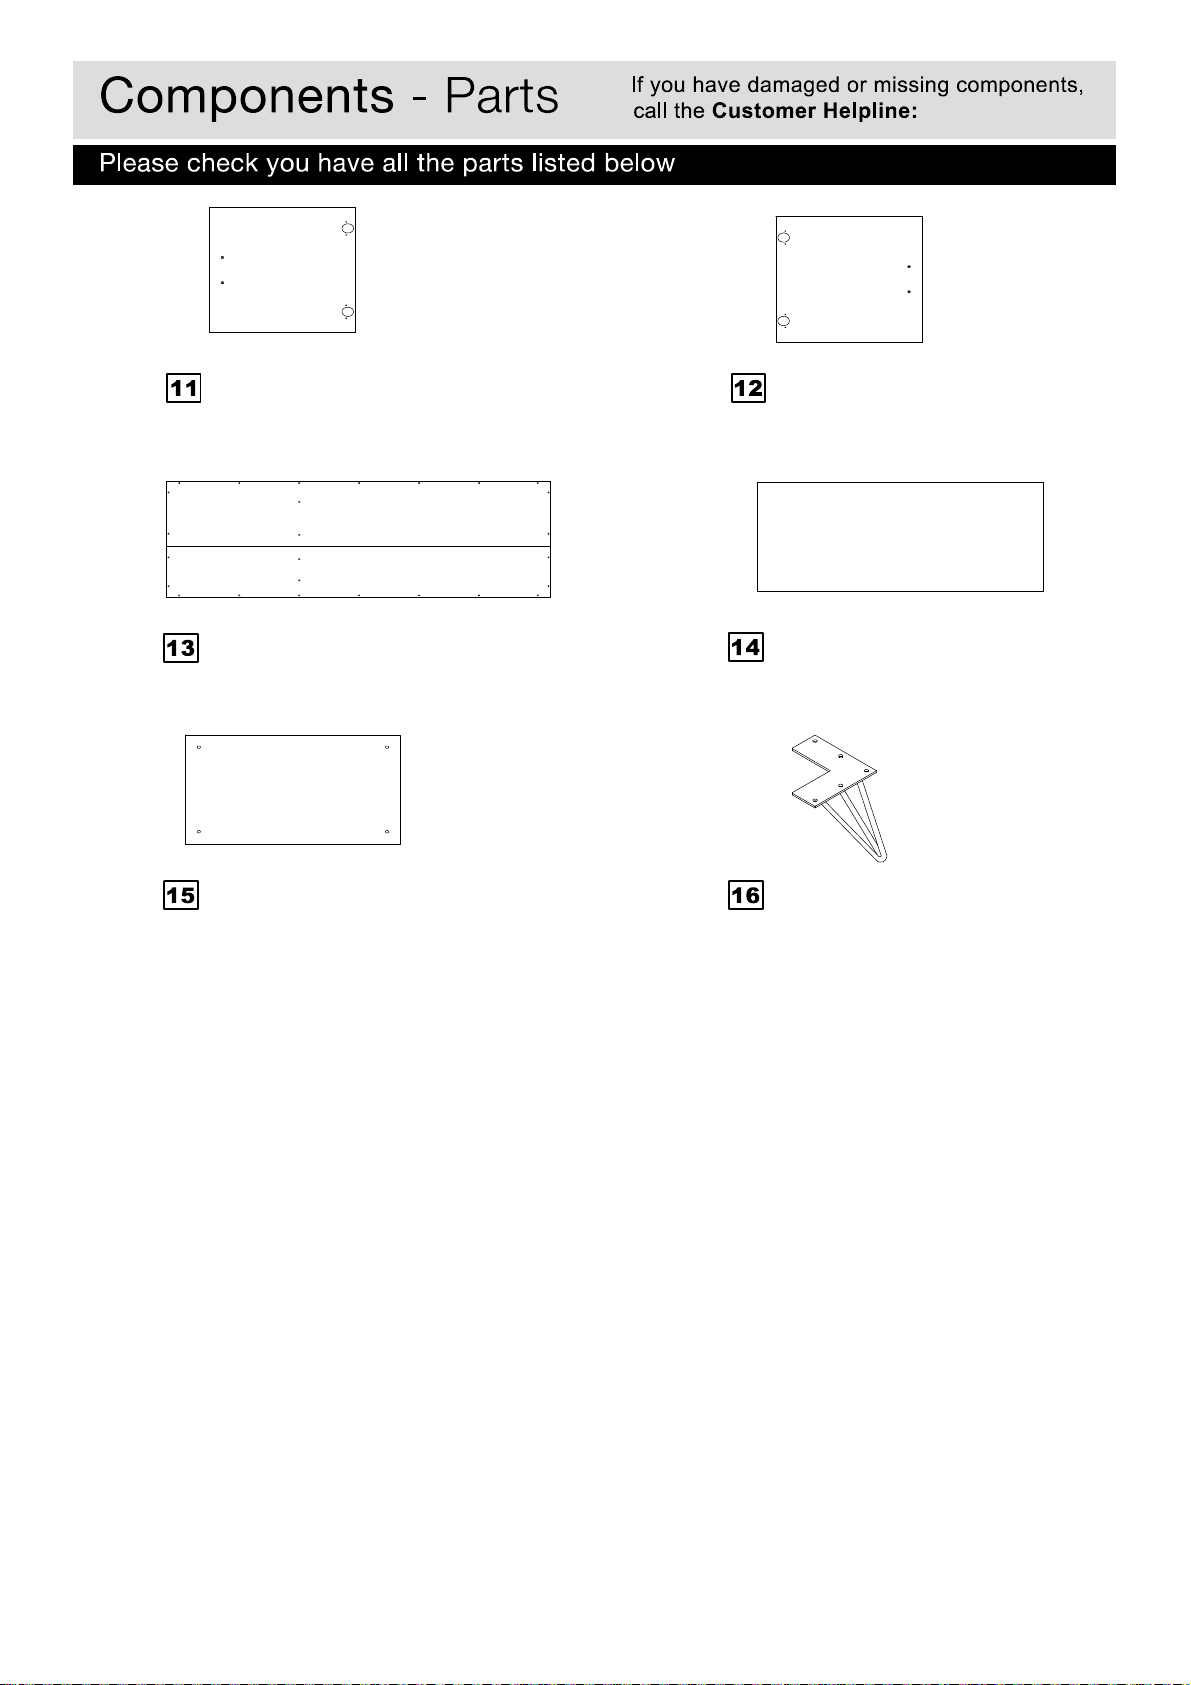
(144.8x51.8x0.3cm)
Back panel x 1
(58x43.2x1.5cm)
Fixed shelf x 1
(48.6x40.7x1.5cm)
Door (left) x 1
(82x43.2x1.5cm)
Adjustable shelf x 1
(48.6x40.7x1.5cm)
Door (right) x 1
Underside
Page 5

4 x 14mm Screw x 24
Door hinge x 4
0345 6400 800
B C
4
A
Ruler - Use this ruler to help correctly identify the screws
0 5 10 15 20 25 30 35 40 45 50 55 60 65 70 75 80 85 90 95 100 105 110 115 120 125 130 135 140 145 150 155 160 165 170
Components - Fittings
E FD
H
J
G
L MK
PN
Wooden dowel x 16
Handle x 3
M4 x 16mm Screw x 6
Shelf support pin x 4
Drawer runners 1 set
3 x 12mm Screw x 26
M6 x 12mm Screw x 25
3.5 x 12mm Screw x 12
4 x 30mm Screw x 4
Metal dowel x 20
Small locking nut x 4
Large locking nut x 16
Tools required
0
0 5 10 15 20 25 30 35 40 45 50 55 60 65 70 75 80 85 90 95 100 105 110 115 120 125 130 135 140 145 150
1 2 3 4 5 6
Ruler/tape
measure
Phillips screwdriver
(Not supplied)
Page 6

Assembly lnstructions
5
A
A
A
D
A
A
A
A
2
1
6
4
5
1
3
B
B
D
D
D
B
Preparing panels
Place top panel , base
panel ,side panel ,
divider and drawer
front flat on the floor
with the fixing holes
facing up.
Screw metal dowels
into each panel as shown.
Note: Screw metal
dowels as far as shown.
Do not overtighten.
Insert wood dowels
into top panel ,base
panel , side panel
and divider as shown.
a: Assemble fixed shelf
in between side panel
and divider .
Insert large locking nuts
into the underside of shelf
.
b: Carefully lower the shelf
assembly down onto top
panel .
Locate side panel onto
top .
Insert large locking nuts
into side panel ,divider
and side panel .
Turn locking nuts clock
wise to secure.
6
1
1
2
A
D
3
B
2
B
5
4
Shown upside down
5
4
4
5
15
4
5
15
1
B
1
4
5 3
15
5
4
B
B
B
B
a:
b:
Page 7

Assembly lnstructions
6
Assembling base panel
With help, carefully locate
base panel into
position as shown.
Insert large locking nuts
into side panels and
and divider .
Turn locking nuts
clockwise to secure.
Assemble legs to base
panel using screws .
B
3
4
5
2
2
M
B
B
B
B
2
M
16
16
B
3
5
4
Shown upside down
2
Page 8

Assembly lnstructions
7
13
Attach one half of drawer
runners onto left side
panel and divider
as shown. Secure with
screws .
Note: The correct fixing
hole positions are shown in
the enlarged drawings.
F
4
5
G
With help, stand the unit
upright onto it's legs.
5
4
5
Assembling back panel
With help, carefully turn
the unit onto it's front.
Note: Ensure the unit is
straight and square.
Place back panel into
the recess around the
back of the unit. Secure
using screws .
Note: Ensure the
unfinished side of back
panel is facing out as
shown.
13
L
L
4
4
13
F
G
G
G
G
F
Unfinished side
Page 9

Assembly lnstructions
8
K
K
K
14
a:
b:
11
H
J
P
N
P
c:
Assembling door and
shelf
a: Insert shelf support
pins into right side
panel and divider
at the desired height.
Carefully locate adjustable
shelf onto the support
pins.
b: Assemble hinges to
doors and using
screws .
Fit handle to doors
and using screws .
c: Assemble right door
to right side panel
and left door to
divider using screws
.
11
14
N
12
H
J
3
K
5
3
P
P
11
5
12
12
11
H
J
Right
Left
11
5
3
12
11
Page 10

Hinge adjustment
a: To move doors up or
down, loosen screws
as shown and move doors
to suit.
Once doors are aligned,
insert 2 more screws
into the hinge plates and
fully tighten all screws.
a:
P
P
b:
c:
P
P
b: To move doors in or
out, loosen screw shown
and move doors to suit.
Re-tighten screws.
c: To move doors left or
right, lossen screw shown
and move doors to suit.
Re-tighten screws.
9
Assembly lnstructions
Page 11

Assembly lnstructions
Assembling drawer
a: Locate drawer back
in between drawer side
panels and . Secure
using screws .
b: Place drawer base
into the groove in back
panel .
c: Locate drawer front
onto the drawer body.
Insert small locking nuts
into drawer sides and
.
Turn locking nuts
clockwise to secure.
d: Locate the other half of
drawer runners onto
each side of the drawer
with the rollers at the back.
Secure using screws .
e: Attach drawer handle
to drawer front using
screws .
7
a:
b:
E
E
7
9
8
10
c:
e:
9
8
E
6
F
H
J
6
6
C
C
J
H
10
shown upside
down
8
7
10
8
C
7
8
G
6
C
G
G
F
d:
G
F
8
Roller
Page 12

11
If you need help or have damaged or missing parts, call the Customer Helpline: 0345 6400 800
Home Retail Group. 489-499 Avebury Boulevard. Saxon Gate West. Central Milton Keynes. MK9 2NW
Assembly lnstructions
Locating drawer
Carefully slide drawer into
position as shown.
 Loading...