

hygena Bergen 228/2840, 246/9577, 244/0204, 227/6306, Bergen 150 Foil/foil Assembly Instructions Manual
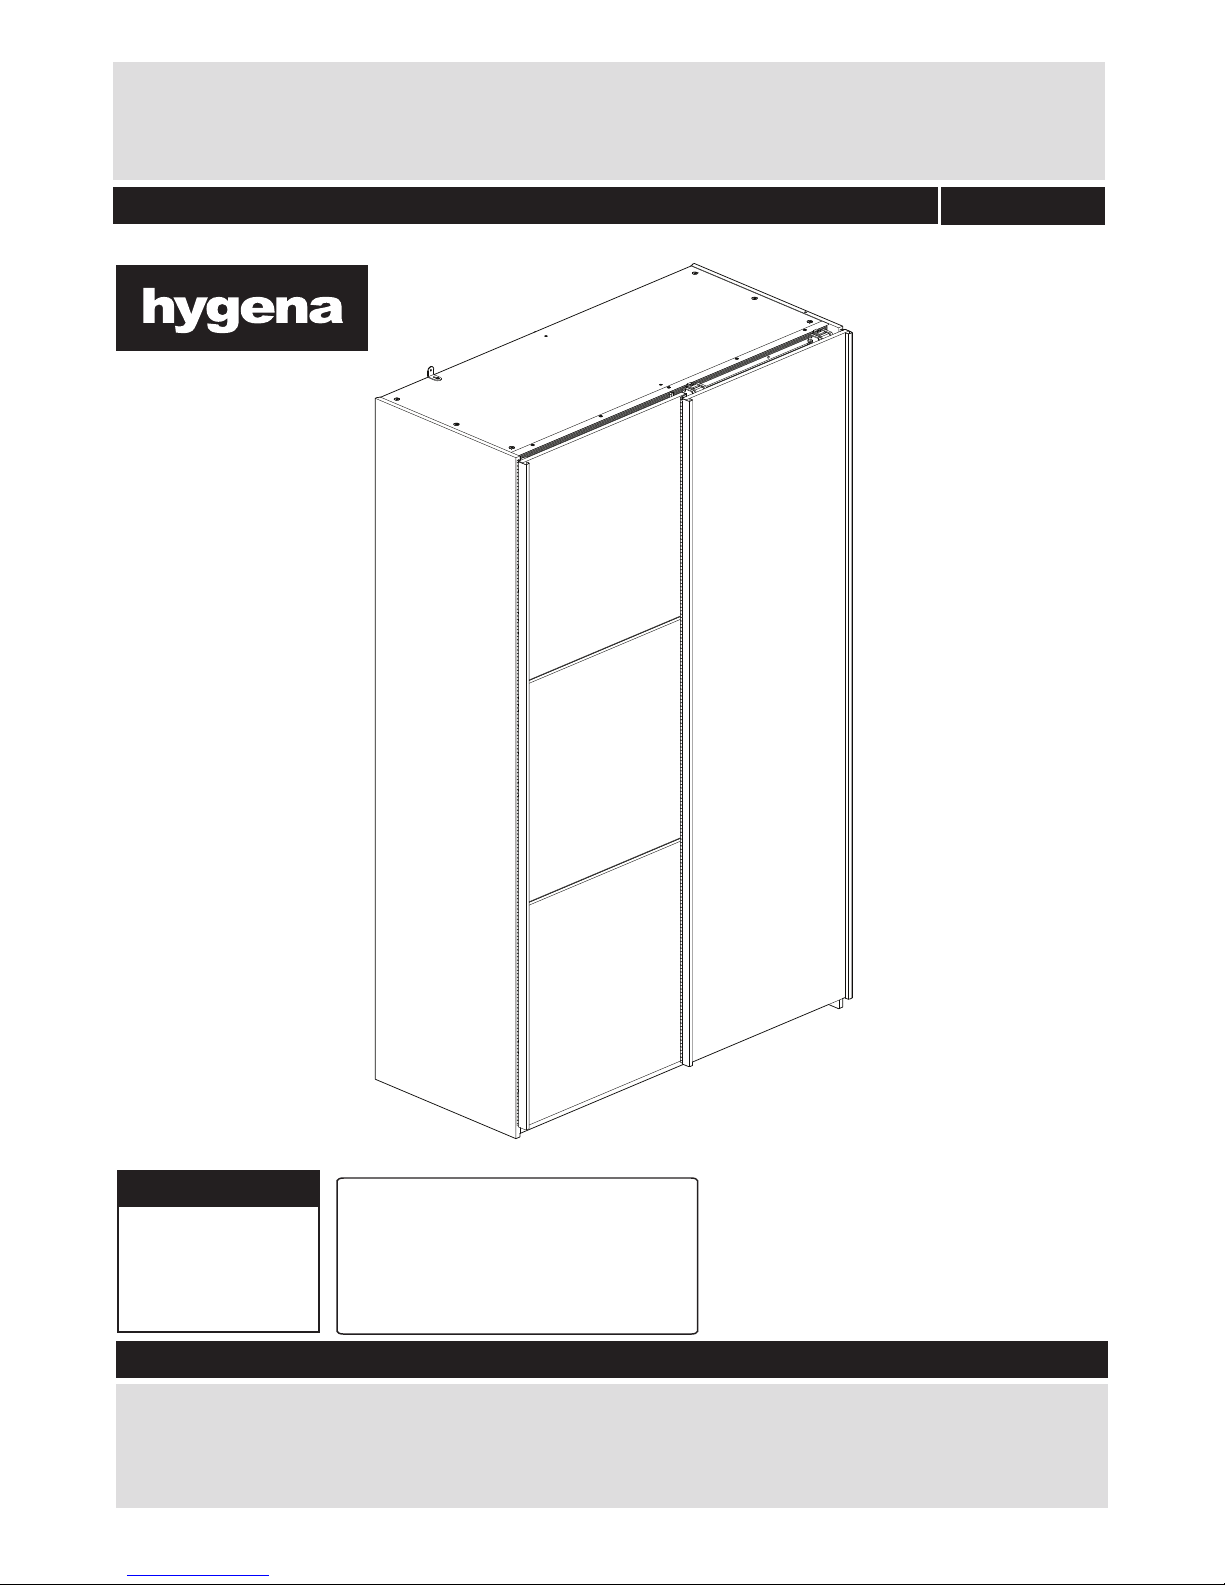
Bergen 150 Foil/mirror
Dimensions
Width - 150cm
Depth - 59.5cm
Height - 199.8cm
Assembly Instructions- Please keep for future reference 228/2840
Tip : To prevent damage,
we recommend that you
build your unit on the
carton(s) it was packed in.
DR8250560
Issue 5 - 09/11/16
Important – Please read these instructions fully before starting assembly
Alternatively, call the Spares Helpline on: 0370 112 1928
For any other queries please contact the Customer Helpline on: 0345 640 2020
If you need help or have damaged or missing parts, please visit: www.argos-support.co.uk
or email: Help@ClickSpares.co.uk (quoting your original order number)
2
Note: if required the next
page can be cut out and used
as reference throughout the
assembly. Keep this page with
these instructions for future
reference.
• Assemble all parts and bolts
loosely during assembly, only
once the product is complete
should you fully tighten the bolts
• Regularly check and ensure
tightend properly.
Handy Hints
Safety and Care Advice
Important – Please read these instructions fully before starting assembly
• Check you have all the
components and tools listed on
pages 2 and 3.
plastic bags and separate them
into their groups.
• Keep children and animals
away from the work area, small
parts could choke if swallowed.
• Make sure you have enough
space to layout the parts before
starting.
• Do not stand or put weight on
the product, this could cause
damage.
• Assemble the item as close
room) as possible.
• Assemble on a soft level
surface to avoid damaging the
• Parts of the assembly will be
easier with 2 people.
•To reduce the
likelihood of
damaging your
product please
ensure that your
• Dispose of all packaging
carefully and responsibly.
• Only clean using a damp cloth
and mild detergent, do no use
bleach or abrasive cleaners.
• From time to time check that
there are no loose screws on
this unit.
• This product should not be
discarded with household
waste. Take to your local
authority waste disposal centre.
Care and maintenance
power drill is set on a low torque
setting.
• Remove all fittings from the
unit or your floor.
to its final position (in the same
Instruction video
• This manual is provided with an additional instruction
video. If the icon on the right is displayed at a particular
step in the manual, Follow the link: http://nlink.nu/vid02
Or scan the QR code on the left with your phone.
See page 2 for link
to instruction video!
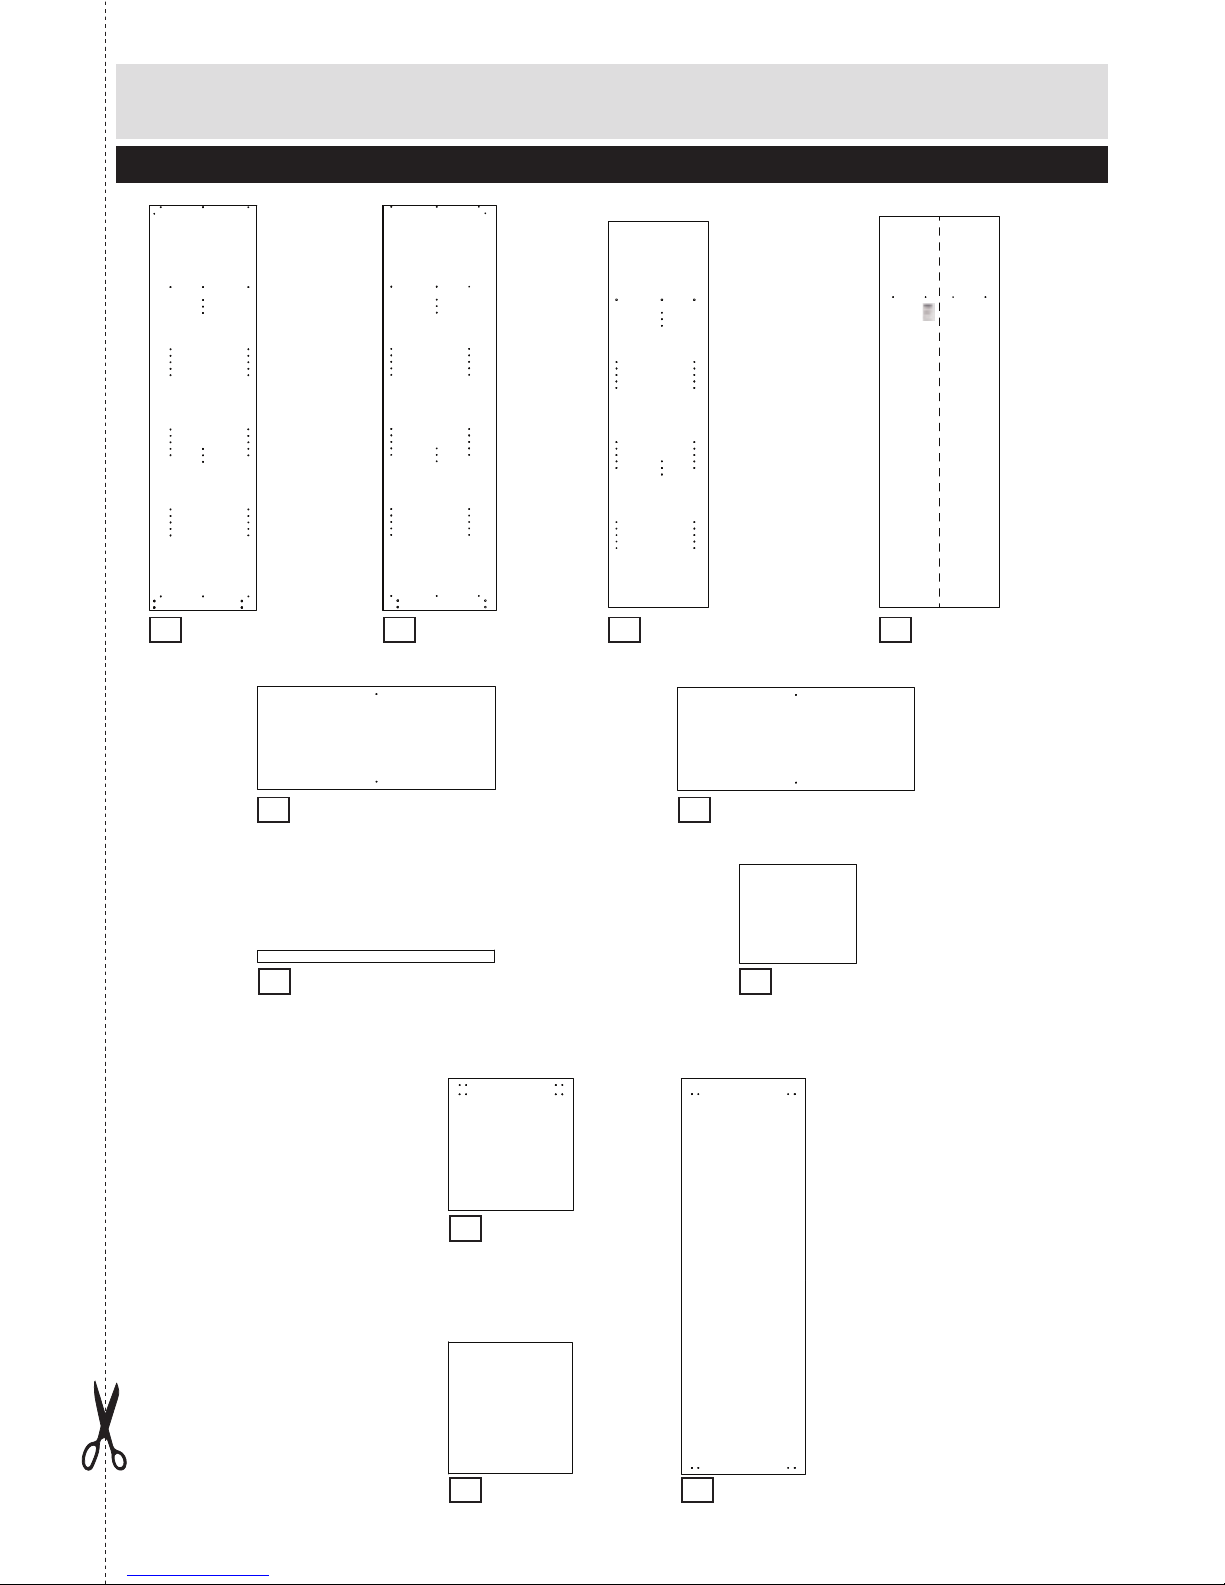
3
Left side
(199.8 x 52.9cm)
1
P2883
Right side
(199.8 x 55.8cm)
2
P2882
Upright
(190.3 x 49cm)
3
P2886
Foldy back x2
(193 x 74cm)
4
BO3430
Bottom
(146.9 x 51.1cm)
6
P1891
Top
(146.9 x 51cm)
5
P1889
Shelf x2
(72.7 x 48.8cm)
8
P1893
Plinth x2
(146.9 x 6cm)
7
Mirror door
(195.2 x 76.5cm)
14
PS3333
Segment middle
(76.5 x 65.1cm)
13
P3268
Segment x2
(76.5 x 65cm)
9
P3299
For damaged or missing parts, please visit:
www.argos-support.co.uk or email: Help@ClickSpares.co.uk
Components - Panels
Please check you have all the panels listed below
P7242
BO3430.0960
4
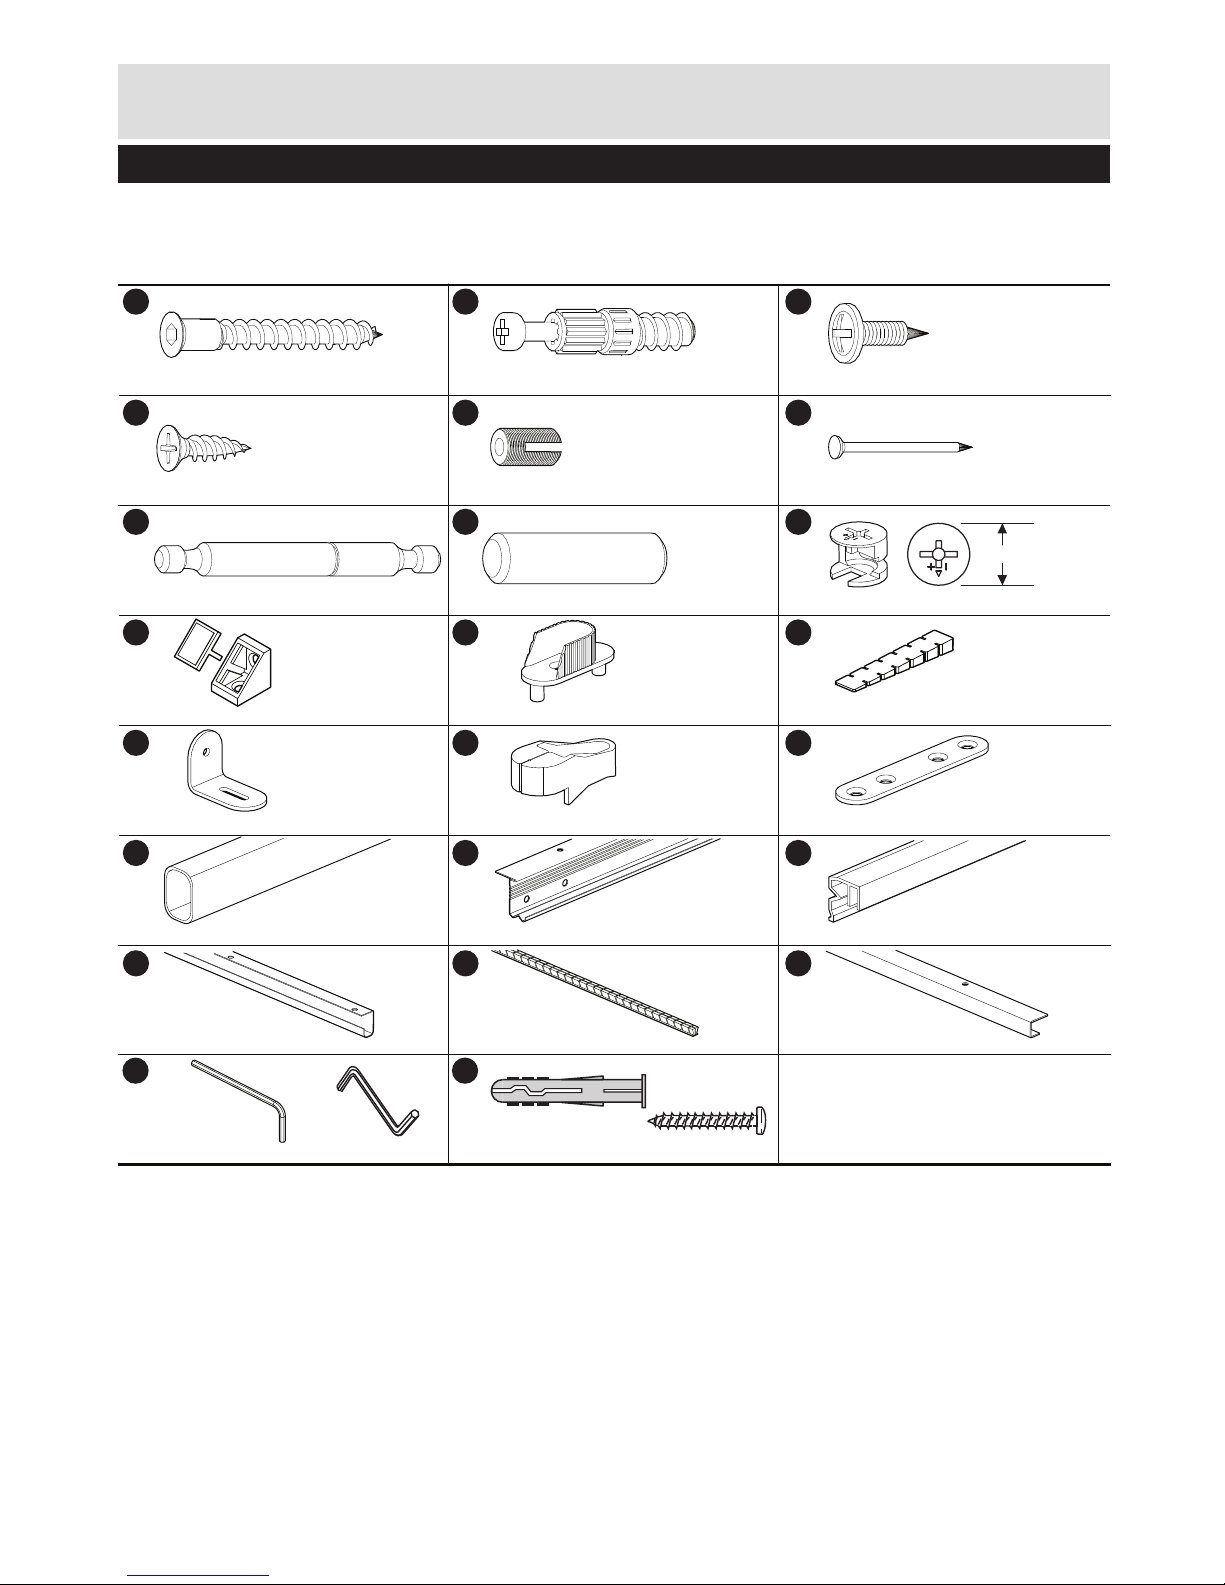
Locking screw x 18
(5x24mm)
B
FK1011
Screw x 50 (4x15mm)
C
FK1400
Confirmat screw x 4 (5x40mm)
A
FK1005
Plug, Nylon x 24 (5x9mm)
E
FK1082
Nail x 60
F
FK1515
Screw x 12 (4x12.5mm)
D
FK1309
Wood dowel x 4 (8x30mm)
H
FK1411
Large locking nut x 24 (15x12mm)
I
FK1012
15mm
Double locking screw x 3 (5x66.5mm)
G
FK1052
Hanger rail support, gray x 4
K
FK1217
Peg, brown x 1
L
FK1234
Corner connector, white x 2
J
FK1248
Nail holder x 1
N
FK1419
Connecting plate x 4
O
FK1236
L-Bracket x 1
M
FK1235
Guide rail x 1, metal (1468mm)
Q
PM1612
Guide rail x 1, plastic(1468mm)
R
PK1612
Hanger rail x 2
P
PM1824
(719mm)
Brush x 3 (1952mm)
T
PM1652C
Door trim x 1 (1952mm)
U
PM1652D
Door handle x 3 (1952mm)
S
PM1652B
Wall plug (6mm) and parkerscrew x 1
W
ZF99936
Allen key x 1 (3mm)
V
FK1013
1/2
Please check you have all the fittings listed below
For damaged or missing parts, please visit:
www.argos-support.co.uk or email: Help@ClickSpares.co.uk
Components - Fittings
Note: The quantities below are the correct amount to complete the assembly. In some cases more fittings
may be supplied than are required.
OR

5
Screw x 33 (4x15mm)
AC
ZF9996L
Screw x 7 (3.5x25mm)
AB
ZF9996K
Screw x 4 (3.5x35mm)
AA
ZF9996I
Tapping block for guide rail x 2
AF
ZF9996E
Screw x 2 (4x14mm)
AD
ZF9996J
Stop guide rail x 2
AH
ZF9996H
Front guide part x 2
AI
ZF9996C
Spacer x 1
AE
ZF9996F
Sliding door connecting plate x 2
AK
ZF9996B
Sliding door connecting bracket x 2
AL
ZF9996A
End stop Right
AM
ZF9996M
End stop Left
AG
ZF9996G
Back guide part x 2
AJ
ZF9996D
A
2/2
Please check you have all the fittings listed below
Components - Fittings
Note: The quantities below are the correct amount to complete the assembly. In some cases more fittings
may be supplied than are required.
Ruler - Use this ruler to help correctly identify the screws
Tools required
0 5 10 15 20 25 30 35 40 45 50 55 60 65 70 75 80 85 90 95 100
110 115 120 125 130 135 140 145 150 155 160 165 170
105
Phillips screwdriver
(medium & large)
Flatblade screwdriver
Small
hammer
Ruler/tape
measure
Drill
Eye protection
(when using a
hammer or drill)
5mm Suitable drill bit
5mm Suitable drill bit
0 10 20 30 40 50 60 70 80 90 100 110 120 130 140 150
0 1 2 3 4 5 6
Stairs
Piercer
Scissors
(medium)
(small)
Spirit level
Setsquare
6
Assembly Instructions
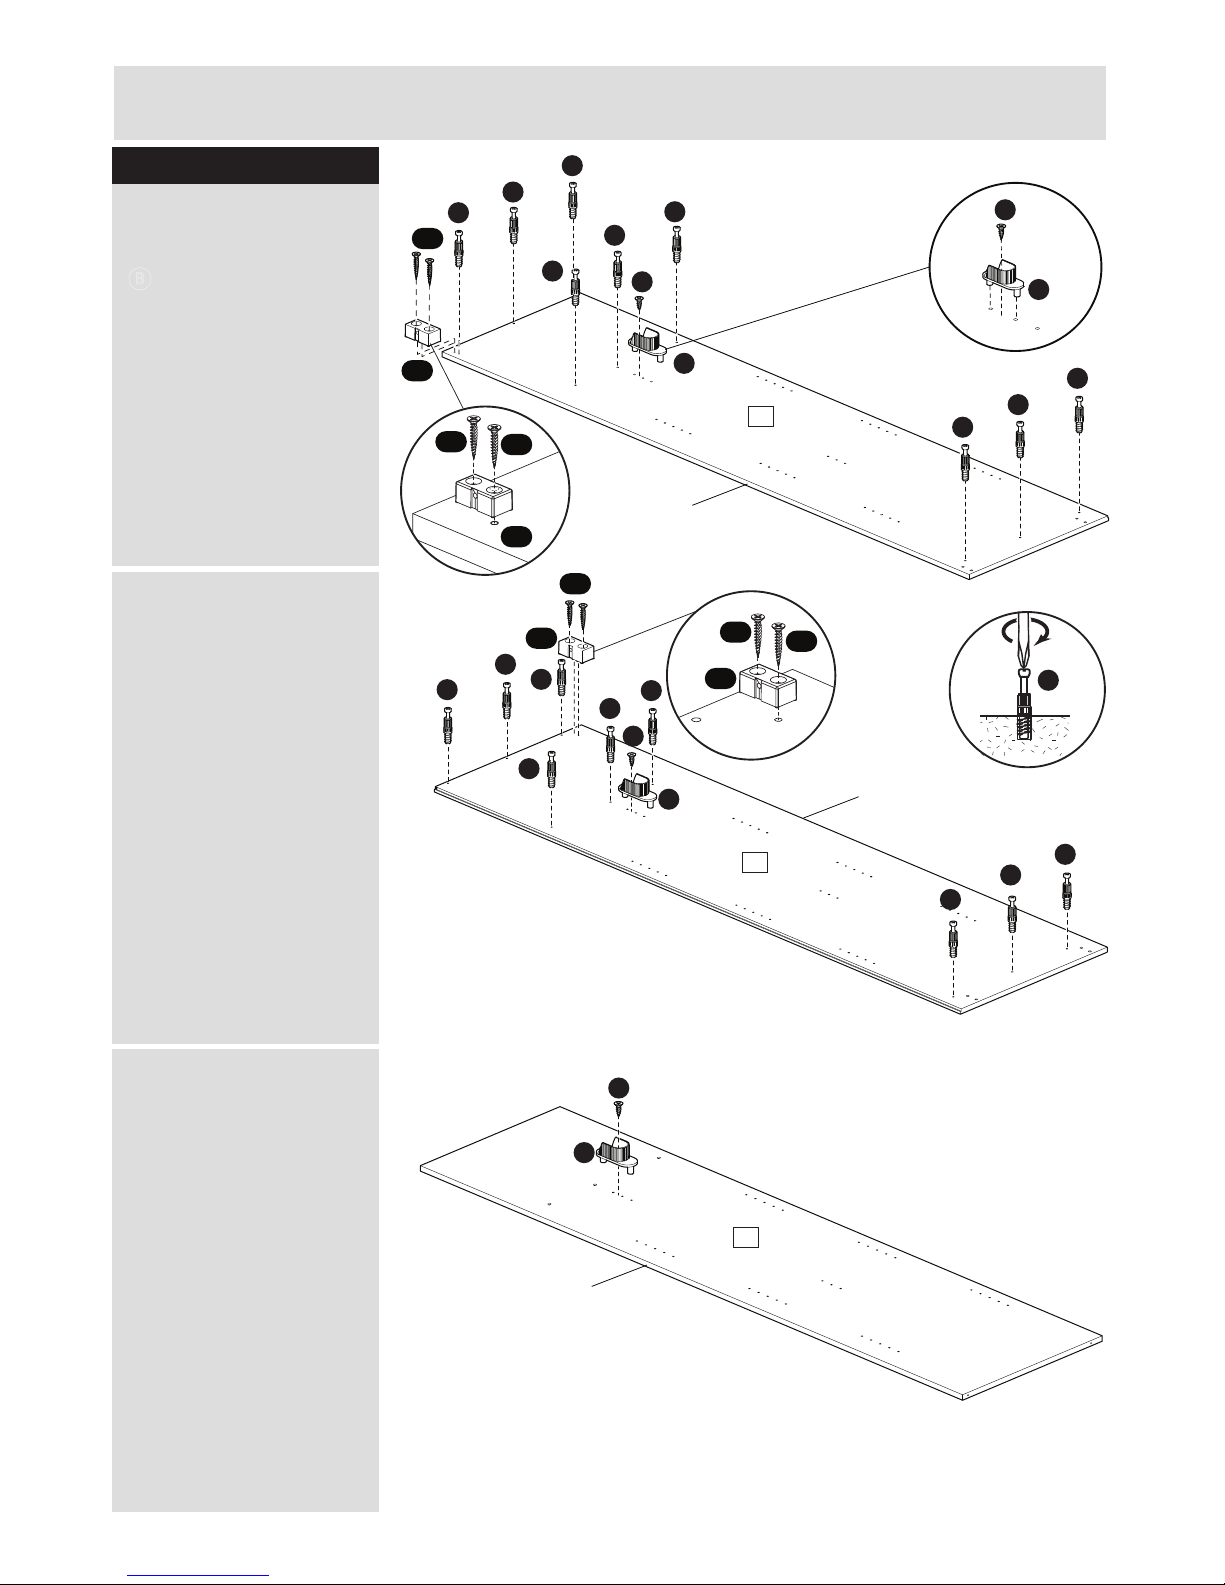
Step 1
Cabinet assembly
a: Screw 9 locking screws
B
into the holes on back
of the left side 1.
Mount hanger rail support
K, fasten with 1 screw D.
Screw D into the board
between two predrilled
holes.
Mount tapping block for
guide rail f with two
screws b.
b: Screw 9 locking screws
B into the holes on back
of the right side 2 .
Mount hanger rail
support K, fasten with 1
screw D. Screw D into
the board between two
predrilled holes.
Mount tapping block for
guide rail f with two
screws b.
C: Mount hanger rail
support K on the
upright 3, fasten with
screw D 1x. Screw D
into the board between two
predrilled holes
Turn over.
Mount hanger rail
support K on the
upright 3, fasten with
screw D 1x. Screw D into
the board between two
predrilled holes.
K
D
1
Finished
front edge
a:
AF
AB
K
D
2
AF
AB
Finished
front edge
b:
BBBBBBBBBBBBBBBBBBB
K
D
3
Finished
front edge
c:
D
K
AF
AB
AB
AB
AB
AF
 Loading...