

Hyer BIG-E Instruction Manual


1
Instruction Manual
Contents
2 Features
3 Quickstart 1: Securing Base to Glass
4 Quickstart 2: Coupling Quartz & Power
5 Button Behaviour
5 LED Indicator
5 GO Button
6 Vibration Notification
6 USB Ports: Heating Element - USB C
6 Digital Display
7 Separating Heating Element from Quartz
8 Battery Removal
9 Warranty
10 Terms of Use & Disclaimer
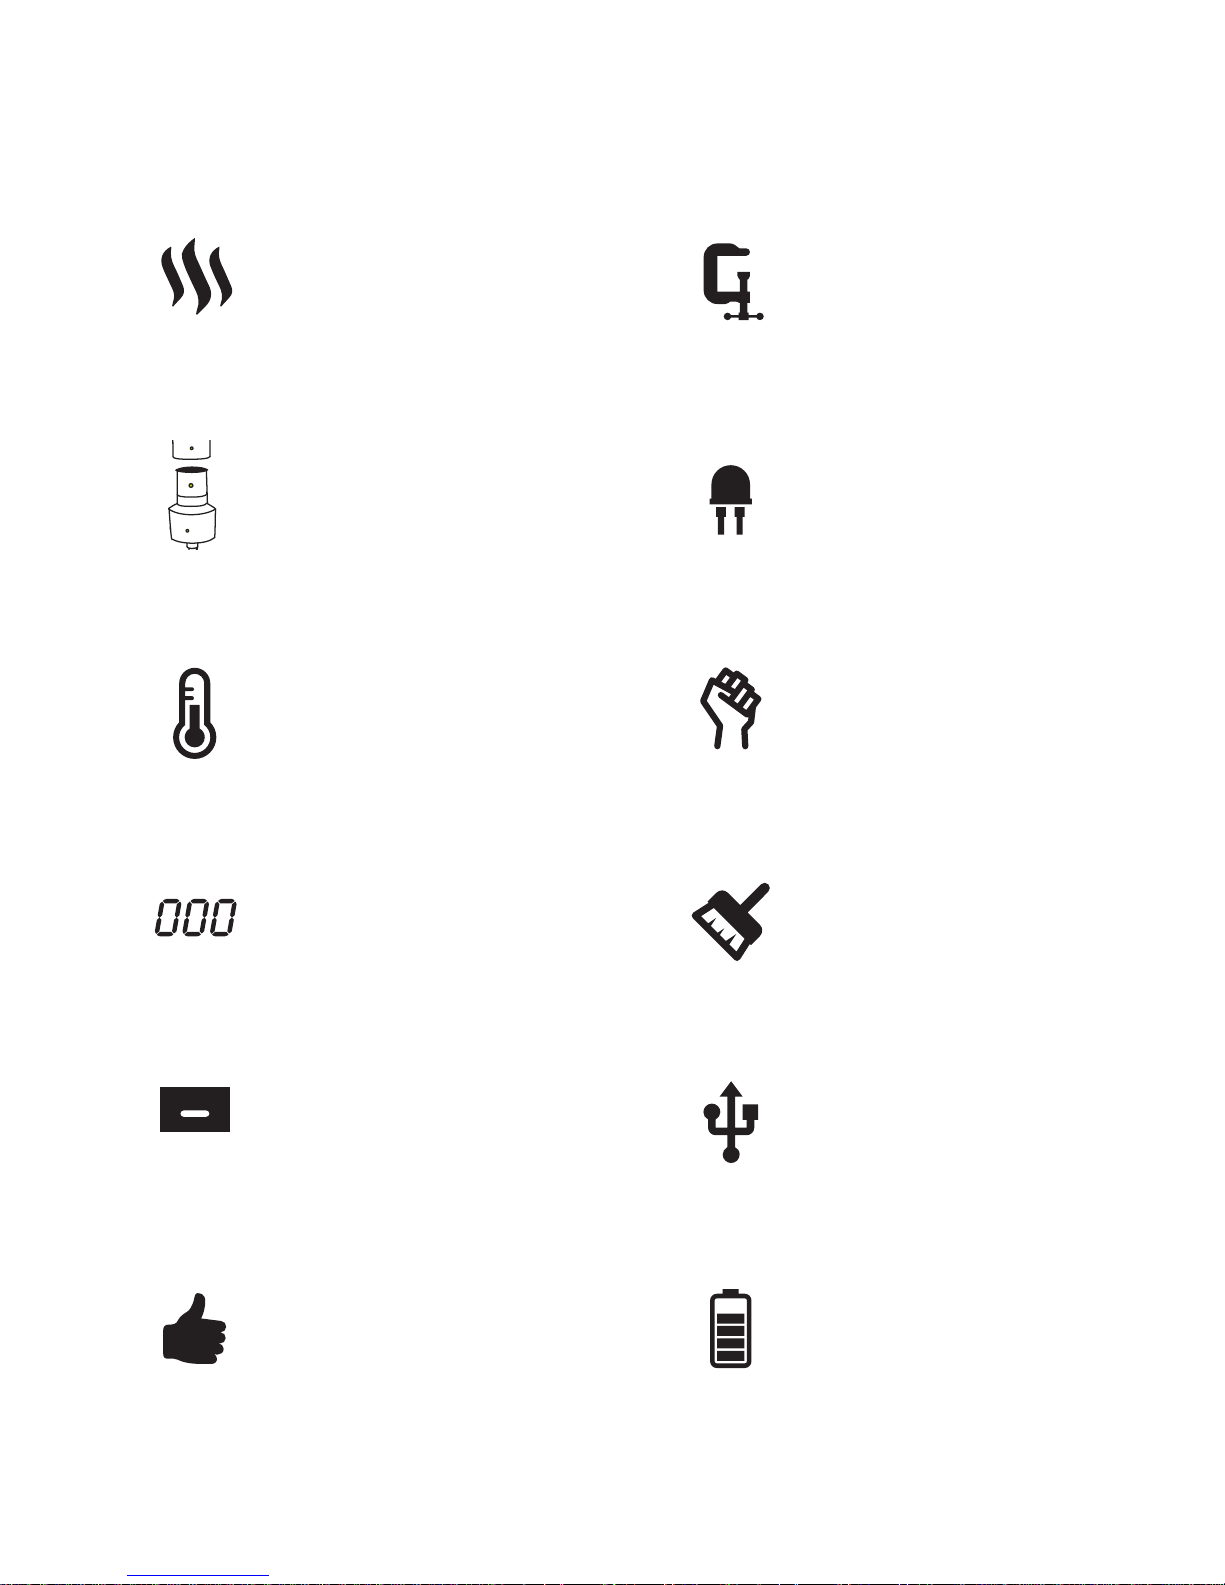
Features
Precise Temperature
Control & Stability
Digital Temperature
Display
Built in Stash
Drawer
Fits Existing Glass
(with flat base)
Adjustable
Clamping
LED Function
Indicator
Soft Silicone
Traction Grips
Self Cleaning
Mode
USB C 18W Fast
Charging
30W Removable
Ceramic Heating
Element
4 x Li-ion
Batteries (48W)
Quartz Vaporization
Elements
2
2
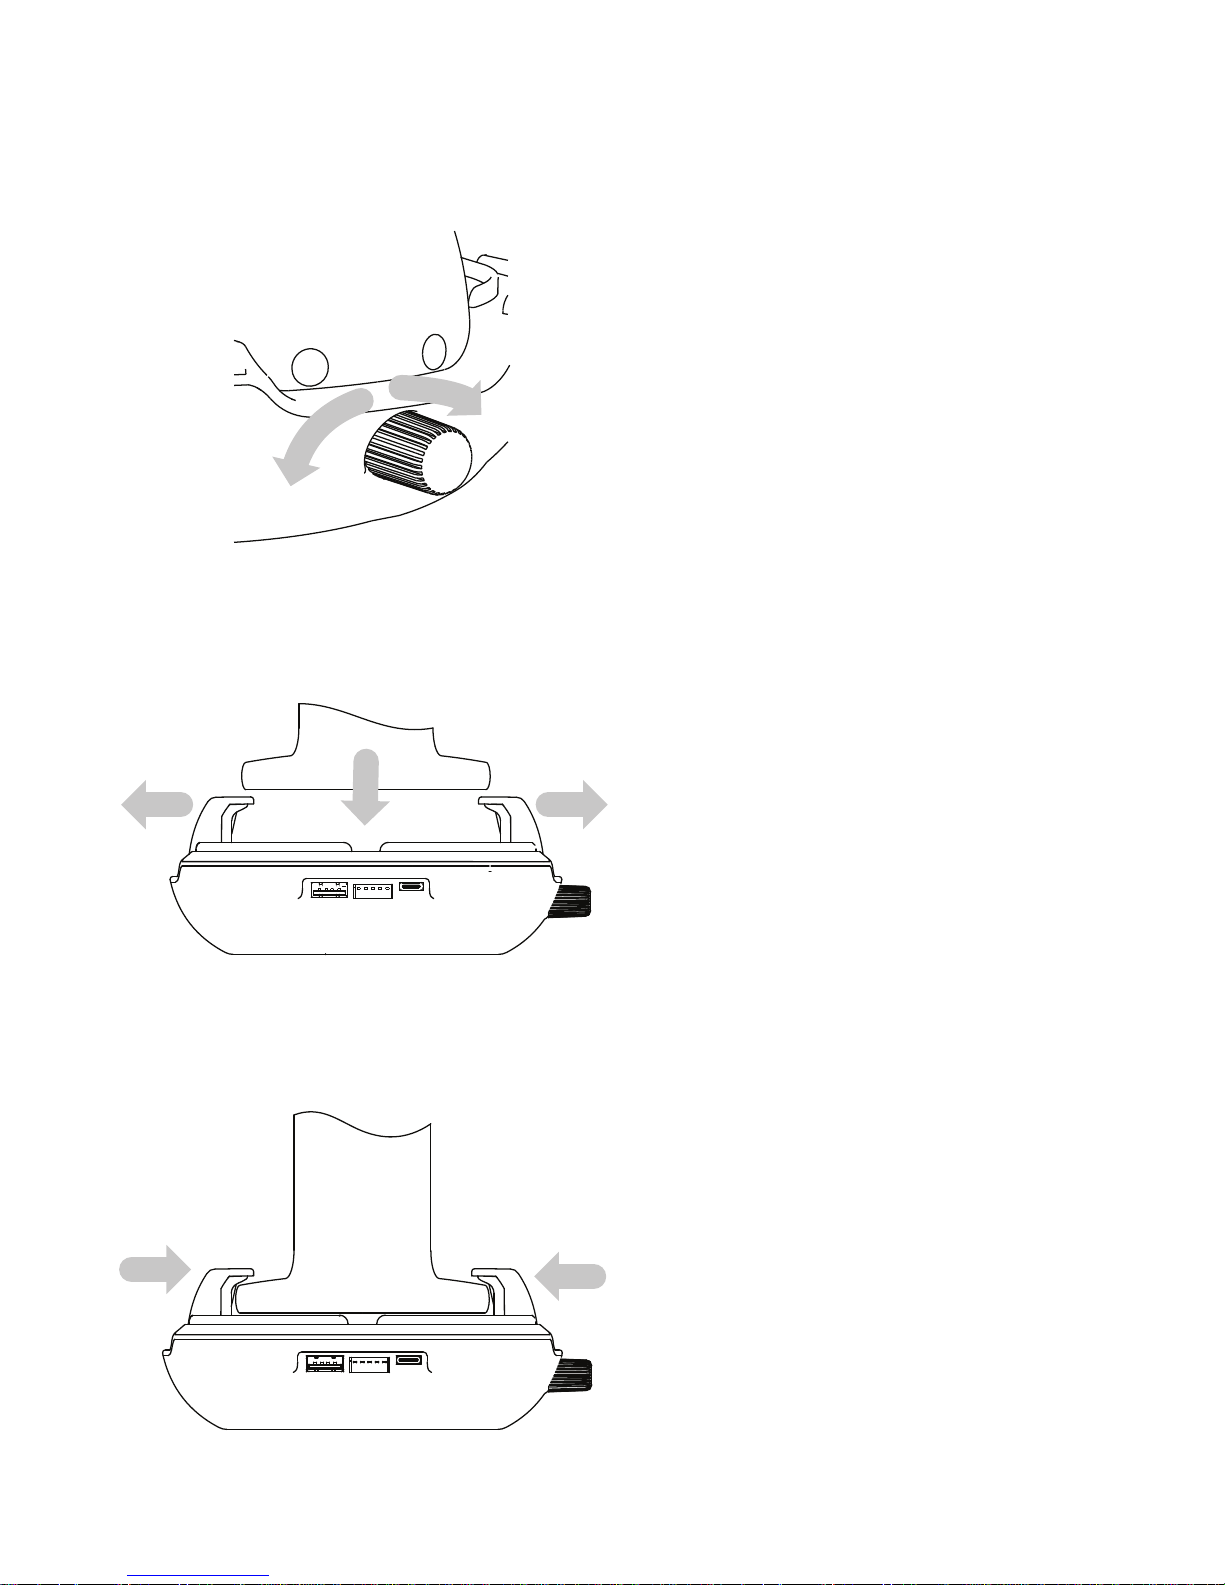
Quickstart 1: Securing Base to Glass
Turn the screw mechanism
to open the clamps.
Lower the Glass between
the open jaws and press
firmly against the base.
Close the jaws around the
Glass base and test for
a secure fit.
3
3
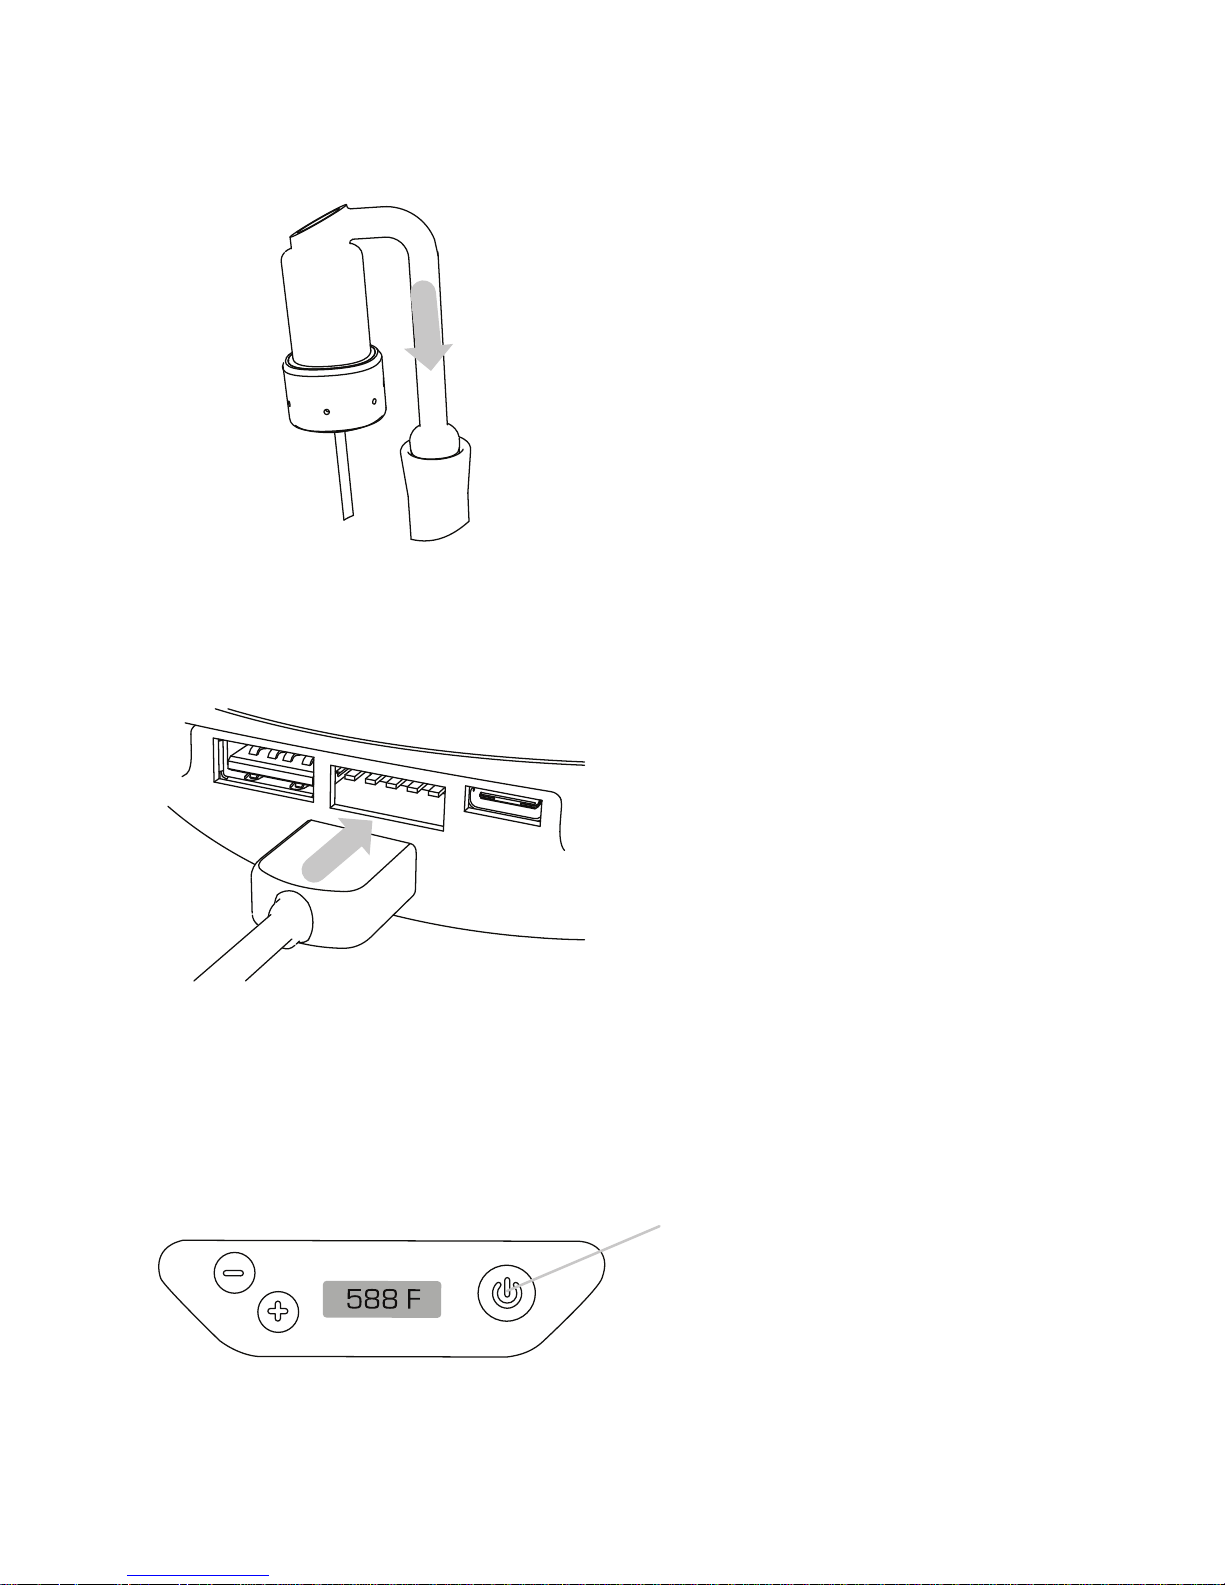
Quickstart 2: Coupling Quartz & Power
Plug the ceramic heating
element cable into the
base unit.
Press and hold GO Button
for 3 seconds to power ON.
Blue LED turns ON.
When the LED turns Green.
Its GO Time!
4
Couple the quartz
vaporization element
with the Glass.
 Loading...