

Hydro Tek HN, NATURAL GAS HEAT LINK Operation & Maintenance Manual

OPERATION MANUAL $15.00
OPERATION & MAINTENANCE
MANUAL
IMPORTANT: READ BEFORE OPERATING
HIGH PRESSURE WASHERS
NATURAL GAS & PROPANE
HN SERIES
NATURAL GAS HEAT LINK SERIES
HYDRO TEK SYSTEMS, INC.
10418 Enterprise Drive
Redlands, CA USA 92374
PH(909)799-9222 FAX(909)799-9888
Website: www.hydroteksystems.com
© 2003 Hydro Tek Systems, Inc. 8/2004

TABLE OF CONTENTS 3
INTRODUCTION ............................................................................................................................... 4
Statement of Warranty
SAFETY WARNINGS ......................................................................................................................... 5-6
Electrical Precautions
Fire Precautions
Ventilation Precautions
Spray Injection Precautions
Personal Hazard Precautions
OPERATING INSTRUCTIONS ......................................................................................................... 6-7
Before Start Up
Operation
Shut Down & Antifreeze Protection
SYSTEM INFORMATION ................................................................................................................. 8-11
Power System ........................................................................................................................... 8
Electric Motor
Power Transmission System - direct, & belt drive
Pumping System ...................................................................................................................... 8
Pump
Unloader and Pressure Relief Valve
Chemical Injection System - inlet & downstream injection
Water Supply - direct
Heating System ........................................................................................................................ 9
Coil/Heat Exchanger System - temperature & flow switch controls, lights
Natural Gas Burner
Pressure Delivery System ...................................................................................................... 10-11
Discharge Hose
Gun/Wand Assembly - trigger gun, wand, & quick coupler
Nozzles - spray nozzles and steam nozzle
Accessories - wet sandblaster, turbo nozzle, hoses and reels, wands, injectors............12
TROUBLE SHOOTING GUIDE ........................................................................................................13-14
SERVICE RECORD ........................................................................................................................... 15
SERVICE/MAINTENANCE INFORMATION ..................................................................................... 16
WIRING DIAGRAMS BY SERIES................................................................................................Enclosed
EXPLODED VIEW BY SERIES ...................................................................................................Enclosed
TEST SPECIFICATIONS ...........................................................................................................Enclosed
WARRANTY CARD .... ................................................................................................................Enclosed
INSTALLATION INSTRUCTIONS.........................
..........................................................................Enclosed

4 INTROD
INTRODUCTION:
The employees and management of HYDRO TEK SYSTEMS, INC. thank you for selecting our products. The production and quality
assurance personnel have taken the greatest care in the assembly process to ensure that your new High Pressure Cleaner is of a quality
and standard acceptable to both you the customer and us the manufacturer.
This operators manual was compiled for your benefit. By studying and following the safety, installation, operation, maintenance,
and troubleshooting information contained within, you can look forward to many years of trouble free service from your equipment.
Upon receipt of the equipment, please inspect for any concealed freight damage. Should you find damage has occurred during
shipping, do not return the damaged merchandise to Hydro Tek, but file a claim immediately with the freight carrier involved.
Please locate the enclosed warranty registration card. Determine Series of your machine (Ultimate Line models include blue labeling and
extra operational features. Pro Line models include red labeling and the model numbers end in "H" or "C".) Fill out and return it to activate
the warranty on your machine. Also enclosed are installation instructions.
Please note that the owner/user has certain obligations under the terms of the warranty for this equipment, and as such you are
encouraged to always have every person who will operate the equipment, read and become familiar with the contents of this owners
manual, prior to their using this equipment.
Contact your AUTHORIZED HYDRO TEK DEALER or a trained HYDRO TEK SYSTEMS service engineer if problems occur, or if
installation is required.
THERE ARE NO USER SERVICEABLE COMPONENTS ON THIS EQUIPMENT.
ULTIMATE LINE LIMITED WARRANTY
FIVE YEARS PARTS + ONE YEAR LABOR: Cat Pump
crankcase, heater coil (wet end/freezing excluded)
THREE YEARS PARTS + ONE YEAR LABOR: Fuel, water
tanks, stainless steel panels, frames (finish excluded)
ONE YEAR PARTS + ONE YEAR LABOR: Electrical
componants and electric motors
90 DAY PARTS, NO LABOR: Accessories, balance of
components, and wear items but not limited to unloaders,
hoses, wands, guns, nozzles, quick couplers, filters, belts,
seals, o-rings and pump packings
PRO LINE PARTS WARRANTY
ONE YEAR LIMITED PARTS WARRANTY- Provided by Hydro
Tek on Pro Line machines excluding normal wear items
listed below.
THREE YEAR COIL WARRANTY - Three year parts warranty.
Labor, freezing & descaling excluded.
FIVE YEAR PUMP WARRANTY- Up to five year limited
warranty on crankcase of the pump provided by the
respective pump manufacturer.
90 DAY WARRANTY ON OPTIONAL ACCESSORIES
STATEMENT OF WARRANTY:
Hydro Tek Systems, Inc. (Hydro Tek) warranties the Ultimate and Pro Line pressure washers to be free from defects
in material and workmanship for the time periods stated above calculated from the date of the original retail purchase.
Hydro Tek will make the required repairs, or at Hydro Tek's option, provide replacement components if found to be
defective in material or workmanship in the reasonable judgment of Hydro Tek. This warranty only extends to the original
retail purchaser, and is subject to the exclusions shown below. Any parts replaced under this warranty will resume the
remainder of the parts warranty period.
This Warranty does not apply to and Hydro Tek is not responsible for:
1. Normal wear items such as Unloader Valves, Discharge Hoses, Guns, Wands, Nozzles, Quick Couplers, Brushes,
Filters, Belts, Seals, O-rings, and Packings.
2. Labor charges or costs related to the removal of the defective part, field labor charges, transportation to service
center and costs to return it to Hydro Tek, or service charges for scheduled maintenance or any adjustments.
3. Damage due to freezing, abrasive fluids, chemical deterioration, and scale build up (finish on frames and metal
excluded).
4. Damage from fluctuation in electrical or water supply.
5. Damage resulting from failure to follow manufacturer's maintenance instructions.
6. Damage resulting from misuse, neglect, accidents, modifications, alterations, abuse, or incorrect installation.
7. Products operated outside of specified limits or intended use as specified in the operation manual.
8. Repairs made necessary by the use of parts which are either not obtained from or approved by Hydro Tek.
9. Actions or inactions by any Hydro Tek distributor giving rise to or causing a warranty exclusion or promise of additional
warranty.
10. Warranty on engines, motors, and pumps, which are warranted by their respective manufacturers and are serviced
through the manufacturer's service centers.
IMPORTANT SAFETY WARNINGS: SAVE THESE INSTRUCTIONS 5
Do not spray high pressure water on to the machine.
8. Disconnect power supply before making any repairs or adjustments.
LIMITATION OF LIABILITY
Hydro Tek's responsibility with respect to claims is limited in making
the required repairs or replacements. Hydro Tek reserves the right to
change or improve the design of any of its products or illustrations
without assuming any obligation to modify any product previously
manufactured.
THERE IS NO OTHER EXPRESSED WARRANTY.
This supersedes any and all previous warranty statements for
products purchased after June 1, 2001. Hydro Tek is not liable for
indirect, incidental or consequential damages including but not limited
to: The cost of substitute equipment, loss of revenue, pecuniary expense
or loss, or any damages whatsoever arising out of the use or inability to
use a Hydro Tek product. Hydro Tek disclaims all implied warranties,
including those of merchantability and fitness for use or a particular
purpose. It is the buyer's responsibility to ensure installation and use
of Hydro Tek products conforms to local codes.
Proof of purchase date required to obtain warranty.
ELECTRICAL PRECAUTIONS:
1. Observe all State, Local, and National codes for the installation
of your electrically powered washer.
2. For a grounded product rated 250 volts, single phase, or less: This
Product Is Provided With A Ground Fault Circuit Interrupter Built
Into The Power Cord Plug. If Replacement Of The Plug Or Cord Is
Needed, Use Only Identical Replacement Parts.
3. GROUNDING INSTRUCTIONS:
Cord Connected, Grounded Products:
This product must be grounded. If it should malfunction or breakdown,
grounding provides a path of least resistance for electric current to reduce
the risk of electric shock. This product is equipped with a cord having
an equipment-grounding conductor. The plug must be plugged into an
appropriate outlet that is properly installed and grounded in accordance
with all local codes and ordinances.
Danger - Improper connection of the equipment-grounding conductor can result in a risk of electrocution. Check with a qualified
electrician or service personnel if you are in doubt as to whether the
outlet is properly grounded. Do not modify the plug provided with
the product, do not cut off the ground pin - if it will not fit the outlet,
have a proper outlet installed by a qualified electrician. Do not use
any type of adaptor with this product.
4. To comply with the national electric code, this pressure washer
should only be connected to a receptacle that is protected by a ground
fault circuit interrupter (GFCI).
5. EXTENSION CORDS:
Use of extension cords is not recommended.
6. NEVER operate an electrically powered washer after it has tripped
a breaker or a ground fault device without having the reason
for the trip determined by an authorized service engineer or
competent electrician.
7. Use only in a dry area. Do not handle electrical cords and plugs when
they are wet, when your hands are wet, or when standing in water.
9. Unit must be grounded. A grounding lug is provided on the machine.
FIRE PRECAUTIONS:
1. Propane bottle equipped units must have the bottle removed from the
unit and placed 10 feet away before start-up.
2. NEVER operate this equipment in the presence of flammable vapors,
dust, gases, or other potentially combustible materials.
3. AVOID contact with the exterior of the coil/heat exchanger assembly and
exhaust stack to prevent burns.
4. DO NOT store fuel or other flammable materials near the burner or any
other open flame.
5. To avoid burns NEVER stand over burner exhaust outlet . Burner may
start at any time once power is turned on.
6. Do not touch burner exhaust port, mufflers, or wands/hoses as
contact may cause burns. Use designated gripping areas.
7. Burner on/off switch must be placed in the OFF position when
the pressure washer is not being used.
VENTILATION PRECAUTIONS:
1. DO NOT run burner in an enclosed area. Exhaust gases contain carbon
monoxide, an odorless deadly poison.
2. Observe all State, Local, and National codes providing for indoor
use or installation of this unit.
3. If natural gas or propane odor is present, and/or unit does not light,
turn of all controls, close gas cock and call your gas company for
service.
4. Know the detergents you are using. Read and follow the
directions on the detergent labels.
PERSONAL HAZARD:
1. DO NOT remove belt guards or electrical covers while motor is
operating or when the power is connected.
2. DO NOT move engine powered machinery while the engine is
operating.
2. DO NOT lock the trigger on the gun valve in the on position.
3. DO NOT exceed recommended operating pressure or temperature.
4. KEEP HANDS CLEAR OF BELTS AND MOVING PARTS.
5. Do not operate the product when fatigued or under the influence of
alcohol or drugs.
6 SAFETY WARNINGS/OPERATING
SPRAY INJECTION PRECAUTION:
INSTRUCTIONS
1. Fluid from high pressure spray or leaks can penetrate the skin
and cause serious injury. If any fluid appears to penetrate the
skin get emergency medical help at once. DO NOT treat as a
simple cut. Tell the physician exactly what fluid was injected. For
treatment instructions have the physician call your local poison
center. Without proper treatment, complications can develop.
2. WARNING - Risk of injection or severe injury to persons - Keep
clear of nozzle. DO NOT direct discharge stream at persons. This
machine is to be used by trained operators. Keep operating area
clear of all persons.
CAUTION: Hot discharge fluid - DO NOT touch or direct
discharge stream at persons. Gun kicks back - Hold with both
hands. Stay alert - Watch what you are doing.
3. Always wear protective eye goggles when operating the
equipment. Additional protective items such as a rubber suit
and boots, gloves, and respirators are advisable, particularly
2. NEVER point the spray gun at yourself or other persons. Do
not lock the trigger in the "ON" position. Use only 48" long
wands on machines producing over 3000 psi. Also, only use
straight wands or wands with a bend of 10° or less.
3. NEVER put your hands or fingers over the spray tip or over
leaks which may occur on the discharge hose or other
components.
4. Always wear protective eye goggles when operating the
equipment. Additional protective items such as a rubber
suit, gloves, and respirators are advisable, particularly
when using cleaning detergents with a corrosive content.
5. Know the detergents you are using. Read and follow the
directions on the detergent labels.
PERSONAL HAZARD:
1. DO NOT remove belt guards or electrical covers while engine
is operating or when the power is connected.
2. DO NOT lock the trigger on the gun valve in the on position.
3. DO NOT exceed recommended operating pressure or temperature.
4. KEEP HANDS CLEAR of Belts: Some units equipped with
auto on may start at any time when power is connected.
BEFORE START UP:
HN SERIES
1. CHECK OIL AND FLUID LEVELS: Check pump oil by
locating the oil view window and fill to the red dot.
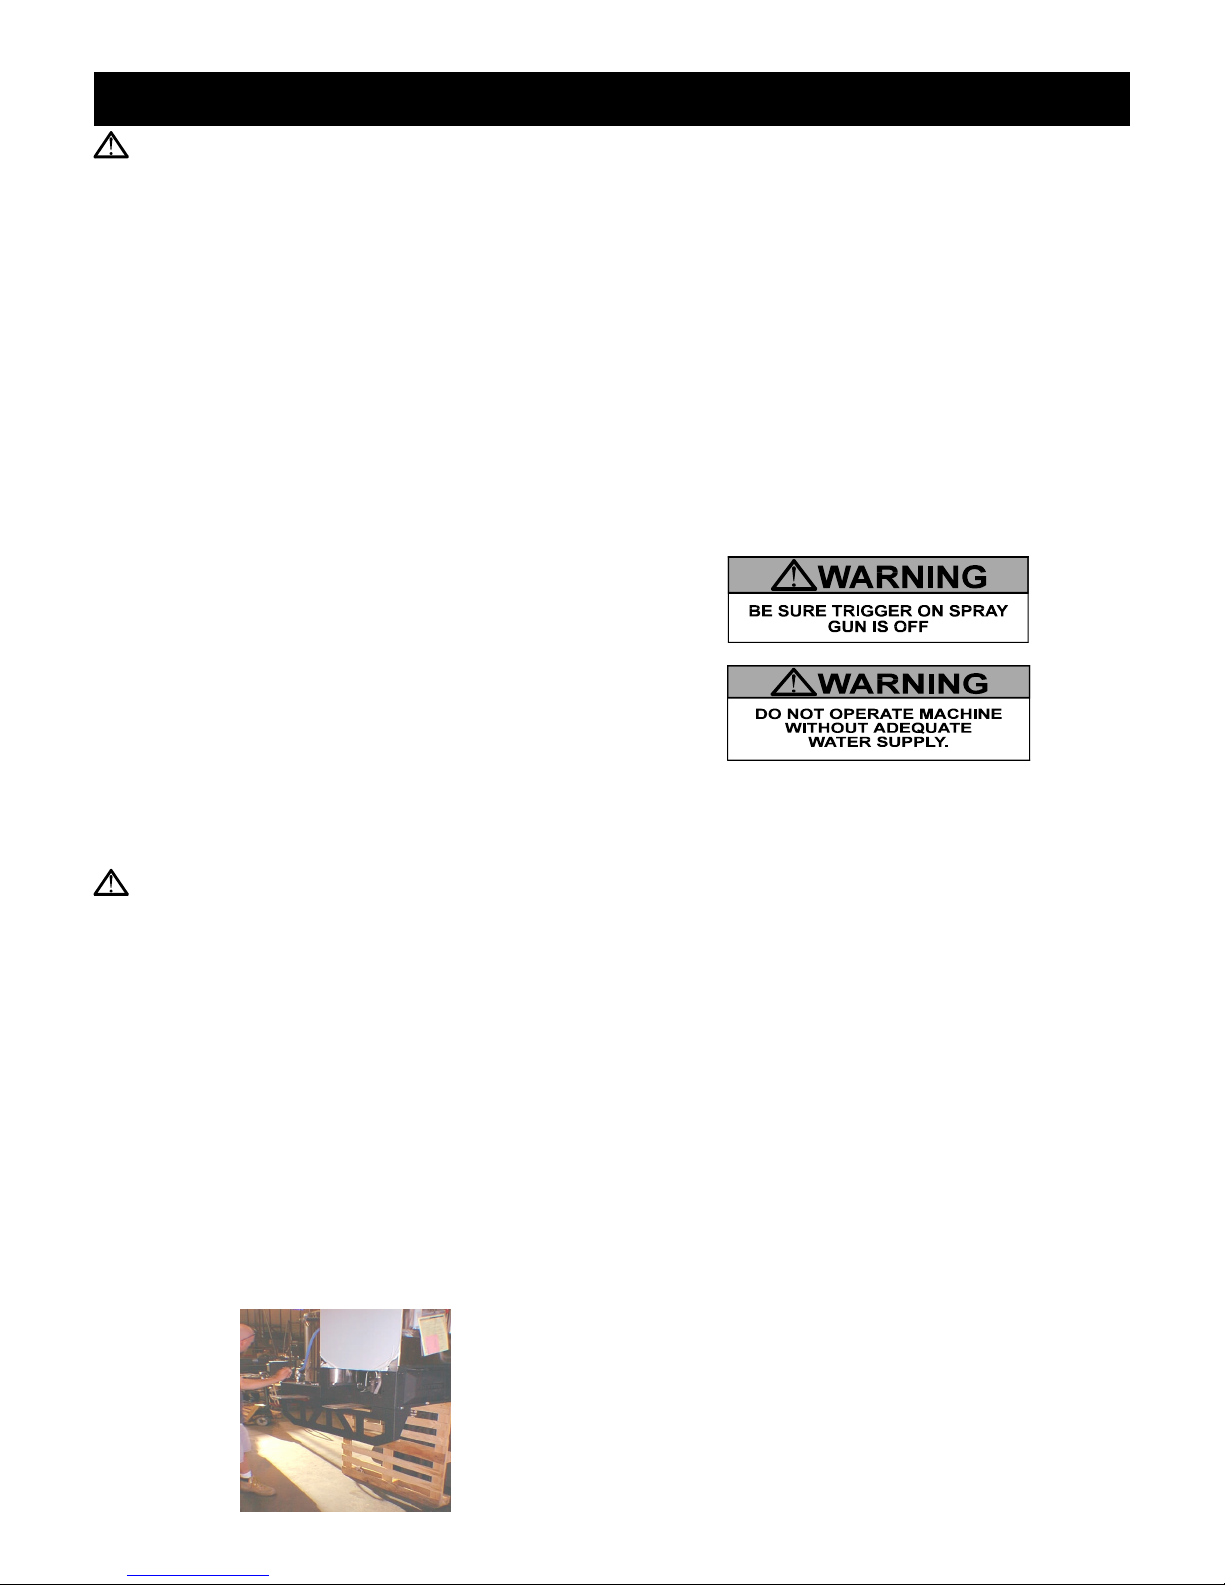
2. INSTALL LEGS TO BASE. Legs are required for safe pilot
operation and reduce riskof fire. The HN Legs include
forklift fork clearance slots to allow leg installation after
the HN is removed from the pallet. To reduce risk of
serious injury, always block load mechanism in place
before working:
3. CONNECT HOSE AND GUN ASSEMBLY
4. CONNECT THE WATER SUPPLY & TURN WATER ON:
Maintain an adequate supply of water using a ¾" I.D.
steel pipe with a pressure between 25 and 60 PSI. Burner
power switches should be off before starting. Do not run
dry for longer than one minute.
5. NATURAL GAS/PROPANE GAS: Connect gas supply
using appropriate shut off cock and recommended gas
plumbing procedures, including the use of a soap or leak
detection solutionon all fittings.(Contact your gas
supplier). Note that a Draft Diverter is not included as a
standard feature with the machine. Draft diverters are
required on HN models for better heating efficiency and
improved pilot ignition when cycling gun.Gas regulator,
gas and water supply lines are not included with the
machine.
OPERATION:
1. STARTING:
Connect power supply and ensure that all wiring connec-
tions and voltages are of sufficient rating to comply with the
equipments requirements. Turn pump power switch on.
Press "Reset" button to start motor if equipped with a Wash
Station Remote.
2. CONNECT SPRAY NOZZLE: Connect Nozzle securely to
spray wand and/or close pressure adjusting knob on dual
wand, hold gun firmly, squeeze trigger for high pressure spray.
3. START BURNER: Turn burner switch on. Unit is equipped
with an automatic lighting pilot with a 90 second lockout.
If burner does not light within 90 seconds turn burner
switch off then on again to start ignition sequence over.
Turn the thermostat to the desired temperature. Squeeze
the trigger on the spray gun and the burner will begin
heatingthe water. It will stop firing whenever the water
spray is off or if the temperature setting is exceeded.
4. STEAM: Insert steam nozzle and turn thermostat to 250º
steam setting. The steam nozzle is sized for approximately
25% less water volume than the hot water mode.
5. WASH STATION REMOTE: Install station on the wall at
a convenient wash site. ("R" models only) Control
switches in the Wash Station Remote will over-ride and
operate the HN Pump, Burner, and Soap Valve functions.
Soap (Chemical) Valve at machine must be preset before
soap switch at remote is activated. WARNING: Do not
leave soap switch in the "ON" position when soap is
depleted. Pressure drop will occur due to air intake and
harm system components. Remote systems have an Auto
off feature with an adjustable timer that can be set to your
preference.
 Loading...