

Page 1
Taurus CP-300 Single Pump
!
The Taurus CP-300 dispenses liquid chemicals with a high degree
of accuracy and repeatability. A separately wired remote provides a
convenient way to start the cycle. Simple mounting, setup, and low cost
make it ideal for single-product applications.
General Specifications
Feature Range
Pump delay time 0 – 30 min. (5 min. increments)
Pump run time 0 – 20 min. (real time)
Pump lockout time 0 – 30 min. (5 min. increments)
Pump rate Approx. 8 ounces / minute
Wall-mounted transformer 24 VDC, 1 A
Hardwired remote with 2 buttons and 3 LEDs
WARNING
ADVERTENCIA:
The CP-300 should be installed
by a qualified technician only, in
accordance with all applicable
electrical and plumbing codes.
El equipo CP-300 debe ser
instalado sólo por técnicos
calificados y de acuerdo con
todas las normas de plomería y
eléctricas que apliquen.
Complete Package Contents
Remote
Taurus CP-300 Pump, Complete
P/N 00-08879-00,
(Includes Cat 5e Cable)
Wall Mount Kit
P/N 13-08607-00
Adhesive-backed
Fasteners
P/N 36-06158-16025
Wall-Mounted Transformer
(100-240 VAC)
P/N 10096229
This Quickstart Guide
P/N 20-09208-00
PN-20-09208-00 F © Hydro Systems Company, Inc. 2015 HydroSystemsCo.com Toll Free: 1.800.543.7184 1
Page 2
Installation
Co
Nut (lef
Discharge Application
!
STEP 1: Install the wall-mounted pump and remote unit
Install the Taurus CP-300 close to product containers (6.5 ft. / 2 m.) and away
from direct sources of steam, water spray, and high temperatures.
1. Attach mounting bracket to solid surface (drywall, masonry, wood,
cement, cinder block) with provided screws. Use appropriate hardware
for the material, e.g., metal anchors in cement or cinder block.
2. Slide the Taurus CP-300 down onto bracket and press firmly to lock
in place.
3. Mount remote unit on a clean and dry surface using adhesive-backed
fasteners (provided).
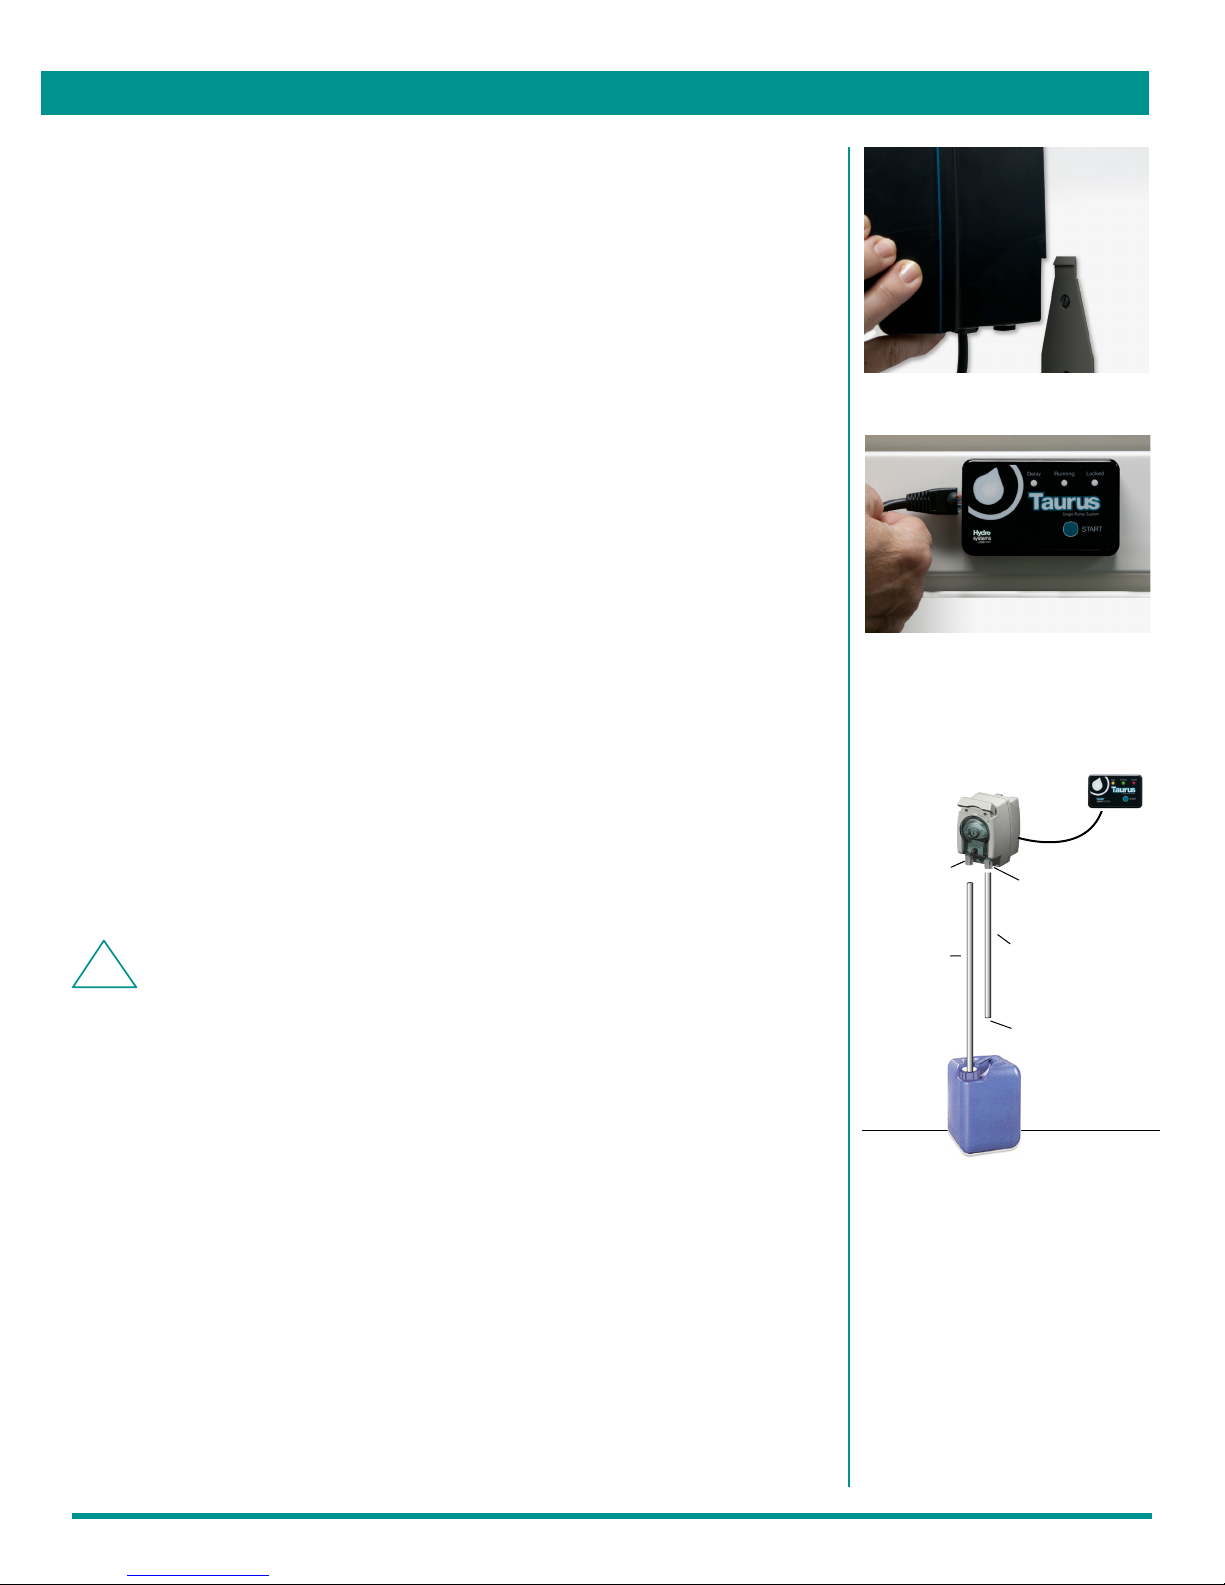
4. Connect the Taurus CP-300 to the remote using the Cat 5e cable
as shown.
STEP 2: Install the supply and discharge tubing
Step 1.1: Slide pump down onto
mounting bracket
Supply Tubing
1. Cut tubing and route from product container to intake (left) pump tube.
Slip tubing through compression nut into fitting and tighten.
2. Place other end of tubing into the product container.
Discharge Tubing
1. Cut tubing and route from discharge location to outflow (right) pump tube.
2. Slip tubing through compression nut into fitting and tighten.
WARNING /ADVERTENCIA:
Disconnect all power to the dispenser during installation, service, and/or any time
pump cabinet is opened.
Desconecte toda la corriente eléctrica al dosificador durante la instalación, servicio
y / o siempre que se abra el gabinete de la bomba.
Step 1.4: Connect Cat 5e cable
to remote
Remote
Cat 5e Cable
Intake Tube
mpression
t side)
Product
Supply
Tubing
Step 2: Supply Tubing and
Discharge Tubing
Discharge Tube
Compression Nut
(right side)
Product
Discharge
Tubing
To
PN-20-09208-00 F © Hydro Systems Company, Inc. 2015 HydroSystemsCo.com Toll Free: 1.800.543.7184 2
Page 3
Installation
!
STEP 3: Install the wall-mounted transformer
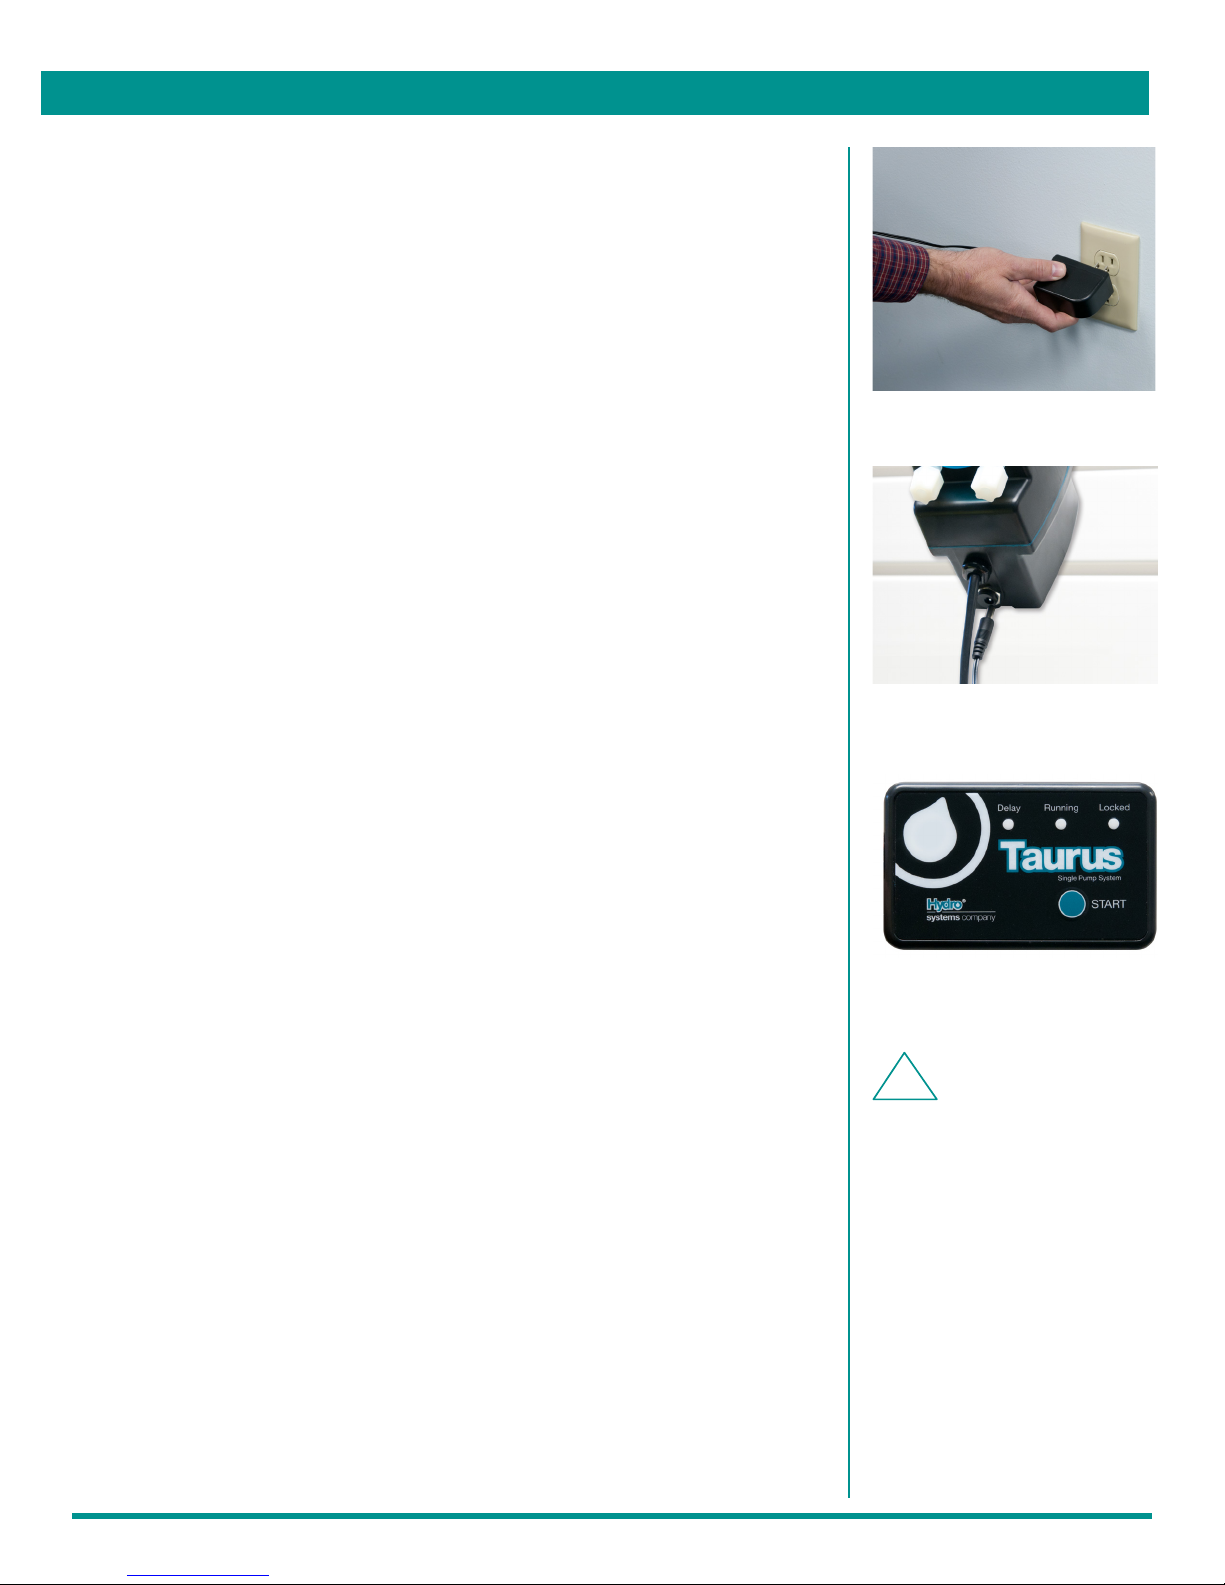
1. Plug the wall transformer into an AC outlet.
2. Plug the barrel adapter into the Taurus CP-300 power connector at the
bottom of pump unit.
The green LED on the pump will turn on, indicating power and the remote
LEDs will flash the firmware revision.
NOTE: Use only the transformer specified from the manufacturer to
ensure proper operation. Usage of transformer must conform to local
laws and codes.
Step 3.1: Plug wall transformer into
AC outlet
STEP 4: Prime the pump unit
1. Press and hold the START button on the remote unit for 10 seconds to
start priming.
2. When the tubing is free of air, release the button to stop priming.
Step 3.2: Plug adapter into pump
Step 4.1: Press and hold START
button for 10 seconds
WARNING
ADVERTENCIA:
Always verify power source
voltage with volt meter.
PN-20-09208-00 F © Hydro Systems Company, Inc. 2015 HydroSystemsCo.com Toll Free: 1.800.543.7184 3
Siempre verifique la
alimentación de corriente con
un voltímetro.
Page 4

Programming
The Taurus CP-300 is programmed using the Taurus CP-300 Programmer Remote.
The remote’s two-button interface contains the following features:
LED indicators:
Three colored LED indicators illuminate independently or in combination
to identify the specific programming function in progress:
Yellow LED: Program Start Delay Time / review Start Delay Time
settings
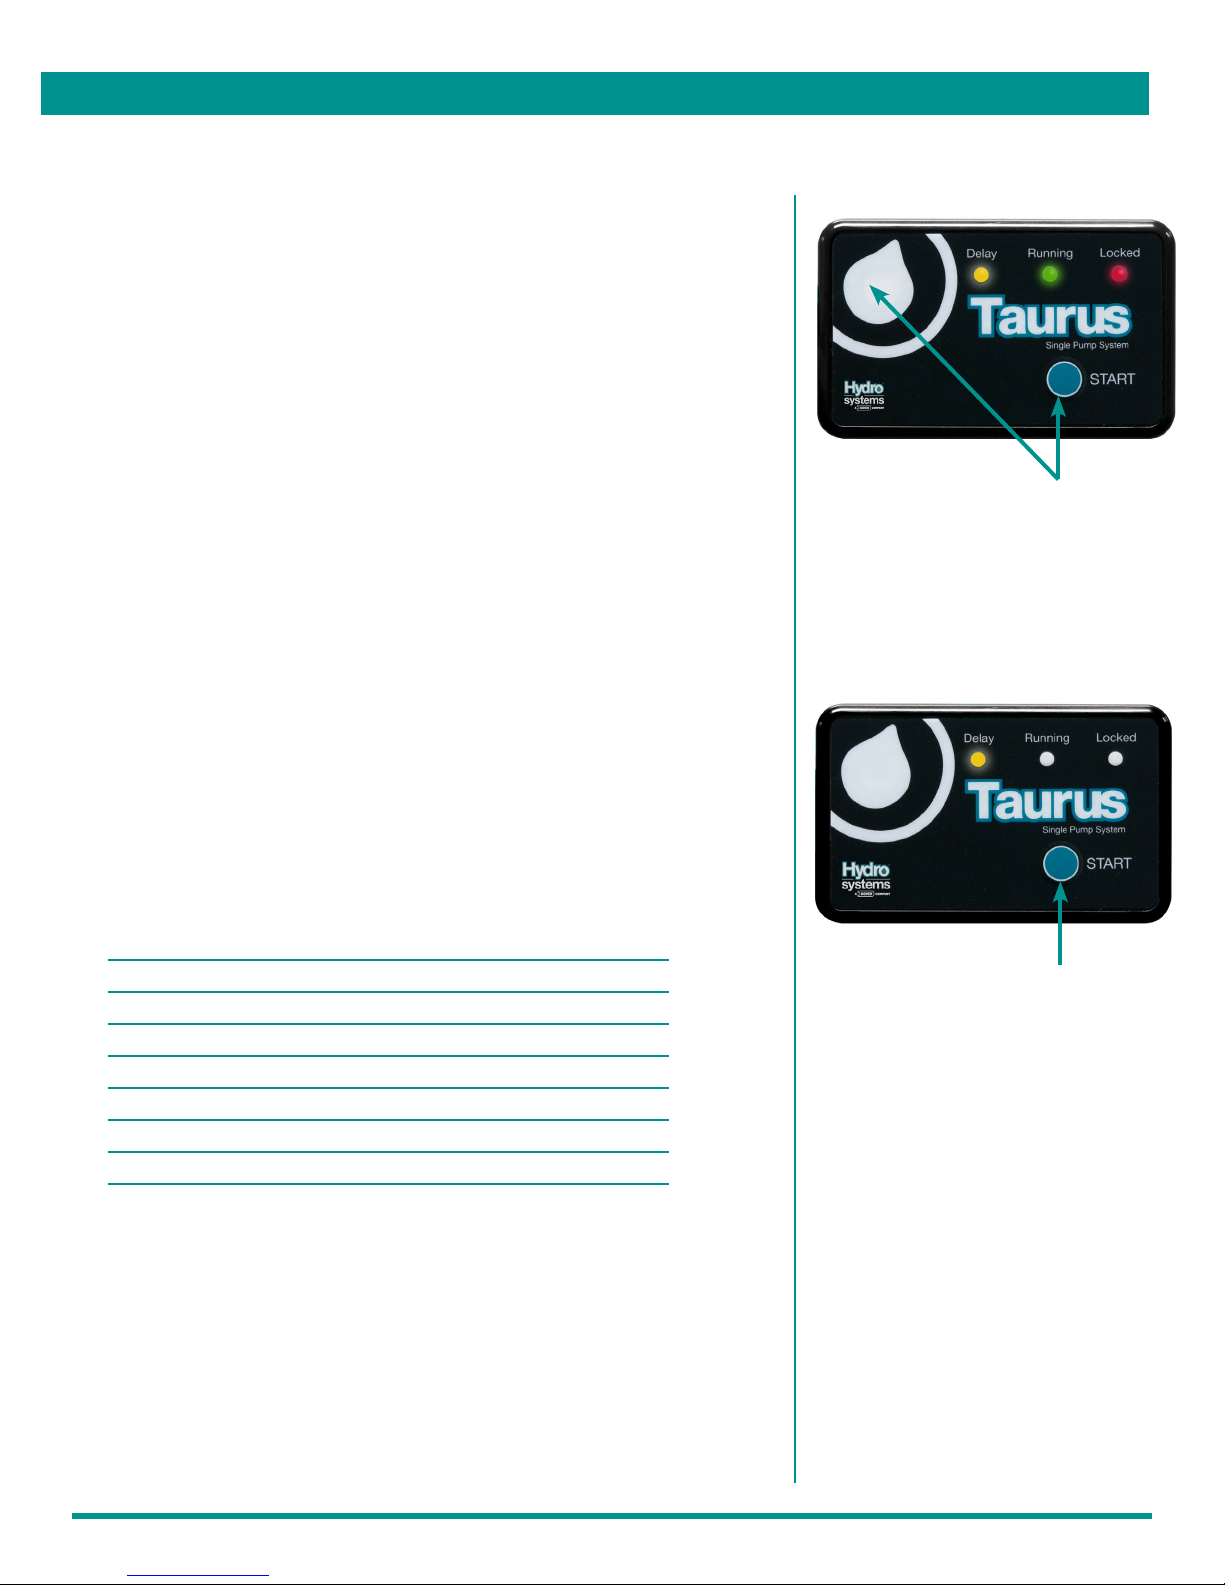
PROG SELECT button:
The PROG SELECT button is located
under the water-drop icon on the
remote interface
Green LED: Program pump Run Time / review
Run Time settings
Red LED: Program pump Lockout
Period / review Lockout
Period settings
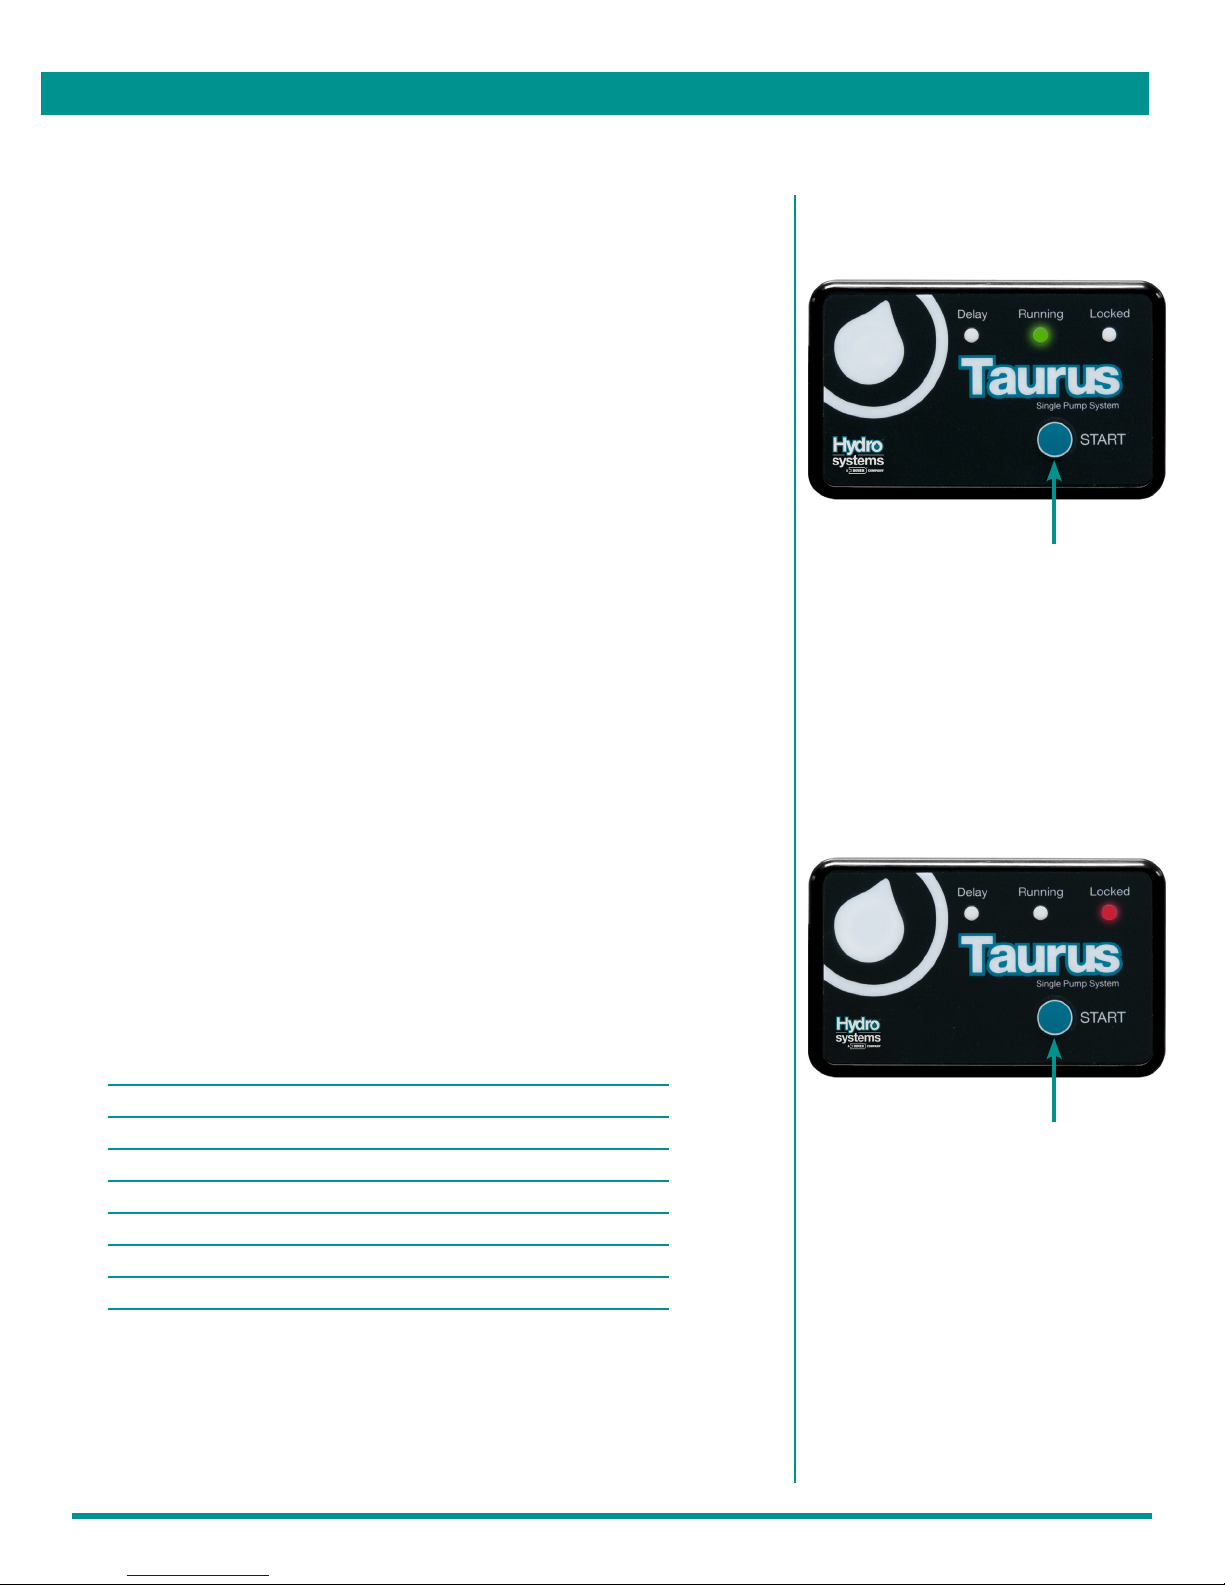
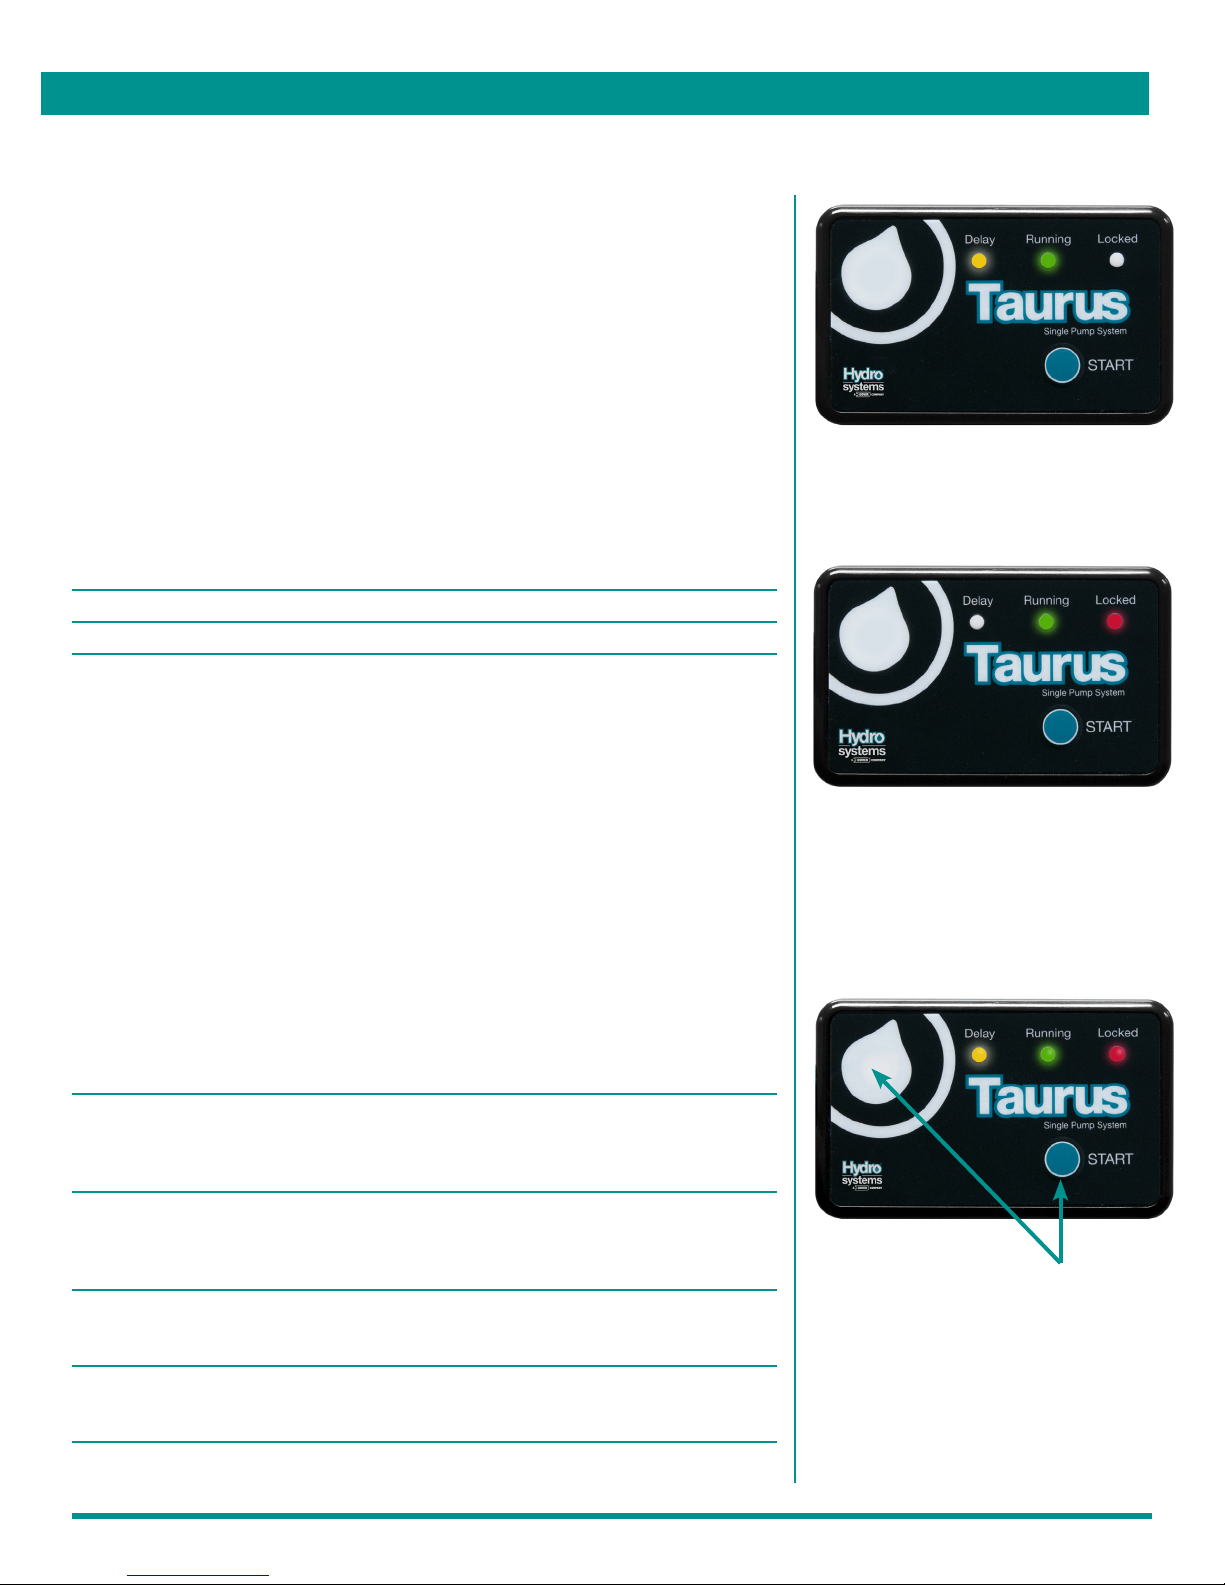
The three remote LEDs indicate the pump’s state of operation as follows:
Remote LED Indicator State of Operation
Flashing green Activated (button press confirmed)
Yellow Delay dispensing / pumping
Green Dispensing / pumping
Red Complete and locked
No LED Idle
Scrolling LEDs Pump cycle has been aborted due to pressing
the remote button while the pump is in delayed
start mode or while the unit is dispensing
NOTE: Please refer to the following instructions for more information on LED indicator functionality.
PN-20-09208-00 F © Hydro Systems Company, Inc. 2015 HydroSystemsCo.com Toll Free: 1.800.543.7184 4
START button:
The START button activates the pump and is also used in
conjunction with the hidden PROG SELECT button to program the
pump
Page 5
Programming
Enter Programming Mode
1. Press and hold the START and PROG SELECT buttons
simultaneously for 10 seconds. All three LED indicators will
illuminate to confirm that programming mode has been activated.
NOTE: Once in programming mode, pressing the PROG SELECT
button will allow you to sequence through the four programming
options:
• Start Delay Time
• Run Time
• Lockout Period
• User Prime
Each of these functions is described below.
Enter programming mode by pressing and
holding START and PROG SELECT buttons
Programming the Start Delay Time
1. Once in programming mode, press the PROG SELECT button once.
The yellow LED indicator will illuminate.
2. With the yellow LED illuminated, press the START button once for
every five-minute increment delay you wish to add. Each press is
confirmed by a yellow LED flash. Please refer to the table below
to determine the number of presses needed for your desired time
increment.
Start Button Presses Time (min)
1 0
2 5
3 10
4 15
5 20
6 25
7 30
NOTE: The LED will not flash if the limit has been met.
Yellow LED illuminated
Press START button once for every
five-minute increment delay
PN-20-09208-00 F © Hydro Systems Company, Inc. 2015 HydroSystemsCo.com Toll Free: 1.800.543.7184 5
Page 6
Programming
Programming the Pump Run Time
1. Once the Start Delay Time has been programmed, press the PROG
SELECT button again. The green LED indicator will illuminate.
2. Press the START button to start the Run Time.
• The pump will turn on
• This program runs like a stopwatch; once you press START, the
stopwatch begins timing the Run Time
• The green LED will flash every one second
• A pump Run Time can be up to 20 minutes
3. Press the START button again to stop the Run Time.
• The pump will turn off
• The green LED will remain on
Green LED illuminated
Press START button to start Run
Time
Press START button again to stop
Run Time
Programming the Pump Lockout Period
1. Once the pump Run Time has been programmed, press the PROG
SELECT button again. The red LED indicator will illuminate to
indicate you can program a Lockout Period.
2. With the red LED illuminated, press the START button once for
every five-minute lock-out period you wish to add. Each press is
confirmed by a red LED flash. Please refer to the table below to
determine the number of presses needed for your desired time
increment.
Start Button Presses Time (min)
1 0
2 5
3 10
4 15
5 20
6 25
7 30
Red LED illuminated
Press START button once for every
five-minute lock-out period
NOTE: If, during normal operation, power to the dispenser is
interrupted while in a Lockout Period, the balance of the Lockout
Period will continue when power is restored.
PN-20-09208-00 F © Hydro Systems Company, Inc. 2015 HydroSystemsCo.com Toll Free: 1.800.543.7184 6
Page 7
Programming
Programming User Prime
1. Once the Pump Lockout Period has been programmed, press the
PROG SELECT button again.
The green and yellow LED indicators will illuminate to indicate the
User Prime is enabled.
2. Press the START button again to disable the User Prime. The green
and red LED indicators will illuminate.
NOTE: In other words, the green LED indicator stays on, while the
yellow and red LED indicators toggle with each press of the START
button to indicate whether the User Prime is enabled or disabled.
The effects of User Prime during normal operation are as follows:
User Prime state Green LED indicator during START button press
Enabled Turns on and flashes off quickly
Disabled Stays off but flashes on quickly
User Prime: Green LED stays on while
yellow and red LEDs toggle with each
press of START button (indicating User
Prime enabled or disabled)
Saving the Programmed Settings
1. To save the programmed settings, press and hold the PROG
SELECT button first, then press and hold the START button for
2 seconds.
• All three LED indicators will illuminate to indicate the
programmed settings have been saved
• A program review will be conducted as follows:
Program Feature Review Indicator
Start Delay Time The yellow LED will turn on and flash for each five minute increment for which the Start Delay Time was
programmed; no flash indicates 0 pump Start
Delay Time.
Run time The green LED will generate a long flash for each
number of minutes, followed by quick flashes for
each remaining second for which the Run Time
was programmed
Lockout Period The red LED will turn on and flash for each five-
minute increment for which the Lockout Period was
programmed. No flash indicates 0 Lockout Period.
User Prime The green and yellow LED indicators will illuminate if
the User Prime is enabled; the green and red LED
indicators will illuminate if the User Prime is disabled
Press and hold the PROG SELECT button
first, then press and hold the START button
for 2 seconds. All three LED indicators will
illuminate.
PN-20-09208-00 F © Hydro Systems Company, Inc. 2015 HydroSystemsCo.com Toll Free: 1.800.543.7184 7
Page 8
Programming
NOTES:
• To exit programming mode without saving the settings, allow 20 seconds to lapse without pressing any
buttons.
• To restore factory defaults, press and hold the START button and the PROG SELECT button
simultaneously for ten seconds while powering up the unit. All three LED indicators will flash on and off
twice to confirm that factory defaults have been restored.
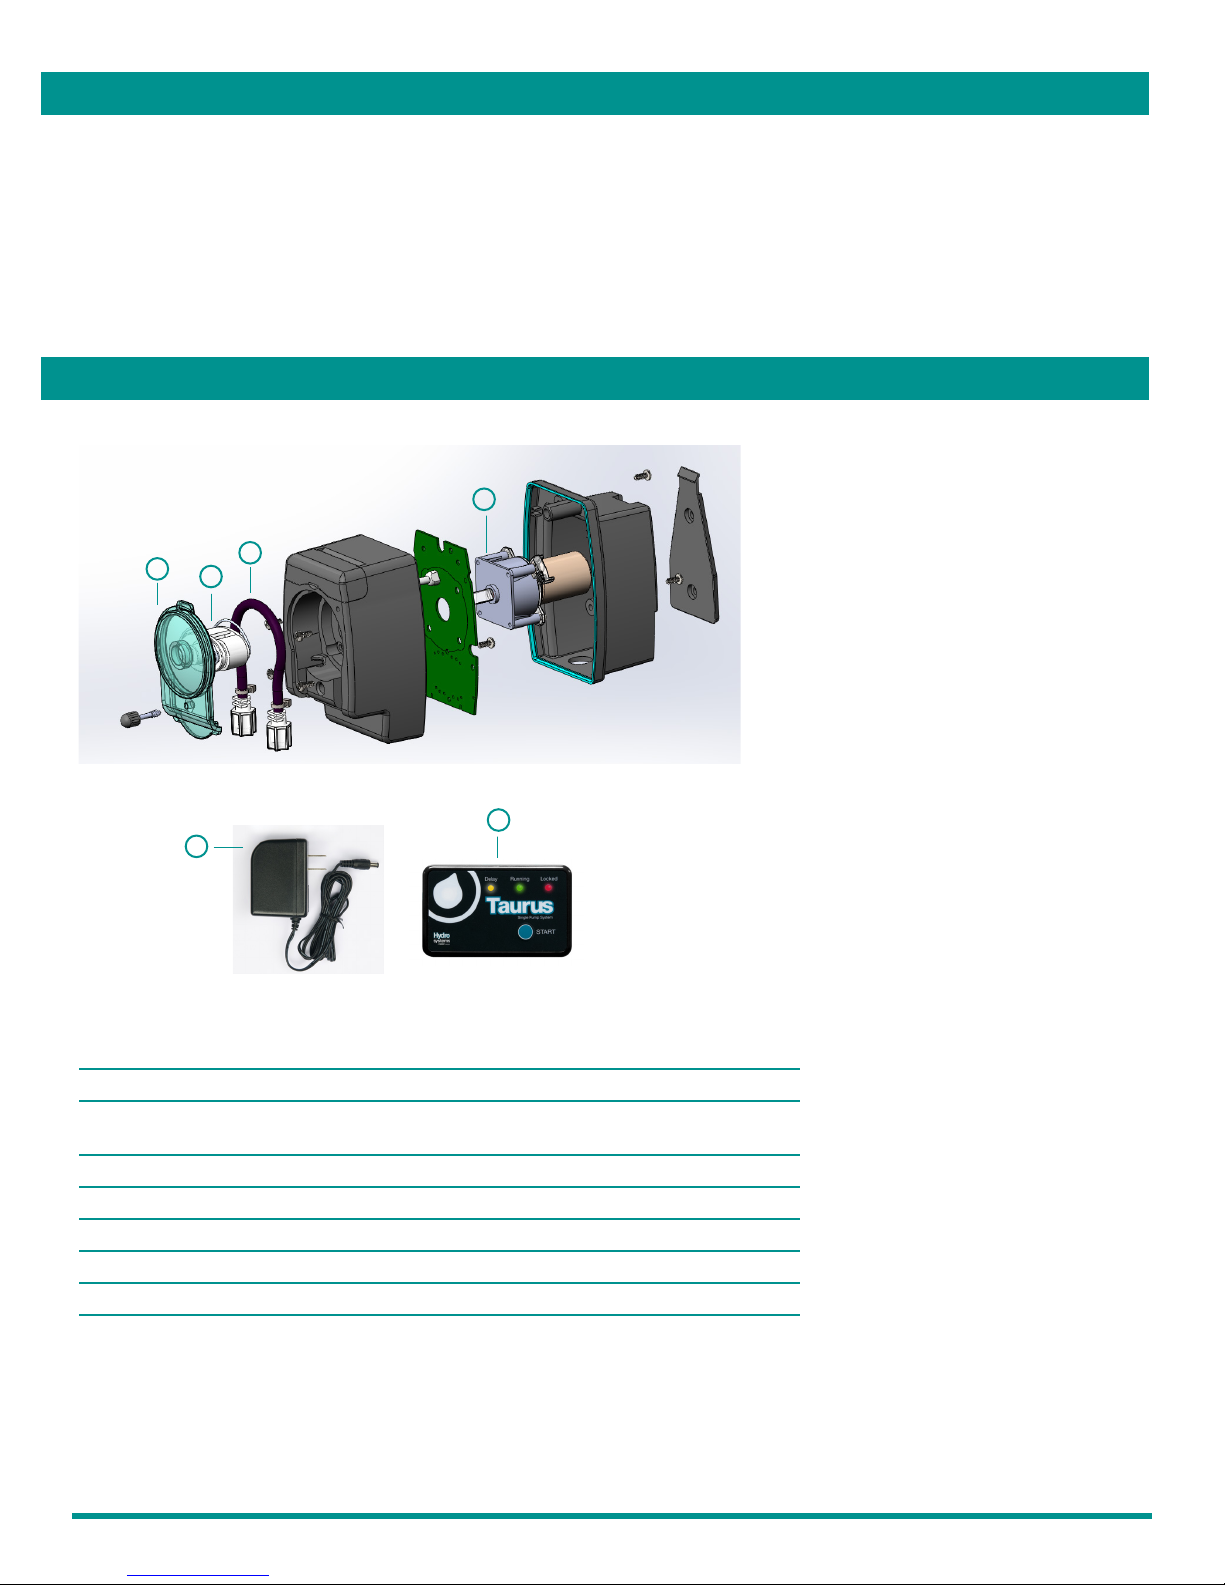
Optional Spare Parts
4
1
Ref. # Part # Description
1 13-08602-06 Pump Cover, Teal (screw included)
2 13-06396-00 Pump Spinner
3 13-06399-10 Pump Tube, Standard, 1/4"
Detergent EPDM, 10-pk.
13-06395-10 Pump Tube, 1/4" Rns, EPDM, 10-pk.
13-06395-30 Pump Tube, 1/8" Rns, EPDM, 10-pk.
4 13-08721-01 Pump Motor Kit (Det.)
5 10096229 Wall-mounted Transformer, 24 VDC, 1 A
6 13-08602-06 Taurus CP-300 Programmer Remote (Black)
3
2
6
5
PN-20-09208-00 F © Hydro Systems Company, Inc. 2015 HydroSystemsCo.com Toll Free: 1.800.543.7184 8
Page 9

Specifications and Warranty
Taurus CP-300 Pump Specifications
Size 3" W x 4.5" H x 4.5" D (7.6 cm. W x 11.4 cm. H x 11.4 cm. D)
Weight 1.8 lb. (.82 kg.)
Power Rating 24 VDC 1 Amp
Flow Rate 8 oz. (237 ml.) / minute with standard Detergent tube
Run Time 0 - 20 minutes
Duty Cycle 66%, 20 minute maximum run time
Environmental Specifications
IP, Pollution, Installation IP Rating : 44 Pollution Category: 2 Installation Category: 2
Temperature 10° to 49° C (50° to 120° F) maximum
Humidity 95% relative humidity, maximum
Indoor Installation Approved for indoor use only. Must not be installed outdoors.
Specifications subject to change without notice.
Limited Warranty
SELLER warrants solely to BUYER the Products will be free from defects in material and workmanship under normal
use and service for a period of one year from the date of completion of manufacture. This limited warranty does not
apply to (a) hoses; (b) and products that have a normal life shorter than one year; or (c) failure in performance or damage
caused by chemicals, abrasive materials, corrosion, lightning, improper voltage supply, physical abuse, mishandling or
misapplication. In the event the Products are altered or repaired by BUYER without SELLER’S prior written approval, all
warranties will be void.
NO OTHER WARRANTY, ORAL, EXPRESS OR IMPLIED, INCLUDING ANY WARRANTY OF MERCHANTABILITY OR
FITNESS FOR ANY PARTICULAR PURPOSE, IS MADE FOR THESE PRODUCTS, AND ALL OTHER WARRANTIES
ARE HEREBY EXPRESSLY EXCLUDED.
SELLER’S sole obligation under this warranty will be, at SELLER’S option, to repair or replace F. O. B. SELLER’S facility
in Cincinnati, Ohio any Products found to be other than as warranted.
Limitation of Liability
SELLERS WARRANTY OBLIGATIONS AND BUYERS REMEDIES ARE SOLELY AND EXCLUSIVELY AS STATED
HEREIN. SELLER SHALL HAVE NO OTHER LIABILITY, DIRECT OR INDIRECT, OF ANY KIND INCLUDING LIABILITY
FOR SPECIAL, INCIDENTAL, OR CONSEQUENTIAL DAMAGES OR FOR ANY OTHER CLAIMS FOR DAMAGE OR
LOSS RESULTING FROM ANY CAUSE WHATSOEVER, WHETHER BASED ON NEGLIGENCE, STRICT LIABILITY,
BREACH OF CONTRACT OR BREACH OF WARRANTY.
PN-20-09208-00 F © Hydro Systems Company, Inc. 2015 HydroSystemsCo.com Toll Free: 1.800.543.7184 9
 Loading...