

HYDRO-RAIN HRC 390 Quick Start Instructions
HRC 390 SERIES
QUICK START INSTRUCTIONS
Step 1 Power Up: Remove the contact
strip from the battery compartment to activate
battery power. If back light is needed plug the
timer into a 110 v outlet and the screen will
light up.
Step 2 Programming Tool: Obtain the
stylus by removing it from its holster located
on the back of the controller module.
Step 3 Press Reset: Use stylus to press
the reset button. All functions will appear then
quickly disappear to indicate the timer has
been activated and made ready for programming.
Step 4 Set Language: Using the stylus to
navigate the / select your preferred programming language English, Espanol, Francais, Deutsch, Italiano then press “ENTER”.
Step 5 Set Time and Date: Using the
stylus to navigate the / select current time
then press “ENTER”. Follow similar process as
the controller directs you to “SET YEAR” then
“ENTER” , “SET MONTH”, “SET DAY”.
Step 6 Set Program Start Times: Using
the stylus toggle to the desired program A, B,
or C by touching the on screen . Using the stylus to navigate the / select preferred start
time for each program then press “ENTER”.
Step 7 Set Water Days: Using the stylus
toggle to the desired program A, B, or C by
touching the on screen . Select specific days
of the week or ODD or EVEN days then “EN-
TER”. Should you select INTERVAL use the
/ to select 1 to 32 days then “ENTER”.
Step 8 Set Station Duration: Using the
stylus toggle to the desired program A, B, or C
by touching the on screen . Using the stylus
to navigate the / select preferred 1 to 240
that station “1” will water then press “ENTER”.
Or, select minutes by selecting the box marked
0, 5, 10, etc… then press “ENTER”. Follow the
same progression for all remaining needed
stations.
PROGRAMMING IS NOW COMPLETED
PRESS “ENTER”: If you have removed the
module from the power box replace it and
make sure the unit is plugged into a 110 v outlet or hard wired to 110v power. This controller will not operate valves running on battery
power.
A
A
A
p 801 295 9820
f 801 951 5815
www.fluid-studio.net
1065 South 500 West
Bountiful, Utah 84010
proof no: 1
date: 10.26.11
des: MZ
client: Hydro-Rain
sku: 04040
upc: N/A
file name: 04040-50 rA.indd
software: InDesign CS5
colors
additional instructions:
color
non printing
PMS
2955
PMS
????
color
non printing
PMS
????
Registration
K
Printers are
responsible for
meeting print
production
requirements.
Any changes
must be approved
by the client and
Fluid Studio.
Printed piece
must meet
designated
specifications
on this form.
dimensions:
flat: w: 6.5" h: 5.5"
finished: w: 6.5" h: 5.5"
04040-50 rA
HRC 390
QUICK TIPS INSTRUCTIONS
QUICK TIP RF SENSOR: When using
the HRC-300-RS-RF with this controller
you’ll need to sync the units to begin
operation. While the programming module
is in the box and connected to AC power, press the
“RF SYNC” button on the lower right side of the
programming module. A red light will activate. Now
while holding the RF sensor in your hand activate
the transmitter sync by lightly pressing on the top
of the plastic pin on top of the unit. Hold this in until
the light on the controller blinks indicating the unit
is receiving communication.
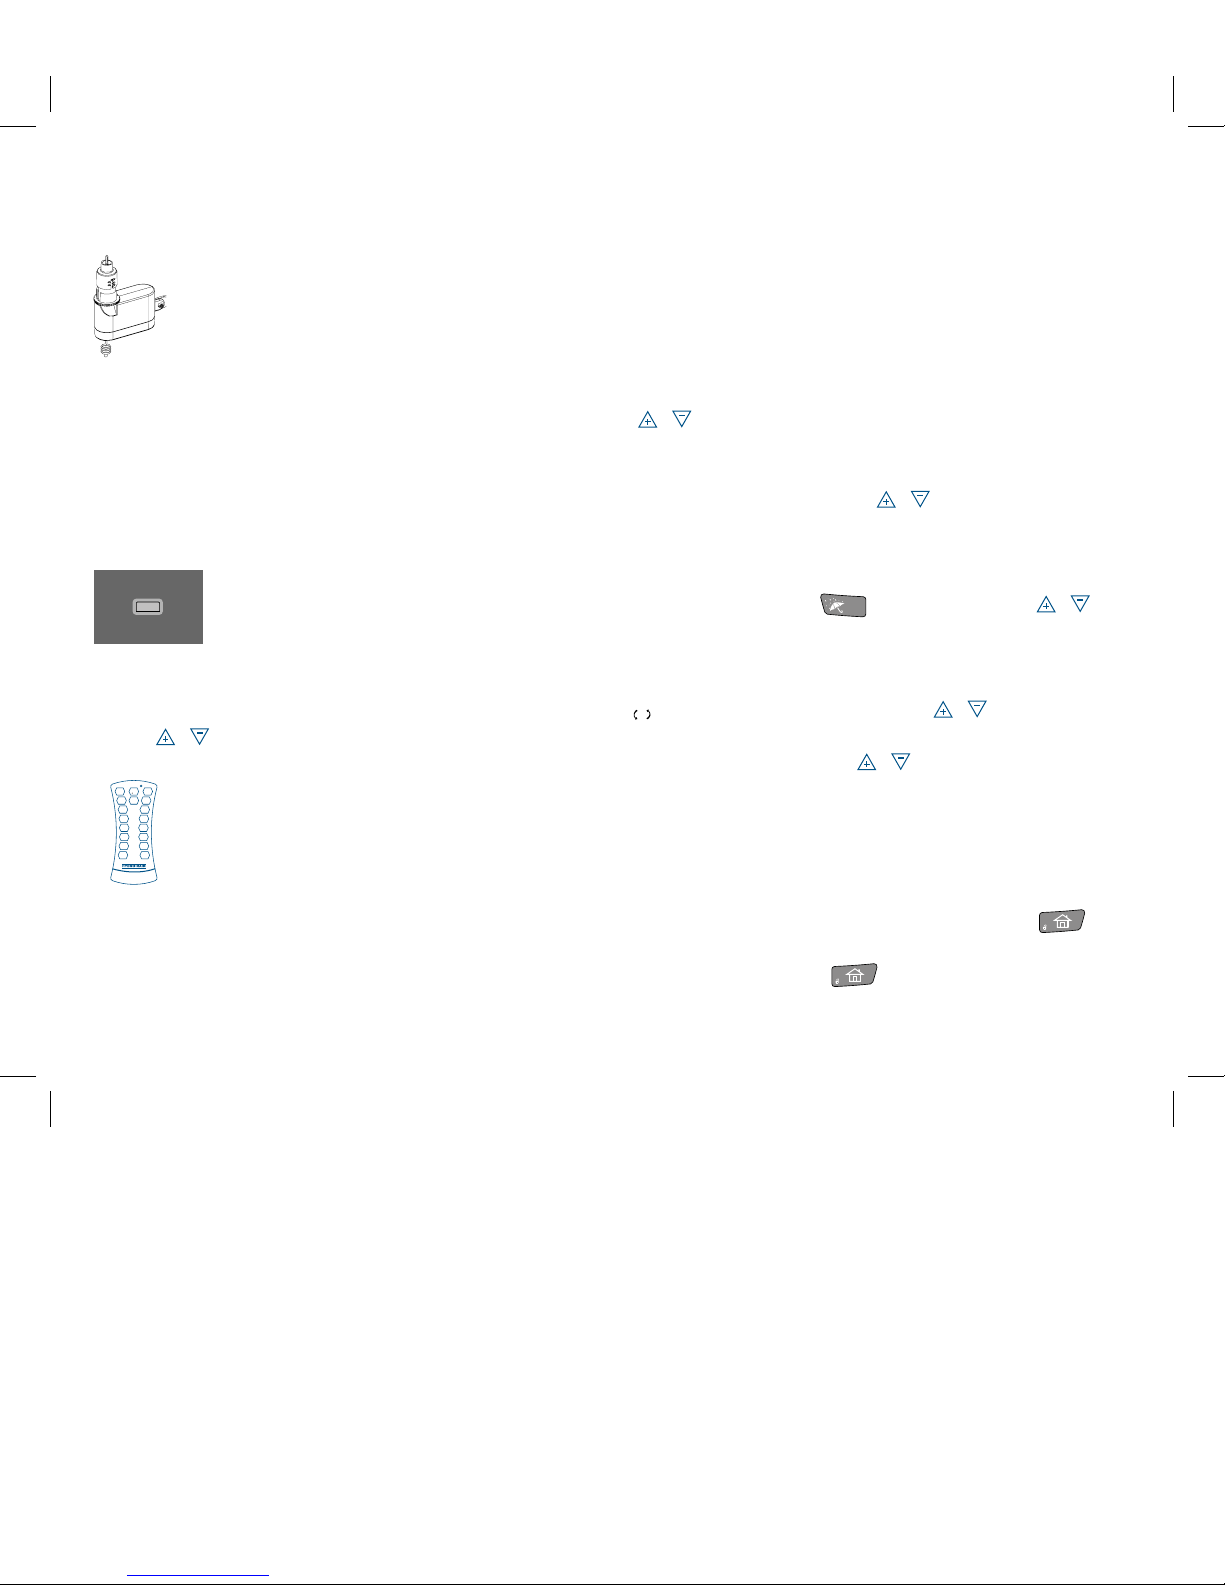
QUICK TIP MAINTENANCE:
When de-activating a hard wire
rain sensor move the active|bypass
switch to “BYPASS” (see figure at upper left). When
deactivating a wireless sensor select the on screen
“BUDGET” indicator then select “SENSOR” then
toggle / to select “SENSOR ACTIVE” or “SENSOR
BYPASS” then “ENTER”.
QUICK TIP RF REMOTE: When using
the HRC-300-12-RF with this controller you
need to sync the units to begin operation.
While the programming module is in the
box and connected to AC power, press the “RF SYNC”
button on the lower right side of the programming
module. A red light will activate. Now while holding
the RF Transmitter in your hand activate the
transmitter sync by pressing and holding down any
of the “off buttons”. The transmitter will beep and the
light on the controller will blink when activated.
QUICK TIP MANUAL OPERATION: With the
stylus select “MANUAL” located in the upper right
corner of the home screen. When you desire a
system test of all stations in sequence navigate the
/ to the desired run time and press “ENTER”.
Individual stations or groups may also be selected
by selecting “NEXT” and touching valve selections
1-6 or 1-12 and using the / to the desired run
time and press “ENTER”. Automatic cycles will
resume after manual watering is complete.
QUICK TIP RAIN OR EVENT DELAY: On the
controller press the then navigate the / to
the desired delay 1 to 99 days and select “START”.
QUICK TIP CYCLE AND SOAK (Multiple Daily
Program Starts): On the programming screen select
then select “CYCLES” use the / to select 1
to 10 daily start times for the selected program,
press “ENTER”, use the / to select the desired
delay between cycle times 0 to 90 minutes or 2 to 23
hours then press “ENTER”. Cycles are now set press
“EXIT” to return to the home screen. Example: If you
scheduled Program A to start at 6:00 A.M. and you
selected.
QUICK TIP LOCK SCREEN: Press the to
lock the screen to avoid inadvertently changing set
programming. Press to unlock the screen to
re-program.
RAIN SENSOR
ACTIVE | BYPASS
SYSTEM
OFF
ON ON ON
NEXT ALL OFF
2 min
STATION STATIONS CLEAR
10 min 30 min
1
3
4
5
6
7 8
9
10
11 12
2
HRC-300-12-TR
PROG.
 Loading...