

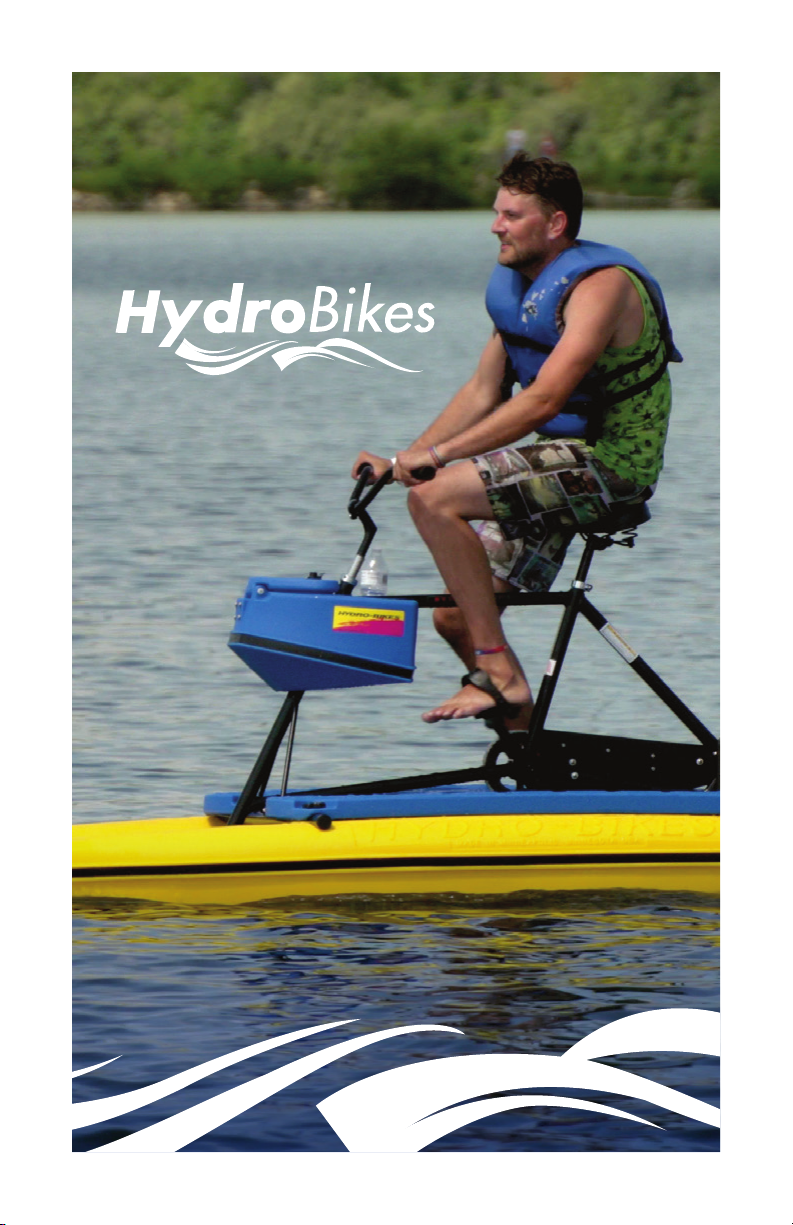
HydroBikes EXPLORER I, EXPLORER II Assembly, Operation And Safety Instructions
®
ASSEMBLY, OPERATION AND SAFETY
INSTRUCTIONS

TABLE OF CONTENTS
Introduction ..................................................................................... 3
Safety Information ...................................................................... 4 – 5
®
Assemble Your HydroBike
........................................................ 6 – 15
Transport Your HydroBike®....................................................... 16 – 17
Prepare Your HydroBike® for the Water ..................................... 18 – 19
Operate Your HydroBike® ........................................................ 20 – 21
EXPLORER® I and EXPLORER® II Specifications .................................... 22
Maintenance and Additional Parts/Accessories ................................ 23
2 | www.HydroBikes.com

INTRODUCTION
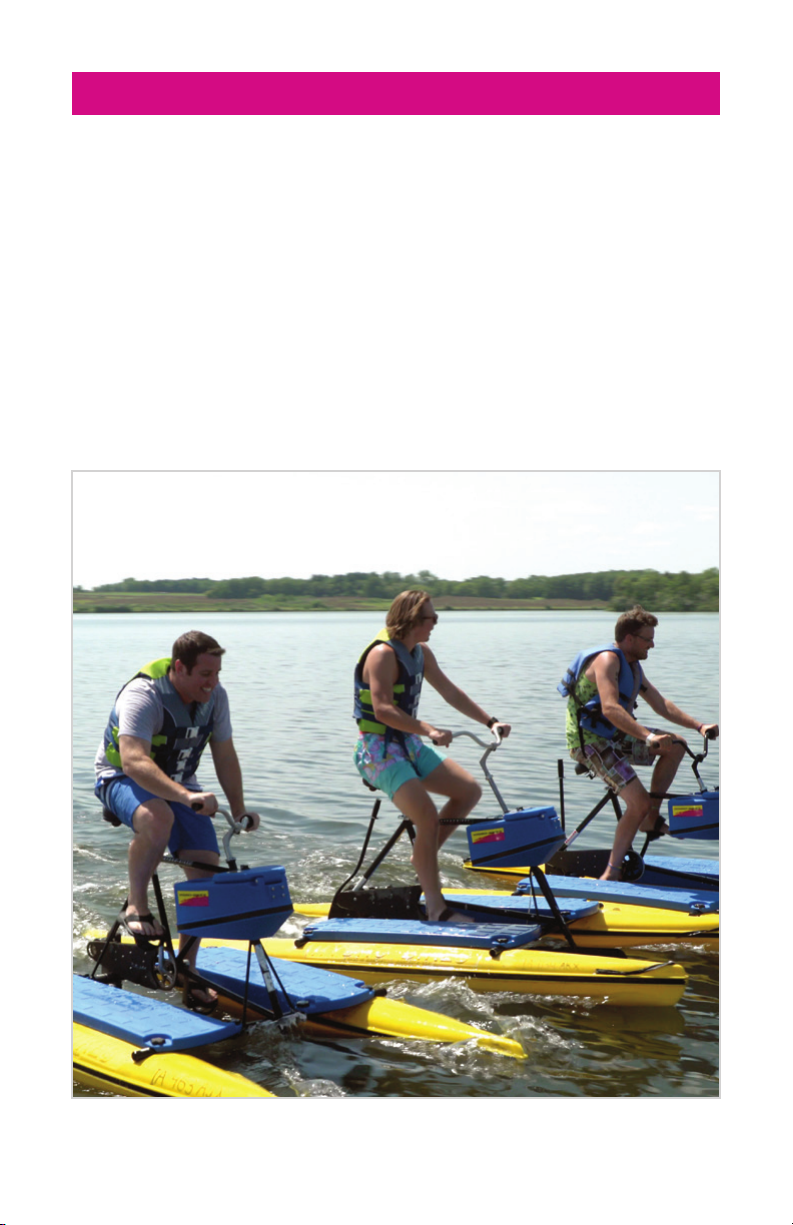
Thank you for purchasing the EXPLORER® HydroBike®! We are sure you
will enjoy your new EXPLORER® for many years to come.
Please take a few minutes to read this manual before using the
EXPLORER®. Although the EXPLORER® is simple to operate, this manual
contains information about craft limitations, safety features and
maintenance obligations you must understand to enjoy the EXPLORER® to
its maximum capabilities. Information about the EXPLORER® is included in
this manual that you might not discover on your own.
If you have any questions regarding your EXPLORER® refer to our website
at www.HydroBikes.com.
www.HydroBikes.com | 3

SAFETY INFORMATION
• Read this manual completely before assembling and operating
®
your EXPLORER
.
• Consult a competent medical authority prior to undertaking any exercise
or fitness program that involves the use of the EXPLORER®.
• ALWAYS wear a U.S. Coast Guard approved personal flotation device
(PFD) when riding on the EXPLORER®.
• The maximum load capacity of the EXPLORER® I is 400 pounds; 600
pounds for the EXPLORER® II.
• Do not carry passengers on your EXPLORER®.
• Do not allow anyone to sit on the handlebars.
• Do not pedal the EXPLORER® from a standing position.
• Avoid swimmers, swimming areas, and boat traffic.
• Know and follow the boating laws and regulations of the area in which
you are using the EXPLORER®.
• Do not operate your EXPLORER® after sunset or before dawn, unless
your EXPLORER® is equipped with lights. Please follow the laws
regarding boating in the dark in the area in which you are using
the EXPLORER®.
• Watch for underwater obstacles when operating the EXPLORER® in
shallow water.
• Ask about local conditions before using your EXPLORER® in
unfamiliar waters.
4 | www.HydroBikes.com
SAFETY INFORMATION
®
• Never use your EXPLORER
in stormy weather or when there is lightning.
Seek shelter on shore if a storm is coming.
• Although the pedals are suitable for bare feet, wearing hard-bottomed
footwear (sneakers or other water footwear) is recommended.
• Never wear loose clothing that could become entangled in any moving
part of the EXPLORER®.
• Never use the EXPLORER® while under the influence of alcohol or drugs.
www.HydroBikes.com | 5
ASSEMBLE YOUR HYDROBIKE
®
How to begin
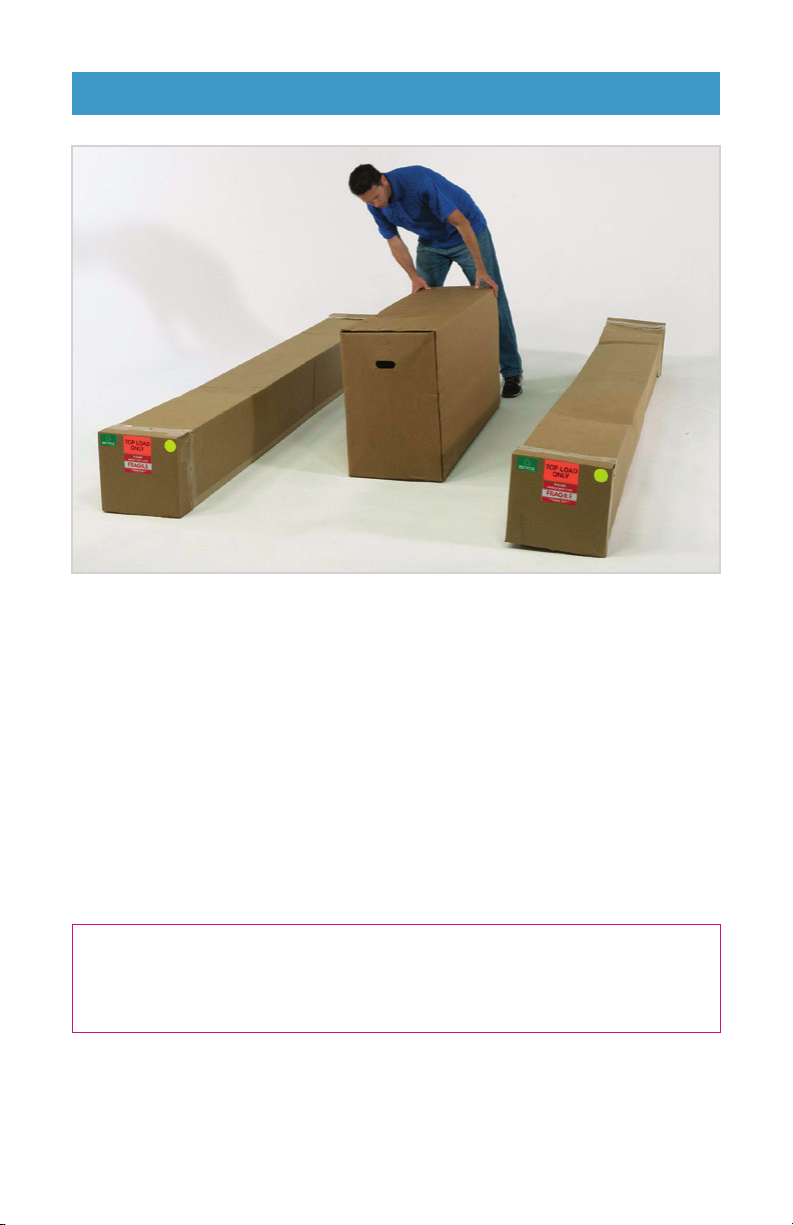
Your HydroBike® will be delivered in three large boxes, two for the floats
and one for the bike, frame and additional parts. During transport, the
float boxes may be askew. This is normal from transporting and not an
error from the delivery service, and does not damage the float.
Choose a flat, hard surface to unpack and assemble your HydroBike®.
Something like a garage floor or even your driveway. Assembling on a
dock or the grass could end up with some lost parts. Once everything is
accounted for, it’s time to get started.
Rather watch a video on assembling your HydroBike®?
Visit www.HydroBikes.com/assembly.
6 | www.HydroBikes.com
ASSEMBLE YOUR HYDROBIKE
Bike Frame
Assembly
Cross
Support Bar
Prop
Sideboard Sideboard
Float
Handlebar
Console
Cross
Support Bar
Lever
Seat
Seat Post
®
Float
Handlebar Grip
Handlebars
Rudder and Shaft
The EXPLORER® I Parts Schematic
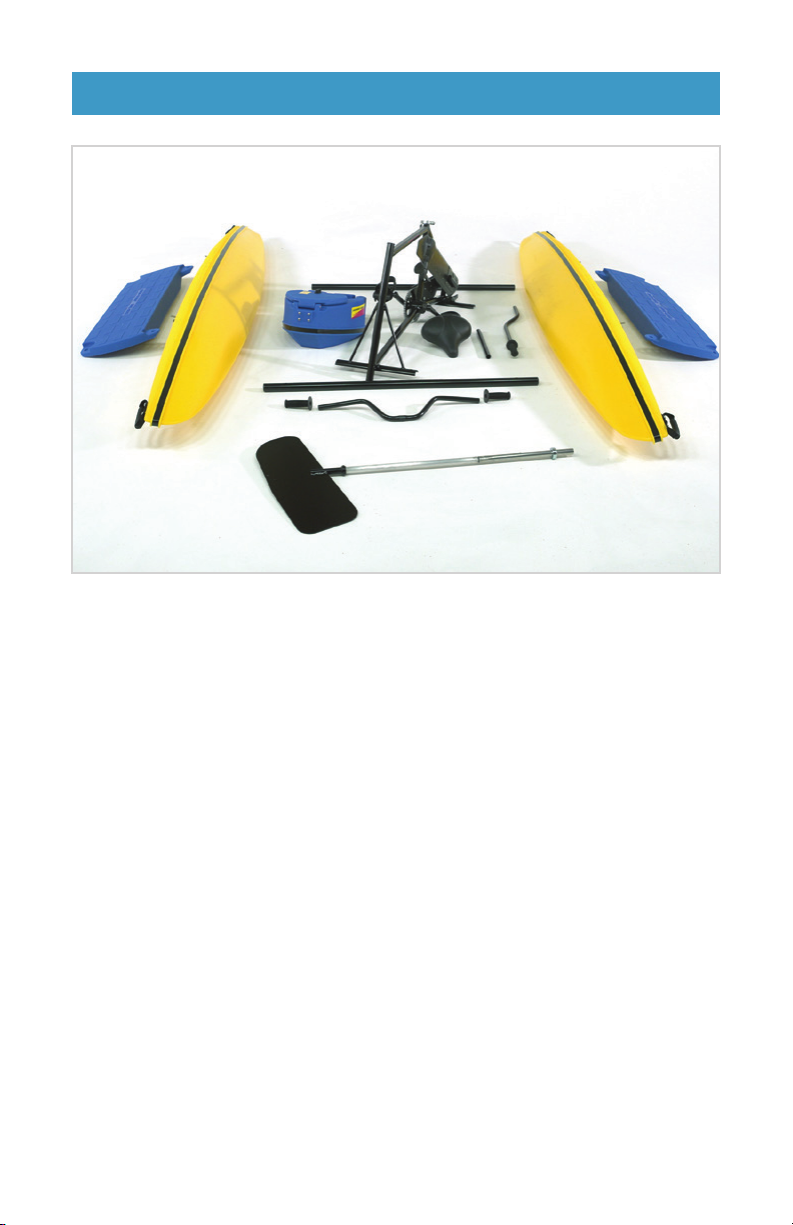
Here is everything that comes in the three boxes.
•
Floats (2)
•
Sideboards (2)
•
A rudder and shaft
•
A handlebar console
•
A bike frame assembly
•
Cross support bars (2)
•
Handlebars
•
Handlebar grips (2)
•
A prop lever
•
A seat
•
A seat post
•
Handlebar stem (not pictured)
•
A plastic bag of hardware
needed for assembly (not
pictured)
Handlebar Grip
www.HydroBikes.com | 7

ASSEMBLE YOUR HYDROBIKE
®
STEP 1:
Attach the rudder
Lay the bike frame on its side (A).
Locate the Rudder Assembly. Remove the collar on rudder pipe by
loosening the bolt with the provided allen wrench (B).
Then, insert the rudder assembly into the front tube of the bike frame by
depressing the two spring-loaded buttons and sliding the rudder shaft up
until the two spring loaded buttons extends beyond the top of the bike tube
(C). Next, fit the rudder collar over the top of the rudder shaft and tighten
until snug (B). Do not tighten completely as it may need adjustment.
STEP 2:
Connect the floats with the cross tubes
Each float has two pre-installed bolts. Locate the black square plug on the
floats (A). This signifies the back of each float. Layout the two cross tubes
and four black knobs between the floats for easy access during this step.
Stabilize the float by standing over it and securing it upright with your legs. Fit
the first cross tube onto the front bolt on one of the float. Secure it to the bolt
by threading a black knob (B). Do not tighten fully. Holding the cross tube,
step over the second float and secure with your legs again for the bolt to be
upright. Insert the cross tubes on to the second float. Use a second black knob
to secure the cross tube. Do not tighten fully. Repeat this step with the second
cross bar at the float rear bolts (C).
8 | www.HydroBikes.com
 Loading...