

Hydrajaws 2000/C, Safety Lifeline Tester, 2000 Operating Instruction
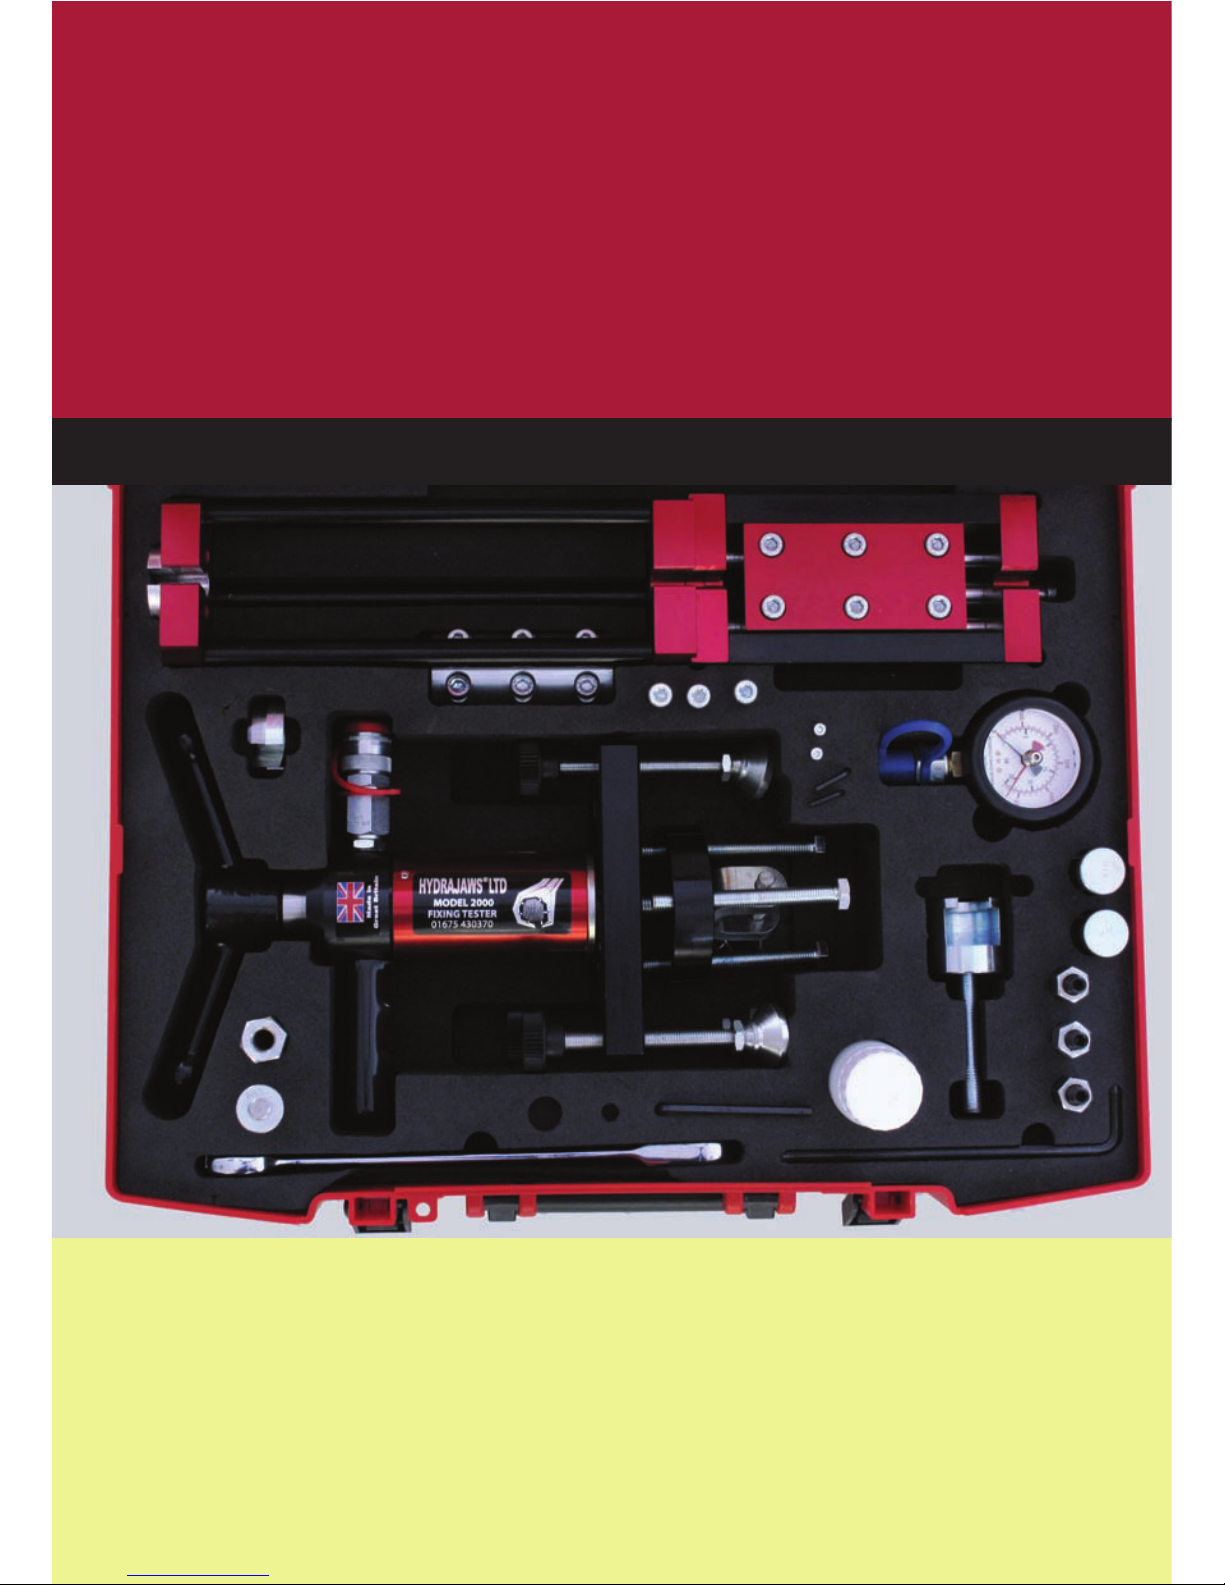
Safety
Lifeline Tester
Operating Instruction

1
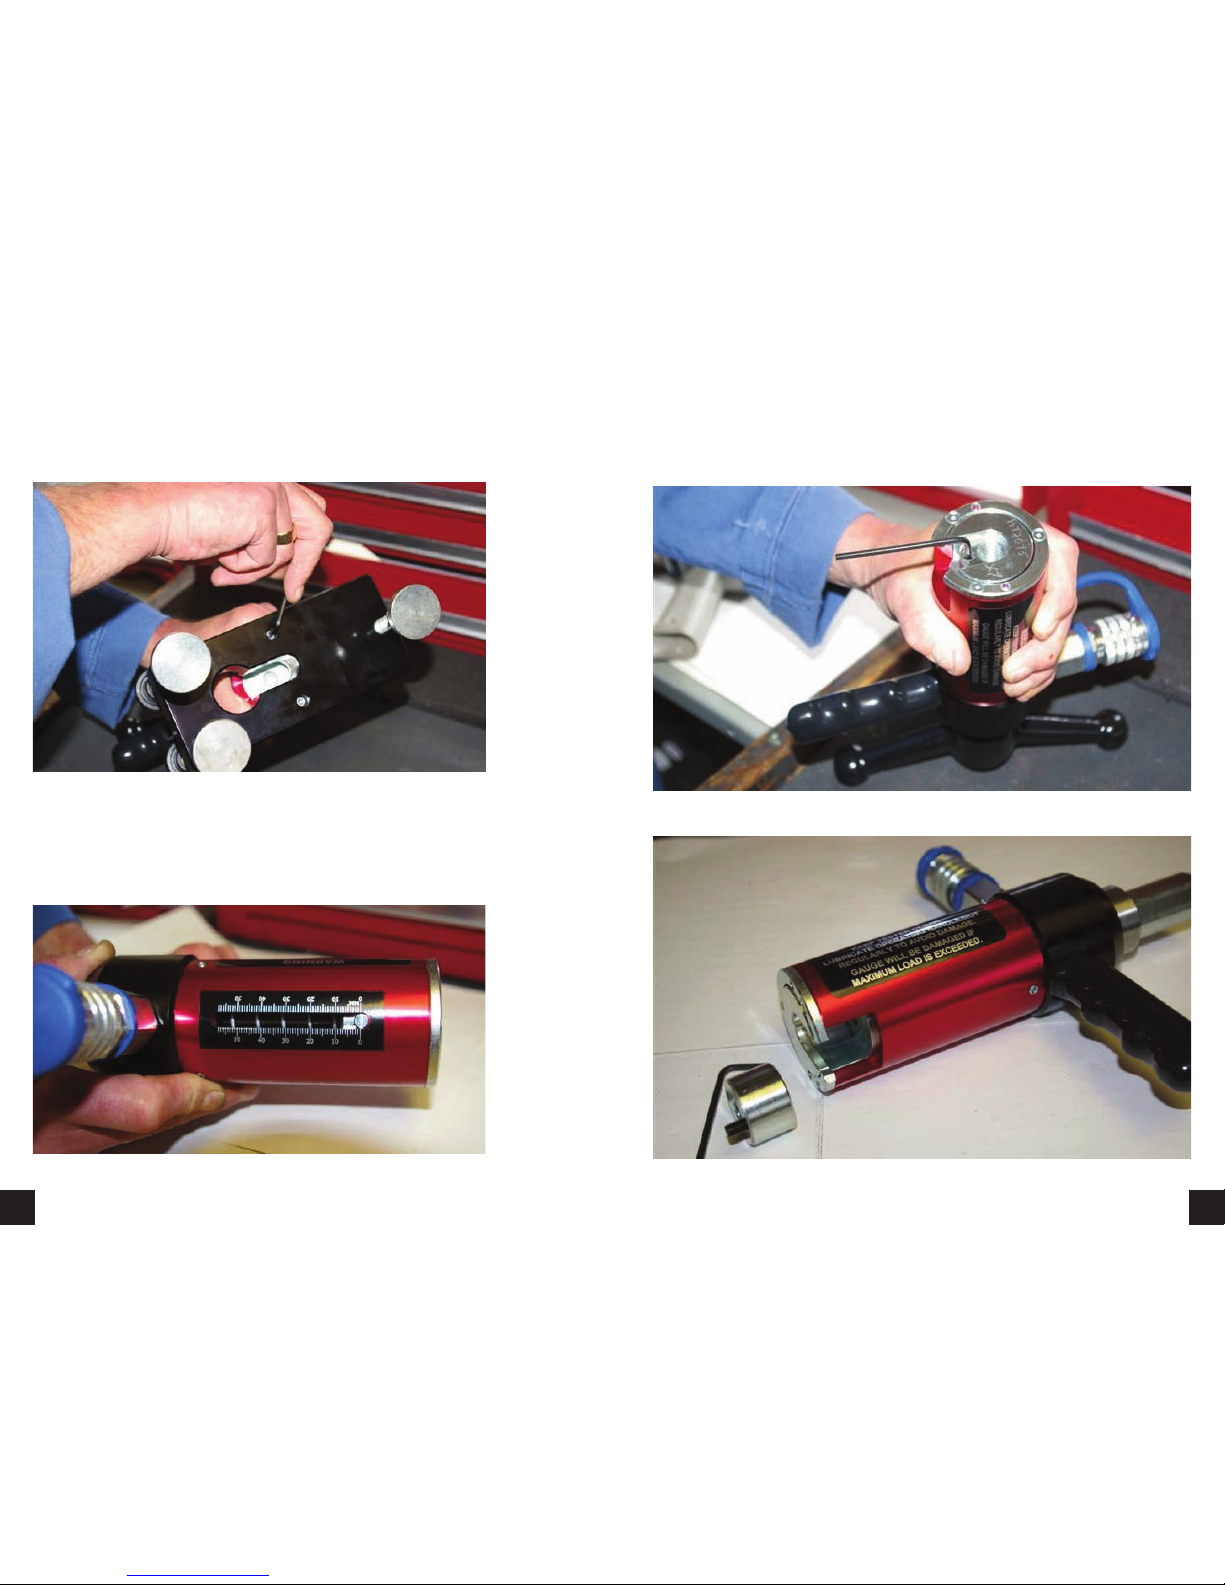
1. With the cable tester clamp side up, remove the 6 cap head
screws and the top plate clamp using the 6mm A llen key.
(Figures 1 and 2).
Figure 1
Figure 2
2. Slide the cable through the slots, replace the top clamp plate
and the 6 cap head screws and tighten up using the 6mm Allen
key. Note the position of the clamp in Figure 4.
Figure 3
Figure 4
2
Gap here
Clamp against
block
4
3
3. Remove the 150 load spreading bridge with adjustable
feet by unscrewing the 2 M4 cap screws on the underside of
the unit. (Figure 5).
Figure 5
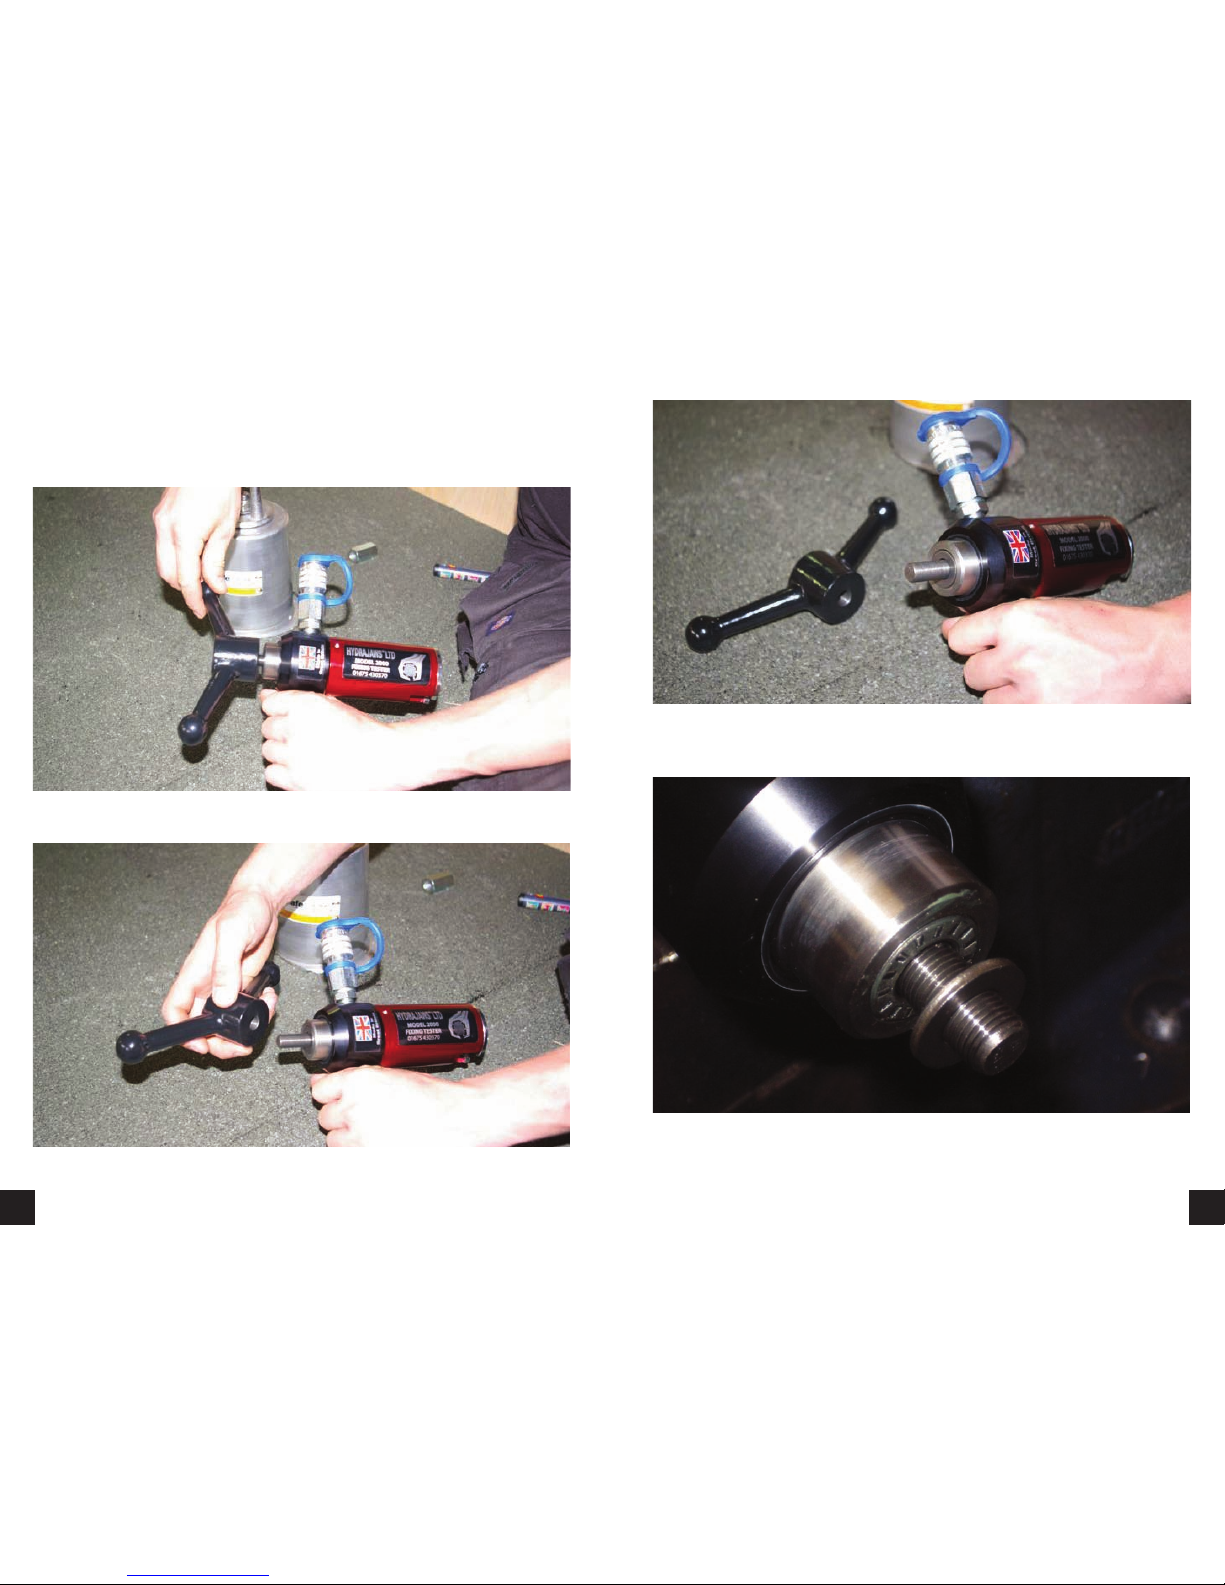
5. Remove the M12 round locking adaptor from the inside slot
on the bottom of the portable tensioner by first unlocking /
slackening the allen screw. (Figures 7 and 8).
Figure 7
Figure 8
4. Make sure that the jaw on the tester is fully closed. Check this
by looking at the mm scale on the main body of the tester which
should be near the zero indicator. (Figure 6).
Figure 6
6
5
6. Remove the operating ball handle from the tester by
unscrewing anti-clockwise taking care not to remove the bearing
and pressure washers. (Figures 9, 10, 11 and 12).
Figure 10
Figure 9
Figure 11
Figure 12
 Loading...