

Page 1
Mirus-Series
Coaxial Systems
Installation & Reference Manual
1240 Oak Industrial Lane
Cumming Georgia 30041
United States
(T) +1 770 888 8200
(F) +1 888 886 4605
hybrid-audio.com
Page 2

Contents
Welcome & Introduction
01
02
03
Pages 4-5
Component Specic Information
Pages 6-17
Midbass, Tweeter, & Crossover
Attributes, Specications, Parameters,
and Mechanical Drawings
Getting Started
Pages 18-23
Basic System Installation
05
Warranty
Page 24-25
2
© Hybrid Audio Technologies • Cumming, GA • 770.888.8200 © Hybrid Audio Technologies • Cumming, GA • 770.888.82002 3
3
Page 3

Congratula-
Welcome and Introduction
by Scott Buwalda - Founder
tions on your
Mirus Coaxial
System purchase,
and welcome
to the world of
Hybrid Audio
Technologies!
We realize that
you have a choice
in loudspeakers,
and are thrilled
that you have
chosen the
Mirus-series
coaxial systems.
For more
information about
Hybrid Audio
Technologies,
our philosophies
regarding
high-end mobile
audio, to learn
more about
our lifetime
guaranteed value
program, and
for information
about our other
products, please
visit us at:
hybrid-audio.com
Speaker development is our passion!
When installed and set-up properly,
the Mirus Coaxial System you have
purchased will make a remarkable
improvement in the sound quality
of virtually any mobile audio sound
system and give years of superior
performance.
With the publication of this manual, it
is our goal to assist the “do it yourself”
enthusiast and professional installer
alike in getting the highest level of
performance out of Mirus Coaxial
Systems using straight-forward
installation advice.
Thank you, and happy listening!
© Hybrid Audio Technologies • Cumming, GA • 770.888.8200 © Hybrid Audio Technologies • Cumming, GA • 770.888.82004 5
5
Page 4

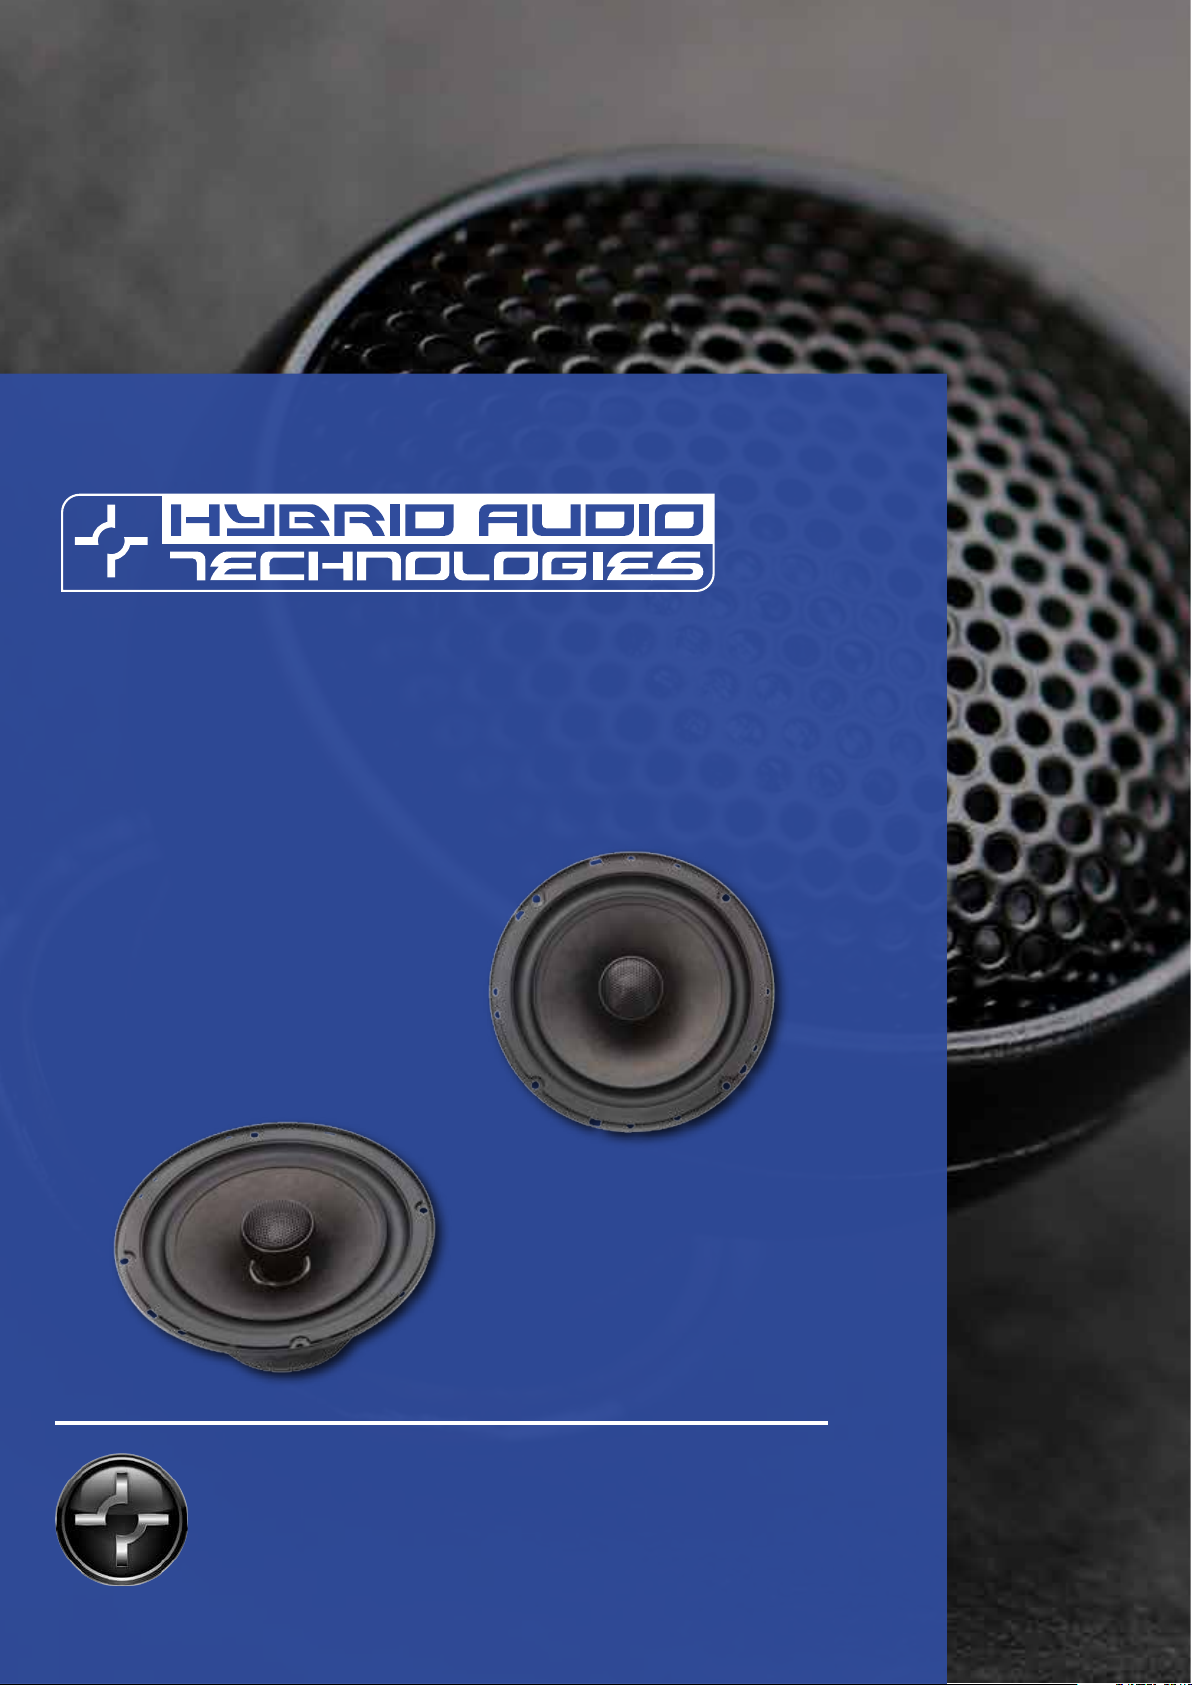
Mirus
Coaxial
Systems
Your Mirus system contains
speaker drivers and a
tweeter passive crossover
network that were
developed and assembled
with a signicant eort in
research and development,
materials science
engineering, an exhaustive
level of sampling and
prototyping, real-world
testing, and obsessive
attention to detail.
The specications and
parameters of your Mirus
coaxial system is detailed
on these pages.
Midbass Attributes
Mirus M4, M5, M6, M57, & M69
Frame
Stamped and powder-coated steel. The basket is
a high-quality stamped steel design, which plays a
critical role in aligning the voice coil in the magnetic
circuit. The frames are proprietarily tooled by Hybrid
Audio to allow for the inverted mounting of the
surround, discussed in detail below. The stamped
steel frame provides adequate clamping force in
relation to its mass, and ensures that the voice coil
remains centered in the former.
Cone
Pressed paper with water proof treatment. It is
widely acknowledged that pressed paper cones
are the best marriage of lightness, stiness, and
ability of the cone to damp unwanted cone and
edge modes and resonances (read: distortion). The
paper cone, known for its excellent sonic attributes,
is water proof, thanks to a polymer developed
exclusive and proprietarily by Hybrid Audio
Technologies. The treatment does not change the
look and parameters of the driver like old-fashioned
“glossy” polymers which added an appreciable
amount of moving mass and signicantly colored
the sound. No, the Mirus cones look like any
“normal” paper cone, but in reality are likely the
only high-performance water proof paper cone car
audio speaker systems on the market. The treatment
protects the cone from periodic drips (such as inside
a door panel), as well as accidental splashes to the
front of the cone. On the hybrid-audio.com website,
we have hosted a video of an actual water-proof
demonstration where we pour two liters of water
over an Imagine coaxial (sibling to the Mirus coaxial
that uses the same cone topology), and then
connect it to a musical source. That video may be
viewed at: http://hybrid-audio.com/imagine/
Tweeter Pole Piece
Cast ABS plastic. The tweeter pole piece is ABS and
eectively places the tweeter forward of the cone,
centered, for optimal operation. The pole piece
contains a unique swiveling feature to allow for
aiming of the tweeter.
Surround
Inverted high-loss rubber surround. The inverted
high-loss rubber surround (in concert with the
spider, detailed below), helps to provide the
compliance and “restorative force” needed for
the Mirus drivers to play eectively into the
lower coaxials, and perhaps even upper subbass
frequencies (depending on in-car cabin gain and
other factors). You’ll also know a Hybrid Audio
midrange and coaxials design by its inverted
surround; this design feature allows for the use of
a smaller height grille, better clearance with OEM
panels, and more exibility in mounting options.
The inverted surround is a Hybrid Audio exclusive in
automobile loudspeakers.
Spider
Phenolic fabric and tinned tinsel leads. The spider
is the brownish/yellow corrugated (rippled) fabric
that attaches the cone and voice coil. The spider for
the Mirus designs was the subject of a considerable
amount of our research and development. The
spider is a phenolic symmetrically-rolled fabric
which provides excellent restorative force during
excursion. The tinsel leads are connected to real
epoxy PCB, not imsy cardboard, unheard of in the
price range of Mirus.
Voice Coil and Motor System
The voice coil used in the Mirus coaxials is a 2-layer
aluminized copper wire coils on a round former.
An “overhung” voice coil was selected to improve
sensitivity while still keeping distortion to a
minimum.
Continued on following page...
6
© Hybrid Audio Technologies • Cumming, GA • 770.888.8200 © Hybrid Audio Technologies • Cumming, GA • 770.888.8200
7
Page 5

Mirus
Tweeter Attributes
Tweeter Passive Crossover
Coaxial
Systems
Your Mirus system contains
speaker drivers and a
tweeter passive crossover
network that were
developed and assembled
with a signicant eort in
research and development,
materials science
engineering, an exhaustive
level of sampling and
prototyping, real-world
testing, and obsessive
attention to detail.
The specications and
parameters of your Mirus
Mirus M1
Dome
Small diameter impregnated silk textile dome
with high-loss rubber suspension. The M1 has
an impregnated ne cloth silk dome diaphragm
for a linear, smooth sound, with a high-loss
rubber suspension to damp edge modes and
resonances. The dome is of extremely low mass
and is much less susceptible to mechanical
deformation than other designs, and yet
yields a smooth response over the extent of its
range. At Hybrid Audio Technologies, we feel
larger diaphragm tweeters sound heavy and
unremarkable, lack detail in the upper treble
frequencies, have undesirable polar response,
and are dicult to install. Additionally, we
nd metal dome tweeters to be harsh, brittle,
and sound unrealistic. As a small diameter,
soft-dome tweeter, the M1 is the antithesis of
large diaphragm and metal-dome tweeters, for
the eective and convincing reproduction of
treble frequencies.
Low-Tolerance Mylar Capacitor. The tweeter’s
protection circuit and crossover lter is a very
high-quality, low-tolerance Mylar capacitor
that has been axed to the coaxials frame. An
outboard crossover “box” is not included for
empirical reasons, explained in this portable
document format download provided for the
Imagine series, a similar crossover topology.
http://hybrid-audio.com/downloads/whitepapers-technical-bulletins/White%20Paper%20
-Imagine-Series%20Crossovers.pdf
Thiele/Small Parameter Discussion for
Mirus Midbass Speakers
The mechanical and electrical parameters of
the Mirus coaxials are amenable to a variety of
dierent installations and speaker locations. The
high Qms (Q factor of mechanical system) and
Qts (Q factor of total system), coupled with the
driver’s Fs (resonance frequency) allow it to be
used in an “innite bae” conguration. In more
practical terms, install the Mirus coaxials such
that the front and back waves don’t “meet” (as
coaxial system is detailed
on these pages.
8
© Hybrid Audio Technologies • Cumming, GA • 770.888.8200 © Hybrid Audio Technologies • Cumming, GA • 770.888.8200
Voice Coil and Motor System
20mm complimentary design. The motor
assembly is “conventional dynamic”, with a
compact neodymium magnet structure to
ensure a small footprint size and shallow depth.
A perforated grille protects the dome. The voice
coil is ferrouid cooled and damped.
detailed in later in the Basic System Installation),
including in a door or kick panel, or in the
case of a motorcycle, in the fairing (using only
the airspace behind the speaker as a pseudo
enclosure), with no need for a real enclosure or
“box.”
9
Page 6

Mirus
Coaxial
Systems
Specications
† Typically, in-car response including vehicular “cabin gain”, or the gain expected
with midbass coaxials installed in the vehicle, will result in an extended midbass
and upper subbass response. This is a result of these frequencies being below the
lowest resonance in the vehicle (typically around 50-125 Hz in most vehicles). In
more practical terms, install the Mirus coaxials into your vehicle and you will see
a dramatic improvement in midbass and upper subbass output, much more so
than just simply listening to the Mirus in a large room, or worse yet, “free air” (we
don’t recommend even trying the Mirus speakers in “free air” without some form
of enclosure or innite bae for the coaxials).
M41-2 M51-2 M61-2 M57-2 M69-2
Overall Diameter Φ117 mm Φ150 mm Φ165.5 mm See drawing See drawing
Mounting Depth 52.5 mm 57 mm 63 mm 67 mm 88 mm
Bolt Circle Diameter Φ109.5 mm Φ138 mm Φ155.7 mm See drawing See drawing
Mounting Hole Φ93 mm Φ114.2 mm Φ142 mm See drawing See drawing
Recommended Minimum Highpass
100 Hz 70 Hz 65 Hz 65 Hz 60 Hz
Crossover Frequency (fourth order)
Continuous Power Handling 50 watts 70 watts 80 watts 80 watts 80 watts
Peak Power Handling 100 watts 140 watts 150 watts 150 watts 150 watts
Recommended Power Range 10-75 watts 10-100 watts 10-100 watts 10-100 watts 10-100 watts
Frequency Response (+/- 3dB) 90 Hz - 22
kHz
60 Hz - 22
kHz
55 Hz - 22
kHz
55 Hz - 22
kHz
50 Hz - 22
kHz
Eciency 2.83V/1 meter 89.2 dB 90.8 dB 92.6 dB 92.6 dB 93.4 dB
Nominal Impedance 4 Ω 4 Ω 4 Ω 4 Ω 4 Ω
10
© Hybrid Audio Technologies • Cumming, GA • 770.888.8200 © Hybrid Audio Technologies • Cumming, GA • 770.888.8200
11
Page 7

Mirus M41-2
Mirus M51-2
Mechanical Drawing
Mechanical Drawing
12
© Hybrid Audio Technologies • Cumming, GA • 770.888.8200 © Hybrid Audio Technologies • Cumming, GA • 770.888.8200
13
Page 8

Mirus M61-2
Mirus M57-2
Mechanical Drawing
Mechanical Drawing
14
© Hybrid Audio Technologies • Cumming, GA • 770.888.8200 © Hybrid Audio Technologies • Cumming, GA • 770.888.8200
15
Page 9

Mirus M69-2
Mechanical Drawing
This page inTenTionally lefT blank.
16
© Hybrid Audio Technologies • Cumming, GA • 770.888.8200 © Hybrid Audio Technologies • Cumming, GA • 770.888.8200
17
Page 10

Mirus
Unpacking/Inventory
Section I • Getting Started
Coaxial
Systems
Using this Manual
This manual focuses on a typical,
basic installation of the Mirus
product, and follows in general
what you’d expect from a mobile
audio coaxial system owner’s
manual. Should the end-user wish
to delve deeper into advanced
acoustic principals, or perhaps
to incorporate ways to get more
performance out of their car audio
systems and installations, we’d
invite the reader to investigate
any of the other product lines we
carry, and their respective user’s
manuals and car audio reference
guides, located at: http://
hybrid-audio.com/downloads/
Carefully unpack the Mirus carton, and verify
that the following parts are included in
the box (CAUTION: use care to remove the
speakers with two hands, and avoid pressing
your thumb or ngers against the cone of the
midbass – never test the speaker’s excursion
manually with your ngers by pressing the
cone):
• Two Mirus coaxial midbass speakers with
integrated tweeter crossover; and
• Two Mirus M1 20mm tweeter speakers
assembled coaxially above the midbass.
NOTE: grilles with anodized aluminum Hybrid
Audio Technologies nameplates and ABS
grille mounting anges are available for most
models and are sold separately.
Should you be missing parts, please contact
your authorized Hybrid Audio Technologies
dealer for replacement parts, or contact us
directly at: support@hybrid-audio.com
Basic System Installation
Now that you have unpacked the Mirus box and have veried that all of the parts are
included, it is time to evaluate the vehicle for the impending installation. If you feel the least
bit uncomfortable about the installation, have the Mirus speakers installed by an authorized
Hybrid Audio Technologies dealer. The Mirus speakers are an incredible high-end speaker
system, but will only be as good as the installation; a poor installation can negatively aect
the performance of the Mirus speakers. We can only build great speakers, but can’t control
or account for poor or inadequate installations.
Should you decide that you can handle the installation yourself and feel condent that the
end result will be adequate to reap the performance benets of the Mirus coaxial system,
you will need to have certain hand tools available to you for the installation. These include,
but may not be limited to:
• Cordless drill/driver with a 1/8” drill bit and a Phillips head and a few assorted driver bits
(commonly including Torx driver bits) with an attachment (a hand-operated screw driver
and/or Torx driver will also likely work);
• Certain vehicles may require an assortment of hex-key wrenches to remove the old
speakers and/or panel screws;
• A panel-popping tool (retaining clip removal tool) to remove panels in the vehicle
(such as door panels). In a pinch, a large at-head screwdriver does work, but damage to
panels or retaining clips can result;
18
• A wire cutter and wire stripper;
• Electrical tape; and
• If you plan to use the vehicle’s existing speaker wire, you will need to know which wire
is positive and which is negative at each proposed speaker location. If you’re unsure, we
highly recommend the use of Installation Excellence, an on-line resource for wire colors,
wire locations, t guides, and technical support.
Continued on following pages...
© Hybrid Audio Technologies • Cumming, GA • 770.888.8200 © Hybrid Audio Technologies • Cumming, GA • 770.888.8200
19
Page 11

Section I • Getting Started
Section I • Getting Started
Basic System Installation (Continued)
In a basic system, the Mirus speakers were designed to be installed in the original factory
speaker locations, most often in the vehicle’s doors, b-pillars, or rear parcel shelf, or in the
event of motorcycle or ATV installation, in the fairing. The Mirus coaxials drivers are innite
bae-capable speakers, and must be mounted in a “large enclosure”, or as close to it as
possible, with unrestricted access to airspace to ensure the speaker’s ability to eectively
reproduce its wide frequency bandwidth. The reason why the speaker was designed in
this way is highly empirical. When a speaker is mounted in a small closed box, it radiates
as much energy forward of the cone as it does rearward of the cone. All speaker cones
(diaphragms) are a weak sound barrier at best, and the result of the high amount of energy
being “pushed” into a small enclosure is the energy transmitting through to the outside of
the cone (an additive phenomenon to the incidental wave). Consequently, Hybrid Audio
has designed the Mirus coaxials to work well without an enclosure, and as such, should
not be signicantly prone to enclosure back-pressure and sound coloration when placed
innitely baed. The “innitely large” enclosure, such as one might nd in a door panel or
motorcycle fairing, improves spectral response and power response variation between high
and low frequencies.
Basic System Installation (Continued)
In all cases, it may be prudent to reference your vehicle’s factory service manual. If you
don’t have a factory service manual, you can go to the Installation Excellence website for
downloadable resources with respect to not only wiring but disassembly of your vehicle,
and the procedures to access your OEM speakers.
With the OEM speakers removed, we HIGHLY recommend the use of a self-adhesive
damping product, such as brand names Dynamat®, B-Quiet®, RAAMmat®, and others. The
reason for the use of damping material is to quiet buzzes and rattles that will be exposed by
the high-performance Mirus speakers, but more importantly to seal up door accesses and
cavities, thereby creating a pseudo “enclosure” for the Mirus coaxials. If the Mirus speakers
are installed immediately adjacent to a large access hole or opening in the door metal,
there will be an acoustic “short circuit” where the front and back waves of the speaker meet,
and cancellation will occur, seriously aecting midbass output. The use of a good damping
product is the single-biggest installation-related improvement you can do to enhance the
performance of your Mirus audio system. And since the Mirus coaxials require an “innite
bae”, it is intuitive to seal up the mounting area as best as possible, such as in the door,
allowing the speaker to “see” a large enclosure in the door cavity, kick panel, dashboard, or
Hybrid Audio Technologies designed the Mirus-series to be used as a permanent coaxial.
Do not attempt to remove and remotely-mount the tweeter from the midbass driver, as this
will damage the driver and will void your warranty. If you are interested in a convertible
coaxial system that oers the option of remotely mounting the tweeter, please inquire
with your Hybrid Audio Technologies dealer about the Imagine-series convertible coaxial
systems, or any one of our various component set options form the Unity, Clarus, Legatia, or
Legatia SE series.
Once you have determined the mounting locations for the Mirus coaxials, and have
evaluated the circumstances by which the Mirus speakers will need to be installed, it is time
to dismantle the vehicle to access the old speakers. Most dashboard-mounted speakers are
easily accessed by removing their grilles, which are usually attached to the dashboard with
screws or retaining clips. A-pillars are usually accessed by pulling rmly at a right angle to
the panel. Door speakers are usually easy to access as well, either from the front by prying
o the OEM grille, or by physically removing the entire door panel.
wherever you decide to mount the Mirus coaxials.
If you plan to use the OEM speaker wiring, you will likely need to cut o the OEM speaker
plug, and strip back approximately 3/8” (10mm) of insulation to expose the bare wire. It is
recommended that you then install slide-style terminals on the wire, for easy connection to
the Mirus coaxials.
In a basic installation, the Mirus coaxials were designed to install directly into the factory-
supplied speaker baes or speaker openings. The speaker should t snug to the bae
without air gaps; do not force the speaker into a bae that is too small, as this will damage
the speakers. If the factory-supplied mounting bae is too small, you will need to build or
purchase an adapter plate/bae (available at many places on-line or via your local Hybrid
Audio dealer). When tightening your speakers to the bae, alternate the tightening of the
screws, just as if you were changing a tire on your vehicle, by alternating in a pattern around
the speaker until all screws are hand-tight. DO NOT INSTALL THE SPEAKERS WITH A DRILL
OR DRILL-DRIVER, as the drill-drive will put considerably more torque on the speaker basket
than what is required, and can easily damage the frame of the speaker.
20
© Hybrid Audio Technologies • Cumming, GA • 770.888.8200 © Hybrid Audio Technologies • Cumming, GA • 770.888.8200
21
Page 12

Section I • Getting Started
Basic System Installation (Continued)
Once all speakers are installed, you will need to do a brief listening test with CD-quality
music that you are intimately familiar with to determine if the tweeter seems to be linear in
amplitude with the coaxials, or seems to be too muted. If the tweeter seems too muted, or
if you prefer a louder tweeter sound, simply reverse the black and red wires on the tweeter
terminals located on the frame of the coaxials. You will be changing the polarity of the
tweeter, and will be increasing the loudness of frequencies between approximately 6,000 –
10,000 Hz by doing this.
Crop your sound damping and re-install all interior panels, making sure all wiring is neatly
wire-tied away from heat and noise sources, or from abrasion and areas where the wires
may be accidentally sliced or cut, and sit back and enjoy the music.
We encourage the end-user to experiment with placement and angling of the Mirus
This page inTenTionally lefT blank.
coaxials, and further encourage learning of timeless acoustical principals detailed in all of
our other user’s manuals, such as the Imagine User’s Manual and Car Audio Reference guide.
22
© Hybrid Audio Technologies • Cumming, GA • 770.888.8200 © Hybrid Audio Technologies • Cumming, GA • 770.888.8200
23
Page 13

Mirus
Hybrid Audio Technologies extends a limited
one year warranty to the original purchaser
period of the product on which the parts are
Thank You!
being used, whichever is longer.
Coaxial
Systems
Warranty
when self-installed, and three years warranty
when installed by a certied Hybrid Audio
Technologies dealer (United States only),
and hereby certies that this product
will be free from defects in materials and
workmanship under normal and proper use
for one year from the date of purchase.
Hybrid Audio Technologies’ responsibility
under this warranty is limited to replacing
or repairing, at Hybrid Audio Technologies’
option, products or parts determined by
Hybrid Audio Technologies to be defective
either in materials, or workmanship. To
attain warranty service, the customer
must deliver the product or the defective
part(s), appropriately packed with proof
of purchase date, to an authorized Hybrid
Audio Technologies dealer. In the event that
a direct return from a consumer is required,
the consumer must obtain from Hybrid
Audio Technologies a return authorization
number, and ship the defective product
directly to Hybrid Audio Technologies.
All shipping expenses are the customer’s
responsibility. If the product has been
updated or superseded, a replacement
will be made with a current model of the
same quality and function. Warranty of
the replacement parts is limited to 90 days
or the unexpired portion of the warranty
This warranty does not cover any defects or
costs caused by: (1) modication, alteration,
repair or service of this product by any
persons or company other than Hybrid
Audio Technologies; (2) physical abuse to,
overload of, or misuse of, the product or
operation thereof in a manner inconsistent
with the use indicated in the instructions; (3)
any use of the product other than that for
which it was intended; or (4) shipment of the
product to Hybrid Audio Technologies for
service. This warranty does not cover labor
costs.
Hybrid Audio Technologies is not liable
for any special incidental or consequential
damages, including, but not limited to,
personal injury, property damage, damage
to or loss of equipment, loss of prots
or revenue, costs of renting or buying
replacements and/or any other additional
expenses, even if Hybrid Audio Technologies
has been informed of the prospect of
such damages. Any express warranty not
provided herein, and any remedy which
other than the warranty contained herein
might arise by inference or operation of law,
is hereby excluded and disclaimed including
the implied warranties of merchantability
and of the tness for a particular purpose
Hybrid Audio Technologies is
delighted that you have chosen
a Mirus Coaxial System for your
high-end mobile audio sound
system. We are convinced that a
great product oering, backed
up with unsurpassed customer
service and technical support
will advance the Hybrid Audio
Technologies namesake in the
coming years. We are pleased
that you have joined us in our
“new generation of in-car audio.”
If there is anything we can do
to help you get the most out of
your Mirus installation, please
do not hesitate to email us:
support@hybrid-audio.com,
by phone: 770.888.8200, or by
visiting us at: hybrid-audio.com
24
.
© Hybrid Audio Technologies • Cumming, GA • 770.888.8200 © Hybrid Audio Technologies • Cumming, GA • 770.888.8200
25
Page 14

1240 Oak Industrial Lane
Cumming Georgia 30041
United States
(T) +1 770 888 8200
(F) +1 888 886 4605
hybrid-audio.com
 Loading...