

Huvema HU 16 SUPER User Manual
HU 16 SUPER
D R I L L I N G - M A C H I N E S

2
CH AN GE S A ND T YPI NG E RRO RS R ES ERV ED
Table of conTenTs
1. General safety rules for all machines 3
2. Additional safety rules 4
3. Unpacking 4
3.1 Transportation instruction 4
4. Features 5
5. Installing the machine 5
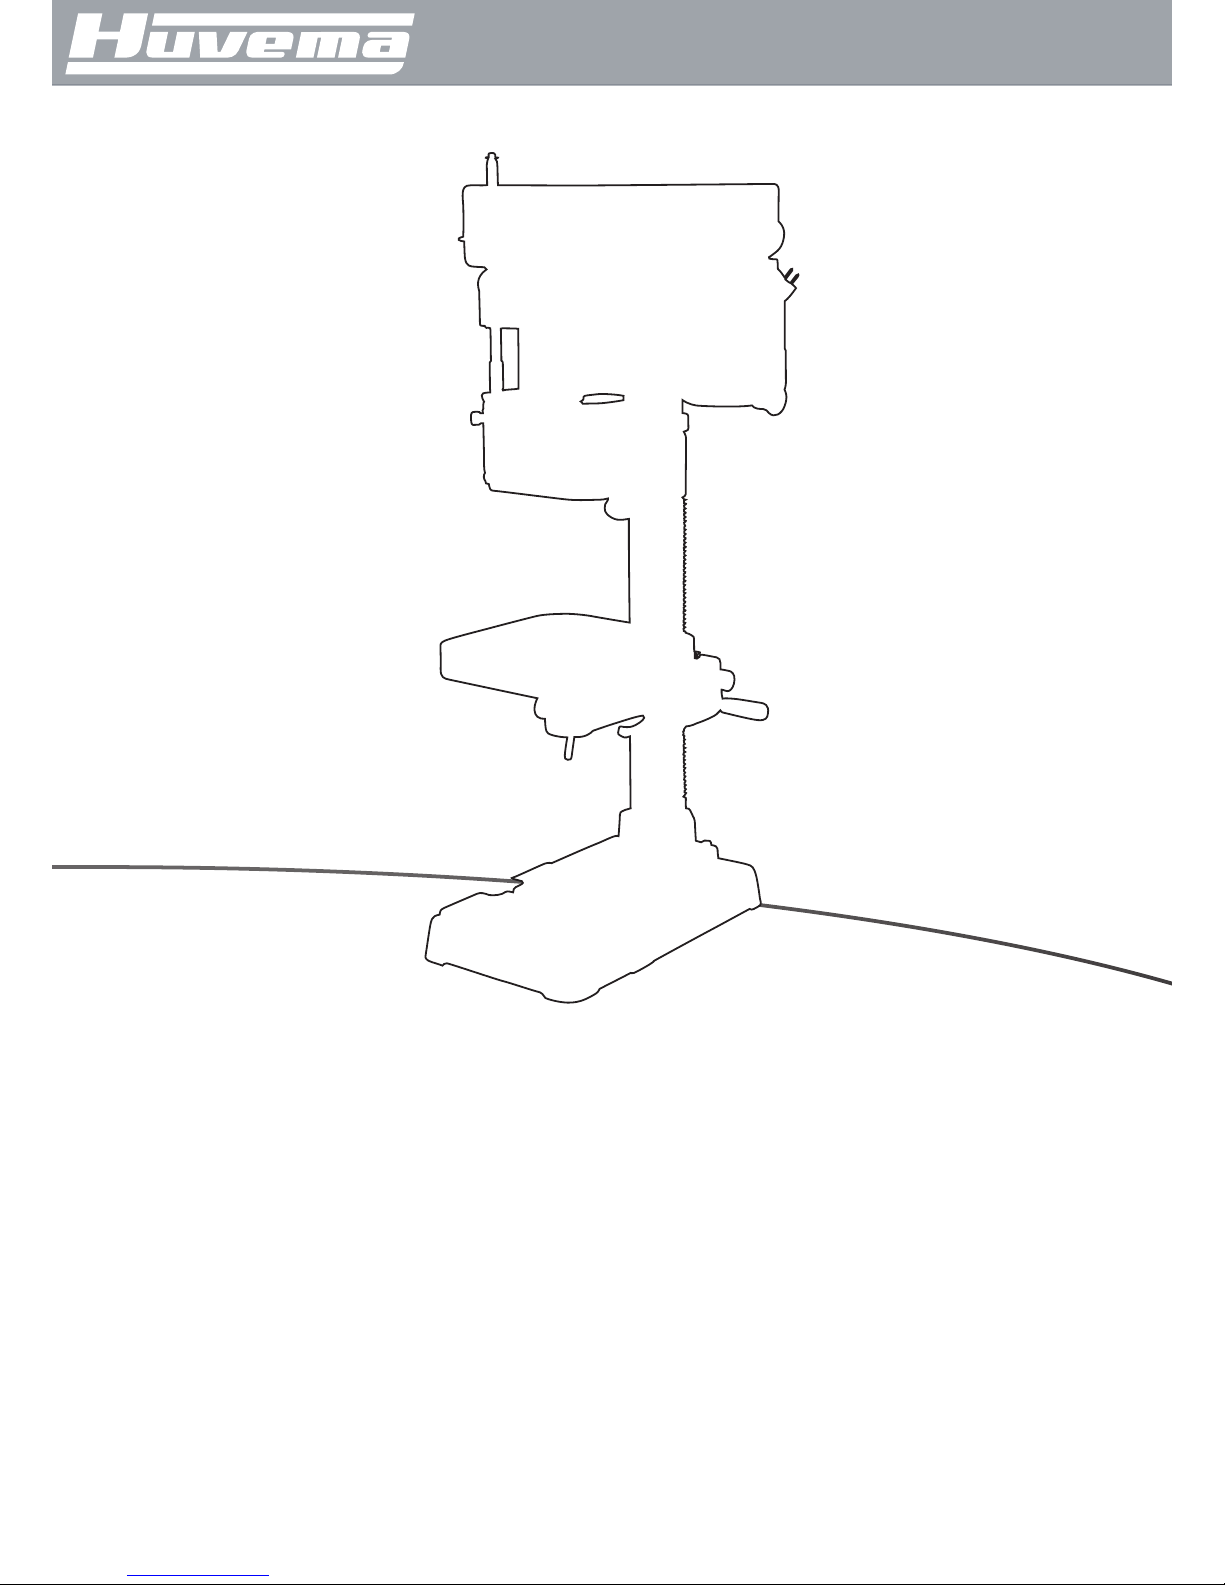
6. Main parts 6
7. Control panel 7
7.1 T-grooves 7
7.2 Work table adjustment 7
7.2.1 Height adjustment 7
7.2.2 Angle adjustment 7
7.2.3 360O Turning 7
7.3 Drill depth adjustment 8
7.4 Speed Selection 8
7.5 V belt adjustment 9
7.6 Noise levels 9
8. Troubleshooting 10
9. Feed shaft spring tension 10
10. Dimensions 11
11. Control circuit diagram 12
12. Parts drawing and list 13

3
CH AN GE S A ND T YPI NG E RRO RS R ES ERV ED
Drilling machine hU 16 sUper
1.
general safeTy rUles for all machines
N.B.: Read the instructions carefully in order to avoid any problems.
As with all machinery there are certain hazards involved with operation and use of this machine. Using the machine
with respect and caution will considerably lessen the possibility op personal injury. However, if normal safety
precautions are overlooked or ignored, personal injury to the operator may occur. Observe these rules insofar as they
are applicable to this particular machine.
This machine was designed for certain applications only. We strongly recommend that this machine NOT be modified
in any way and/or used for any application other than for which it was designed.
If you have any questions relative to its application DO NOT use the machine until you have contacted your dealer.
1. For your own safety read the instruction manual before operating the tool.
2. Keep all guards in place and in working order.
3. Ground all tools.
4. Remove adjusting keys and wrenches. Make a habit of checking the machine before turning it on.
5. Keep the work area clean. Cluttered areas and benches invite accidents.
6. Do not use in a dangerous environment, such as damp or wet locations or expose to rain. Always keep the work
area well-lit.
7. Keep children and visitors away. They must be kept at a safe distance from the machine at all times.
8. Make sure that the work area is not accessible to unauthorised persons. Use padlocks, master switches, remove
starter keys etc.
9. Never overload the machine. The capacity of the machine is at its largest when properly loaded.
10. Do not force the machine or attachment to do a job for which it was not designed.
11. Wear proper apparel. No loose clothing, gloves, neckties, rings, necklaces, bracelets or jewellery: they may get
caught in moving parts. No slip footwear is recommended. Wear a hairnet to contain long hair.
12. Always wear safety glasses and work according to safety regulations. Use a face or dust mask if operation is
dusty.
13. Always secure workpiece tightly using a vise or clamping device. This will keep both hands free to operate the
machine.
14. Do not overreach. Keep your proper footing and balance at all times.
15. Maintain tools in top condition. Keep them sharp and clean. Read the instructions carefully and follow the
instructions for cleaning, lubrication and tool replacement.
16. Lubricate the machine and fill all oil reservoirs before operation.
17. Disconnect tools before servicing and when changing accessories such as blades, bits, cutters etc.
18. Use only recommended accessories. Consult the owner’s manual for recommended accessories. The use of
improper accessories may cause hazards.
19. Avoid accidental starting. Make sure the on/off switch is in the “OFF” position before plugging in the power cord.
20. Never stand on the machine or tools. Serious injury could occur if the machine is tipped or if the cutting tool is
accidentally touched.
21. Check damaged parts. Replace or repair damaged parts immediately. Check machine for alignment of moving
parts, binding of moving parts, breakage of parts, mounting and any other conditions that may affect its
operation.
22. Direction of feed. Feed work into a blade or cutter against the direction of rotation of the blade or cutter only.
23. Never leave tool running unattended. Do not turn power off until it has come to a complete stop.
24. Alcohol, medication, drugs. Never us the machine while under the influence of alcohol, medication or drugs.
25. Make sure the tool is disconnected from the power supply, before servicing, repairing etc.
26. Keep the original packing for future transport or relocation of the machine.
4
CH AN GE S A ND T YPI NG E RRO RS R ES ERV ED
2.
aDDiTional safeTy rUles
Always keep in mind that:
• the machine must be switched off and disconnected from the power supply during maintenance and repairs,
• clamped workpieces may only be measured when the machine is switched off.
Never lean over the machine, mind loose clothing, ties, jewellery etc. and wear a cap.
Do not remove safety devices or guards. Never use the machine while a guard is open.
Always use safety glasses for machining rough materials.
Burrs and chips should only be removed using a sweeper or other aid, never with your bare hands!
Never leave the machine running unattended.
3.
Unpacking
Before unpacking, make sure the packaging is not damaged, broken or parts of the machine are sticking out; if any
of these defects are found, contact your retailer as soon as possible.
• Carefully open the packaging (pull it from the bottom to the top).
• Take out and read the manual; check if the machine is complete.
• Check if the machine is in good condition. There should be no damage, cracks or rust.
• Clean the surface of the machine.
3.1
TransporTaTion insTrUcTion
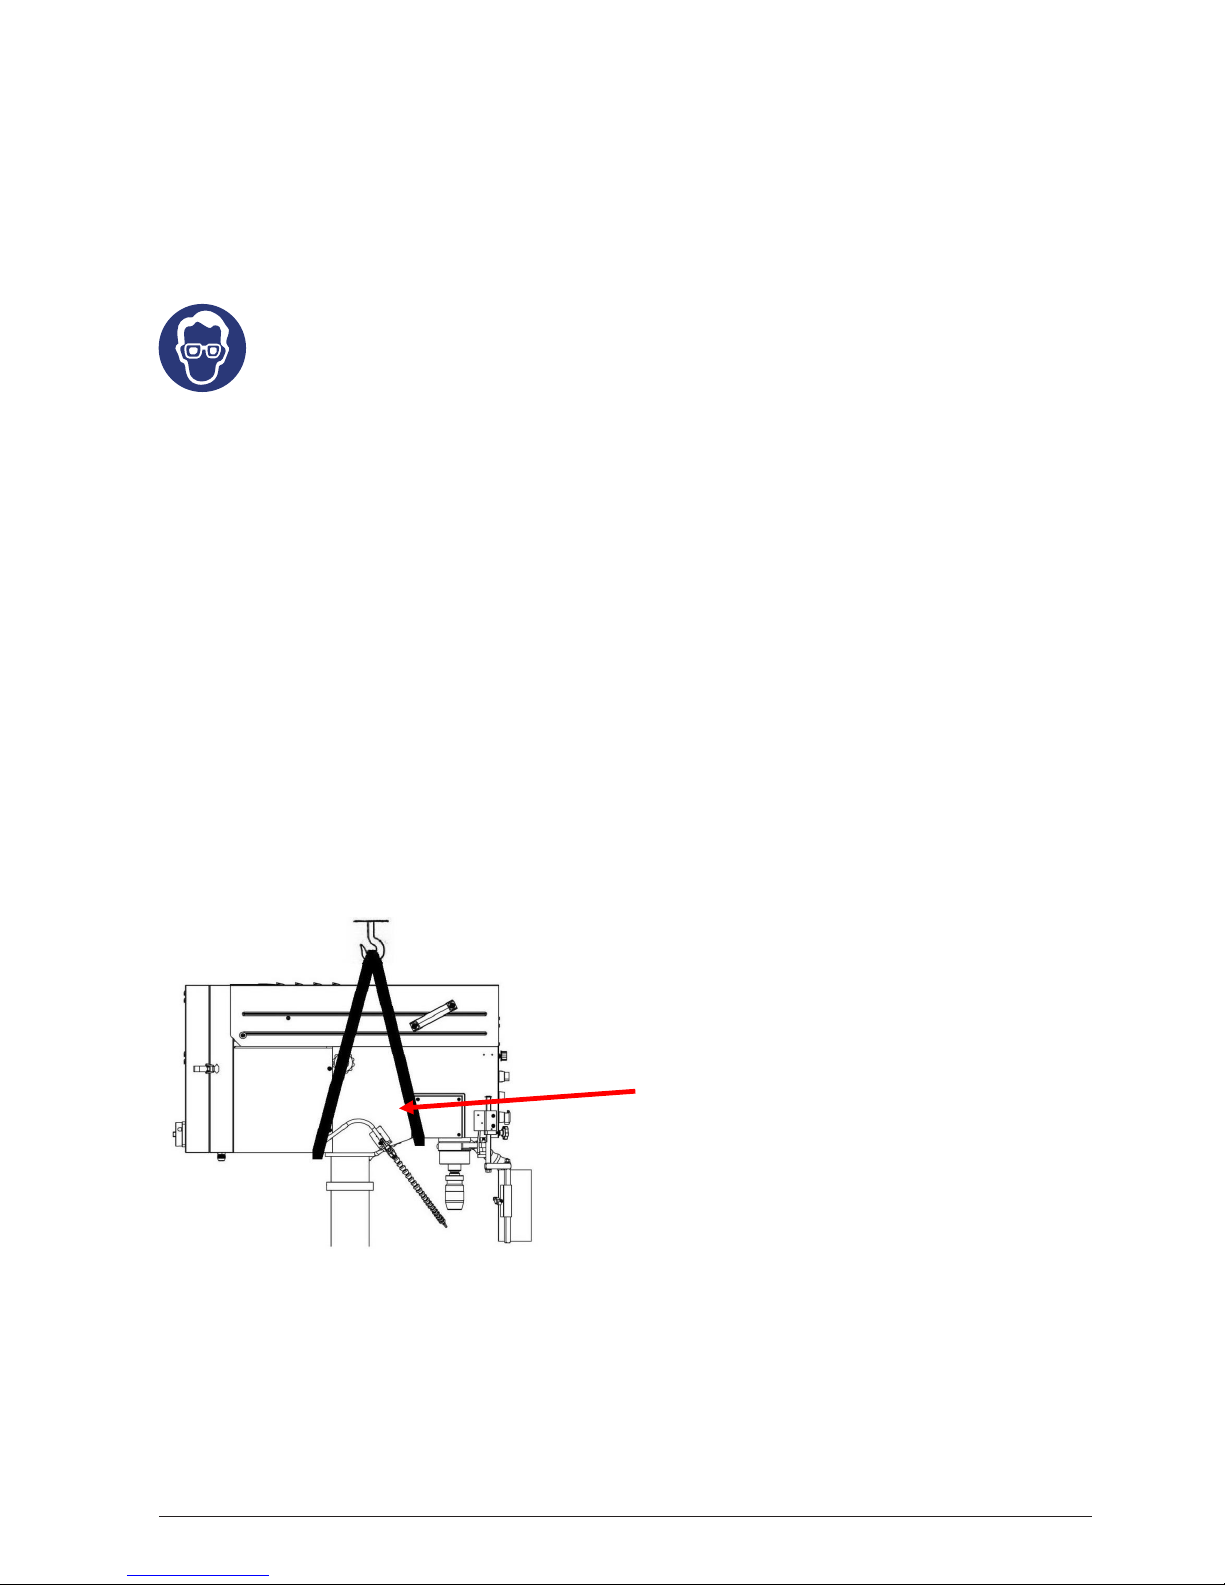
• Please refer to the machines specifications for proper machine handling. Be sure to use a suitable forklift or hoist
for lifting the machine.
• Handling and transportation must be carried out by qualified personnel.
• A forklift or hoist must be operated by a qualified driver.
• During transaport, always keep the machine well balanced.
• The machine must be lifted only vertically.
• Before handling, make sure all moving parts are secured and all detacheable accessories are removed from the
machine.
• Make sure the lifting straps are strong enough to hold the machine.
• Make sure the machine cannot bump or crash into anything. This will influence machine precision and may
damage the electronic control.
Always wear safety glasses!
Figure 1
Typical lifting strap position.
Lifting Straps

5
CH AN GE S A ND T YPI NG E RRO RS R ES ERV ED
4.
feaTUres
Model HU 16 Super
Drilling capacity 16 mm
Spindle taper MT2
Distance column-spindle 180 mm
Drilling depth 80 mm
Speed range 300-2360 rpm (12)
Max. distance spindle-table 510 mm
Column diameter 80 mm
Motor power 0.75 kW
Weight 78 kg
Voltage 230 V
5.
insTalling The machine
Install the machine on a concrete floor. Consider existing and anticipated needs, the size of material to be processed
through each machine, and space for auxiliary stands, work tables or other machinery when establishing a location
for your machine. See figures below.
1-5Site Considerations
Working Clearances
Consider existing and anticipated needs, size of material to be processed through each machine, and
space for auxiliary stands, work tables or other machinery when establishing a location for your
machine. See Figure 01.
for the minimum working clearances of the Model JTD-16series
A
620mm
B
390mm
Figure 01
4.Slide the arbor into the spindle socket whileslowly rotating the drill chuck. The socket hasa
rectangular pocket where the tang (or flatportion of the arbor shown in Figure 21) fitsinto.
5.Seat the chuck with a rubber mallet, as shownin Figure 22.
1-8.Setting the machine instruction:
1.The machine base with setting hole will be set on concrete floor.
The outlined procedures of setting the machine
MODEL
AREA
SETTED SCREW
JTD-16 series X=800×600 M10
Figure 21
Figure 22
Wood
Tang-SideUp
X = 800x600 mm
Use M10 set screws
Figure 3
Figure 2
 Loading...