

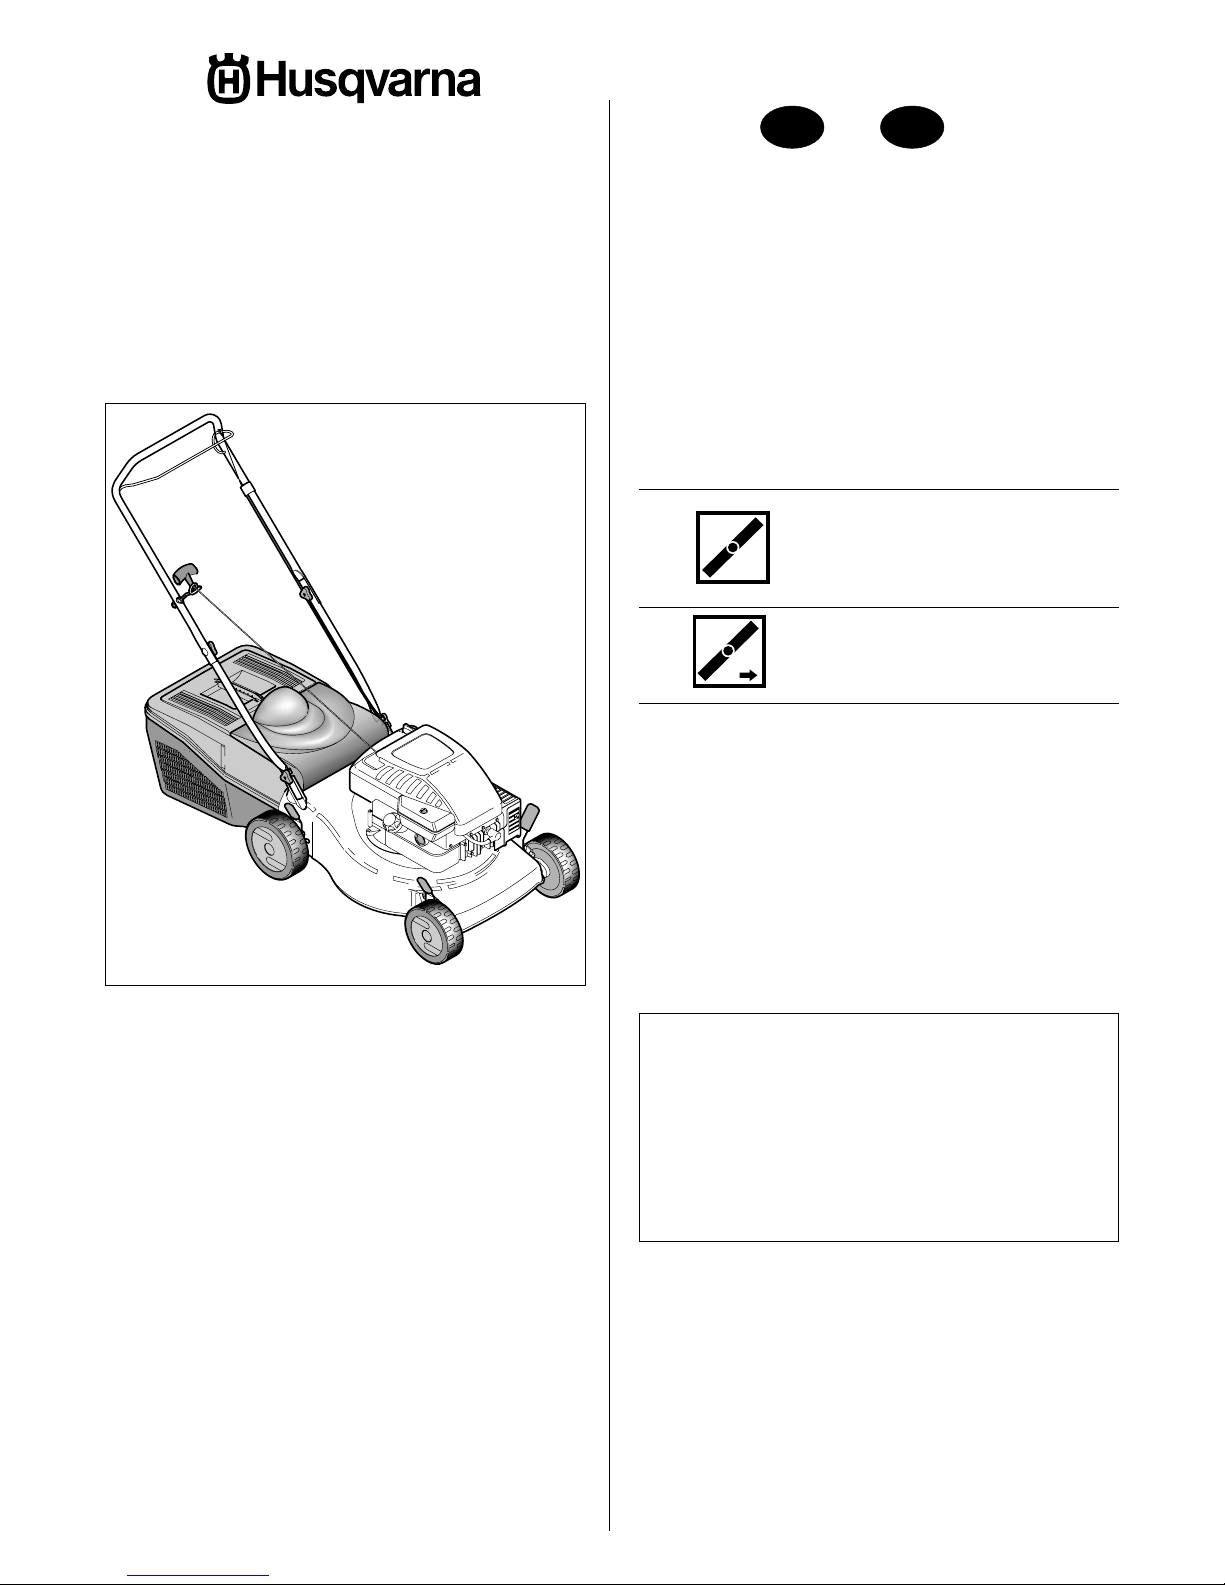
Husqvarna QUICKSILVER 46, QUICK SILVER 46 PUSH, QUICK SILVER 46 SD SELF DRIVE Instruction Manual
Libretto d'istruzione e uso
Instruction manual
Rasaerba con motore a scoppio -
Lama 46 cm
Lawn mower with petrol engine -
46 cm blade
Il presente manuale rappresenta una parte integrante del prodotto.
Vi preghiamo di conservarlo per ogni ulteriore utilizzo.
The present manual constitutes an integral part of the product and it
should be kept for all future reference.
Rasaerba a spinta
Manual lawn mower
IT EN
Mod. QUICK SILVER
46 PUSH
Mod. QUICK SILVER
46 SD SELF DRIVE
Rasaerba semovente
Self-propelled lawn mower
For all customer enquiries or for replacement parts, contact:
0870 6091901
customer.services@husqvarna.co.uk
2
La ringraziamo per la fiducia accordataci con l'acquisto del nostro
rasaerba. Siamo certi che avrà modo di apprezzare nel tempo e
con soddisfazione la qualità del nostro prodotto. La preghiamo di
leggere attentamente questo manuale predisposto appositamente per
informarla circa il suo uso corretto in conformità ai requisiti essenziali
di sicurezza.
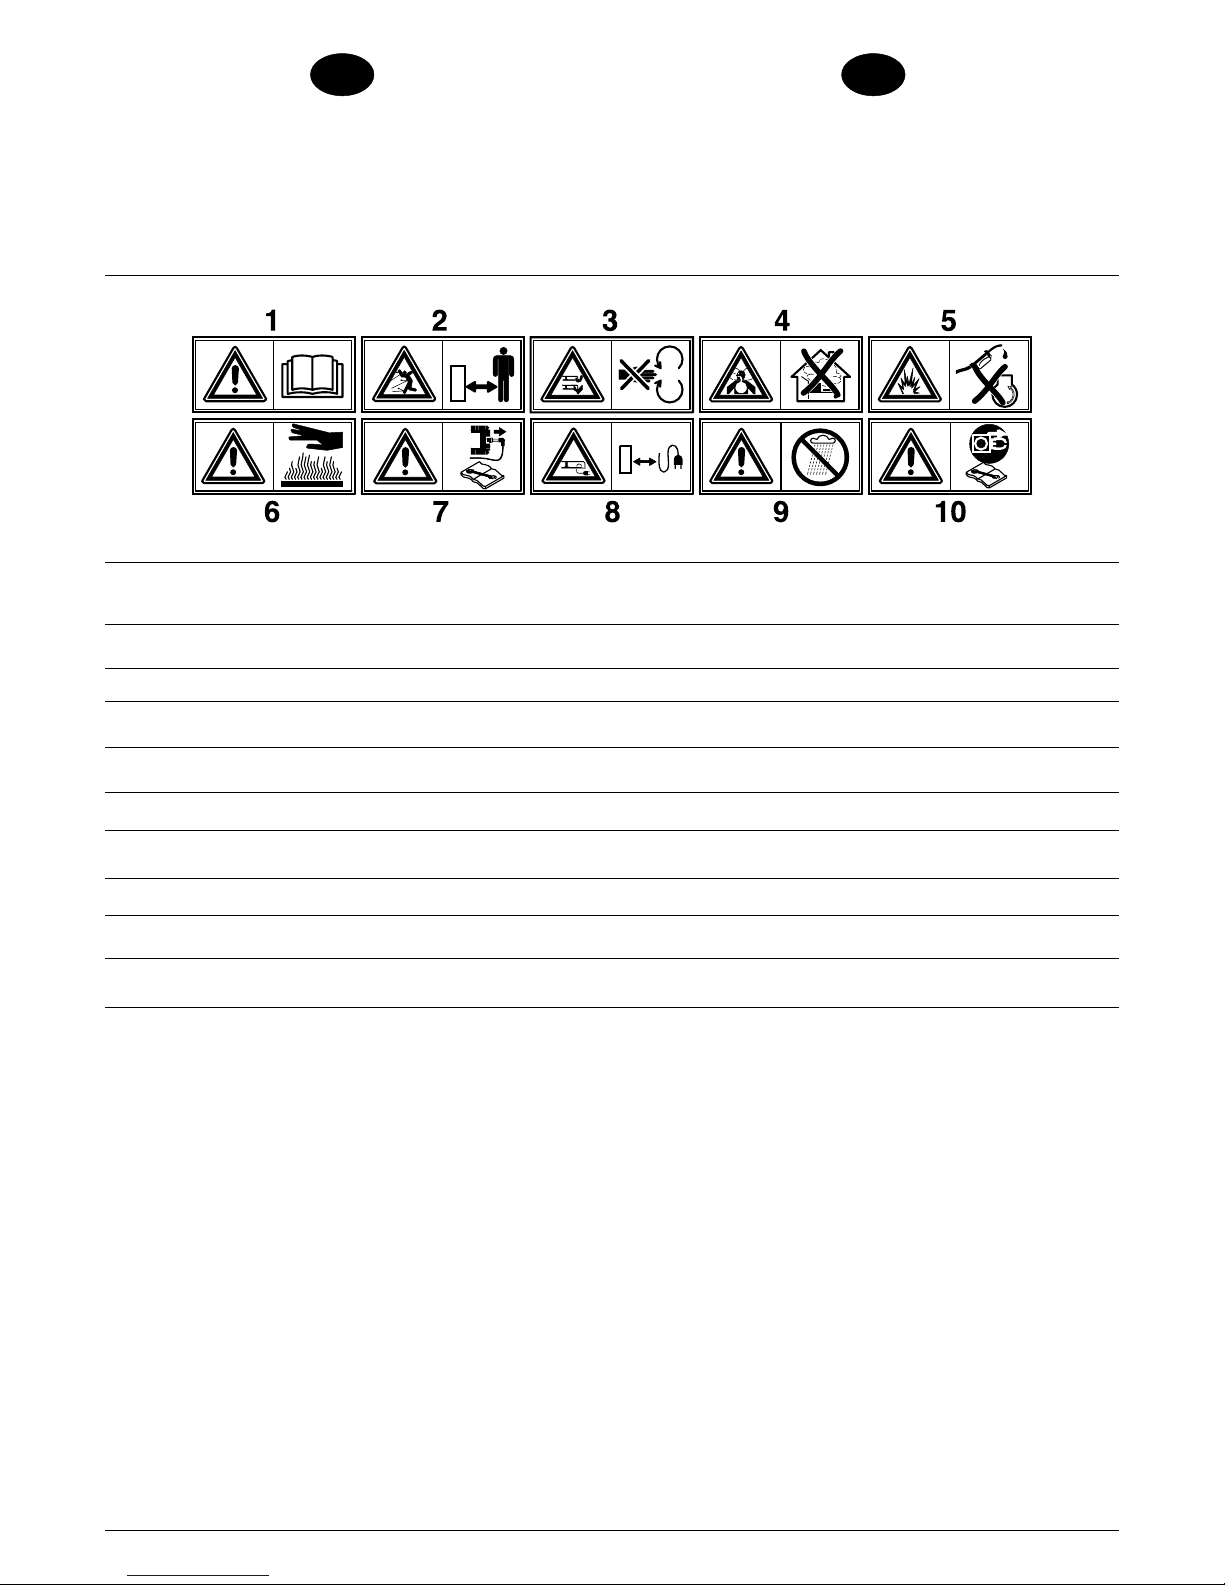
Tenere le persone estranee fuori dalla zona di pericolo!
Attenzione! Spegnere il motore e staccare la candela prima di effettuare
qualunque manutenzione.
Pericolo di aspirazione di gas tossici! Non utilizzare l'apparecchio in ambienti
chiusi o poco ventilati.
Attenzione! Superficie calda.
1
2
3
4
5
6
7
8
9
10
Attenzione! Leggere il manuale di istruzioni prima dell'uso.
Attenzione: pericolo ferimento mani e piedi.
Pericolo di esplosione! Non effettuare rabbocchi di carburante con
motore in moto.
Tenere il cavo di alimentazione lontano dall'utensile tagliente.
Prima di qualsiasi intevento sull'utensile tagliente togliere la spina di alimentazione.
Attenzione! Proteggere dalla pioggia e dall’umidità.
IT EN
We wish to thank you for choosing our lawn mower. We are confident
that the high quality of our machine will meet with your satisfaction
and appreciation and that your lawn mower will give you long-lasting
service.Before starting to use your machine, make sure to read with
care this manual, which has been purposely drawn up to provide you
with all the necessary information for proper use, in compliance with
basic safety requirements.
Caution! Read the instruction manual before use.
Keep other people well away from the danger area!
Warning: Risk of hand and feet injury.
Risk of breathing in toxic gases ! Do not use the appliance in closed or poorly
ventilated environments.
Risk of explosion ! Do not top up with fuel with engine running.
Caution! Hot surface
Caution! Switch off the engine and disconnect the spark plug before under-
taking any maintenance work.
Keep the power supply cable well away from the cutting tool.
Caution! Shelter from rain and humidity.
Before carrying out any operations on the cutting tool, disconnect the plug
1
2
3
4
5
6
7
8
9
10

3
NOMENCLATURA
DESCRIPTION
1 Upper handles
2 Lower handles
3 Fastening knobs for upper
handles
4 Grass catcher
5 Oil filler cap
6 Oil drain plug
7 Deck
8 Adjusting levers for cutting
height
1 Manico superiore
2 Manico inferiore
3 Vite, dado fissaggio manico
superiore
4 Cestello raccoglierba
5 Tappo carico olio
6 Tappo scarico olio
7 Scocca
8 Leve regolazione altezza
taglio
9 Candela
10 Tappo serbatoio benzina
11 Maniglia avviamento motore
12 Paratoia posteriore
13 Maniglia frizione
14 Leva di sicurezza
15 Gruppo riduttore
16 Pompetta arrichimento
9 Spark plug
10 Fuel cap
11 Engine start-grip
12 Rear deflector
13 Clutch lever
14 Engine stop lever
15 Reduction gear
16 Fuel-enrichment pump
1
4
2
3
12
14
11
5
6
16
9
7
8
10
1
4
2
3
12
14
11
5
6
16
9
7
8
10
15
13
4
X 4
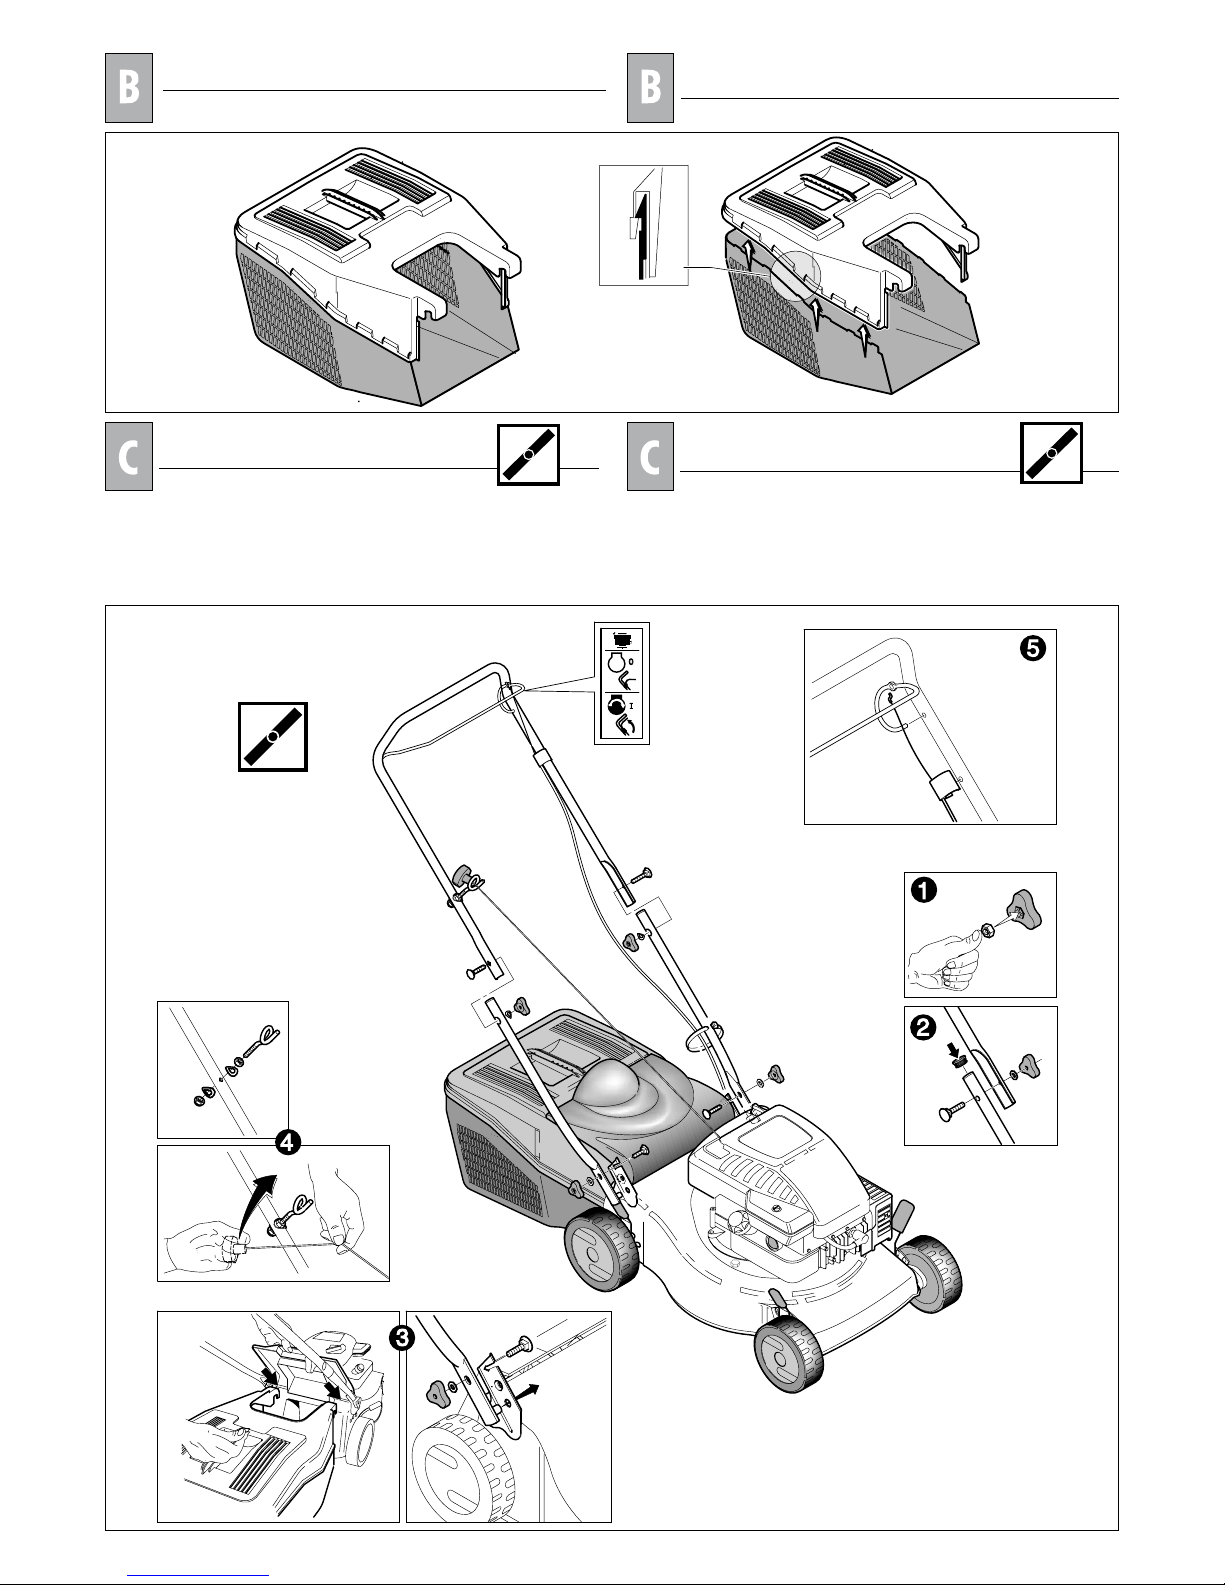
MONTAGGIO
Rasaerba a spinta
Rimuovere le estremità dei manici, collegare i cavi come mostrato e
ripristinare il fissaggio dei manici stessi.
ASSEMBLY
Manual lawn mower
Remove the bail arms, attach cables as shown and re-fit the bail arms,
if applicable.
Assemble the handle fit the levers with the pins and clips provided,
assemble the wheels as shown and throttle if supplied.
ASSEMBLY OF GRASS CATCHER
MONTAGGIO RACCOGLIERBA

5
MONTAGGIO
Rasaerba semovente
Rimuovere le estremità dei manici, collegare i cavi come mostrato e
ripristinare il fissaggio dei manici stessi
ASSEMBLY
Self-Propelled
Remove the bail arms, attach cables as shown and re-fit the bail arms,
if applicable.
Assemble the handle fit the levers with the pins and clips provided,
assemble the wheels as shown and throttle if supplied.
X 4
 Loading...