

Page 1

18" Sherpa Cart Fan
Owner’s Guide and
Installation Manual
English
Page 2
Español
Page 11
Français
Page 21
Form #44805
20081023
©2008 Hunter Fan Co.
Models
90235
Page 2
IMPORTANT SAFETY INFORMATION
Read & Save ese Instructions
CAUTION
When using electrical appliances,
basic precautions should always be
taken to reduce the risk of re, electric
shock and personal injury:
1. Read all instructions before using
this fan.
2. Improper assembly may result in
the risk of re, electric shock or
personal injury.
3. The power plug must be removed
from the power socket when not
ENGLISH
in use, before cleaning, servicing,
maintenance, carrying a load, and
before moving to another location.
4. Place the fan on a at, dry, stable
surface to avoid tipping over.
5. Use fan only for intended use,
as described in this instruction
manual.
6. NEVER insert ngers, pencils
or any other objects through
the grille.
7. DO NOT operate this fan:
• if the cord is damaged
• if the fan malfunctions
• if the fan has been dropped or
damaged in any way
8. To disconnect, grip plug and pull
from wall outlet. NEVER yank on
cord.
9. This product is intended for
garage, workshop, and indoor
residential use only.
10. DO NOT operate fan in the
presence of explosive and/or
ammable fumes.
11. DO NOT place fan or any parts
near an open ame, cooking or
any other heating appliances.
12. DO NOT use near curtains,
plants, window treatments, etc.
13. Never operate the fan if the
grills are not properly installed.
Operating the fan without the
grills could result in serious injury.
14. The appliance is not intended for
use by young children or inrm
persons without supervision.
Young children should be
supervised to ensure that they do
not play with the appliance.
15. This appliance has a grounded
three-prong plug and is suitable
for grounded receptacle use only.
An adapter is available (sold
separately at home improvement
or your local hardware store)
for connecting three-blade
grounding-type plugs to two-slot
receptacles. The adapter must
be properly grounded. DO NOT
attempt to defeat the purpose of
this safely feature.
16. DO NOT drape materials over
halogen lamps (jackets, rags,
etc.).
44805 10/23/2008
[2]
Page 3
WELCOME UNPACKING
Thank you for choosing a Hunter
Fan. This manual gives you complete
instructions for using your fan.
Before using your fan, record the following
information for your records and for
warranty assistance.
Model Name ______________________
Date Code ________________________
Date Purchased ____________________
Where Purchased __________________
_________________________________
As you unpack the fan, save the carton
and packing materials in case you want to
move or ship the unit in the future.
Carefully remove all items from
the box.
NOTE: It is best to have someone hold
the box while you lift the fan and the
protective packaging out of the carton.
Make sure all shipping materials are
removed from fan before operating.
ENGLISH
Please attach your
receipt or a copy of your
receipt to this manual for
future reference.
44805 10/23/2008
[3]
Page 4

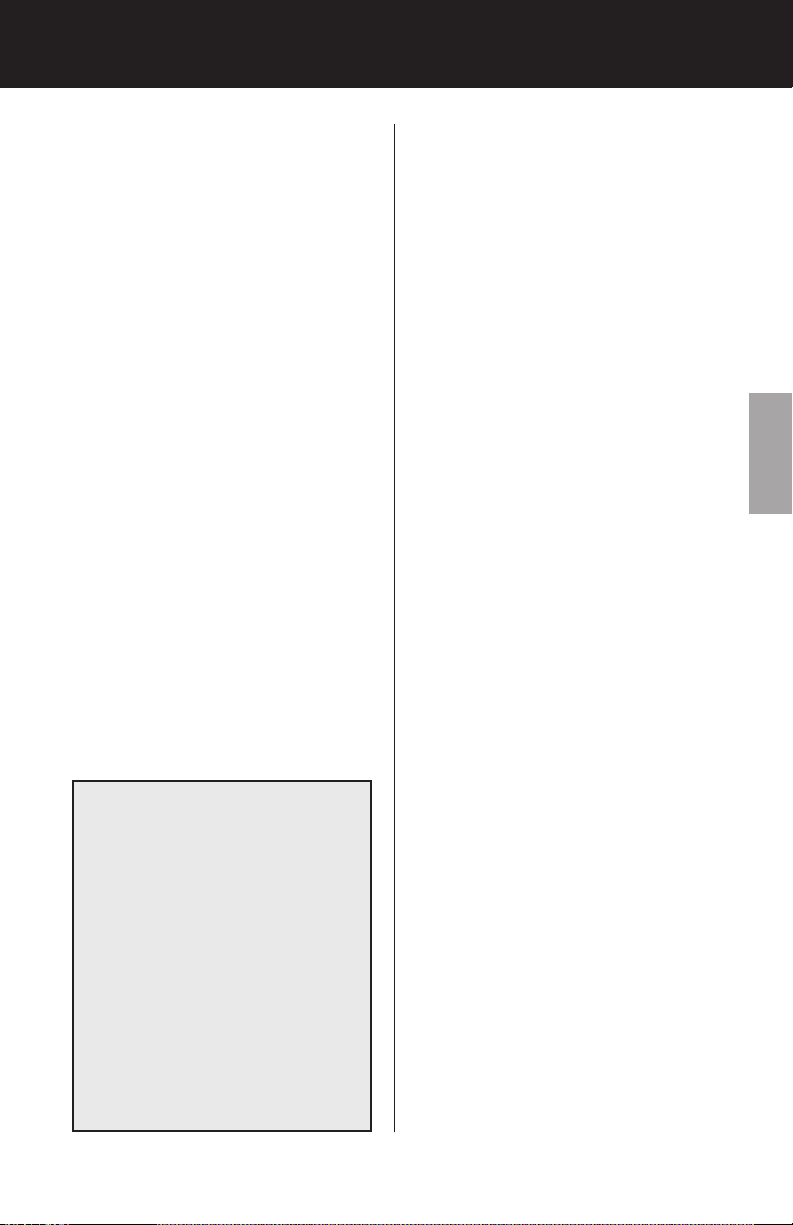
GROUNDING INSTRUCTIONS
This appliance is for household use only
and may be plugged into any 120-volt
AC electrical outlet (ordinary household
current). DO NOT use any other type of
outlet.
WARNING
This unit is suitable for
grounded receptacle use only.
The power cord has a grounded plug
as shown in Figure 1A. The fan must be
plugged into an electrical outlet that can
accommodate the grounding pin. If your
electrical outlet can not accommodate the
ENGLISH
grounding pin, then you must purchase
and install one of the two types of
adapters shown in Figure 1B.
Grounded
Plug
LINE CORD SAFETY TIPS
1. NEVER pull or yank on the cord or
the appliance.
2. To insert plug, grasp it rmly and
guide it into the outlet.
3. To disconnect the appliance, grasp
the plug and remove it from the
outlet.
4. Before each use, inspect the line
cord for cuts and/or abrasion marks.
If any are found, the appliance
should be serviced and the line
cord replaced. Please return it to
our Service Department or to an
authorized service representative.
5. NEVER wrap the cord tightly around
the appliance, as this could place
undue stress on the cord where
it enters the appliance and could
cause it to fray and break.
6. DO NOT operate appliance if the
line cord shows any damage, if the
appliance works intermittently or
stops working entirely.
Grounding
Pin
Grounded
Outlet
Figure 1A
Grounded
Outlet
Adapter
(Sold Separtely)
Grounding
Means
Figure 1B
44805 10/23/2008
[4]
Page 5

ASSEMBLY
[b]
[a]
[a]
1. Insert Sleeve [a] into center of Wheel
[b].
3. Fasten with Large Bolt [a], Lock
Washer [b], and Flat Washer [c].
[a] [a]
[b]
[a]
[b][c]
2. Place the Axle [a] between the Wheel
Brackets [b].
[a]
4. Tighten with Large Allen Wrench [a]
(included).
ENGLISH
[b]
5. Insert Grey Upright Tubes [a] into Base
Assembly [b].
44805 10/23/2008
6. Make sure the Holes [a] in the tubes
are facing inward.
[5]
Page 6

ASSEMBLY
[a]
[a][c]
[b]
7. Fasten Small Bolt [a] and Nylon Nut [b]
using Small Allen Wrench [c] (included)
and an adjustable wrench or pliers.
ENGLISH
[a]
[b]
9. Lower the Fan Assembly [a] onto the
Tubes [b] of the base assembly. Slide
down until it stops.
8. Store the Small Allen Wrench [a] in the
cover of the electrical box when not in
use. This wrench can be used to adjust
the tilt resistance (see page 7).
[a]
10. Pull on Thumb Levers [a] to lower the
Fan Assembly into the lowest / load
carrying position.
[a]
11. When not in use, please store cord
on the back of the fan assembly as
shown above.
44805 10/23/2008
[6]
Page 7

OPERATION
ADJUSTING HEIGHT OF FAN
• This fan has a special height
adjustment feature allowing it to
be placed near a standard height
window.
1. Place you foot on the carrying ledge.
2. Pull in on thumb levers.
3. Raise fan assembly slightly and
release levers so they will locate in
the next hole.
4. Slowly raise or lower the fan to the
desired position.
• The fan section can be raised and
locked approx. 9" and 16" from the
load carrying position.
ELECTRICAL BOX
• Grounded
• Circuit breaker protected with 7A
overcurrent protection [a].
NOTE: If the breaker trips, unplug all
cords and hit the reset button on the side
of the box.
ENGLISH
[a]
ADJUSTING
TILT RESISTANCE
1. The cover of the electrical box holds
the small allen wrench needed for
this operation.
2. To adjust tilt resistance locate
fasteners on both sides of the fans
[a].
• To increase tilt resistance - turn
clockwise.
• To decrease tilt resistance - turn
counter-clockwise.
44805 10/23/2008
[7]
[a][a]
Page 8

OPERATION
HALOGEN LIGHTS
1. Each light has its own switch [a].
2. Push once to turn the lamp on. Push
again to turn the light off.
3. 150 watt Bulbs are included.
• To replace bulbs.:
i. Unplug unit and make sure lights
cool down.
ii. Remove the wing nut [b] at the
top of the back of the light.
iii. Carefully let the cover hinge
down so as not to break the
lens.
ENGLISH
iv. Re-lamp with Type T-3 150 watt
bulb or smalller.
v. Reverse instructions to close
unit.
CARRYING A LOAD
1. The power plug must be removed
from the power socket when carrying
a load.
2. Always carry a load with the fan
assembly locked in the lowest
position (load carrying position).
3. This unit has been tested to carry a
maximum capacity of 200 lbs.
4. For taller loads, the fan can be tilted
90 or 180 degrees to reduce load
interference with the fan.
[b]
[a]
WARNING
Always hold the top handle when
adjusting light direction due to
heat generated from light.
FAN SPEED
1. Use speed control rotary knob to
control the fans 3 speeds: High,
Medium, and Low.
44805 10/23/2008
[8]
Page 9

®
STORAGE
1. ALWAYS store the fan in a dry place.
2. NEVER store the fan while it is still plugged in.
3. NEVER wrap the cord tightly around the fan.
4. DO NOT put any stress on the cord where it enters the fan, as it could cause the cord
to break.
MAINTENANCE
This fan is permanently lubricated and will not require additional lubrication (oil) for the life
of the fan.
This fan requires little maintenance and contains no user serviceable parts. DO NOT try to
x it yourself. Contact qualied service personnel if servicing is needed.
TO CLEAN:
1. Before cleaning, turn the fan off and remove the plug from electrical outlet. Wipe off
excess dust with a lint-free cloth.
2. DO NOT immerse the fan in water or any other liquid.
TROUBLESHOOTING
ENGLISH
PROBLEM
• Can not adjust the angle of the fan.
• Fan will not tilt
• Fan will not stay upright.
• Fan will not swivel.
• Fan will not hold horizontal position.
• Electrical box has no power.
2008 Hunter Fan Co.
©
44805 10/23/2008
SOLUTION
• Loosen the swivel and tilt bolts with
provided allen wrench
• Loosen tilt.
• Tighten tilt.
• Loosen swivel.
• Tighten swivel.
• Reset circuit breaker.
If you have tried these troubleshooting
solutions and still have trouble, visit our
Website at http://www.hunterfan.com
or call 888-830-1326 for Technical Assistance
from 7 AM to 7 PM Central Time Monday thru
Friday and 8 AM to 5 PM Central Time on
Saturday.
HUNTER FAN COMPANY
2500 FRISCO AVENUE
MEMPHIS, TN 38114, USA
[9]
Page 10

Form #44805
20081023
©2008 Hunter Fan Co.
 Loading...