

Page 1
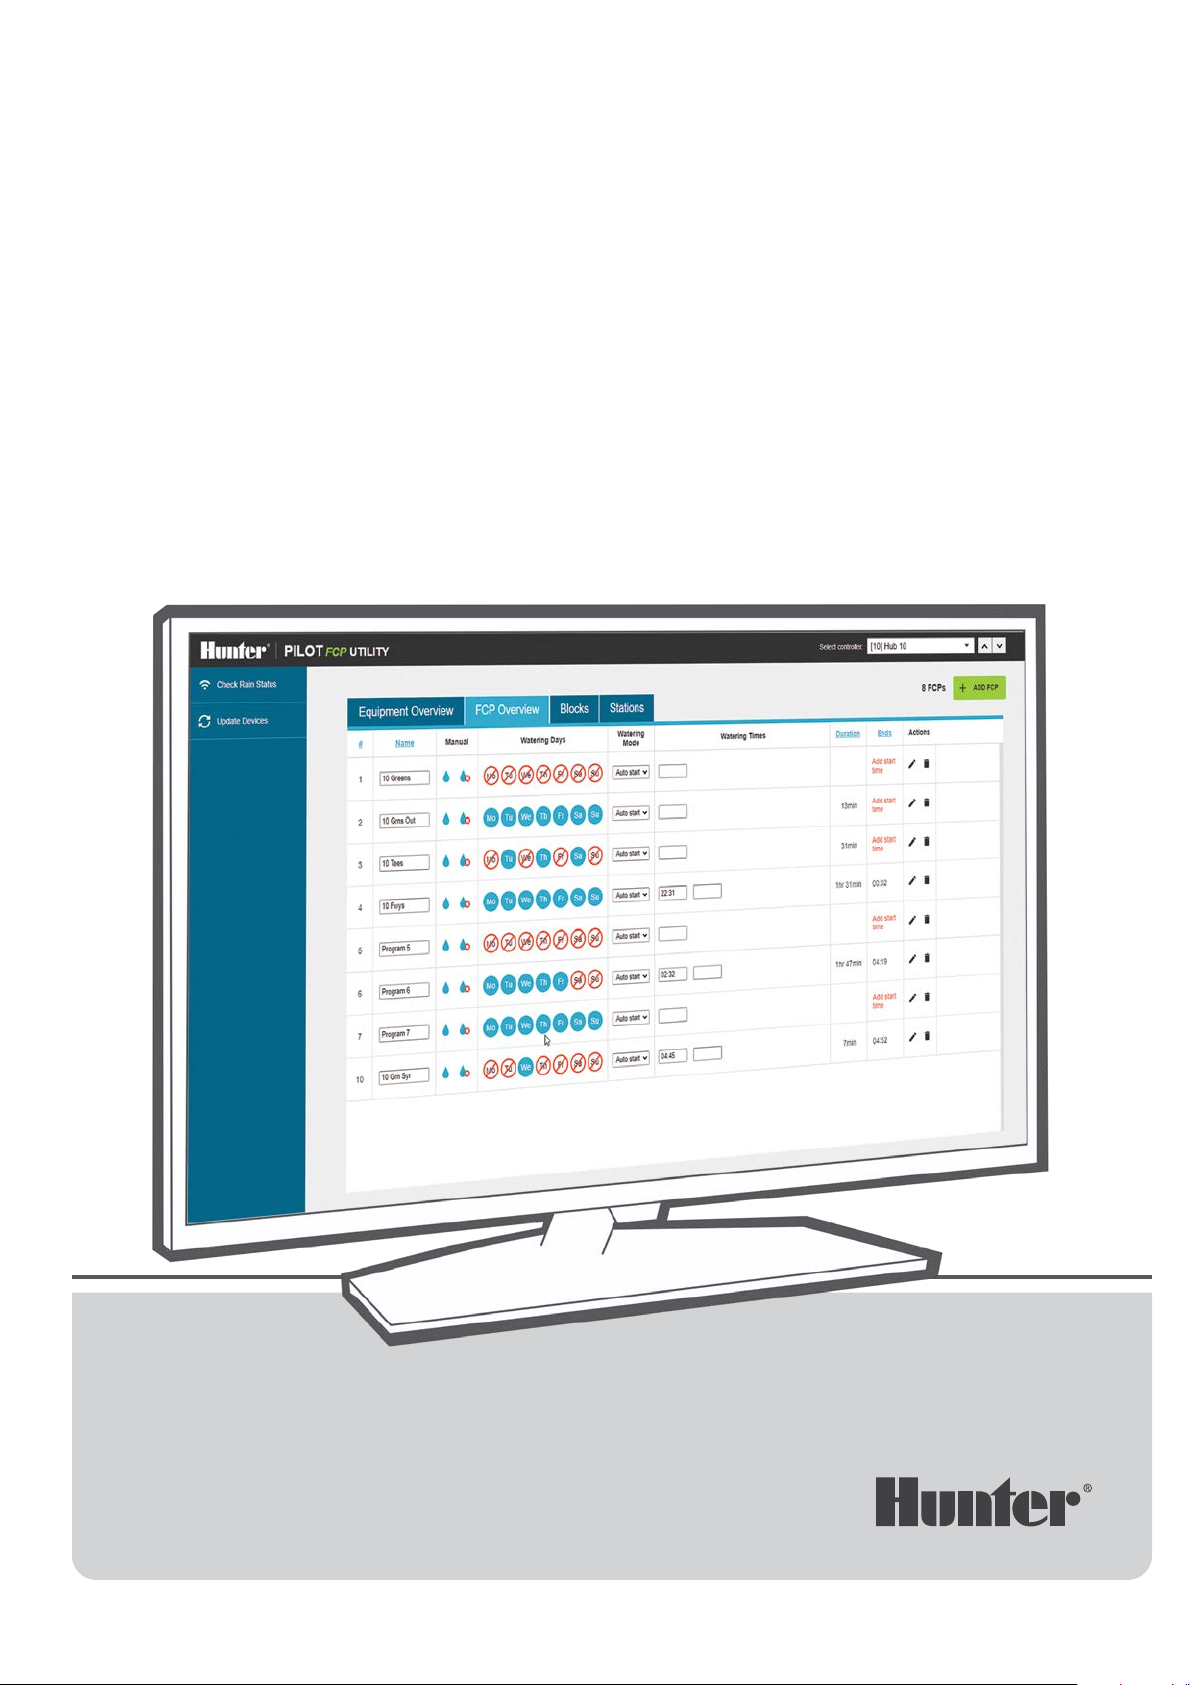
PilotFCP Utility
A SMART, SIMPLE SOLUTION
Remote Golf Course Irrigation Management
Quick Start Guide
Page 2
Introduction
A SMART, SIMPLE SOLUTION
The PilotFCP Utility is an innovative tool to simplify golf course irrigation
for the Pilot
TABLE OF CONTENTS
Installation ............................................................3
Connecting to Controllers ............................... 4
Equipment Overview .........................................5
FCP Overview ..................................................... 6
Edit FCP ...............................................................7
Blocks .................................................................. 8
Stations ............................................................... 9
®
Network
2
Page 3
Installation
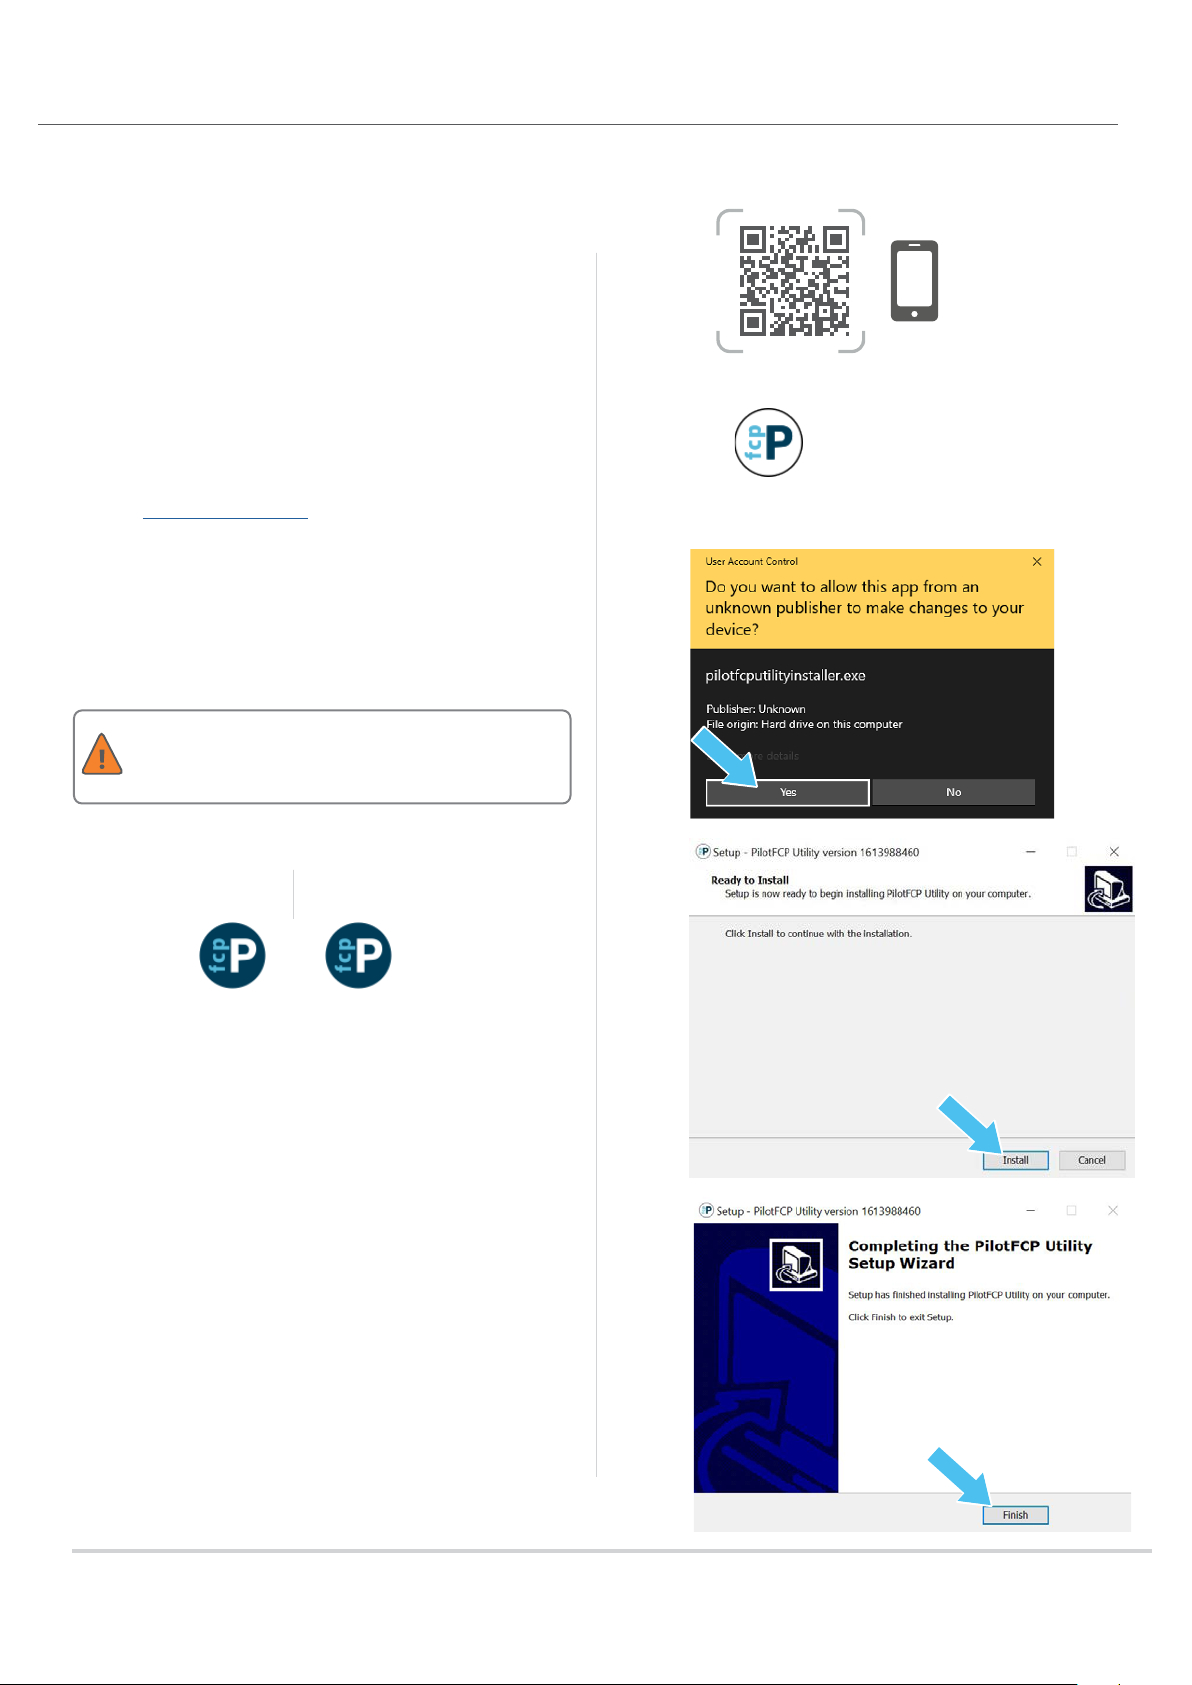
Installation
The PilotFCP Utility allows access to all Pilot controllers and
hubs on your golf course from a single PC. This tool has the
ability to schedule basic functions remotely from a desktop
computer or tablet.
You must have the Google Chrome
your Windows® 10 PC. PilotFCP Utility uses Chrome to open
on a local level, but Chrome does not need to be the default
web browser. Follow these steps to get started:
1. Go to hunter.info/PilotFCP.
2. Download and save the pilotfcputilityinstaller.exe le to
your desktop.
3. Double-click the shortcut and click Yes to run the app.
4. Click Install.
5. Click Finish. The installation is now complete!
6. Double-click the PilotFCP Utility icon from your desktop to
open and begin using the soware.
Use Utility-with FI when the computer is connected
to a Pilot-FI. Use Utility-no FI when directly
connected to a Pilot controller.
TM
web browser installed on
①
https://hunter.info/PilotFCP
②
pilotfcputility
installer.exe
③
➏➏
Utility-with FI
④
Utility-no FI
⑤
Google Chrome is a trademark of Google LLC. Windows is a trademark
of Microso Corporation in the United States and/or other countries.
3
Page 4

Connecting to Controllers
④④
➊➊ ②② ③③
⑤⑤
CONNECTING TO CONTROLLERS
1. From the PilotFCP Utility main page, double-click
Discover Devices.
Communication must be established with a Pilot-FI
or Pilot controller to discover a device.
2. The Device Discovery box will appear. Device refers to
controllers and/or hubs. Type in the number of controllers/
hubs you have. Example: Type “1.”
3. Next, click Discover.
4. Synchronize the controller/hub by clicking on Sync New
Devices. This will retrieve all the programs and blocks
that already exist in the controller/hub. The new device or
multiple devices will appear when discovered. The name of
the device is the controller/hub address number.
This process happens in succession. Please wait
until the synchronization is complete.
5. Change the device name by clicking inside the box.
4
Page 5

Equipment Overview
⑩⑩
③③
13
②② ①①④④
⑤⑤ ➐➐ ➑➑➒➒
⑥⑥
⑪⑪
12
EQUIPMENT OVERVIEW
The PilotFCP Utility can access up to 999 dierent FC
controllers or TWM hubs. The Equipment Overview tab is the
default home screen.
Device refers to a Pilot FC controller or Pilot
integrated hub.
1. Equipment Overview: Serves as the default home screen,
which includes a list of existing devices and their statuses.
2. Discover Devices: Search for existing or new devices in
the list.
3. Check Rain Status: Globally check the current status of
devices.
4. Update Devices: Globally updates all devices with changes
made in the PilotFCP Utility.
5. Name: Assign or edit a device name by clicking inside
the box.
6. Information: Shows device details and rmware version
number. Must be version 2.0 or higher to use the
PilotFCP Utility.
7. Device: Status shows current health of device(s). Options
include Good
8. Mode: Sets device irrigation mode. Options include Enable
Irrigation Shutdown
and Bad .
or Enable Irrigation .
9. Push Action: Push changes made in PilotFCP Utility to
device
push to the device.
10. Pull Action: Pull all station schedules from device
This will overwrite schedules in the utility.
11. Device Communication Check: Shows connection
status
12. Delete Device: Click on
reappear when Discover Devices is used.
13. Communication Status: Click the Device icon
communication on and o. The icon will turn gray when
communication is turned o.
. Icon will be gray when there are no changes to
.
.
to delete a device. Device will
to toggle
5
Page 6

FCP Overview
②② ③③ ①①
④④
⑤⑤⑥⑥ ➐➐ ➑➑
➒➒
⑩⑩ ⑪⑪
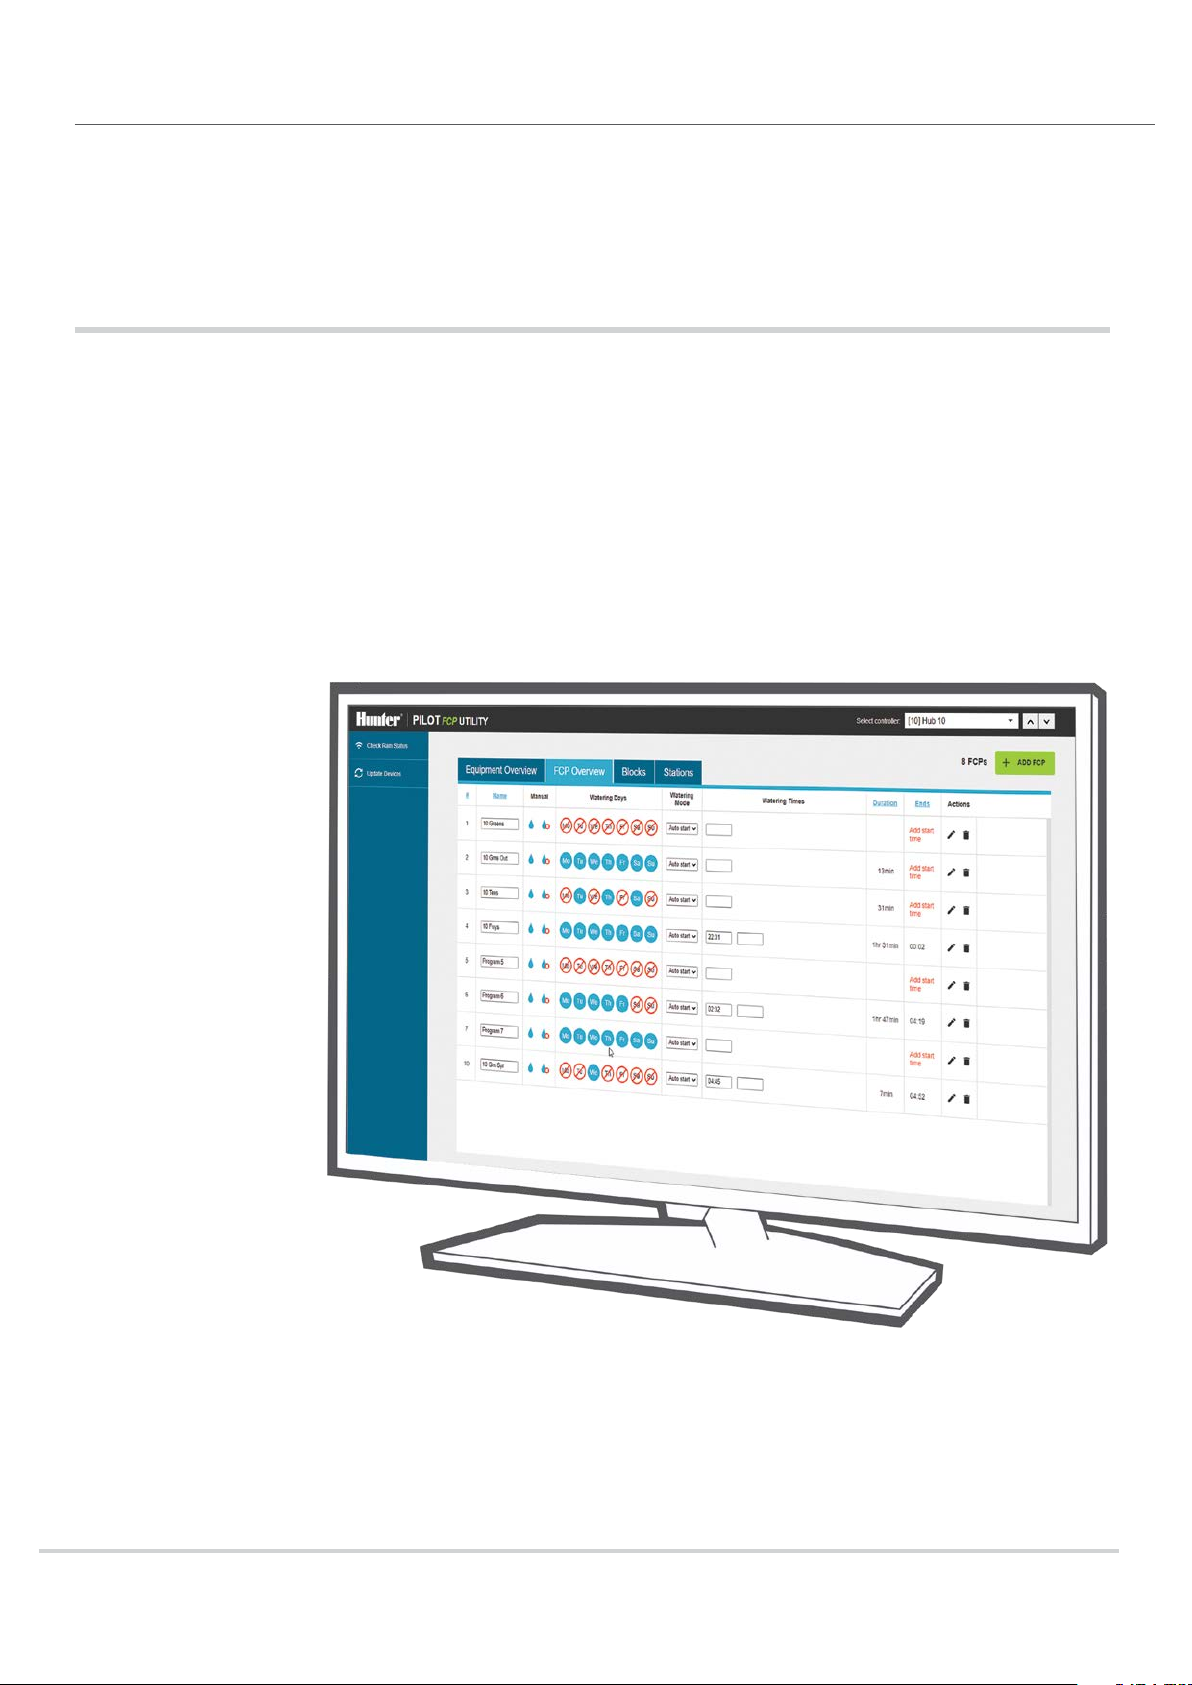
FCP OVERVIEW
1. To edit eld controller programs, click on the FCP
Overview tab.
2. Name: Assign or edit FCP names by clicking inside the box.
3. Manual: Select Manual Start
Manual Stop
4. Watering Days: Set an FCP watering schedule by
choosing the specic Days On
5. Watering Mode: Set the FCP watering mode by
selecting Auto start, Repeat, or Cycles from the
drop down menu.
6. Watering Times: Set the FCP program start time.
7. Duration: Set the FCP program duration.
8. Ends: Shows the FCP program end time. The “Add a start
time” message will show until an end time is scheduled.
9. Edit FCP: Click the
For detailed instructions, see the “Edit FCP” section on the
next page.
10. Delete FCP: Click on
11. Add FCP: Click on the green box
to deactivate an FCP.
to edit an FCP.
to delete an FCP.
to activate an FCP or
and Days O .
to add an FCP.
KEY
①
②
③
④
Indicates an idle state with no prior
communication since the PilotFCP Utility
was opened.
Indicates that the FCP, block, or station
is running.
If changes to , the station is
running. If
communication has failed and
troubleshooting is required.
Indicates that the initial manual program
has ended. The water will remain o until
the next manual program begins.
remains unchanged,
6
Page 7

①①
②② ③③
④④
⑤⑤
Edit FCP
⑥⑥
➐➐
EDIT FCP
1. Typ e: Choose the eld controller program type (Station,
Block, or Delay).
2. Number/Name: Assign the station number or block name
by clicking inside the box.
3. Run Time: Set the run time by clicking inside the box.
4. Sequence Action: Change the sequence using the up or
down arrows.
5. Station Manual Start/Stop: Select Manual Start
to activate a station or Manual Stop to deactivate
a station.
6. Delete Step: Click on
7. Add Step: Add a new step (Station, Block, or Delay)
to delete a station.
.
KEY
①
②
③
④
Indicates an idle state with no prior
communication since the PilotFCP Utility
was opened.
Indicates that the FCP, block, or station
is running.
If changes to , the station is
running. If
communication has failed and
troubleshooting is required.
Indicates that the initial manual program
has ended. The water will remain o until
the next manual program begins.
remains unchanged,
7
Page 8

Blocks
②②
③③
①①
⑤⑤④④
⑥⑥
BLOCKS
1. To edit blocks, click on the Blocks tab. A block is a group of
stations that run together (maximum of 10 stations
per block).
2. Name: Assign or edit block name by clicking inside the box.
3. Manual: Select Manual Start
Manual Stop
4. Add Station: Add a station to a block in any order.
5. Add Block: Click on the green box
6. Delete Block: Click on
to deactivate a block.
to activate a block or
to add a new block.
to delete a block.
KEY
①
②
③
④
Indicates an idle state with no prior
communication since the PilotFCP Utility
was opened.
Indicates that the FCP, block, or station
is running.
If changes to , the station is
running. If
communication has failed and
troubleshooting is required.
Indicates that the initial manual program
has ended. The water will remain o until
the next manual program begins.
remains unchanged,
8
Page 9

Stations
➐➐
②② ③③ ④④ ①①
⑤⑤ ⑥⑥
STATIONS
1. To edit stations, click on the Stations tab. Here you’ll nd a
list of all stations that are part of any FCP or block as well as
those that have been manually added.
2. Name: Shows a list of stations in numerical order.
3. Manual: Select Manual Start
Manual Stop
4. Blocks: Shows the name of a block assigned to a station.
5. FCPs: Shows the name of an FCP assigned to a station.
6. Add Station: Click on the green box
that is isolated from Blocks or FCPs.
7. Check Equipment Status: Shows the current status of
the stations.
to deactivate a station.
to activate a station or
to add a new station
KEY
①
②
③
④
Indicates an idle state with no prior
communication since the PilotFCP Utility
was opened.
Indicates that the FCP, block, or station
is running.
If changes to , the station is
running. If
communication has failed and
troubleshooting is required.
Indicates that the initial manual program
has ended. The water will remain o until
the next manual program begins.
remains unchanged,
9
Page 10

Hunter Industries has been on the forefront of golf course irrigation technology for
more than three decades. We build performance, reliability, and serviceability into every
product. From industry-leading rotors renowned for their durability and distribution
uniformity to our robust Pilot® central control soware, we take pride in providing golf
professionals with the tools and support they need to conceptualize, create, and manage
world-class golf courses. Learn more at hunterindustries.com/golf.
Gregory R. Hunter, CEO of Hunter Industries
HUNTER INDUSTRIES | Built on Innovation
®
1940 Diamond Street, San Marcos, CA 92078 USA
Learn more. Visit hunterindustries.com
© 2021 Hunter Industries™. Hunter, the Hunter logo, and all other
trademarks are property of Hunter Industries, registered in the U.S. and
other countries. Please recycle.
GI-023 EN 3/21
 Loading...