

Step 4 Monitor to Pole Assembly
After securing the plate to the fl at panel insert the tilter into the arm.
Screw the 10-32” Philips Pan Head screw and washer and fasten them to the
hole in the underside of the tilter shaft, locking the monitor in place.
Step 5 Tilt Mechanism Adjustments
Tilt the monitor so it faces upward and locate the set screw under the tilter.
Insert the 7/32” Allen wrench into set screw to adjust the tilt friction.
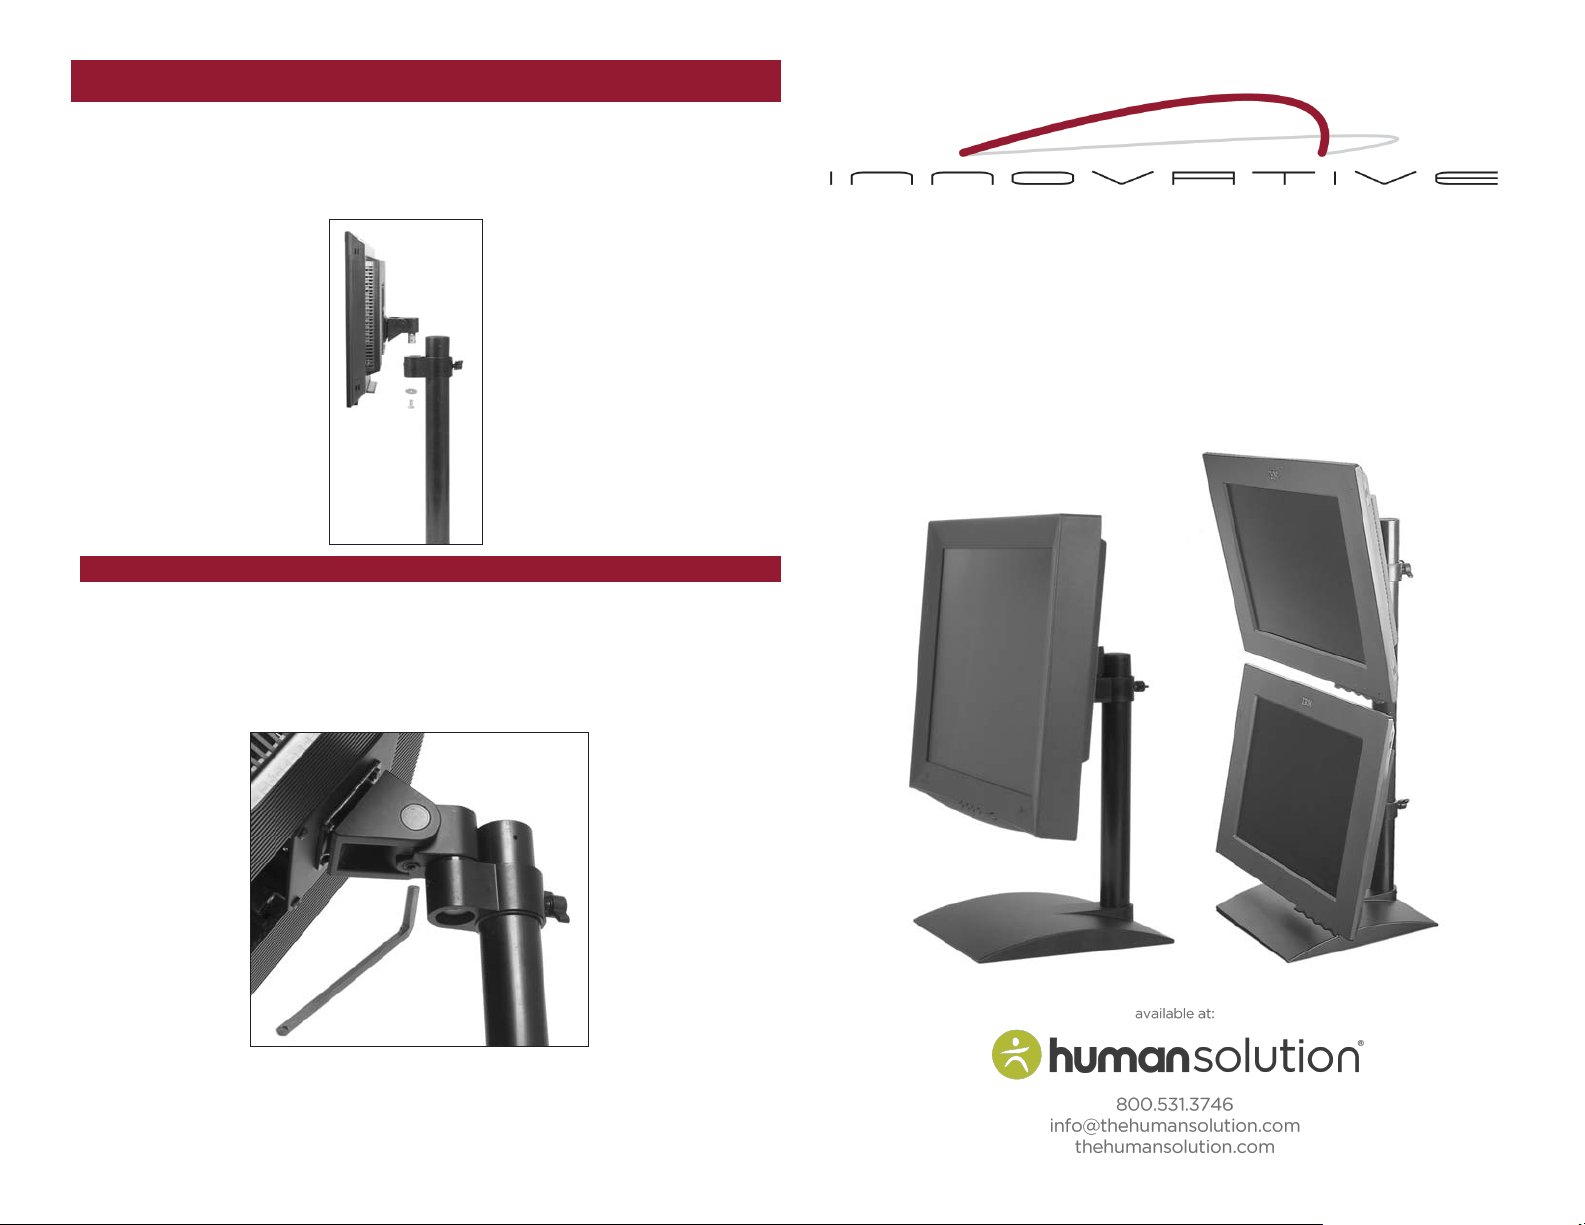
Ergonomic mounting solutions for monitors and keyboards.
Model 9109
Single or Double LCD Stand
Installation Instructions
o tighten friction turn the wrenc
* T
o loosen, turn the wrenc
* T
Your assembly and modifi cations are complete.
h to the right.
h to the left.
IOP-502574
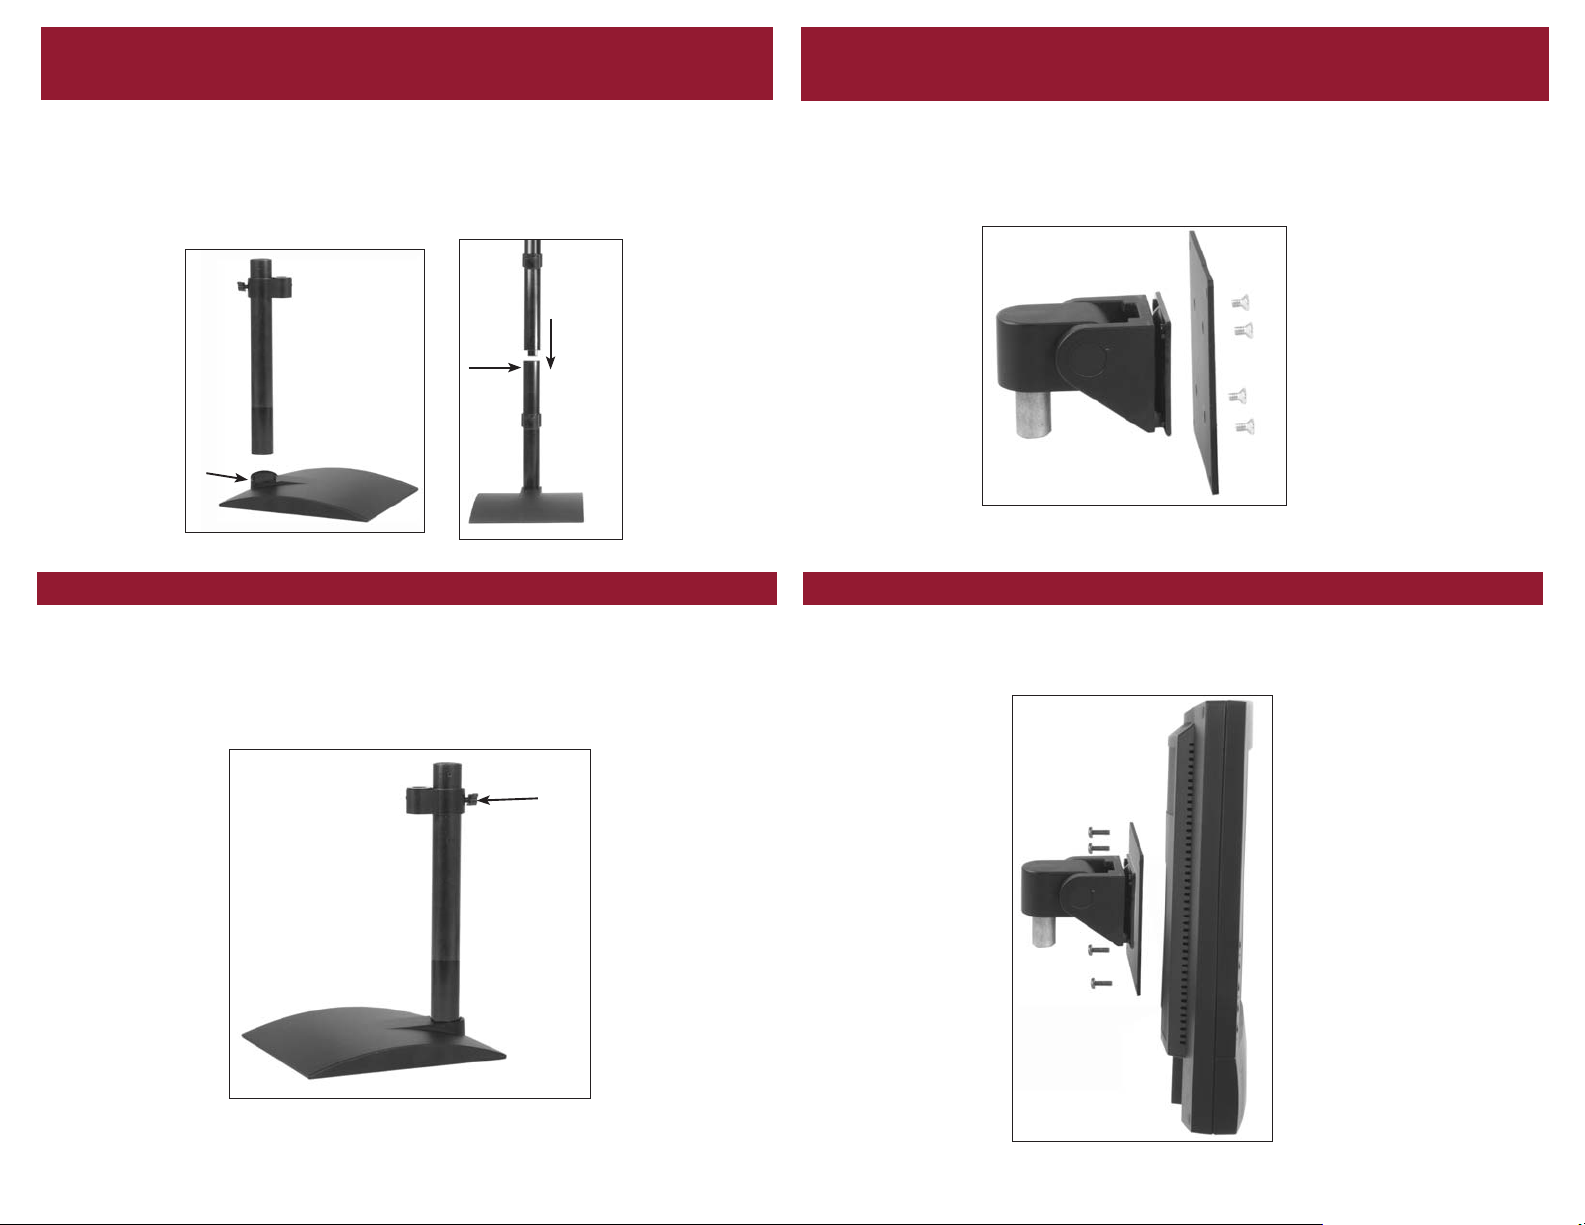
Step 1 Pole/Stand Assembly
Single: Insert the pole into the stand and tighten set screw in back of stand using the
7/32 allen wrench.
Step 3 VESA Bracket & Tilt Mechanism Assembly
Carefully remove the base from the fl at panel monitor. (See your monitor’s User’s Guide
for instructions on how to do this.)
Double: Follow above step, insert the second pole inside the fi rst pole at preferred height
and tighten the set screws with the 3/32” allen wrench that is provided.
Double
Single
Set
Screw
Set
Screw
Step 1A Collar Adjustments
Loosen the knob on the back of the collar so that the collar is able to slide up or down. Find
the desired height and re-tighten the knob.
*If you are assembling the Double, do this for both upper and lower knobs.
Attach the adapter plate (75MM or 100MM) to the tilter mechanism, using four (4)
10-32 x 3/8” Flat Head Philips screws
.
Please contact our customer service department at 800.524.2744 or sales@LCDARMS.com
if your monitor is not VESA compliant.
Step 4 Attach Tilter/VESA bracket to the monitor
Align the tilter and VESA bracket with the hole pattern on the back of the monitor.
Use the four (4) M4-12 Philips Pan Head screws to attach the plate to the back of the LCD.
Tension
Knob
 Loading...