

human care Fellow Classic, Fellow Supreme Accessory Manual

Accessory manual
Fellow Classic, Fellow Supreme

2
www.humancaregroup.com
Content
Accessory overview 3
Assembly Tray 4
Assembly Basket 5
Assembly Slow Down Brake 5
Assembly Newspaper Strap 5
Assembly cane holder 6
Assembly Bag 7
Assembly Back Support 7
Assembly Curb Climber 8
Assembly IV-stand 8
Assembly Oxygen Holder 10
Assembly One Hand Brake 11
Tillbehörsöversikt 12
Montering bricka 13
Montering korg 14
Montering släpbroms 14
Montering käpphållare 15
Montering väska 16
Montering ryggband 16
Montering steghjälp 17
Montering droppställning 17
Montering tidningsband 19
Montering Syrgashållare 20
Montering enhandsbroms 20
Montering låsspärr 21
www.humancaregroup.com
3
Accessory Manual (ENG)
Fellow Classic, Fellow Supreme
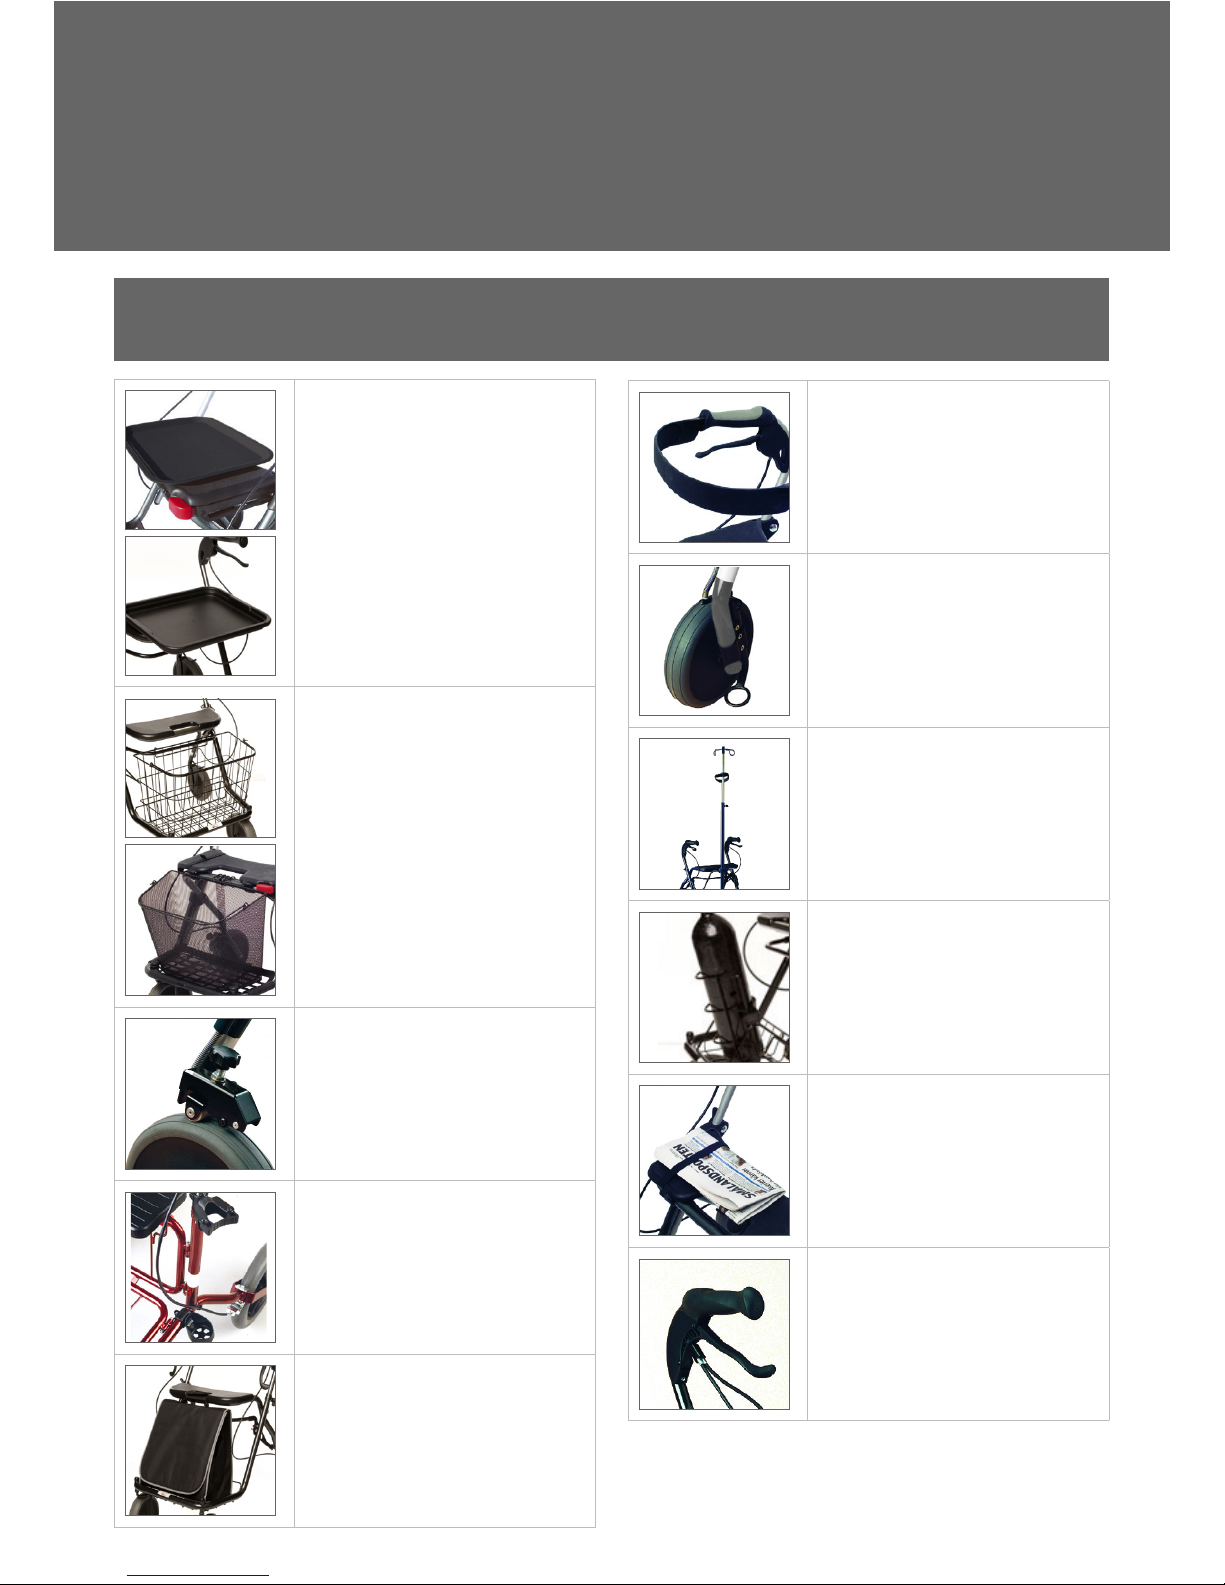
Accessory overview
Tray
Practical for resting items.
Part no, Fellow Classic: 08806
(image 1)
Part no. Fellow Supreme: 10667
(Image 2)
Basket with handle
Basket ideal for shopping.
Part no, Fellow Classic standard:
08805. Fellow Classic low: 88052.
Fellow Classic narrow, wide and
high: 88052. (Image 1)
Part no Fellow Supreme: 10666
(Image 2)
Slow down brake
Prevents the rollator from moving
too fast. Part no: 10625 (set)
Cane holder
Simplifies the transportation of a
cane. Part no: 10603
Soft carr y case ideal for personal
items.
Part no: 08808. (Cannot be used on
Fellow Classic low)
Back rest
Gives suppor t for the back when
sitting.
Part no: 10668
Curb climber
Simplifies the transport over
obstacles. Integrated in rollator for
Fellow Supreme.
Part no (Fellow Classic):10661
IV-stand
Can only be used with Fellow
Classic.
Part no: 89654
Oxygen holder
Part no, Fellow Classic: 08811.
Part no. Fellow Supreme: 10671
Newspaper strap
Can only be used on Fellow
Supreme.
Part no. 10679.
One-hand brake
Allows control of brakes with one
hand. Part no, Fellow Classic, right:
10677, left: 10678. Part no. Fellow
Supreme, right: 10669, left: 10676.
1
2
1
2
4
www.humancaregroup.com
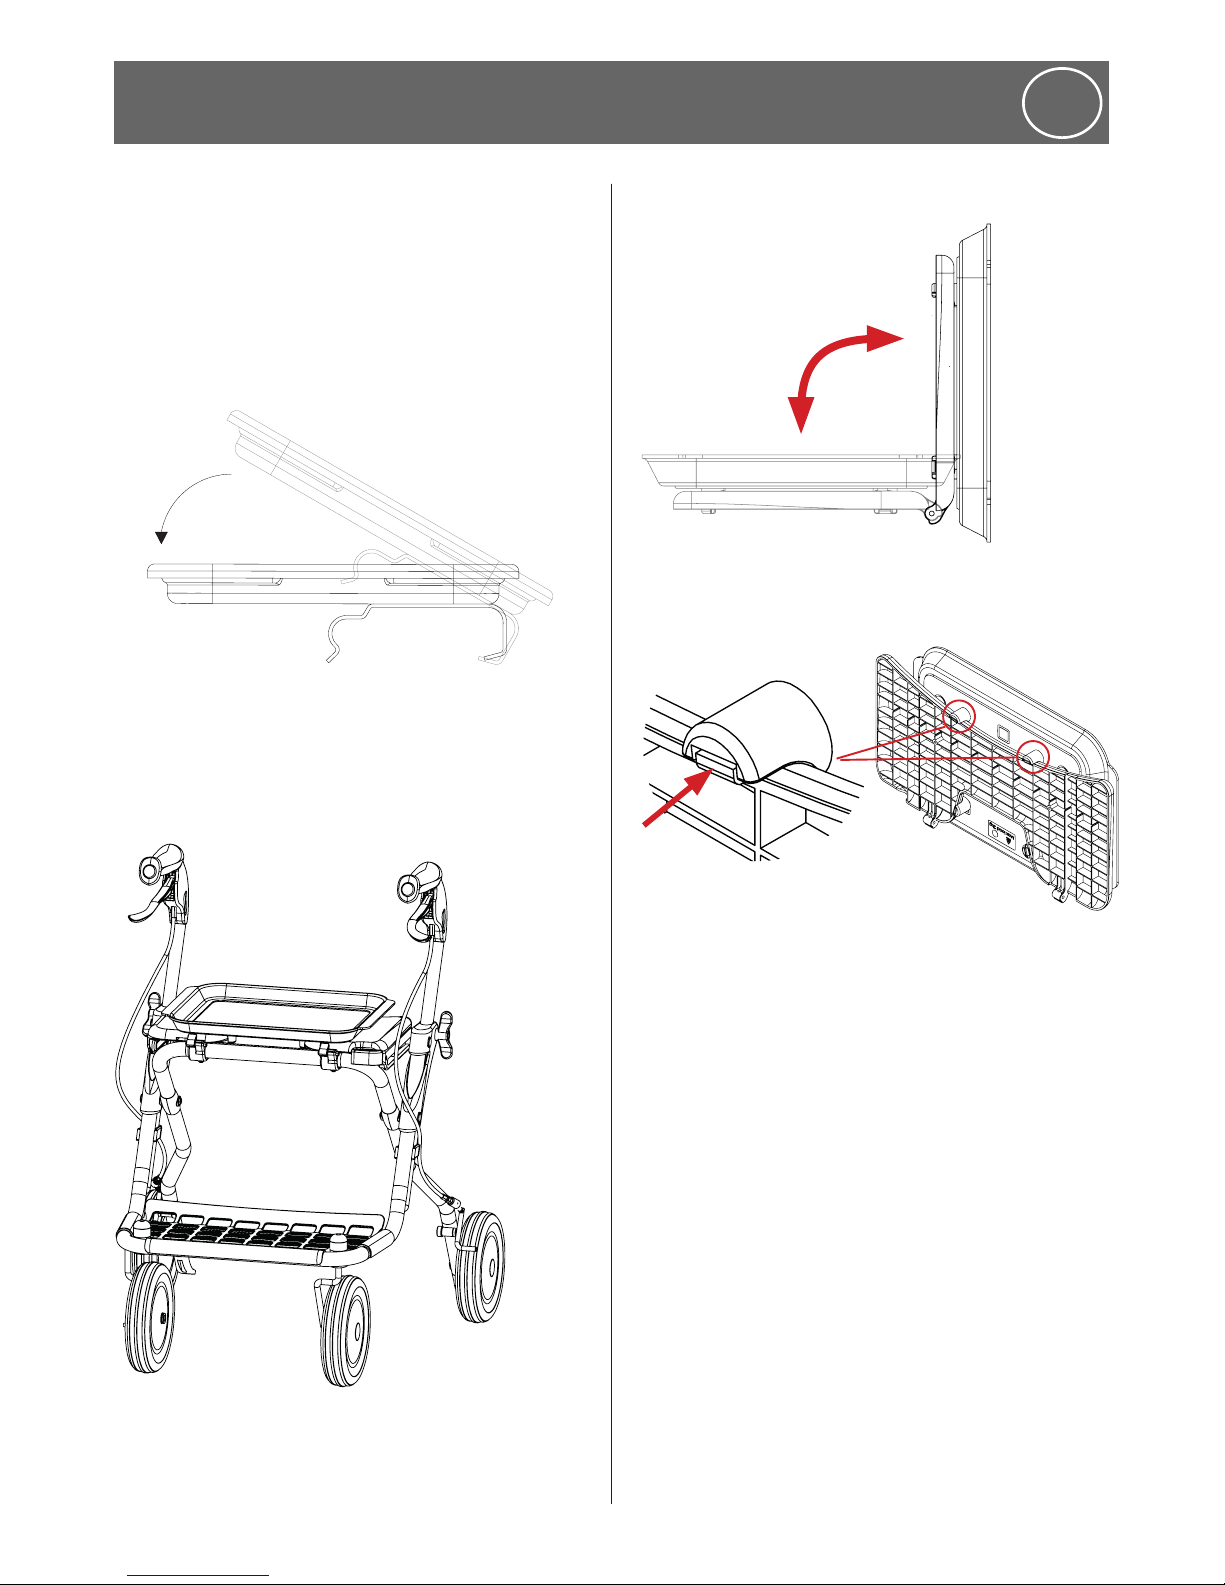
Attaching the Tray
ENG
Fellow Classic
1. Attach the bracket of the tray over the back
edge of the seat.
2. Secure the tray by firmly pressing it over the
front edge of the seat.
Lift the tray in the front edge when removing it.
1.
2.
Fellow Supreme
Assemble the tray on to the seat of the rollator
as according to picture below.
1. Remove the tray by unfolding the seat.
Push underneath the tray’s feet to remove the
tray from the seat.
www.humancaregroup.com
5
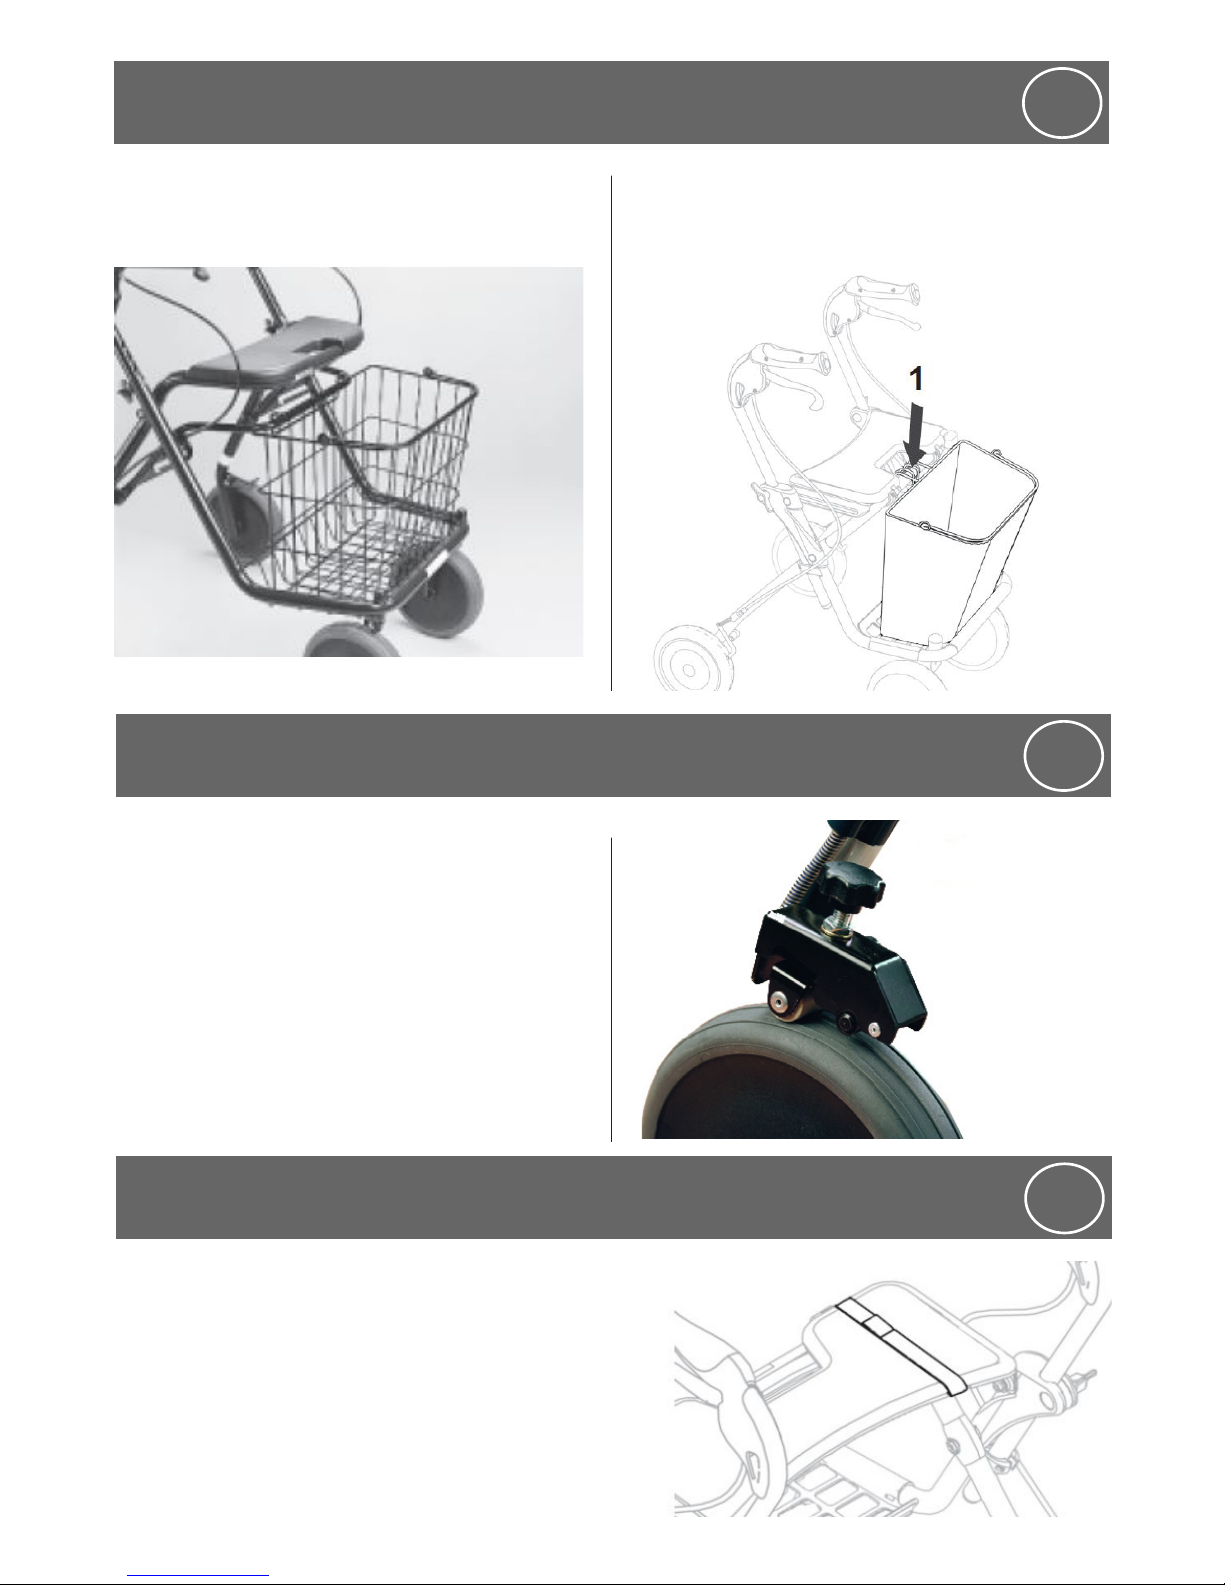
Attaching the Basket
ENG
Fellow Classic
Hang the basket on the pipe to the locking device
and place it on the grating. Max load 10kg.
Fellow Supreme
Place the basket on the grid and push the
bracket over the frame.
Slow down brake - right and left
The trailer brake is assembled by pushing it onto
the brake gear and fasten it through leading the
hook on the underside of the brake gear.
Adjust the roll resistance by screwing the
adjusting screw. Lock the adjusting screw with
the stop nut.
Attaching the Slow Down Brake
ENG
Attaching the Newspaper Strap
ENG
Pull the news paper strap over the seat to the
intended track. Only for Fellow Surpreme
6
www.humancaregroup.com
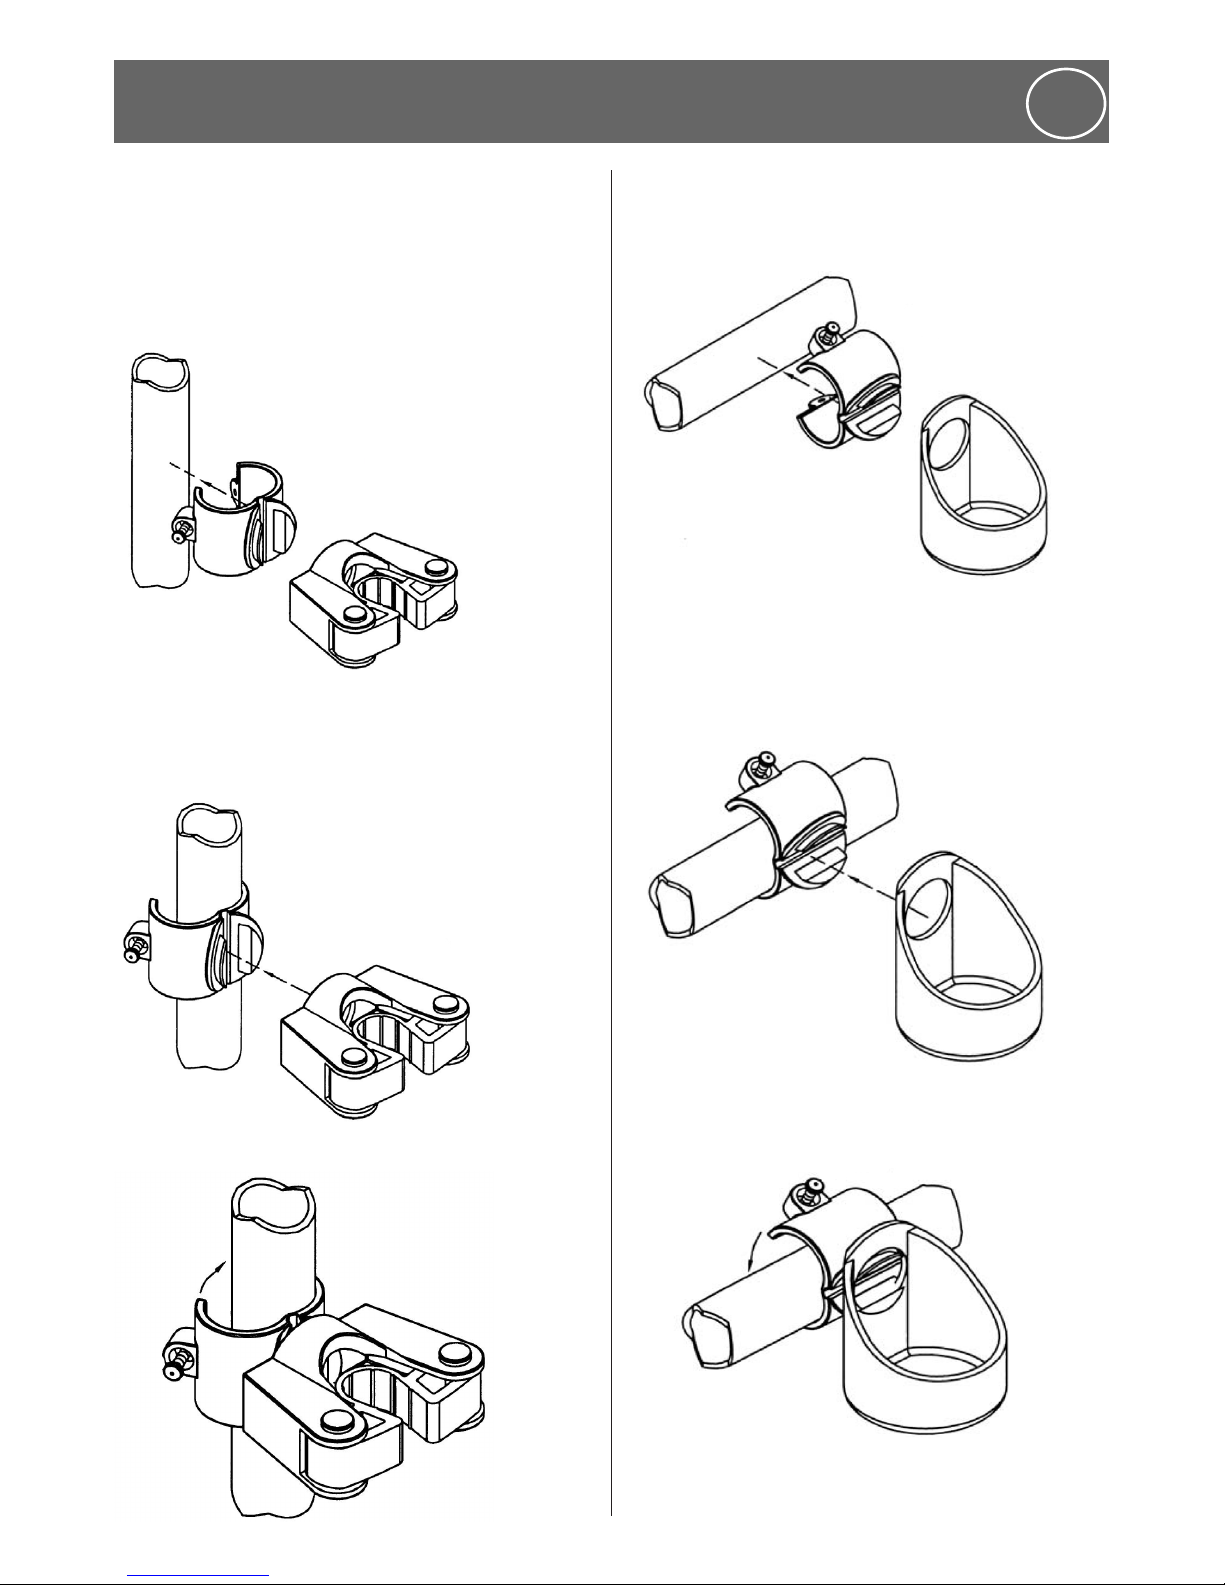
Assembly cane holder
Assembling upper part.
The cane holder is delivered in two main parts, an
upper and a lower. These are in turn composed of
two parts, verify that you have received them.
1. Open the clamp about that much it can be lead
over the handle pipe.
2. Before closing the clamp, take the attachment
and lead the pliers of the clamp through the
hole of the attachment. Attend on turning it in
preferred position.
3. Close the clamp and tighten the screw. Note!
Make sure that the attachment is secured.
Assembling lower part.
1. Open the clamp about that much it can be lead
over the handle pipe.
2. Before closing the clamp, take the cup and
lead the pliers of the clamp through the hole of
the attachment. Attend on turning it in preferred
position.
3. Close the clamp and tighten the screw. Note!
Make sure that the cup is secured.
ENG

www.humancaregroup.com
7
Attaching the Bag
ENG
Form adjusted carrier bag that should be
adjusted around the pipe at the hold of the seat.
Assembly Back Support
ENG
1. Loosen the screws and remove the knobs on
both sides.
2. Insert the back support into the end of the
handle.
3. Tighten the screws and the back support is
assembled.
The rollator can NOT be suspended,
carried or lifted in the back support.
Make sure the back support is securely
fastened. Pull the back support to make sure
it is fastened properly. NOTE! Pay aenon to
cracks or loose parts.
 Loading...