

Page 1
Important! This quick reference guide does
not replace the user manual which can be
downloaded at www.humancaregroup.com.
Read all instructions before use!
Understand Your Sling
5
1
2
3
4
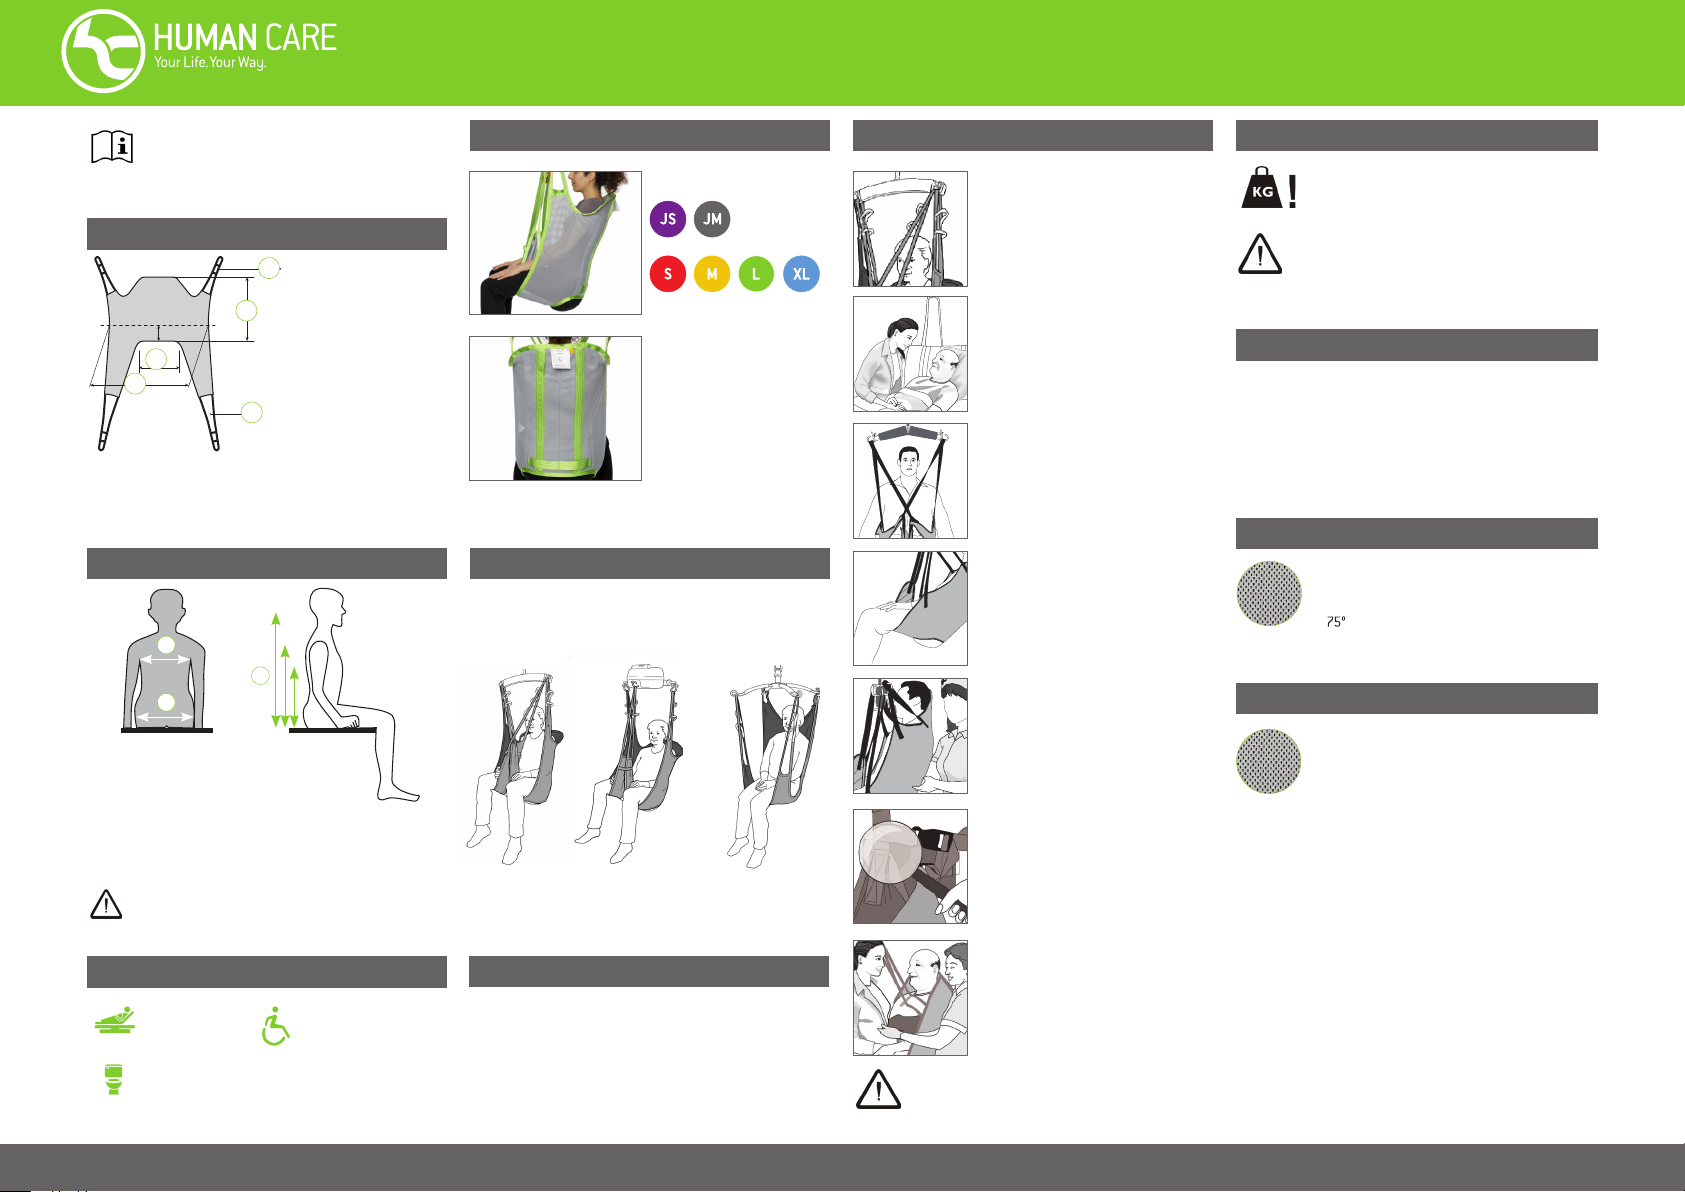
1. Sling height
2. Aperture
3. Sling width
4. Leg s traps
5. Three position straps
Choose the Right Sling
2
3
1
Throcanter to throcanter size: Measure side to back
to side (at the bottom, not the belly).
Measure back width. Measure back height for
low back, shoulder and high back sling.
Always measure in the seated position.
Refer to the user manual for the nearest comparible size.
SLING TOO LARGE Patient may slip out.
SLING TOO SMALL Patient may slip out. Condition may
worsen.
This sling is suitable for
To and/or from
a bed
Bathing/Toileting
To and/or from a
chair
Available Sizes
Suspension Options
2-Point
Suspension
3-Point
Suspension
Sling Features
Model #25035
• Reinforced back and legs
• Suitable for patients with
poor trunk stability
• Ideal for bathing
Model #25035
4-Point
Suspension
• Sling can be used with or
without removable back
plastic slats
• Upright seating
Safe Lifting Techniques
Check that the same colour straps are
used to achieve level loading and that
the loops are securely fastened in the
carry bar hook.
Explain, if necessary, to the patient
about the lift. Check during the lift that
the patient is comfortable. Look for
non-verbal signs of discomfort.
Ensure their weight is evenly
distributed between the straps. Make
sure the sling does not pinch or pull the
patient’s skin at any point.
Make sure the patient will not slide
out of the sling or tip backwards or
forwards. The sling should comfortably
surround the patient being lifted.
While lowering a patient, using a gentle
hand pressure to guide the patient as
the lift is moving towards the seating
surface. Ensure patient is in correct
position for seating before lowering.
Check the sling for signs of wear or
damage before using. If any signs of
damage are present, do not use the
sling.
Plan the moving and lifting process
to ensure it is as safe as possible.
If necessary, have two caregivers
perform the transfer.
Never leave a patient unattended in the sling!
Usage
Maximum weight capacity
551lb/250kg
Important! This sling has been designed and tested
for indoor use with one patient at a time and must
only be used for transferring a person. This product
is not a swing.
Inspection
Six Month Inspection - The sling stitching must be checked to
ensure that the seams are intact. The fabric must be checked
to ensure it holds its shape and is rigid. The label must be
clear and legible.
Daily Inspection - Always inspect the sling for visible signs of
damage and/or wear before use.
General Care
Polyester Net - 25035
bHVC
Fabric Features
Polyester Net - 25035
Flexible and airy
A soft, thin material that breathes and dries
quickly. This fabric has some elasticity and
can be left behind the patient in a chair or bed
for a short period of time. Polyester Net is
ideal for bathing and showering.
99949-Quick Reference Guide-Bath Slings-Rev 02 (08 2018)
QUICK REFERENCE GUIDE
Bath Sling
Page 2
Sling Positioning
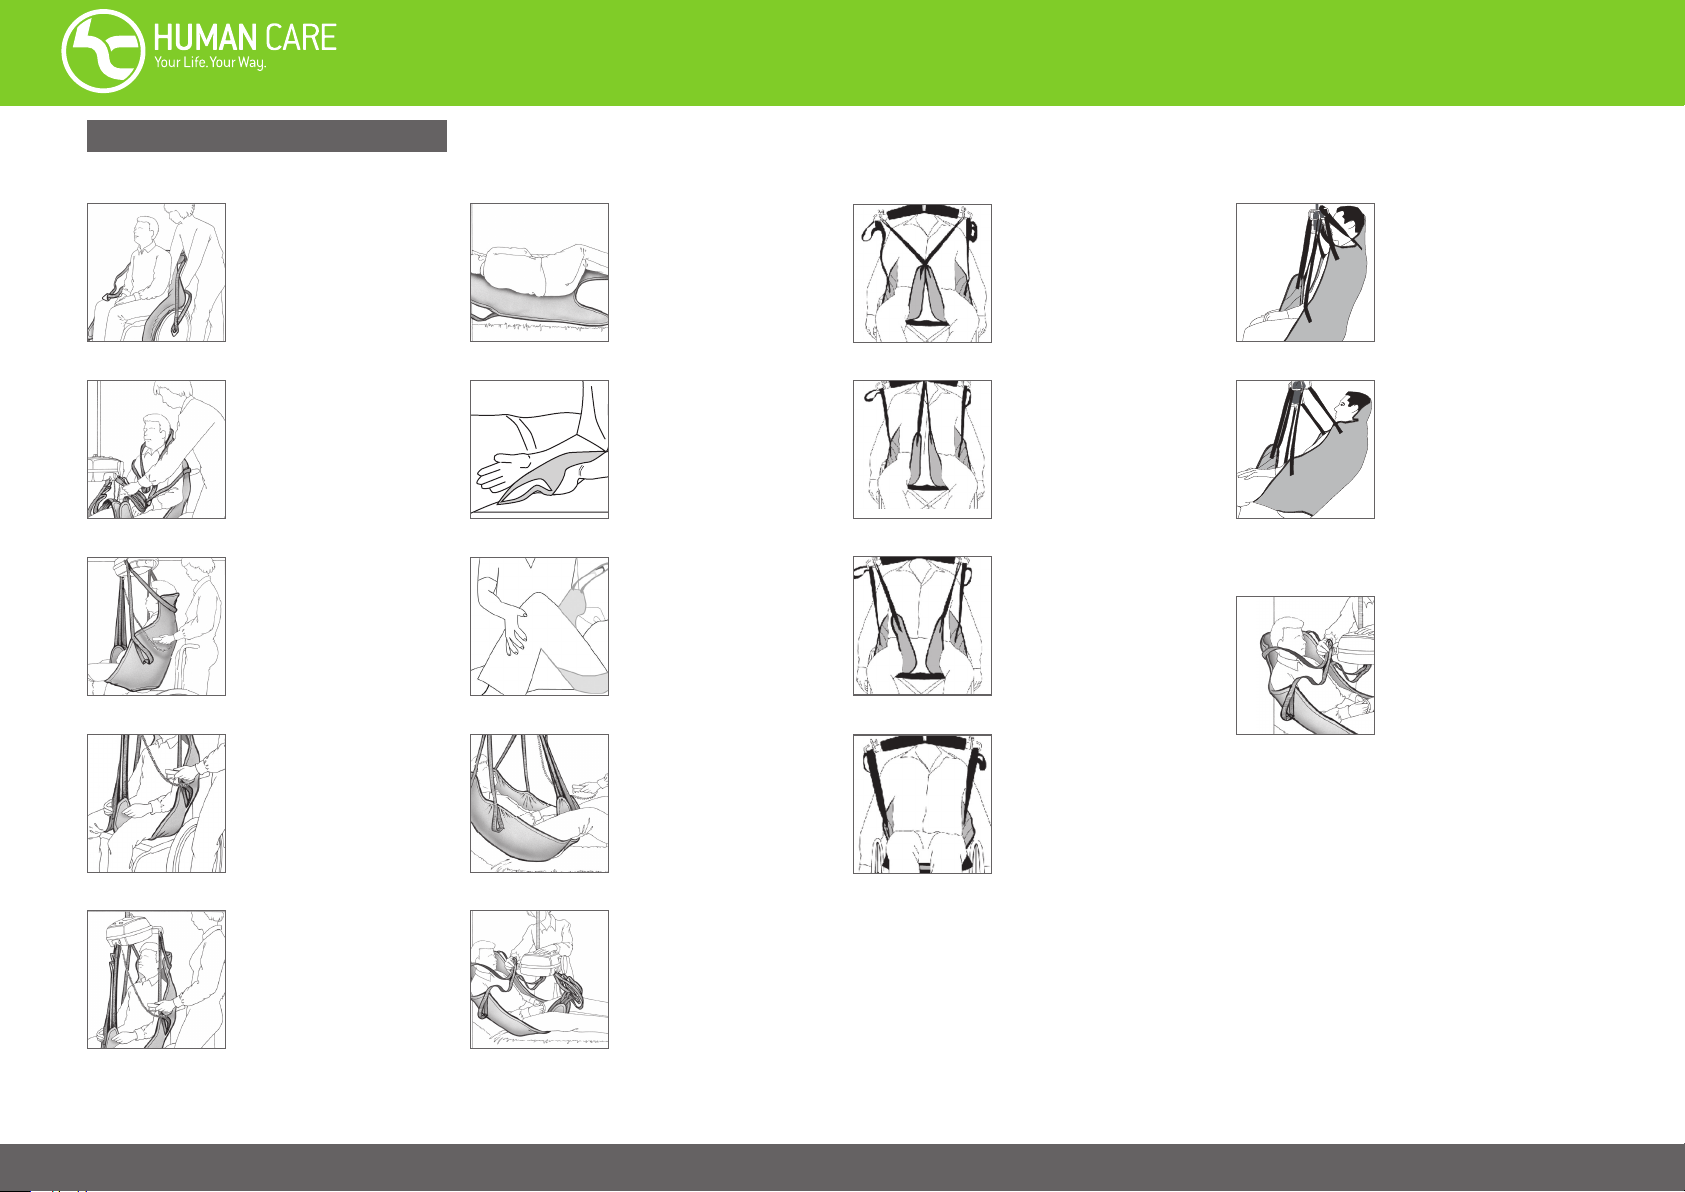
Applying sling from a seated position
Applying sling from a supine position
Positioning the legs
Positioning the body
Stand behind or to the side of
the patient and hold the sling
with the label facing up and
away from the patient. Have
patient lean forward (assist if
needed).
Place sling behind patient’s
back. The bottom of the sling
should be in line with patient’s
coccyx. Pull the leg sections
through to the front of the patient. Raise each leg and pull the
leg strap under patient’s legs.
Important! The leg straps
should surround the hips and
be pulled to the same length on
both sides! Colour match the
loops! Do not let the material
fold under the patient!
Position legs (may be necessary to lift legs). Note: if lifting
with a 2-point or 4-point suspension, cross the leg straps. For
a 3-point suspension, draw one
leg strap through the loop of the
other leg strap.
Stand to side of patient and turn
them to their side. Place the
gathered sling with the label
towards the patient’s head end
and facing up and away from
their skin.
Roll the patient on their back
and gently pull the gathered
sling towards you with your
palms up and knuckles
towards the bed to prevent skin
shearing.
Bend the knee and pull the leg
straps through and around the
leg. Note: if lifting with a 2-point
or 4-point suspension, cross
the leg straps. For a 3-point
suspension, draw one leg strap
through the loop of the other
leg strap.
Important! The leg straps
should surround the hips and
be pulled to the same length on
both sides! Colour match the
loops! Do not let the material
fold under the patient!
Divided position: To achieve
this position, bring the leg
supports up between the
thighs and thread one leg strap
through the loop of the other in
a cross over style.
Divided relaxed position: To
achieve this position, bring the
leg supports up between the
thighs and attach the leg straps
to the center of the carry bar.
Open position: To achieve this
position, bring the leg supports
up between the thighs and
attach the leg straps to the end
of the carry bar.
Closed position: To achieve this
position, pull one leg support,
then the other under both thighs
and attach to the end of the
carry bar.
Upright position: To achieve
this position, use the short
loops of the head and shoulder
straps and the long loops of the
leg straps.
Reclined position: To achieve
this position, use the middle
or long loops of the head and
shoulder straps and the middle
or short loops of the leg straps.
Order of strap attachment
Important!
Shoulder loops should always
be attached before the leg
loops. Attaching the leg loops
first may cause risk of the
patient sliding out if the lifting
process is started and all the
straps are not secure.
Lower the lift to the height of
the patient’s chest and affix the
upper straps followed by the
leg straps, ensuring colours are
matched. Hold the lift with one
hand away from the patient and
slowly raise.
QUICK REFERENCE GUIDE
Lower the lift to the height of
the patient’s chest and affix
the upper straps followed by
the leg straps, ensuring colours
are matched. Hold the lift
with one hand away from the
patient and slowly raise.
99949-Quick Reference Guide-Bath Slings-Rev 02 (08 2018)
 Loading...