

Hugenics MAGICPASS7300 User Manual
MagicPass7300
USER Manual V1.0

▷ Class B device
NOTE: This equipment has been tested and found to comply with the limits for a Class B digital
device, pursuant to part 15 of the FCC Rules. These limits are designed to pro-vide reasonable
protection against harmful interference in a residential installation.
This equipment generates, uses and can radiate radio frequency energy and, if not in-stalled and
used in accordance with the instructions, may cause harmful interference to radio communications.
However, there is no guarantee that interference will not occur in a particular installation. If this
equipment does cause harmful interference to radio or television reception, which can be
determined by turning the equipment off and on, the user is encouraged to try to correct the
interference by one or more of the following measures:
-Reorient or relocate the receiving antenna.
-Increase the separation between the equipment and receiver.
-Connect the equipment into an outlet on a circuit different from that to which the receiver is
connected.
-Consult the dealer or an experienced radio/TV technician for help.
CAUTION : Changes or modifications not expressly approved by the manufacturer responsible for
compliance could void the user’s authority to operate the equipment.

Hugenics Co., Ltd.
1. Before use
1.1 Device part names
2. Device Information
Contents
2.1 Device Introduction
2.2 Device Characteristics
3. USER Mode
3.1 Card User
3.2 Fingerprint User
3.3 Card+Fingerprint User
3.4 Numbering Keypad User
4. System Manager Mode
4.1 User registration
4.2 User Deletion
4.3. User Reference

5. Device Set up
5.1 Device Number Set up
5.2 Communication Speed Set up
5.3 Lock Time
5.4 Time Set up
5.5 Password Set up
5.6 Free Scan
5.7 LCD Control Set up
5.8 Language Set up
5.9 Fingerprint Number per User Set up
5.10 Voice Information Availability Set up
6. Installation Notice & Troubleshooting
6.1 Installation Notice
6.2 Troubleshooting
6.3 Fingerprint Registration Guide
7. Device Specification
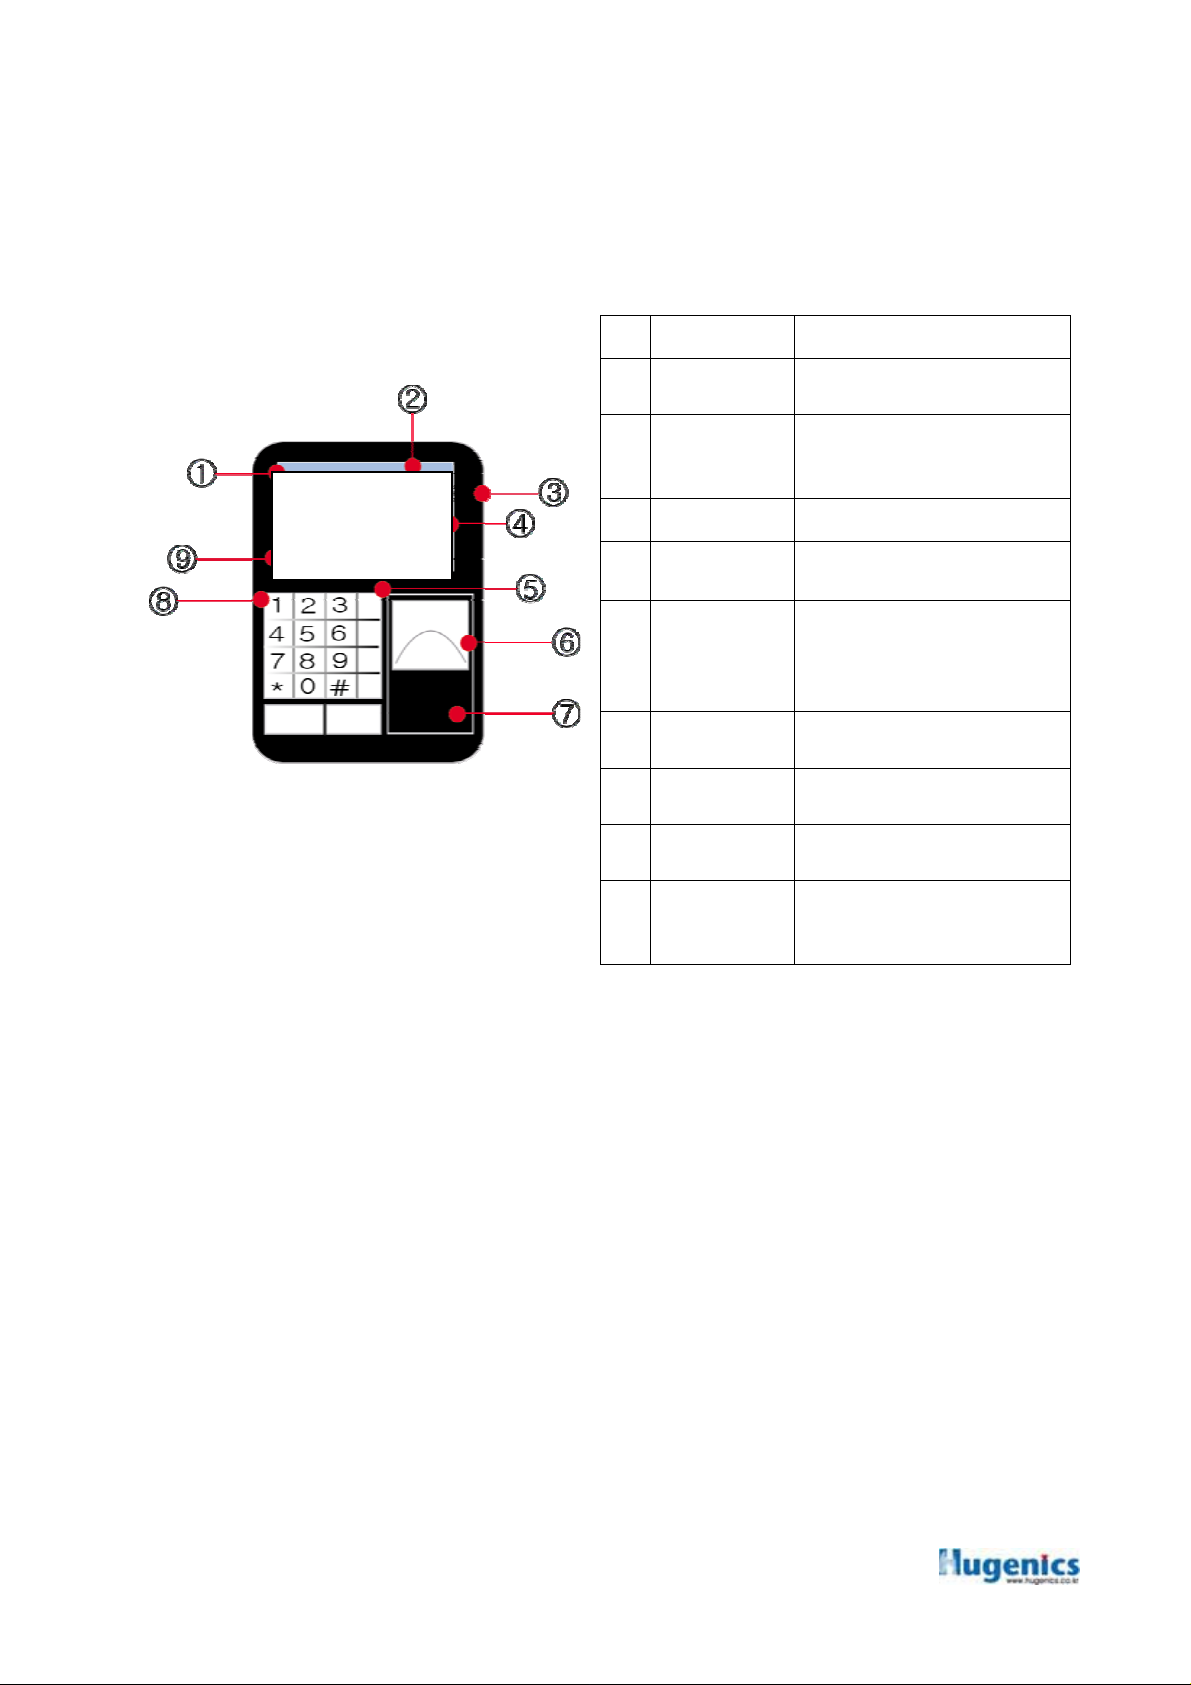
1 Before Use
1.1 Device Part Names
No Name Function
1
2
3
4
5
6
7
8
9
Date
Time
Operation
Mode
Speaker Device speaker
Main LCD Displays Device operation status
Function Key
Fingerprint
Module
RF Card Reader
Module
Number
Keypad
Company &
Device model
name
Date and Time shown in the
Device
Device operation status like
Entering, attendance, leaving,
going out, returning
Keys for Set-up & Changing the
mode like Entering, attendance,
leaving, going out, returning
With the up and down keys
Fingerprint Identification
Card Identification
Number Input
Company name and Device
Model Name
2 Device Information
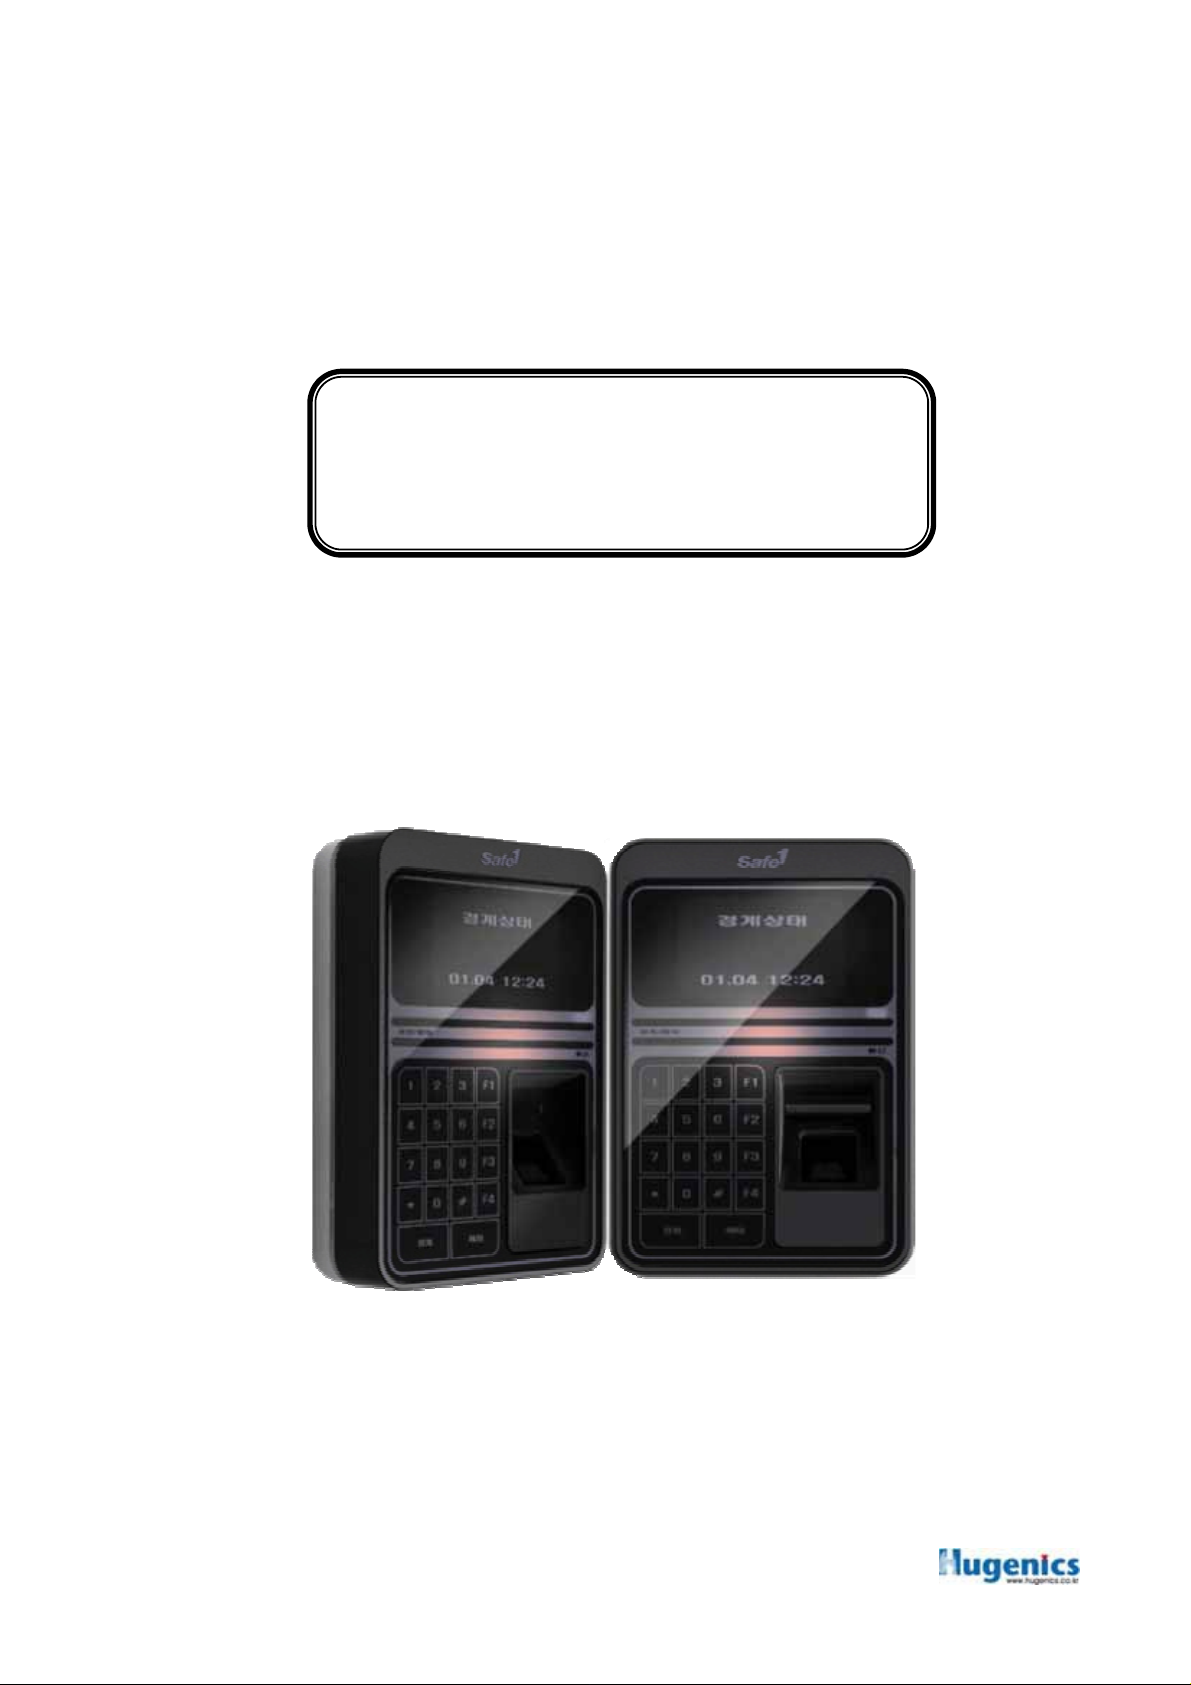
2.1 Magic Pass 7300 Introduction
2.1.1 MagicPass7300 is the very smart and versatile Fingerprint/RF Card Reader that can be
widely applied for the division of Access Control, Time Attendance, Dining Number
Counting, Membership Management, etc, which need the Self-Identification.
2.1.2 MagicPass7300 provides the optimal solution to the division of the Access Control,
Time Attendance, Dining Number Counting, Membership Management, Students
management, and etc., with the diverse I/O. Compact sized LCD, 12 Standard Key
Buttons and 4 Function Key Buttons would provide the convenient and familiar User
Interface as well. Furthermore 4 communication Ports(RS232 1port, RS485 2 ports,
Wiegand 1 Port) and 2 Relay Signal Output(Lock Control), and 4 Outer Sensor input
would give the users to enlarge the application scope.

2.2 Magic Pass 7300 Characteristics
2.2.1 Applied for Access Control Management, Time Attendance, Overtime Labor
Management
The useful 4 Function Keys helps the flexible Time Attendance Management.
2.2.2 Either Stand Alone or connecting with the ACU(PC) is available.
MagicPass7300 could be used as stand alone or could be connected to ACU with
the protocol of Wiegand/RS232/RS485. Additionally, with using the Free Bundle
software included, direct connection(RS232/485) to the PC is possible.
Furthermore, the RTC and LOG Management Function(20,000 Traffic) enables the
Access Control and Time Attendance Management without ACU.
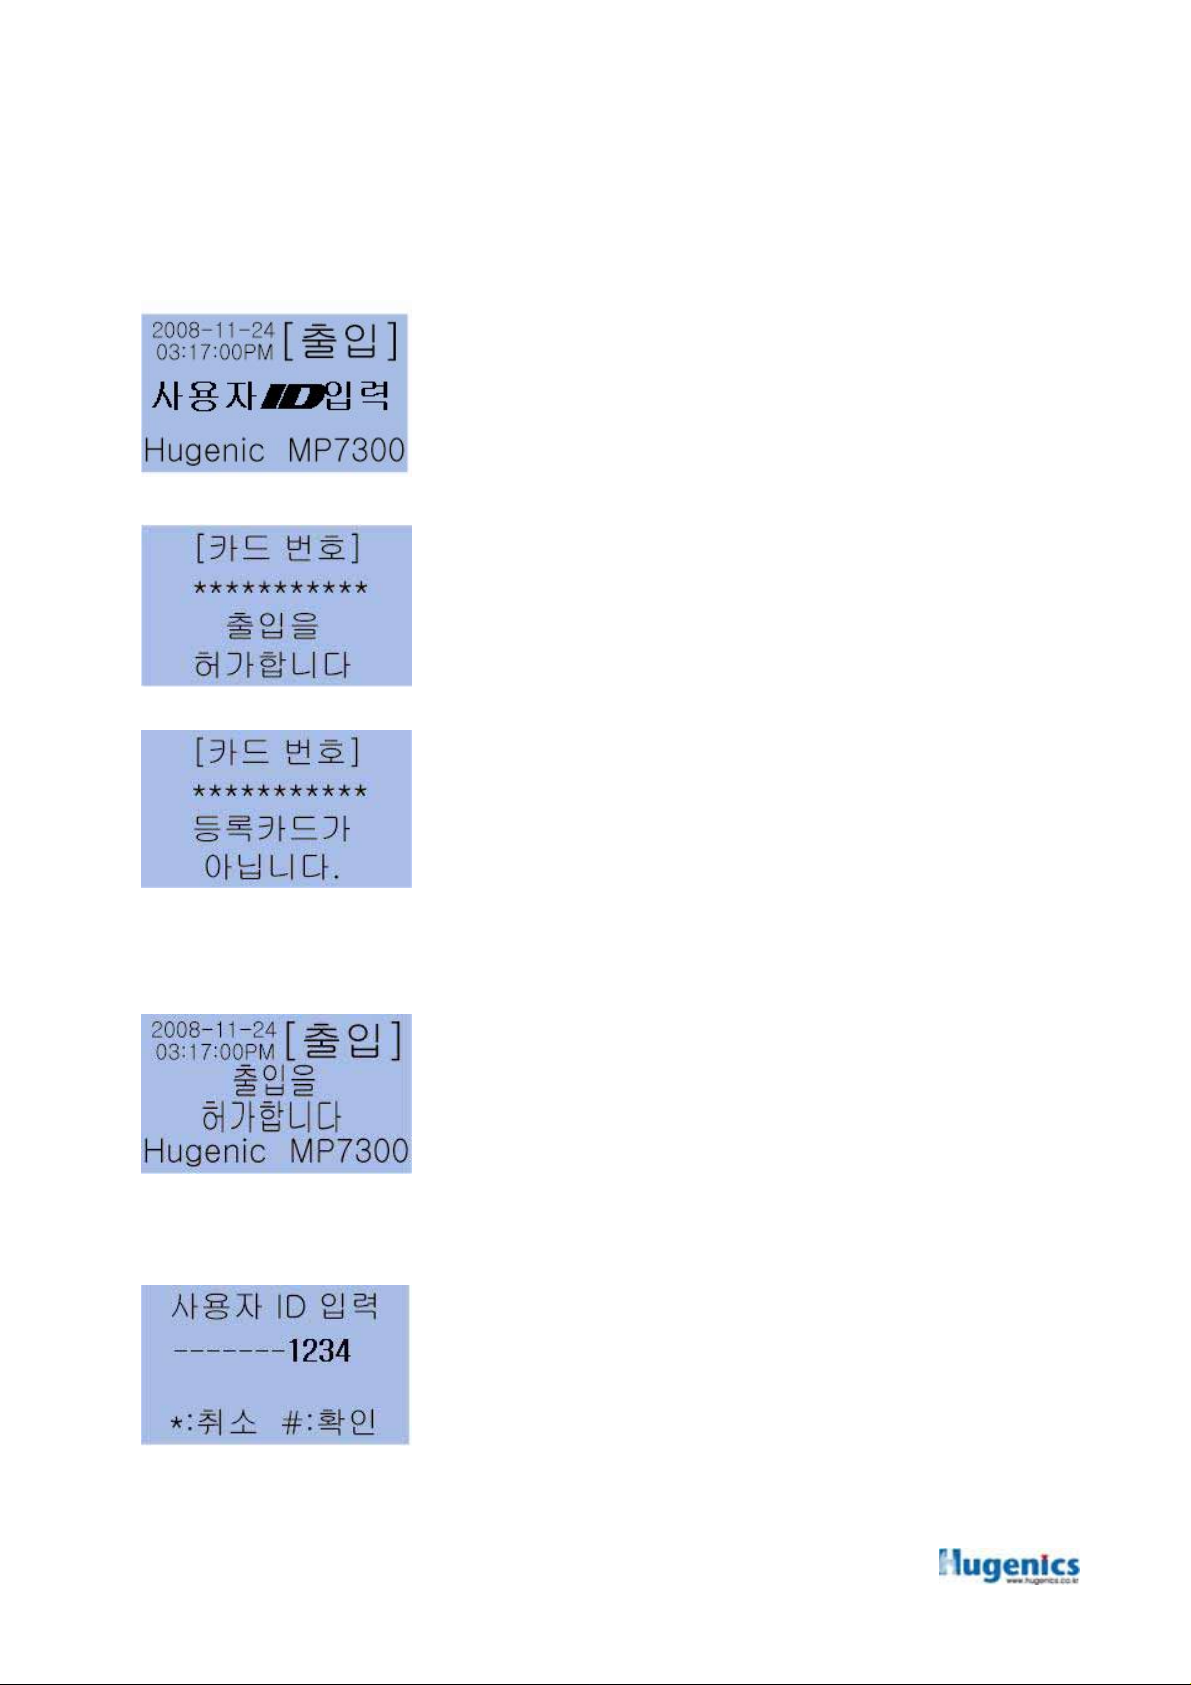
3. USER Mode
When power on the MagicPass7300 Device, it displays as shown in <picture 1.>
At this status, the USER can be entitled to enter with the identification of the Fingerprint, card
or the ID.
picture 1
3.1 Card USER
1. Put the Card on the Card Reader Module of the
Device
For the registered Card, there shows the Card Number
picture
2
picture
3
3.2 Fingerprint USER
picture
4
and the message “Access Permitted” in the LCD with
voice information. <picture 2>
2. For the un-registered card, there shows the Card
Number and the message “Card Not Registered” with
the voice information in the LCD.<picture 3>
Input the Fingerprint on the Fingerprint Module.
For the registered Fingerprint, there shows the
message ”Access Permitted” in the LCD with the voice
information <picture 4>
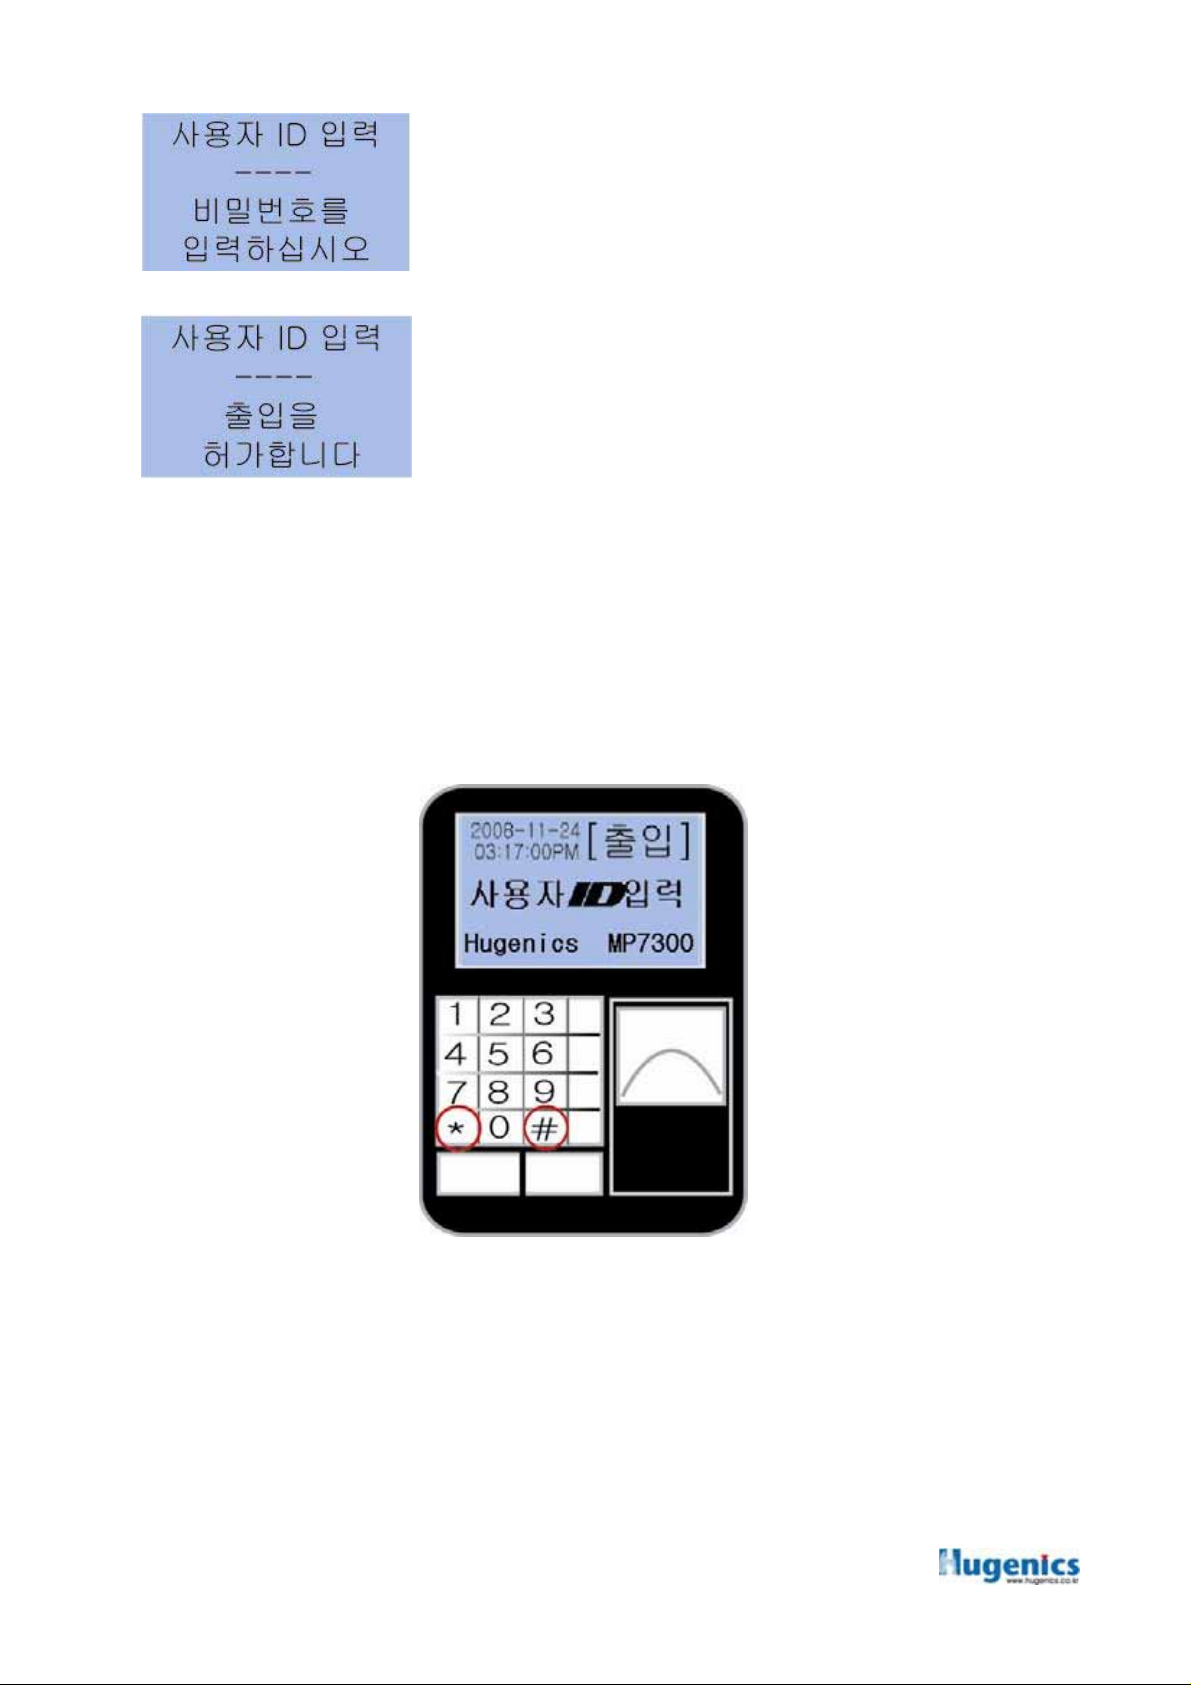
3.3 ID USER
5
picture
Input the USER’s ID and press ”#”(Confirmation).
☞ USER ID : 1~10 digits
picture
6
picture
7
4. System Manager Mode
System Manager Mode is for the job Mode of USER Registration & Deletion, Set up. To
enter into System Manager Mode, you should press “*” and ”#” button in sequence.
Input the Password, and for the registered Password, there
shows the message “Access Permitted” in the LCD with
the voice information.<picture 7>
☞ Password : 4 digits
System Password Input
picture 9
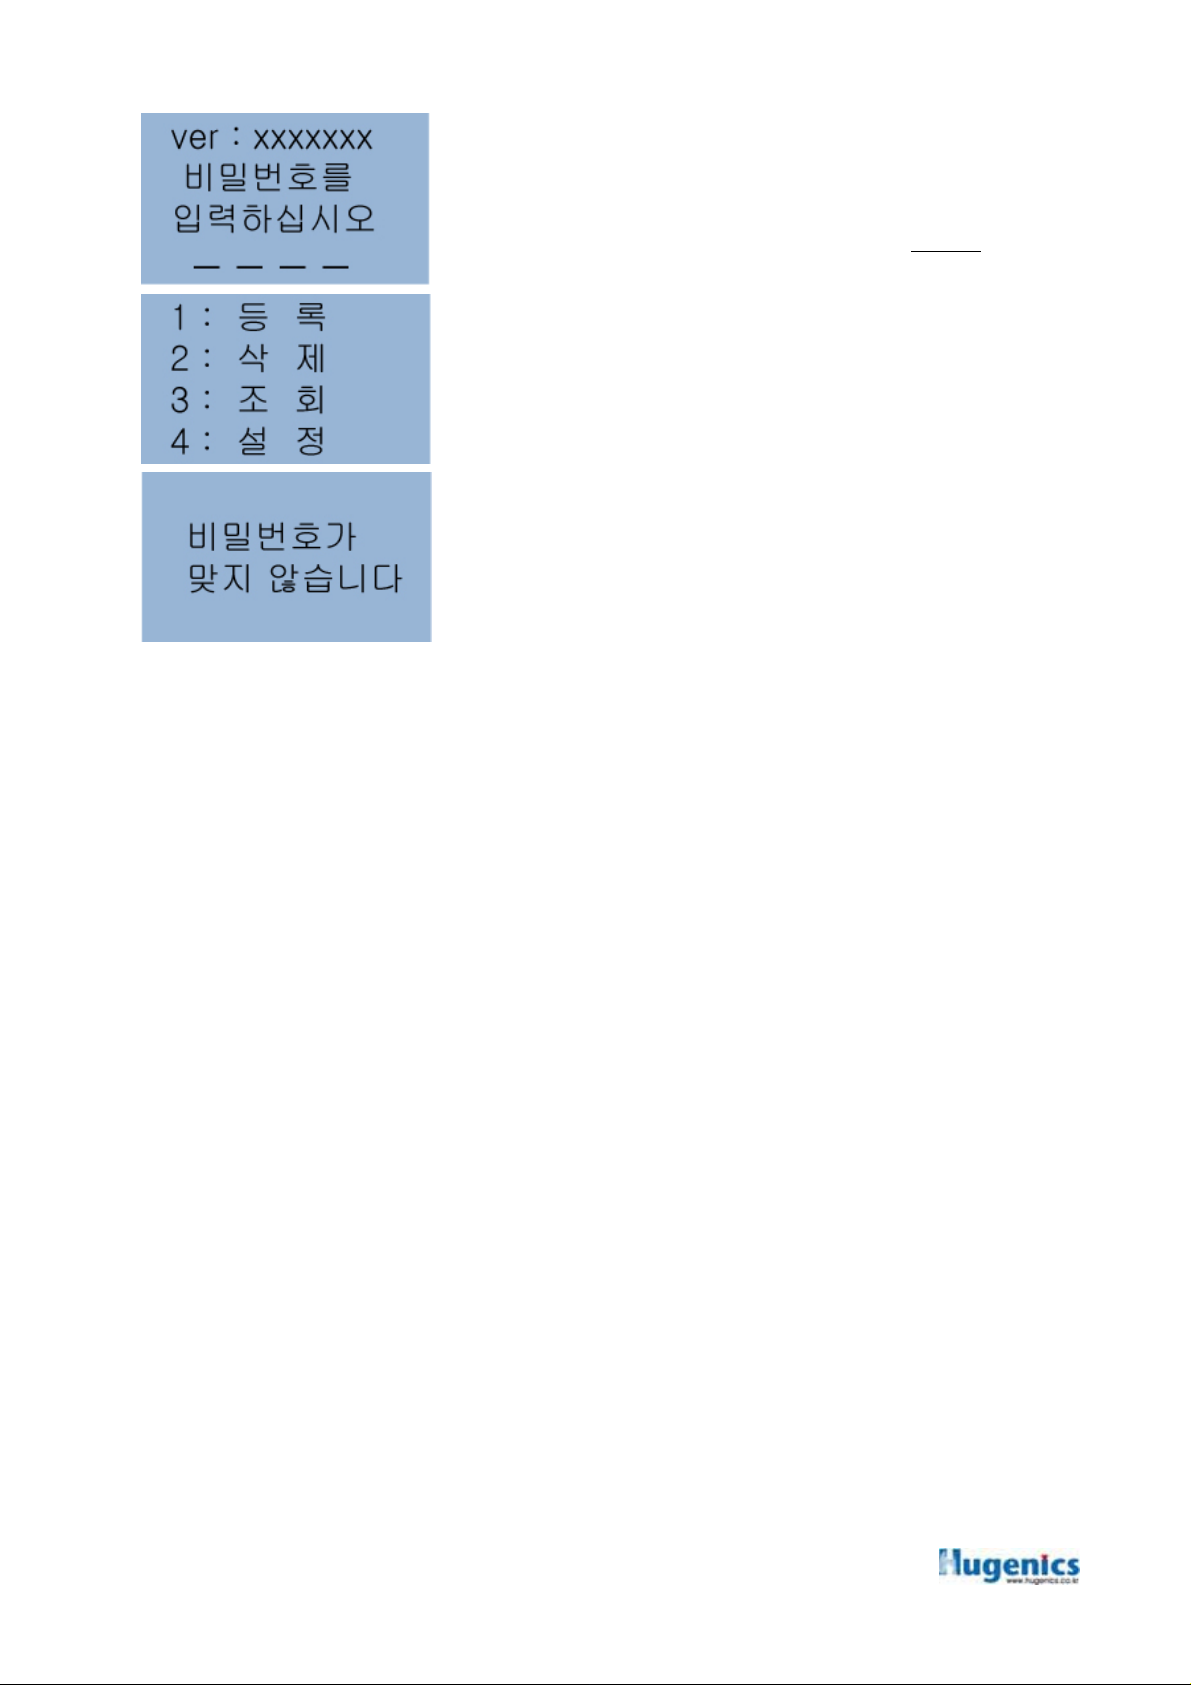
Input the Manager Password which is already
registered.
☞ The System Password in Factory is
picture 10
For the valid Password, the Management Sub-Menu as
shown in picture 11, displays in the LCD.
picture 11
For the invalid Password, there displays the message
“Password is not Correct” as shown in picture 12 in the
LCD
picture 12
“1234”.
 Loading...