

Page 1

www.huehd.com 1
HUE HD Pro User Guide
Page 2

Thank you
Thank you for purchasing a HUE HD Pro. We hope you
enjoy using this multi-purpose camera.
Please visit our website for additional information, FAQs,
and our full range of products.
We’re always delighted to receive feedback about how
you use your HUE products and reviews are most welcome.
We’re here to help if you need us.
With thanks
The HUE team
Pour plus d’informations, consultez le lien ci-dessous.
Weitere informationen finden Sie unter dem
untenstehenden Link.
Per maggiori informazioni consultare il nostro sito
web al link sottostante.
詳細については、以下のリンクをご参照ください
www.huehd.com/help
Page 3

www.huehd.com 1
Create presentations from text books or students’ work books
Animate with stop motion animation and time-lapse photography
Magnify objects like bugs, plants or text
Entertain your students by photographing and filming classroom activities
Record sound and video of children talking, or use for web chat
Amaze the class by projecting science experiments and demonstrations
The HUE HD Pro is the perfect
companion for any teacher; lightweight
and portable, it can be carried from
classroom to classroom with ease.
Its weighted base and gooseneck
make it easy to use in any position.
Features:
The camera comes with its very own
software, HUE Intuition, which allows
you to:
• Record video and sound and save
movies to your computer
• Share your movies by email or upload
to YouTube
• Annotate images and save as JPG/
BMP/PNG/GIF
• Take snapshots
• Take multiple images over time
HUE Intuition is available for Windows
and Mac OS X.
www.huehd.com 1
To install HUE Intuition
Simply insert the CD and follow the
instructions. If you don’t have a CD
drive or need help, please visit
www.huehd.com/tutorials
You will need to have your activation
code handy when installing the software.
You will find your code on the back
cover of this guide.
Page 4

Setting up your camera
FOCUSING RING
CAMERA LIGHTS
MICROPHONE
FLEXIBLE NECK
BASE
BASE
LIGHT
USB PLUG
Page 5

www.huehd.com 3
PROJECTOR
HUE HD
PRO CAMERA
USB
IMAGE PROJECTED ONTO
A LARGE SCREEN
MAC OR PC
Simply connect the flexible neck to the
base, plug in the USB cable to the rear
of the camera and you’re ready to go.
You can connect the camera base to the
computer by the USB cable, or unplug
the camera from its base and connect
it directly to a USB port by its flexible
neck – great for laptops!
The base is simply an easy way to have
the camera stand upright on its own on
a desktop or other flat surface.
Once plugged into your computer the
base light will be visible on the base
unit, this confirms that the camera is
receiving power from your computer.
This camera should be recognised by
your operating system without the need
for installing any extra software.
TIP: to turn on the lights just tap the
back of the camera head gently. To
turn the lights o, tap the head again.
Page 6

There are seven buttons on the right
side of the HUE Intuition interface.
These buttons each correspond to
a dierent function.
• Video mode is for recording video
and taking snapshots. The main menu
button will change to orange when
that window is in use.
• The Playback tab is where you can
review, save and share your video.
• Scan mode is optimised for
scanning documents.
• Ideal for presentations, the Document
Camera tab will let you annotate and
manipulate the live video stream.
• Designed for monitoring, Image
Capture lets you take still pictures
automatically.
• HUE Intuition can be configured
in the Settings tab.
• The Skype™ button disengages
the camera and launches Skype™.
Using HUE Intuition
VIDEO
PLAYBACK
SCAN
DOCUMENT CAMERA
IMAGE CAPTURE
SETTINGS
SKYPE
Page 7

www.huehd.com 5
VIDEO
In the Video tab you can record video
with sound. You can also take snapshots
using the button in the bottom left of
the window.
First of all, ensure that you have selected
the camera and microphone that you
want to use in the Input Options box.
Click the red button to start recording
your video. The red Record button will
change to a square.
When you’re finished, click the same
button again to Stop recording. You’ll be
taken to the Playback tab automatically.
Tip: Use the Pause button to pause your
recording at any time.
Note: On some computers, you can
adjust the settings by clicking the button
next to the Camera dropdown menu.
PLAYBACK
After recording a video, use the Playback
tab to review, save and share your work.
The buttons under the video panel let
you Rewind, Play, Pause, Fast-forward
and Loop your recorded video.
You can also adjust the sound and mute
the audio using the volume controls.
The buttons in the bottom right let you
choose to Save your video to a folder
on your computer or Share it online.
If you choose to share your video on
YouTube, you’ll need to enter your login
credentials and video settings on the
screen which pops up. It may take a few
minutes for the video to finish uploading.
Note: Your saved videos will play back
in standard video applications such as
Windows Media Player and QuickTime.
You don’t have to open HUE Intuition
again to watch them.
Page 8
SCAN
This function allows you to save
still images in dierent formats. It’s
suitable for scanning a large number of
documents quickly using your
HUE camera.
You can rotate your images vertically
or horizontally.
Tip: If you want to review each scanned
image before saving it, uncheck the Auto
Save Capture box in the bottom right.
DOCUMENT CAMERA
This feature lets you add annotations to
the live video stream. The edited images
can then be saved to your computer for
future use.
To choose a tool, click the icon and
move your cursor. The tool will turn
orange, indicating that it has been
selected.
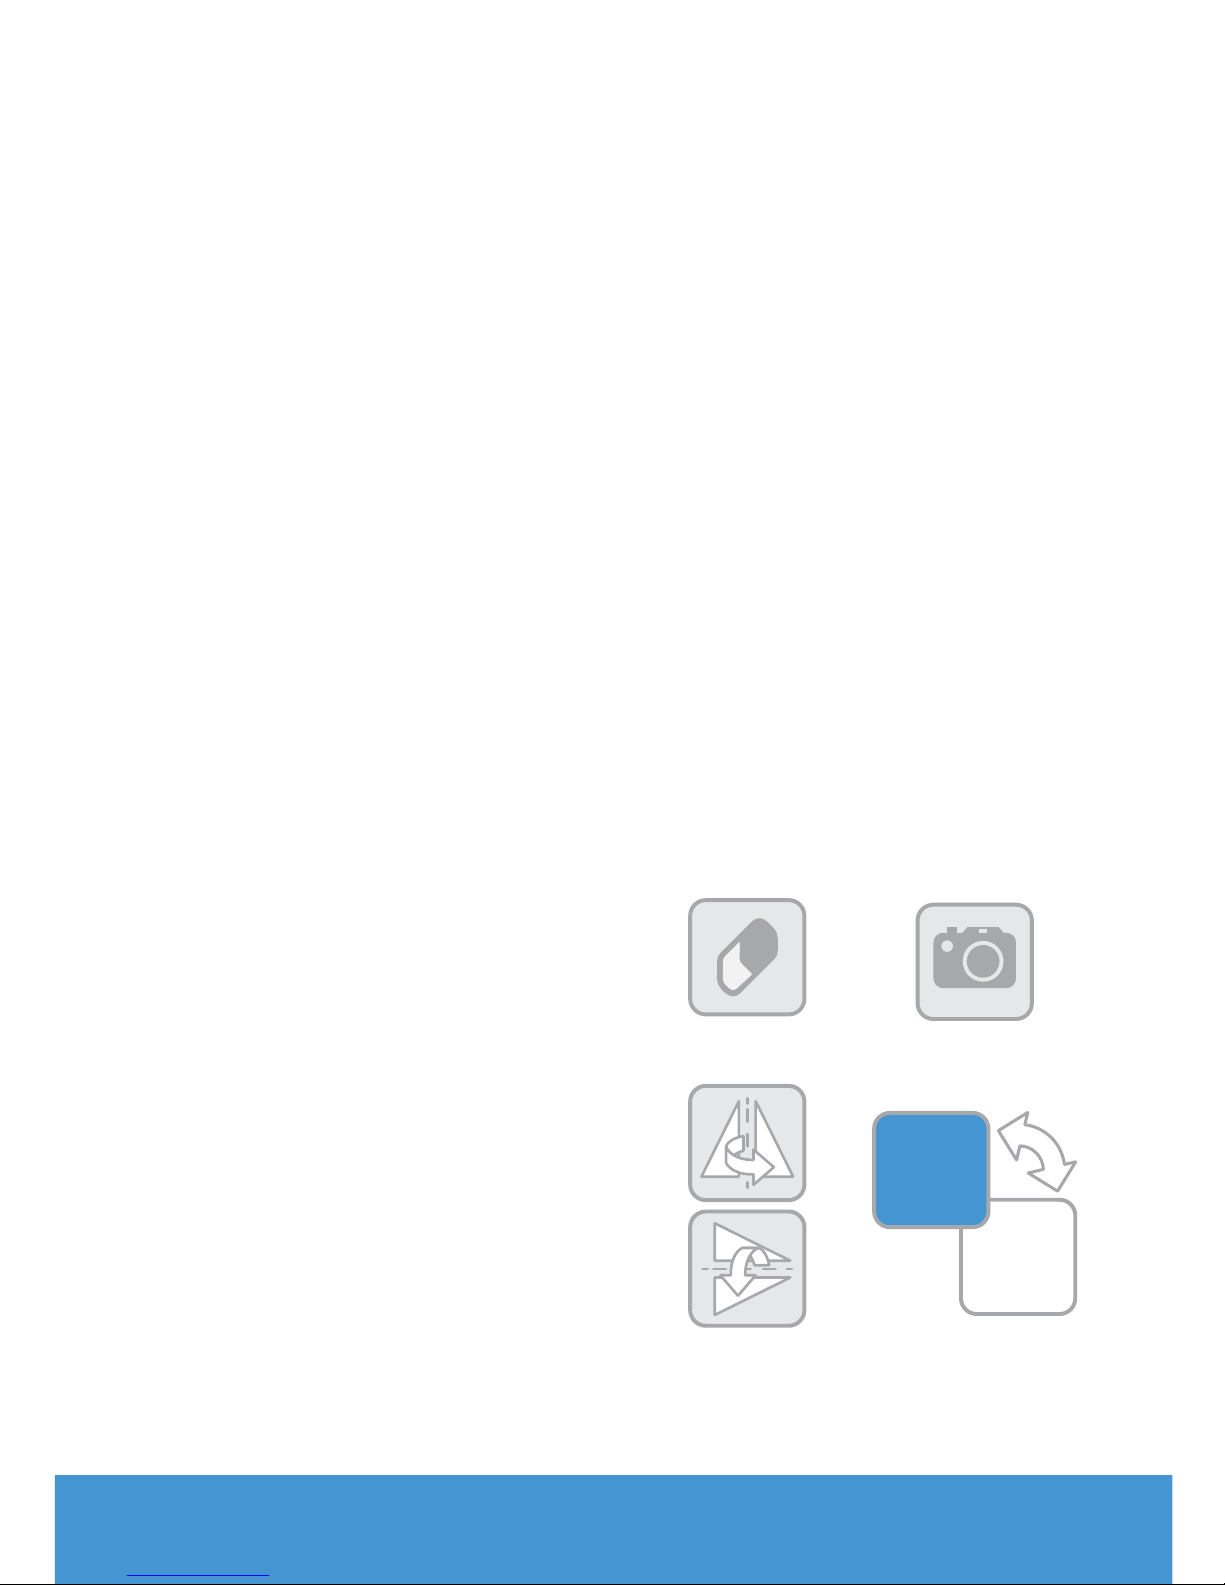
Delete: Use the eraser to delete
anything you have added to the
image. If you want to clear all of your
annotations at once, use the button in
the bottom right of the toolbox.
Snapshot: Use the camera button to
take a picture at any time.
Rotate: Flip or mirror the live video
vertically or horizontally, without having
to move the camera.
Colour swatches: Use the colour picker
to choose your colour for annotations
and filling/outlining shapes.
Snapshot button
Rotate buttons
Colour swatches
button
Delete button
Page 9

www.huehd.com 7
You can add Text using the T button.
Change the font or size by using the
slider and list adjacent to the button.
The pointer tool (arrow) can be used to
select an existing text box if you want to
make changes.
Add shapes and change the fill and
border colours using the colour
swatches. If you want to create a shape
which is already filled with a solid colour,
check the Filled box.
Page 10

IMAGE CAPTURE
Use this mode to capture still images.
There are three dierent capture
methods you can choose from:
On Keypress: Choose when you want
to take each picture by pressing a
designated key on your keyboard.
On Timer: Set a timer to take pictures
automatically. The Interval is the gap
between each picture, while the Duration
is the period over which you want to
take pictures. For example, if you wanted
to show a flower opening up in the
sunlight, you could set the timer to take
a picture at an Interval of every minute
for a Duration of 12 hours. Or if you want
to record the activity in your classroom,
you could set the camera to record an
image every 30 seconds (Interval) for an
hour (Duration).
On Movement: This mode captures an
image each time the camera detects
movement - a bit like a security camera.
Select your capture method and
click the Capture button to start.
You can stop recording at any time
by pressing the same button again
(its icon will change to a square once
capture has begun)
Note: Advanced users can configure the
software to upload the captured images
to an FTP server automatically if it’s
necessary to monitor the camera online.
Page 11

www.huehd.com 9
SETTINGS
The Settings tab allows you to determine
where your picture and videos will be
saved and select the format you want
for your pictures.
The default settings should be suitable
for most users.
Page 12

SKYPE™
Clicking the Skype™ button will
automatically launch Skype™.
Open the Tools menu and pick Options,
then go to the Video settings. The HUE
camera should be selected and showing
a preview of your video as below.
The Audio settings tab lets you check
that HUE’s USB microphone is selected.
On a Mac, the settings are in Preferences
then the Audio/Video tab
Note: If Skype™ isn’t installed on your
computer, you’ll be taken to the Skype™
website in order to download and install
the software.
Page 13

www.huehd.com 11
FAQs
Does HUE HD Pro support
regular video conferencing
or picture editing software?
The camera works with a wide range of
video conferencing and picture editing
software. Any software that is designed
to work with a USB camera should
work using the HUE HD Pro as its video
input source, from Google Hangouts to
FaceTime to Skype™.
How do I video chat with
HUE HD Pro?
You can use popular third party
video chat software such as Skype™
(Windows/Mac), Google Hangouts
(Windows/Mac), AIM® (Windows only),
FaceTime (Mac only) and Yahoo!®
Messenger (Windows/Mac). Pick
which video chat network you wish
to join, download the software from
their website and follow their setup
instructions. Make sure you set HUE
as your camera and microphone in
the new program’s settings, then
you’re ready to chat!
Where is my HUE Intuition
activation code?
Please check the back page of this user
guide for your HUE Intuition activation
code. After your first activation, your
license details will be stored on your
huehd.com account for future reference.
How do I view the camera in plug
and play mode?
The HUE HD Pro works with video
streaming software such as AMCap,
available as a free download on our
website for those users who are unable
to install software such as HUE Intuition.
If you’re using Mac OS X 10.6 or later,
we recommend the built-in version of
QuickTime for recording video if you
can’t install applications like
HUE Intuition on your computer.
How are the camera’s LED
lights controlled?
To turn the camera’s lights o and on,
simply tap the back of the head gently.
There’s a touch-sensitive button on the
back marked with a lightbulb symbol.
How can I install HUE Intuition
on a school network?
Command line switches for silent
installation can be found on our website
in the FAQ section: www.huehd.com/
faqs/install-hue-intuition-silentlywindows-network/
Page 14

How do I focus the HUE HD
Pro camera?
Our cameras use manual focus, which
means you have to turn the ring around
the camera’s lens until the picture is
sharp. This means that if you move the
camera closer or farther away, the
picture may become blurry until you
turn the ring again to bring the image
back into focus.
What do I do if my camera isn’t
working?
Please read the FAQs on our website
to ensure that everything is configured
correctly, and check that the camera
isn’t in use in another application.
USB cameras can only be used in one
application at a time.
Does the HUE HD Pro
camera conform to RoHS
and CE requirements?
Yes. The HUE HD Pro camera has been
screened in accordance with RoHS
Directive (2011/65/EU) and undergone
EMC (Electromagnetic Compatibility)
testing pursuant to EMC Directive
2004/108/EC, meeting the requirements
of EN55022: 2010 and EN55024: 2010.
For a full set of FAQs, tutorials
and technical help, please visit
www.huehd.com/support
If you can’t find the answer your
looking for, please contact us via
Please provide as much information
as you can including order details,
your operating system, and screen
shots so that we can quickly identify
a solution for you.
FAQs continued
Page 15

www.huehd.com
SYSTEM REQUIREMENTS
USB 2.0 (1.1 compatible)
Windows Vista, XP, 7, 8 & 10
Mac OS X 10.4.3 or later
Sound card required 16 bit or higher
Are you a teacher? Get in touch and tell us your stories!
You can follow us on Twitter or Facebook for the latest HUE news, tips and
competitions.
Page 16

14 support@huehd.com
YOUR ACTIVATION CODE
If your code is missing, please contact us.
Multi-user activation codes are usually sent to the purchaser digitally.
For further assistance, please contact us by email.
Pour toute information supplémentaire, veuillez nous contacter par e-mail.
Für weitere Informationen kontaktieren Sie uns bitte.
その他ご質問がございましたら、お気軽にお問い合わせください
[email protected] www.huehd.com
 Loading...