

Page 1

HuddleCamHD USB 2.0 Camera Model
Quick Start Guide
Step 1: The first thing to do when you receive your HuddleCam 3X or 10X-USB2 Camera is
read through the included manual. This camera series is available with options for an integrated
3X or 10X optical zoom lens. The only main difference between the HuddleCamHD 3X and
10X-USB2 camera models are the lenses which differ in optical zoom and field of view
capabilities. They do however, come in either black or white.
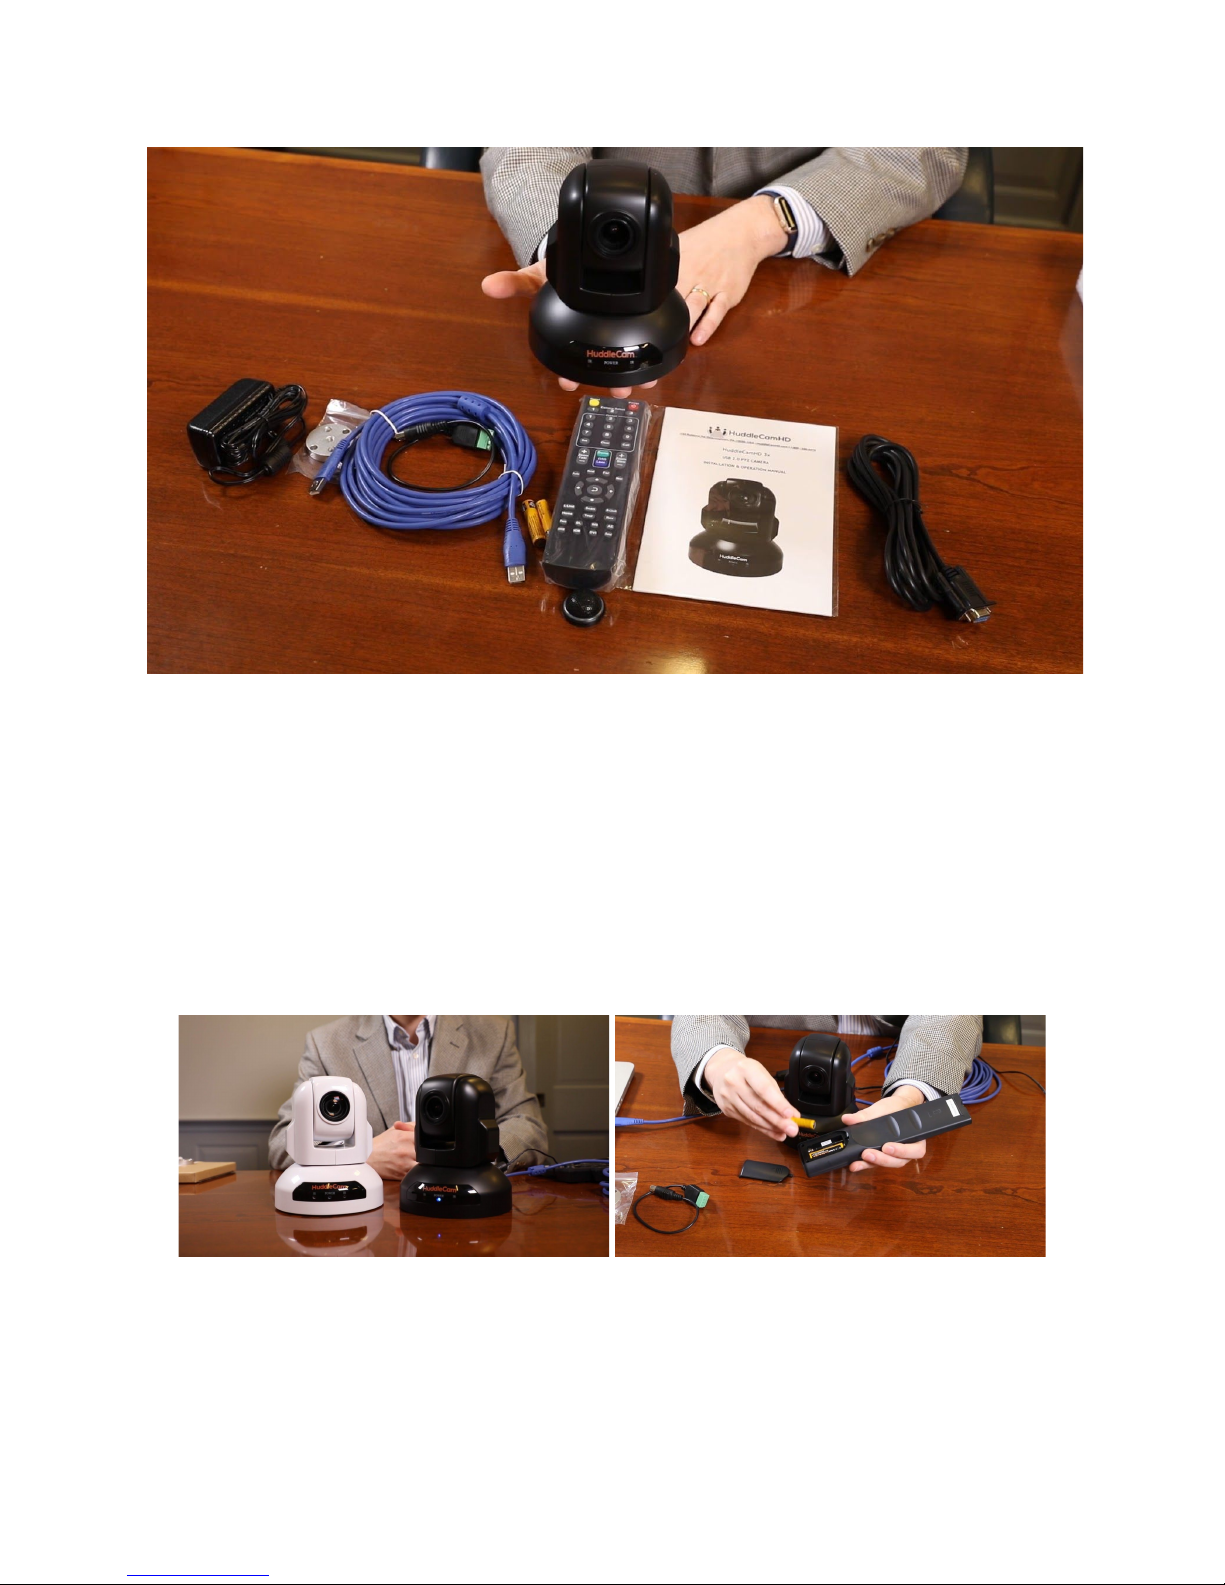
Step 2: As you unbox your HuddleCamHD USB 2.0 Camera you will find the camera, a power
supply, a mounting disk, a 9’ USB 2.0 cable, an IR remote control, the user manual and a serial
control cable used for joystick controllers.
Step 3: Let’s start by plugging the camera into the included power supply. Now it is time to plug
the included USB 2.0 cable into your camera and into your computer. Once you plug in your
HuddleCam USB 2.0 camera the drivers will begin to automatically install.
Page 2
Note: All HuddleCamHD cameras utilize the UVC (USB Video Class) drivers that are built into
Windows, Mac OS and Linux to bring HD video to your PC via your device’s USB port. When
your device successfully recognizes the camera, your device will register the HuddleCam as a
“camera”. You can see this in Windows Device Manager program (type “device manager” into
the Windows search tool).
Step 4: Once the camera has come to a Home Position you will be able to select your camera
inside your favorite video conferencing software. We can also see that our camera is available
in the device manager of Windows.
Step 5: Let’s test out the camera’s PTZ functionality with the included IR remote control. Start
by inserting the included AAA batteries into your IR remote control. Now you can operate the
Pan, Tilt and Zoom of your camera using the IR Remote. Let’s set a camera preset to familiarize
ourselves with the remote control. First click the number you would like to save a PTZ preset for
Page 3
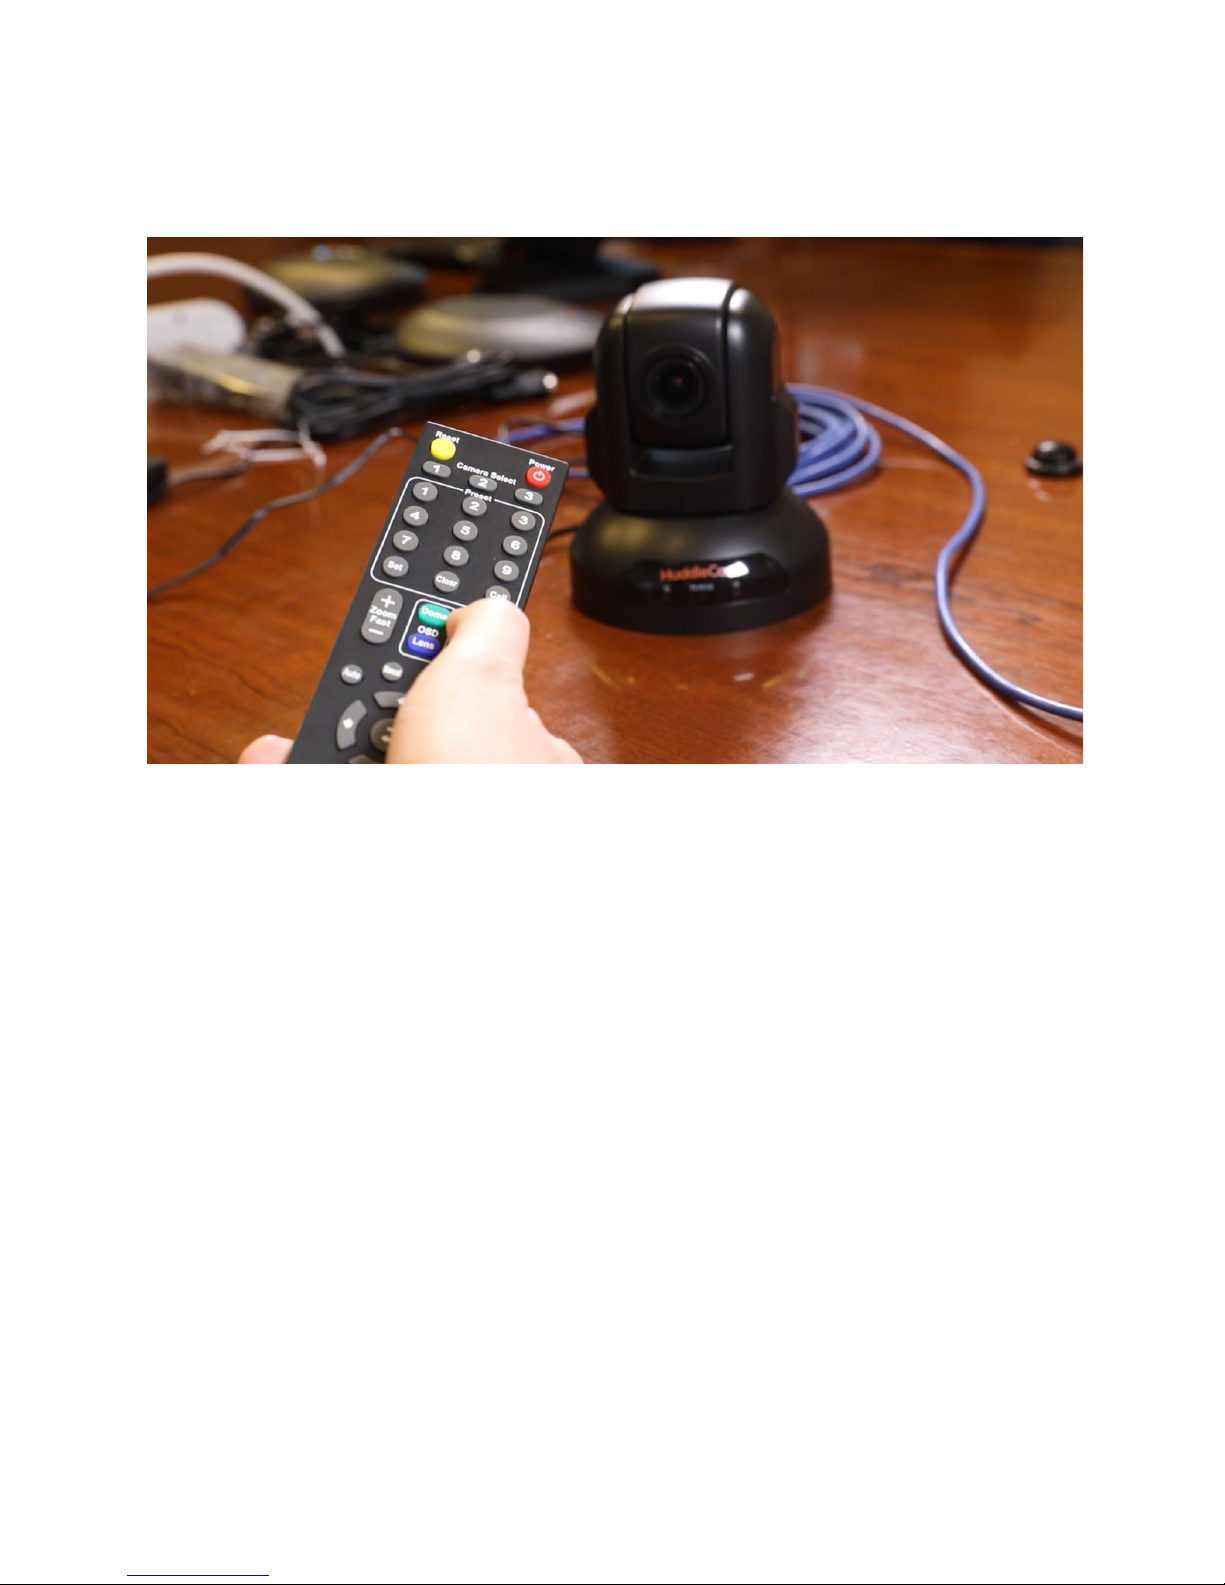
and then click Set. Then you can recall your preset 1-9 by pressing the number and then
clicking the call button.
TIP: If your remote control is not controlling your camera, double check the IR address your
camera is set to. The default address is 1. Let’s press the number 1 button on the top of the IR
remote control to make sure the IR remote is set correctly.
NOTE: The IR remote control can control up to 3 HuddleCamHD cameras. You can gain control
of the second and third camera by adjusting the camera’s IR address via the dip switches on the
bottom of the camera. Refer to the chart on the bottom of the camera.
Step 6: You may choose to mount your HuddleCamHD 3X Camera to the ceiling, wall or a
tripod using the included mounting disk attachment with your HuddleCamHD camera. This Disk
is ideal for securing the camera to a wall mount or standard tripod using the quarter twenty
mounting screw. To fix the mounting disk to the bottom of the camera, use the supplied screws
to hold it in place. Once the Tripod attachment is secured to the bottom of your HuddleCam, you
can easily connect a tripod or wall mount securely.
Page 4
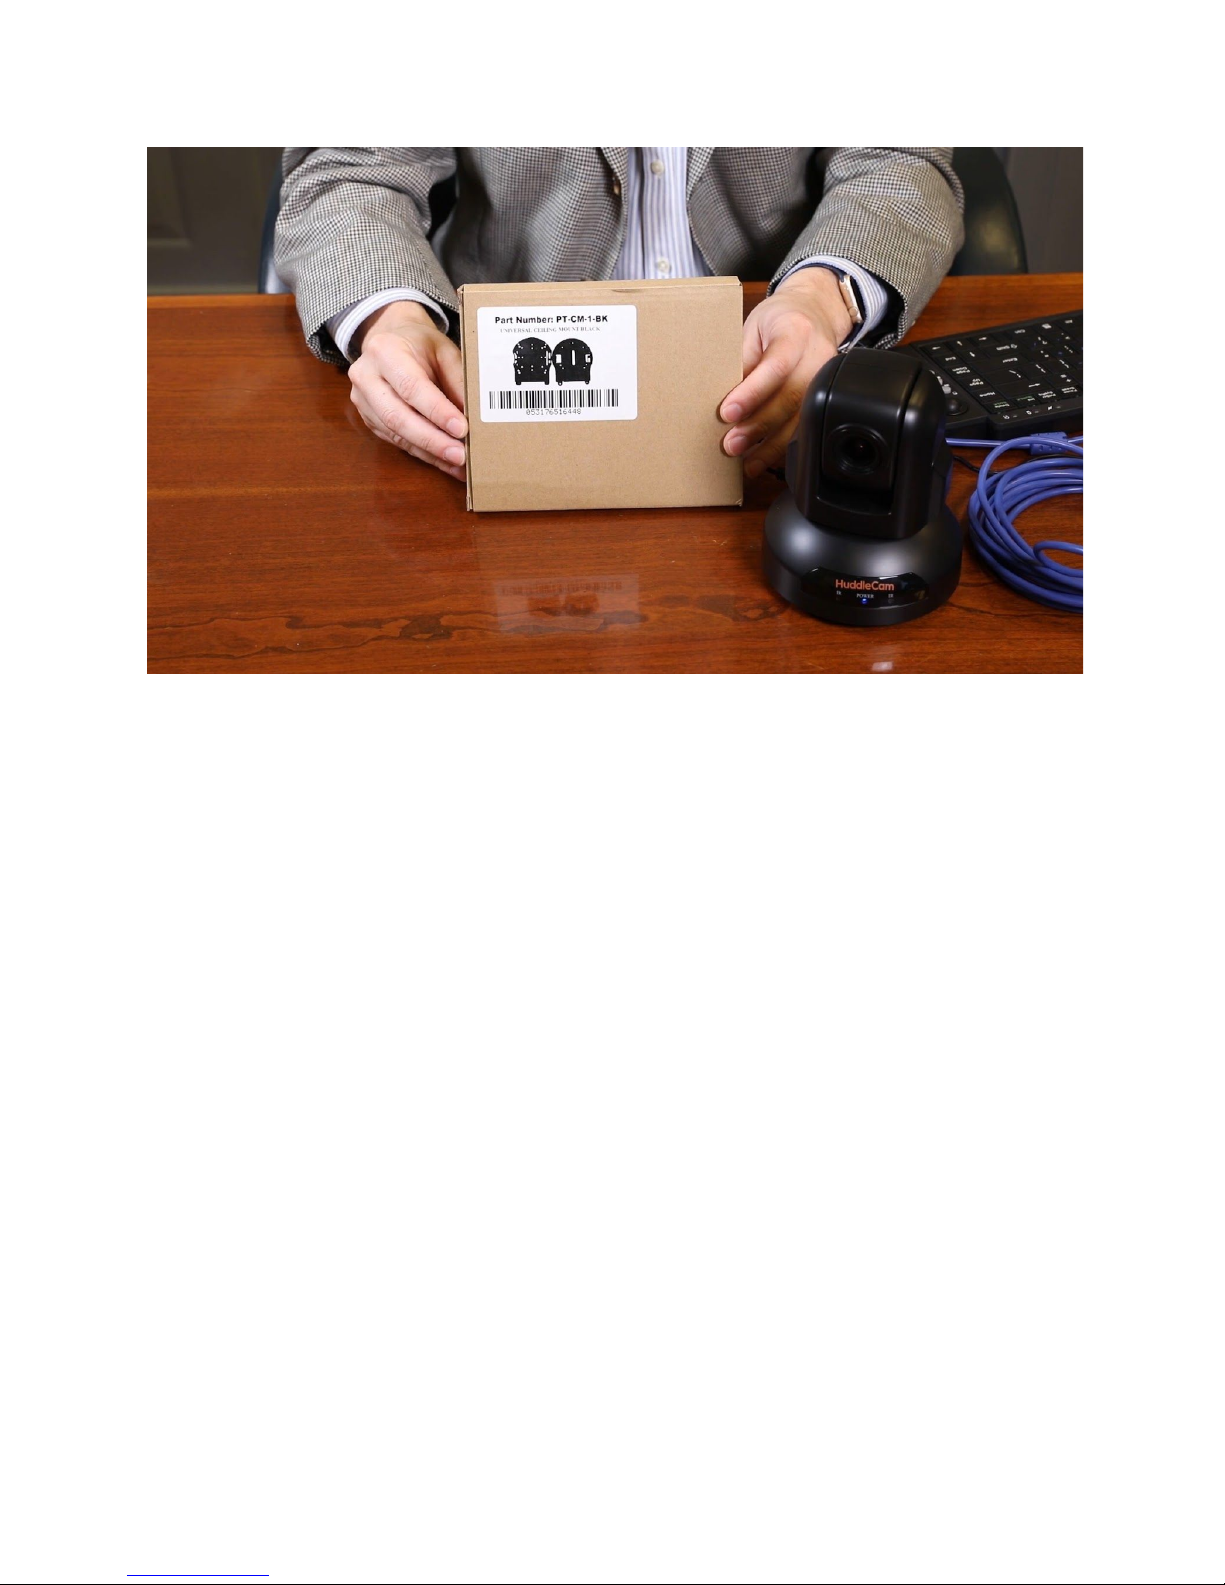
NOTE: If you plan to ceiling mount your HuddleCamHD you can use the Rev button on your IR
remote to flip the image of your camera. The recommended ceiling mount is the PTZOptics
PT-CM-BK-1-BK.
Step 7: Finally, if you are interested in using the free HuddleCamHD PTZ camera control
software on your Mac or PC computer it is available for download at
HuddleCamHD.com/Resources. This software will allow you to control your camera from your
computer using just the USB cable connection you are already using for Video.
Step 8: You have now set up your HuddleCam and can use it with your favorite video
conferencing software. Remember if you have any questions during your setup process that you
can always call our support team using the phone number listed on our website. You can also
submit a support ticket at any time at help.huddlecamhd.com. Enjoy!
 Loading...