

Page 1
INSTRUCTION SHEET FOR RECESSED UPLIGHT
See warnings on carton.
Read all instructions contained herein before proceeding with installation of fixture.
WARNING: Manufacturer will not warrant any fixture for any reason if the installer of the fixture does not read and comply with all of the instructions contained
herein.
WARNINGS:
• Disconnect power before installation or servicing.
• Install, operate and maintain to meet all applicable codes.
• Protect all wiring connections with approved insulators (by others).
GENERAL INFORMATION:
• Use a waterproof pipe joint compound (by others) for all entries into junction box.
• WARNING: Manufacturer will not warrant a leaking fixture found to be caused by dirt or debris between ballast housing and ballast housing cover. Manufacturer
will not warrant a leaking fixture if water level rises to more than 1.75 inches above ballast housing cover (2).
• If both ballast housing conduit entries are not utilized, then seal the remaining entry with a threaded pipe plug (supplied with fixture) and thread sealant (by
others).
• Plug all unused entries into ballast box.
• Allow 6 inches min. supply wire entering ballast box.
• Use only plastic conduit (by others).
• All conduit entries are tapped ½-14 NPS.
• Allow 3" (min.) around and 6" (min.) under the ballast housing for placement of gravel or sand to insure proper drainage.
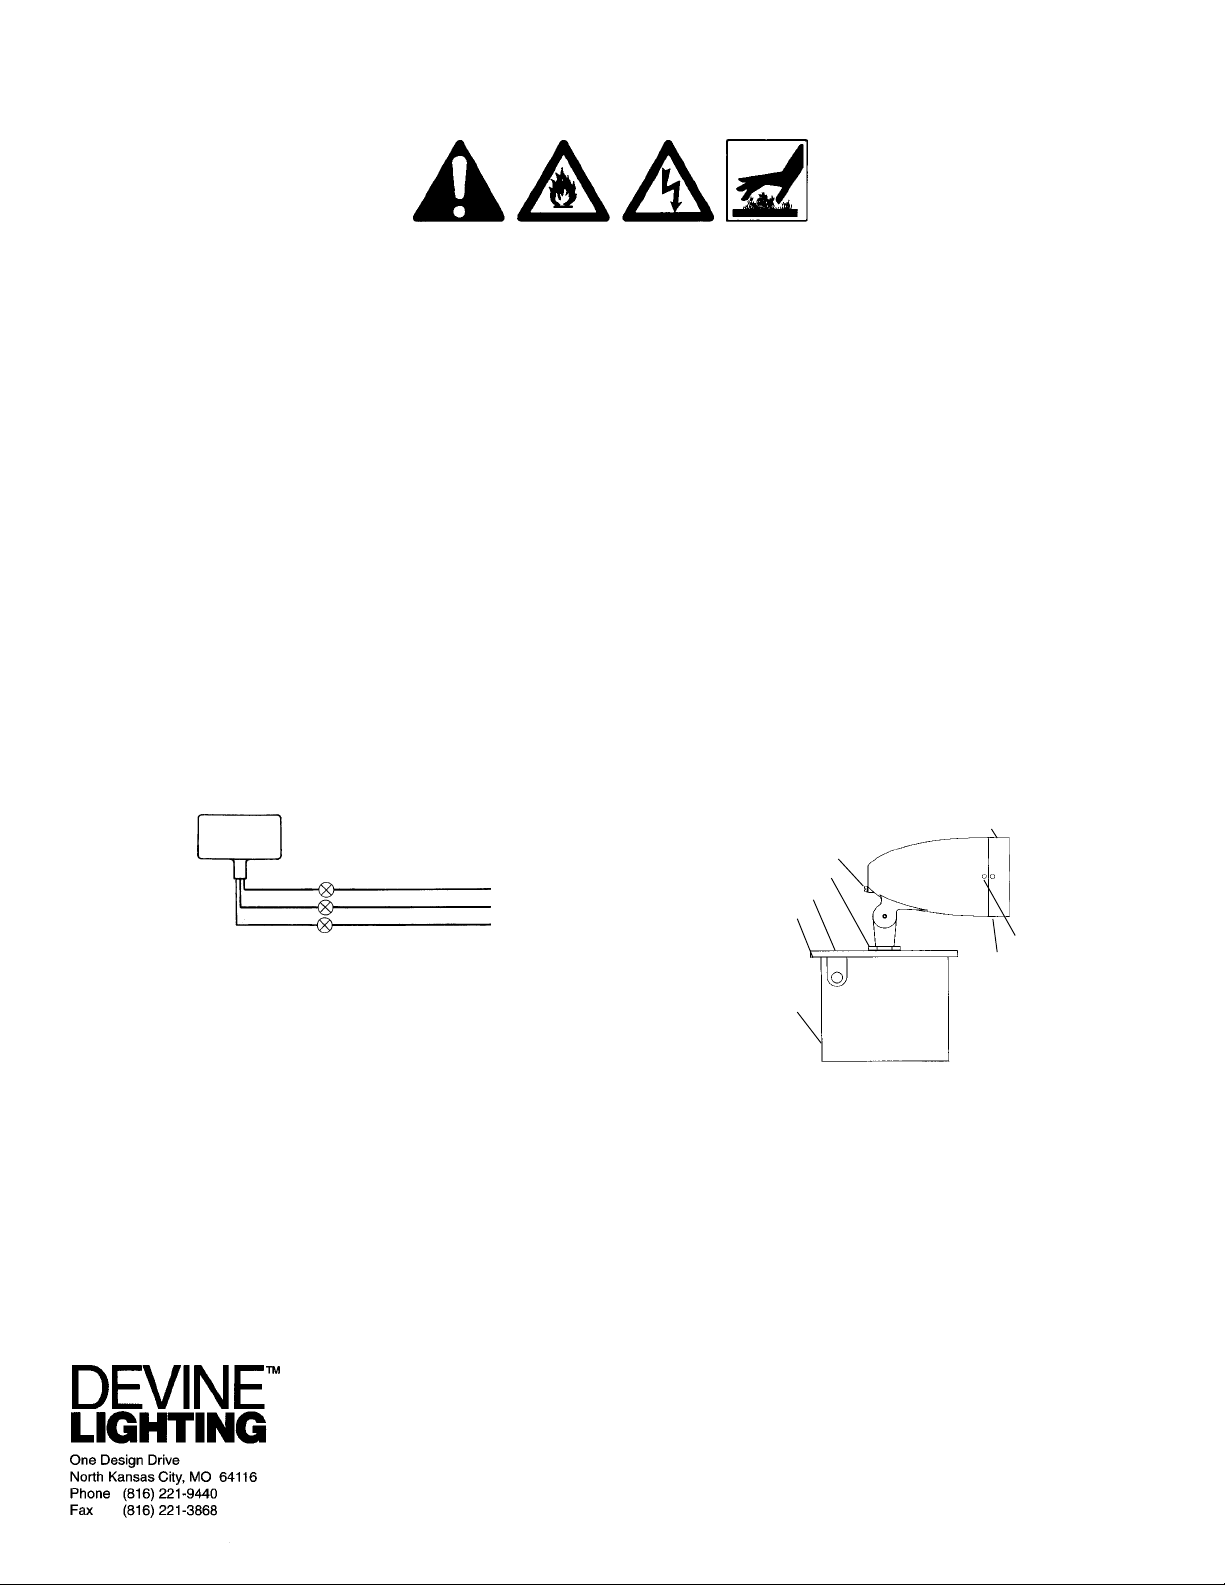
Fixture
Black
White
Ground
Line (HOT)
Neutral
Green/Ground
WIRING DIAGRAM
1. Remove screws (1) and ballast housing cover (2).
2. Make wiring connections.
3. Reinstall the ballast housing cover to ballast box (3).
4. Tighten screws to 14-16 in. lbs. of torque using an alternating torque sequence.
5. Tighten knuckle hardware and locknuts (4) after aiming.
6. Remove lens assembly (5) by removing screws (6).
7. Install lamp (by others).
8. Mount lens assembly with drain hole (8) on bottom and tighten screws (6).
9. Remove drain hole screw (7) when aiming fixture above horizontal.
5
7
4
1
2
6
8
3
268-1203-9901
 Loading...