

HUALIAN FS-600H, FS-800H, FS-100H Operating Instructions Manual
TROUBLESHOOTING
Terminals of the heating
Cooling time is not enough
upper lever for 1
-
2
MALFUNCTIONS REASONS SUGGESTIONS
No sealing
Power lamp is off
Disconnected plug
Power cord is broken
Transformer is broken
Check or change the plug
Replace or repair the cord
Replace the transformer
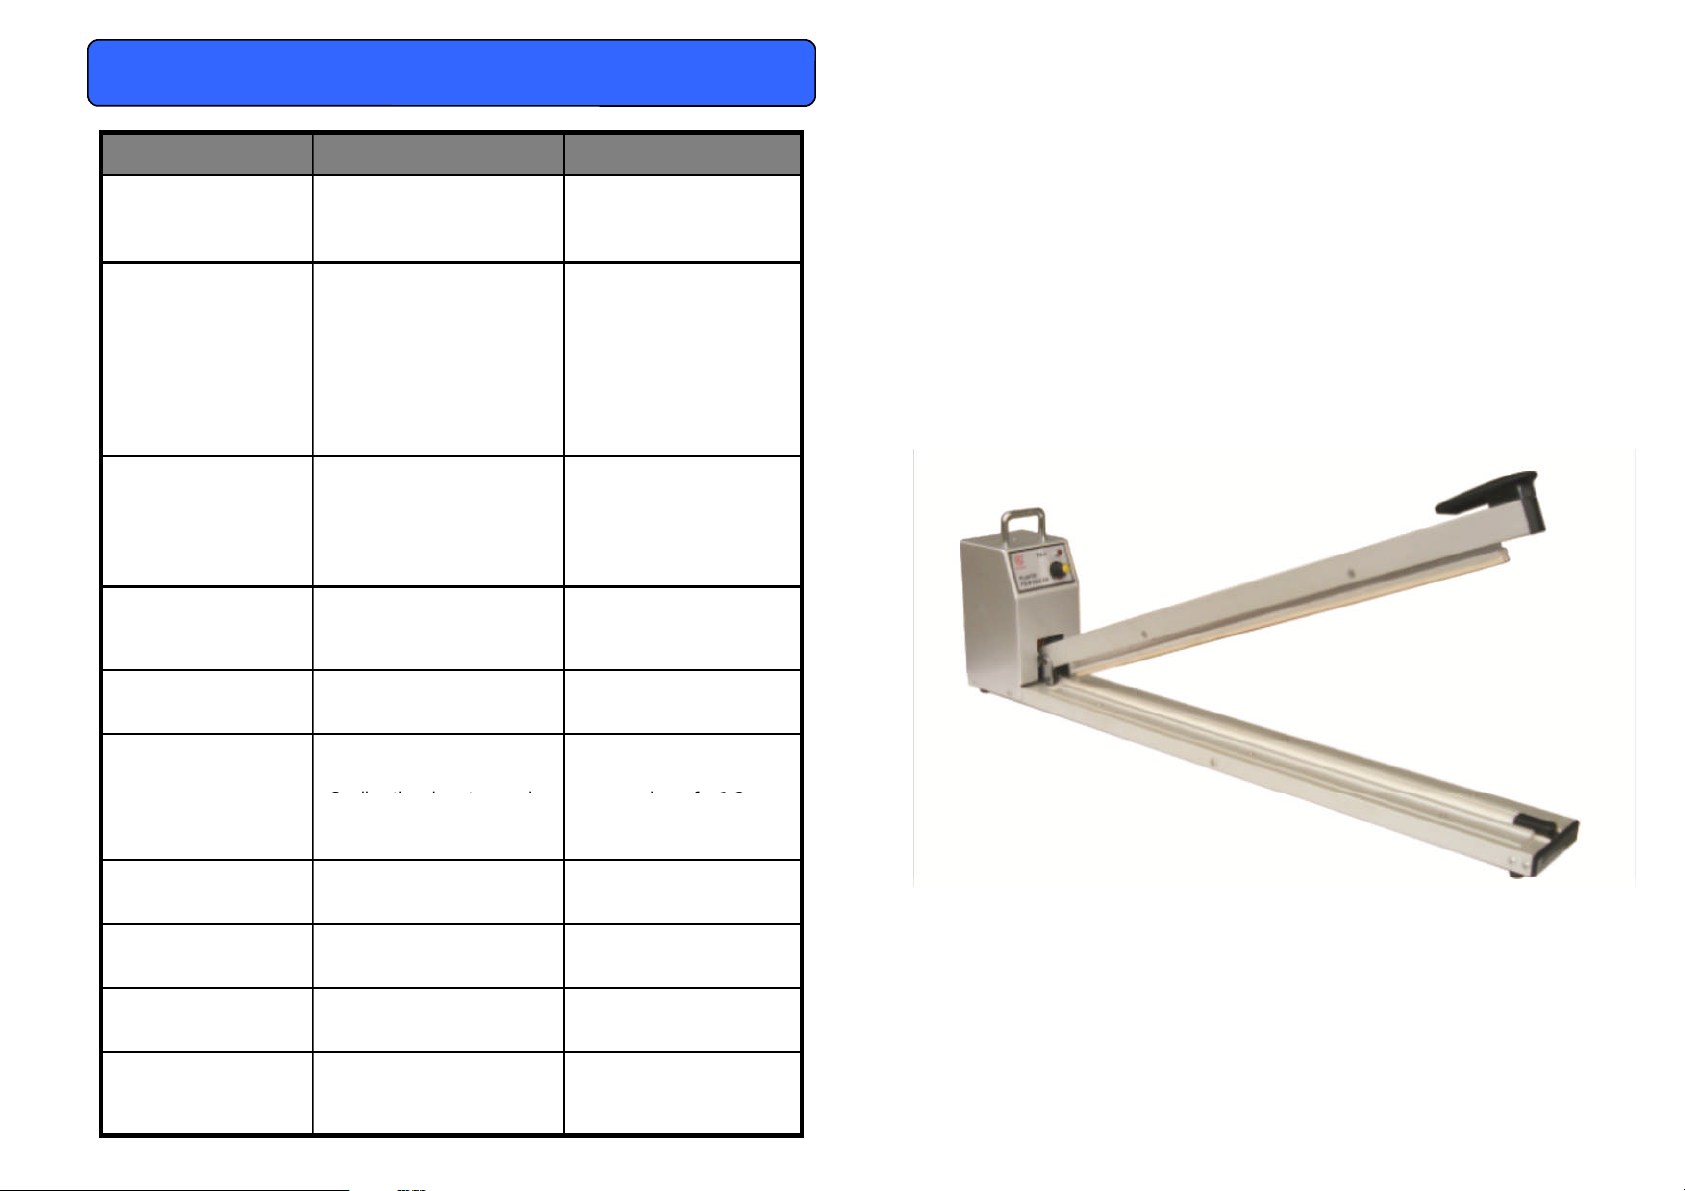
LONG HAND
IMPULSE SEALER
OPERATING INSTRUCTIONS
No sealing
Power lamp is on
Sealing lamp is on
No sealing
Power lamp is on
Sealing lamp is off
Teflon cloth burn Timer malfunction
Heating wire breaks Worn Teflon adhesive Replace the Teflon
Seal is wrinkled Heating timer is set too
Heater (heating element) is
broken
Spring hook our mounting
spring is loose or in poor
contact
element are in poor
contact
Microswitch is activated
Defective microswitch
Prolonged heating time
high
Replace the heater
Clean or tighten spring
hook connection
Clean the terminals and
adjust if needed
Adjust the microswitch
lever
Adjust the microswitch
position
Replace the microswitch
Replace timer or relay
Decrease the timer
setting
adhesive
Lower the timer setting
Continue pressing the
seconds after the light
goes off
MODELS
FS-600H, FS-800H, FS-100H
Imperfect seal Worn Teflon cloth
Broken seal Prolonged sealing time Decrease timer setting
Non-full-weld seal Sealing time is too short Increase sealing time
Seal sticking Dirty Teflon cloth
Worn silicone rubber
Dirty sealing bar
Replace Teflon cloth
Replace silicone rubber
Clean the Teflon cover
Clean the silicone rubber
sealing bar

SPECIFICATIONS
This sealer should only be in use with an
operator
in attendance.
Before operating, check the heating element,
PTFE
cover,
PTFE
sharp edge.
IMPORTANT POINTS TO REMEMBER
Model FS-600H FS-800H FS-1000H
Power 110V/780W 110V/1050W 110V/1350W
Sealing Length 23.6" 31.5" 39.4"
Seal Type 2.8mm 2.8mm 2.8mm
Heating Time 0.2-3 secs 0.2-3 secs 0.2-3 secs
Weight (lbs) 16 20 20
OPERATING INSTRUCTIONS
adhesive and sealing pad (silicone rubber).
1. Set the Power Switch to the ON position.
2. Adjust the timer setting according to the thickness of the
sealing material. Note: Always start with the lowest
setting and gradually increase to the correct setting.
3. Pull the film to be sealed in between the base and sealing
jaw.
4. Place the object to be sealed between the sheets of film.
5. Press the sealing bar down and seal.
6. Wait 2-3 seconds to allow the seal to set and lift the
handle.
Read all instructions before use. Save these instructions for later
use.
Follow all warnings and instructions marked on the product.
Unplug this product from the power source before cleaning and/or
changing any parts
Do not rest anything on the power cord. Do not place the machine
where the power cord may be stepped on or pulled.
Always keep out of reach of children and pets.
Never insert clothing, hands, fingers between the sealing jaws of
sealers.
Never touch the heating elements with bare hands while the
sealer is plugged into a power source, or in operation, or just
finished operation. It will be HOT.
Be sure to check for worn parts before starting operation.
Do not operate with a damaged power cord or plug.
Always keep the unit clean. Do not use water. Silicone spray may
be used to clean the unit. Be sure the unit is unplugged from the
power source before cleaning.
When changing blade (for sealers with cutters), be careful of the
ADDITIONAL INFORMATION
• Always unplug the unit from the power source before
attempting any maintenance.
• Always keep the sealing platform clean and remove any
residue found on the platform and Teflon tape. Silicone
spray may be used for this purpose.
• When replacing the Heating Element, always replace the
PTFE adhesive.
• Occasionally check the condition of the Silicone Rubber for
wear and burn. A damaged or worn Silicone Rubber will
affect the quality of the seal.
When changing the teflon adhesive, be sure the entire surface
under the heating element is covered with a teflon adhesive.
Bend down the excess teflon adhesive on both ends. This
prevents the heating element from breaking and the machine from
grounding.
When replacing the fuse, be sure the exact voltage and ampere is
used.
Be sure to keep a record of your model number. Specify this
number when ordering parts.
When replacing any parts, be sure to mark down the exact
locations of the connections.
 Loading...