

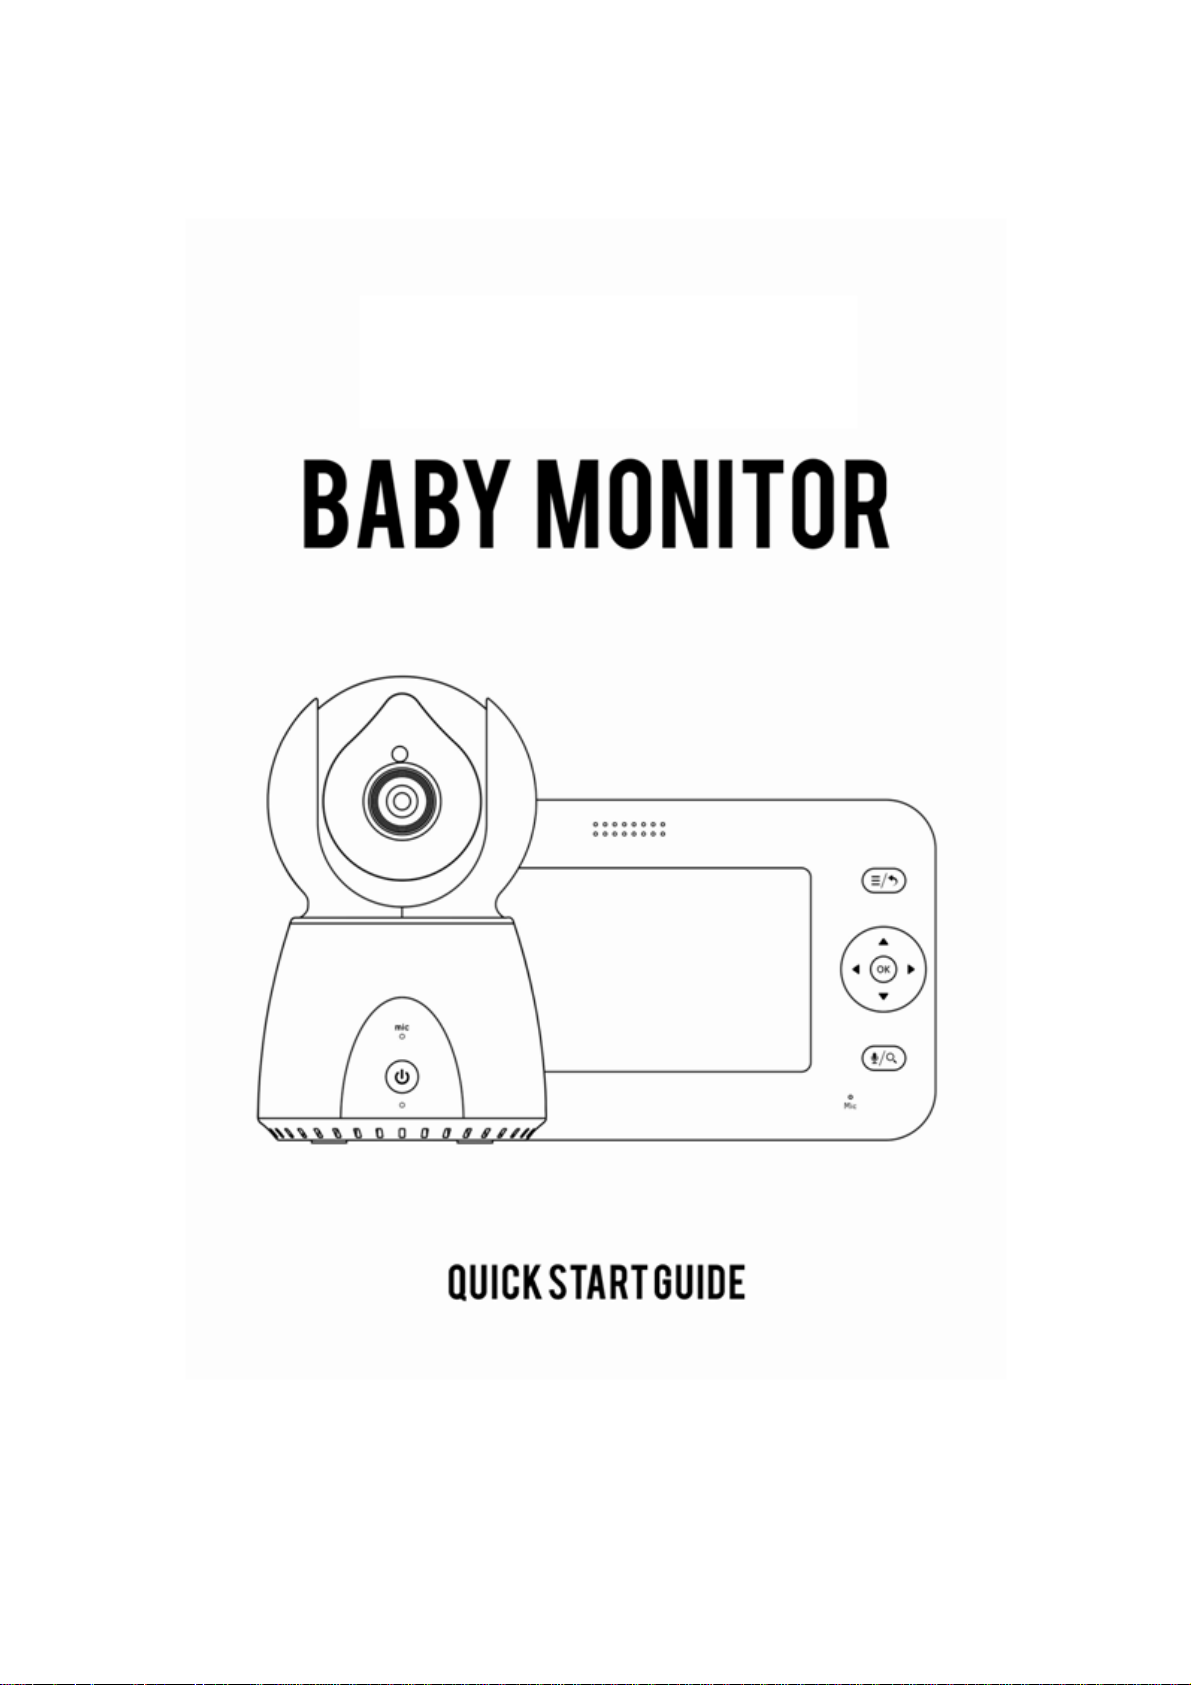
Huafun BEA0506 User Manual

1.Setting up your Video Baby Monitor
1.1. Connecting the power adapter for the baby unit
. Connect the small plug of the adapter to the Baby Unit and the other end to
the power socket
. Only use the enclosed adapter(5V DC/1.5A)
WARNING
Strangulation Hazard: Children have STRANGLED in cords. Keep this cord
out of the reach of the children( more than 1 metre away).
1.2.
Connecting the power adapter for the Parent Unit if PU is in low battery
status.
. Connect the small plug of the adapter to the Parent Unit and the other end to
the power socket
. Only use the enclosed adapter(5V DC/1.5A)
. Recommended charging time of at least 16 hours before first use.
. Press and hold the POWER button on the parent unit to turn it ON.
1
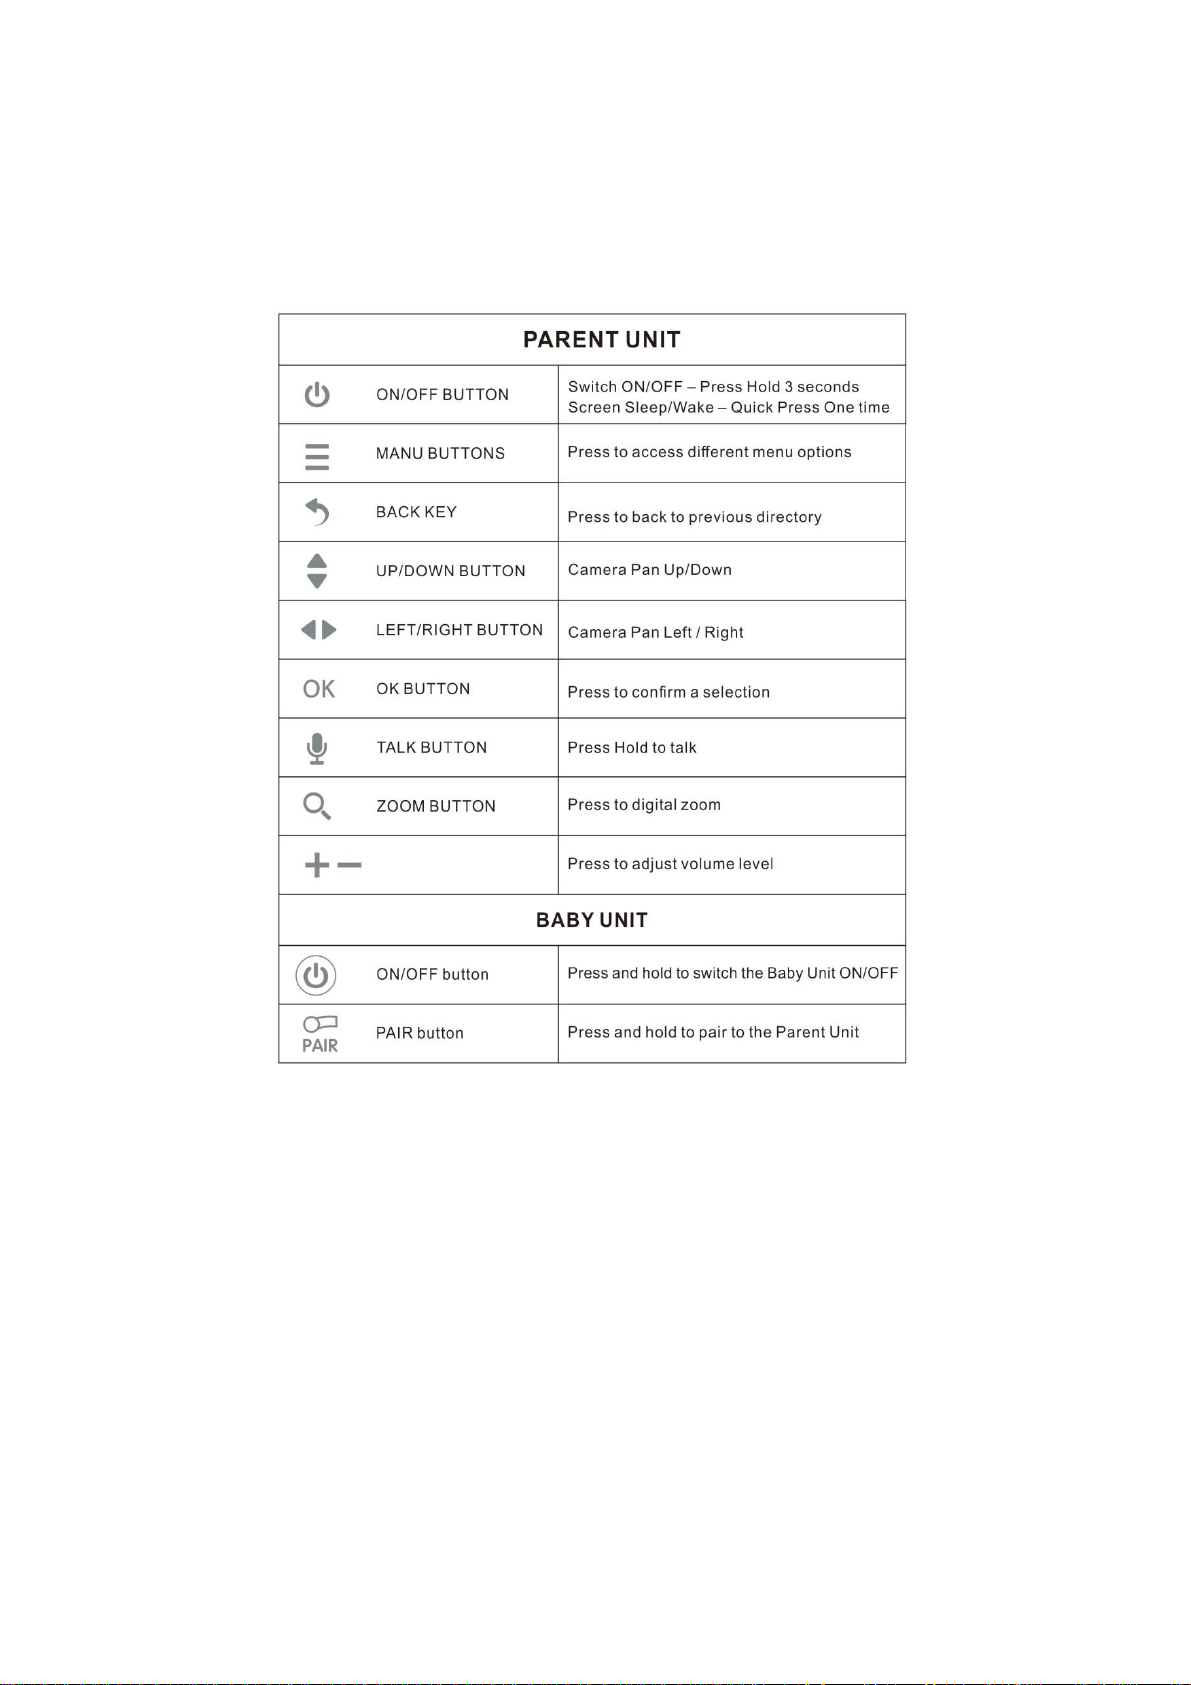
Basic operation of the keys
2
2. MENU options and Functions
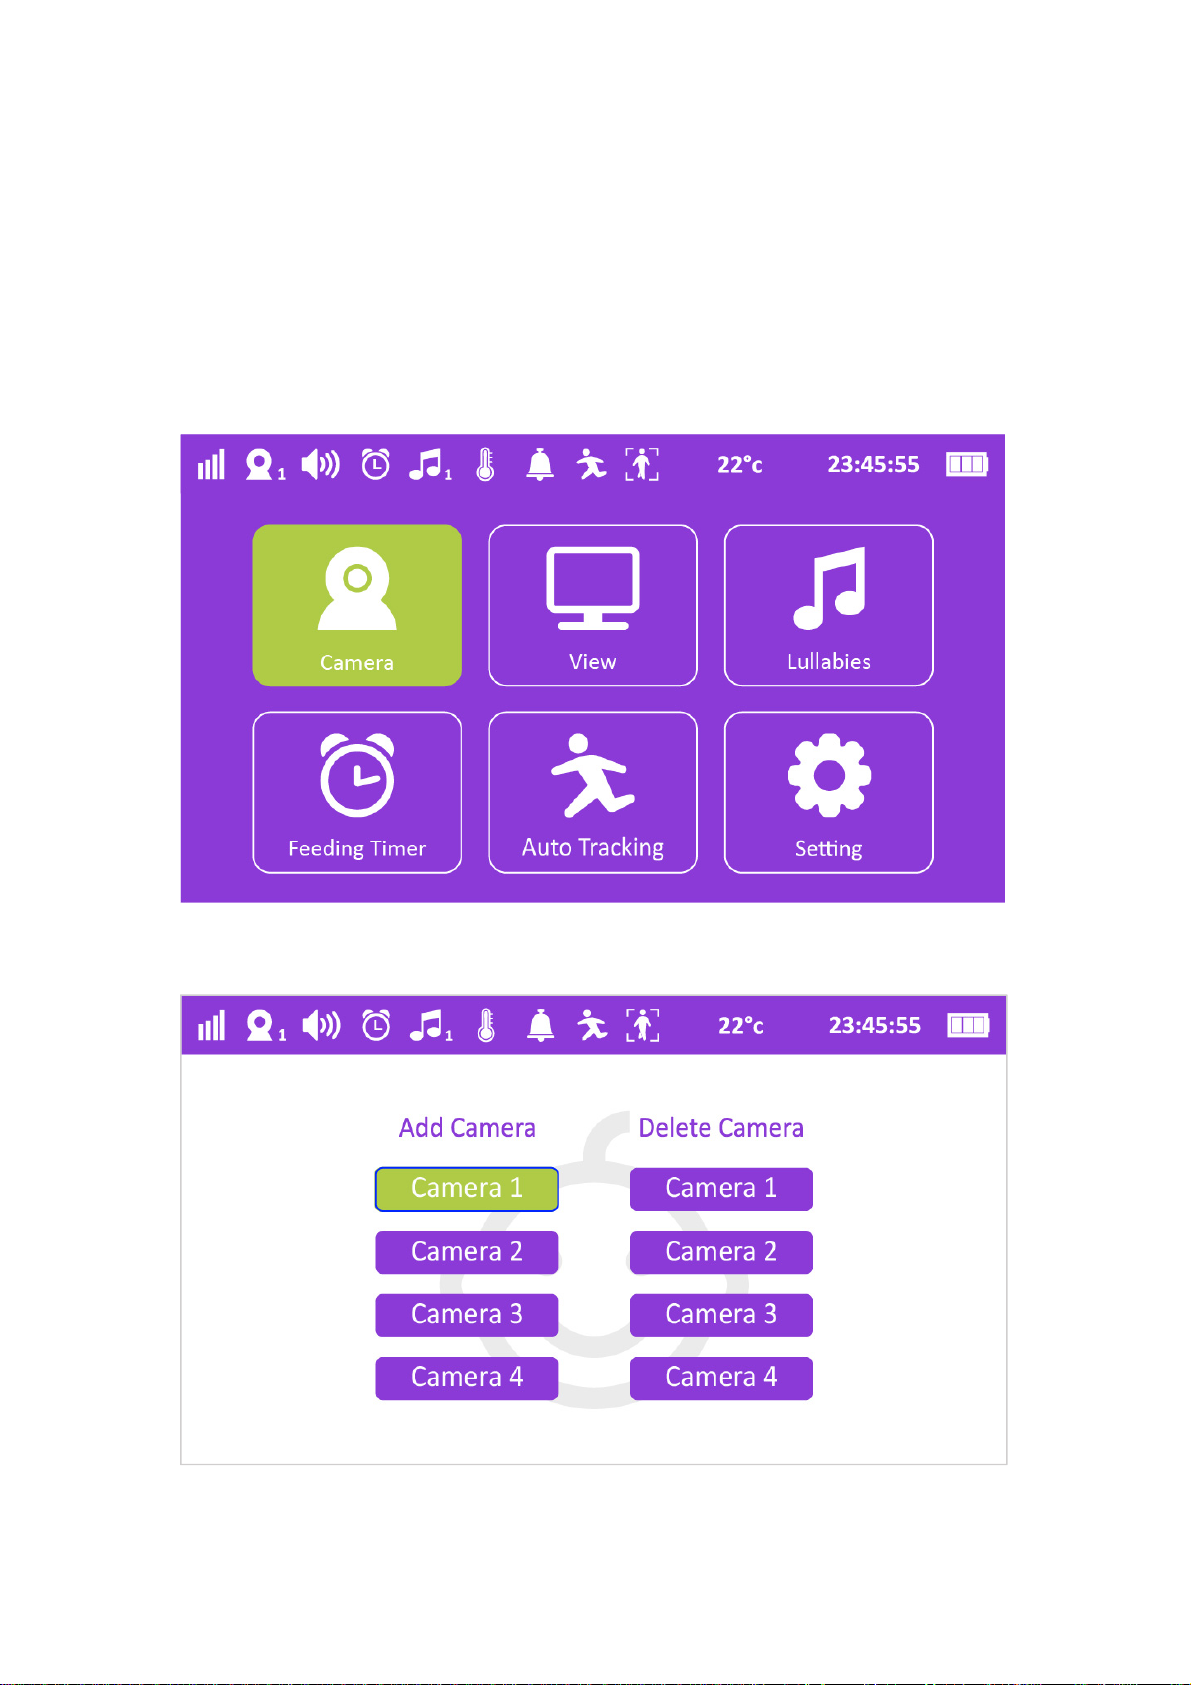
Camera
Press MENU button--- Select Camera icon---press’’ OK’’ button---Press add
camera (it support add 4 camera at most) ---press OK button---then press
camera ‘’ Pair’’ button to pair within 30 seconds.
3
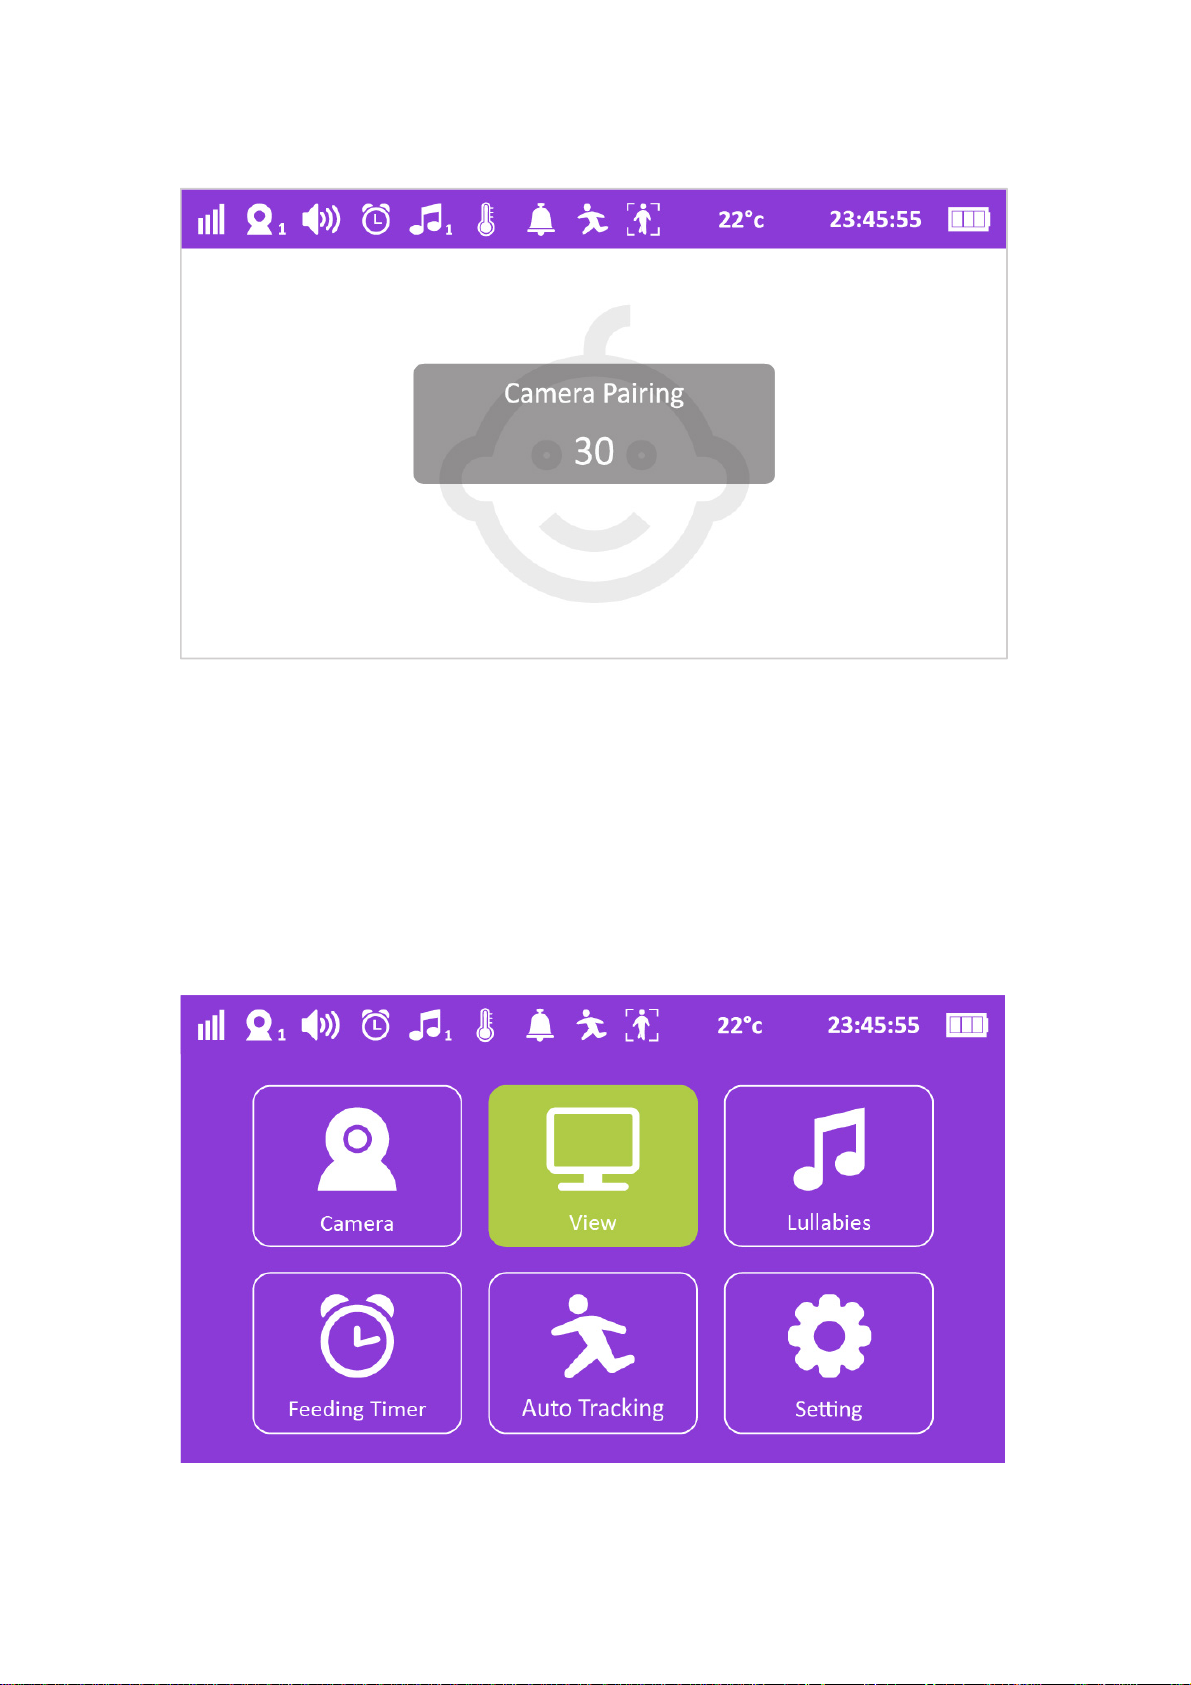
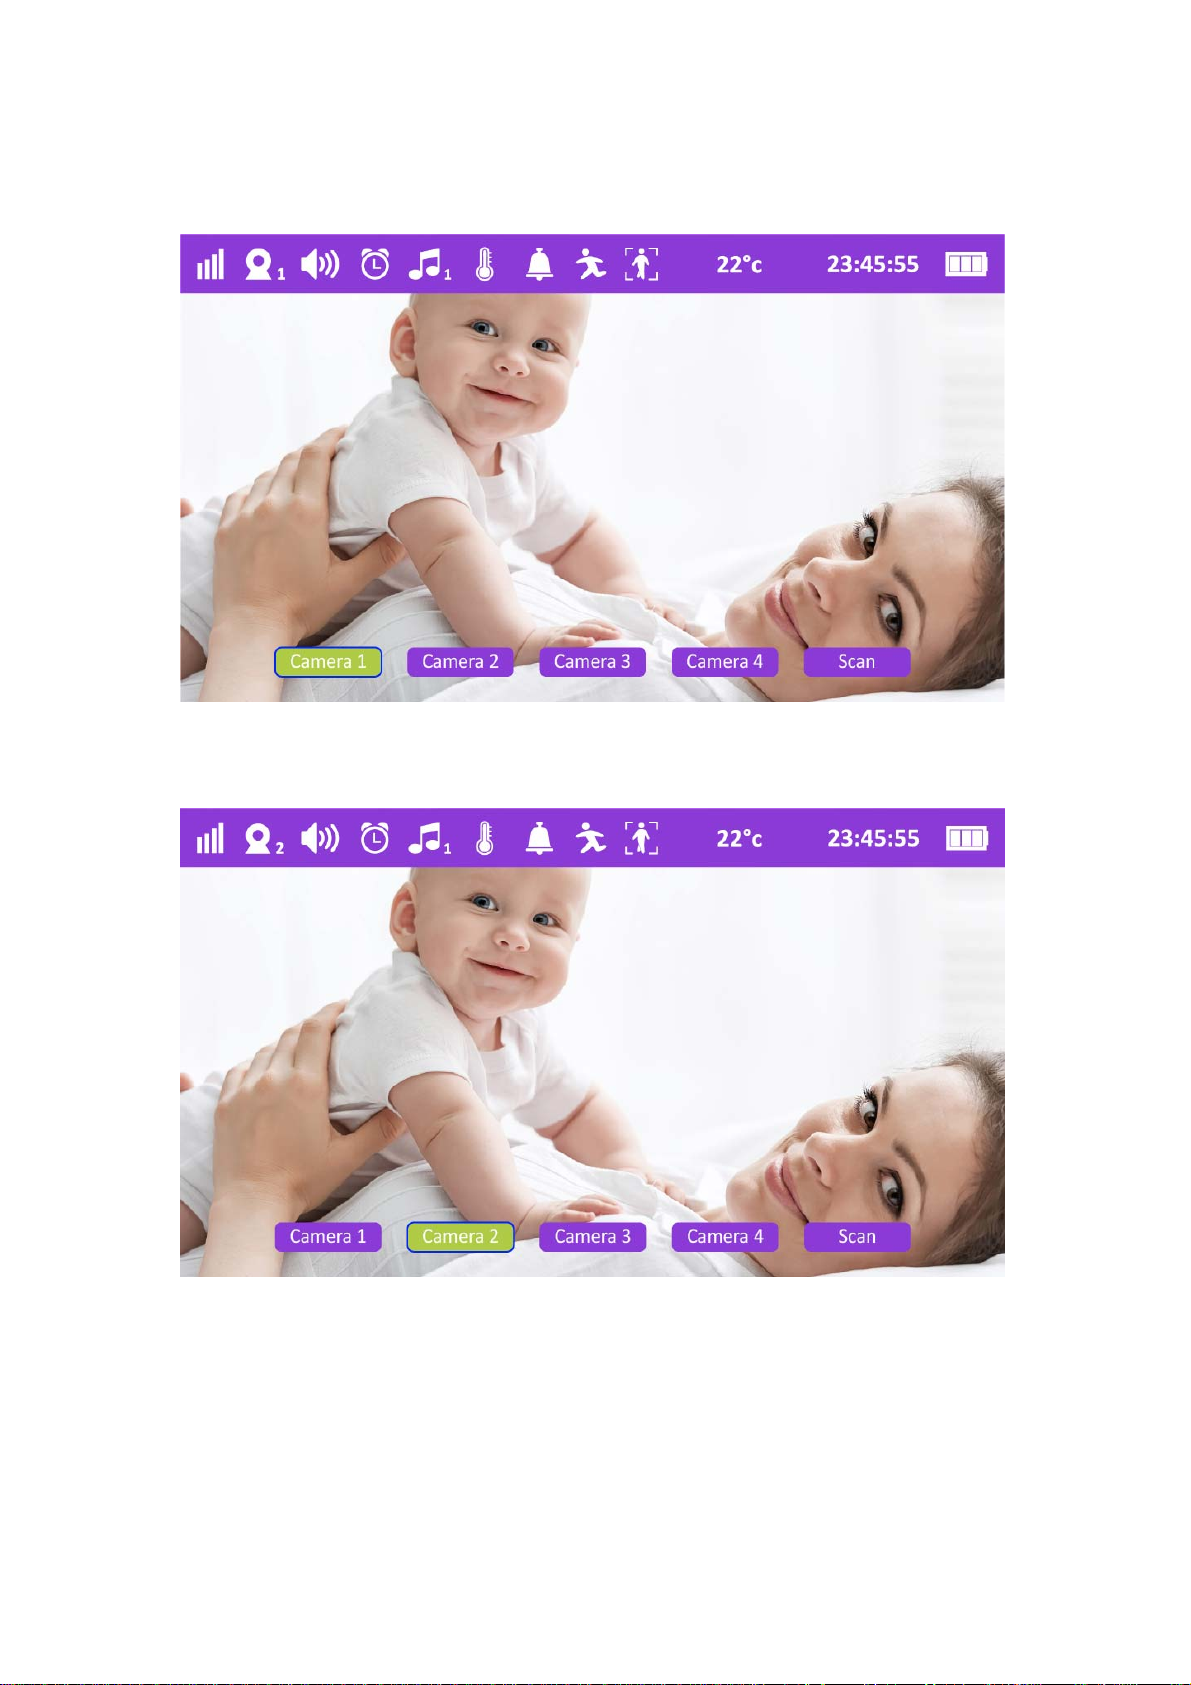
View
Press MENU button---Select View icon--press ‘’ OK’’ button---then you can
choose camera 1/ camera 2/ camera 3/camera 4 or scan this 4 cameras to
view .
4
5
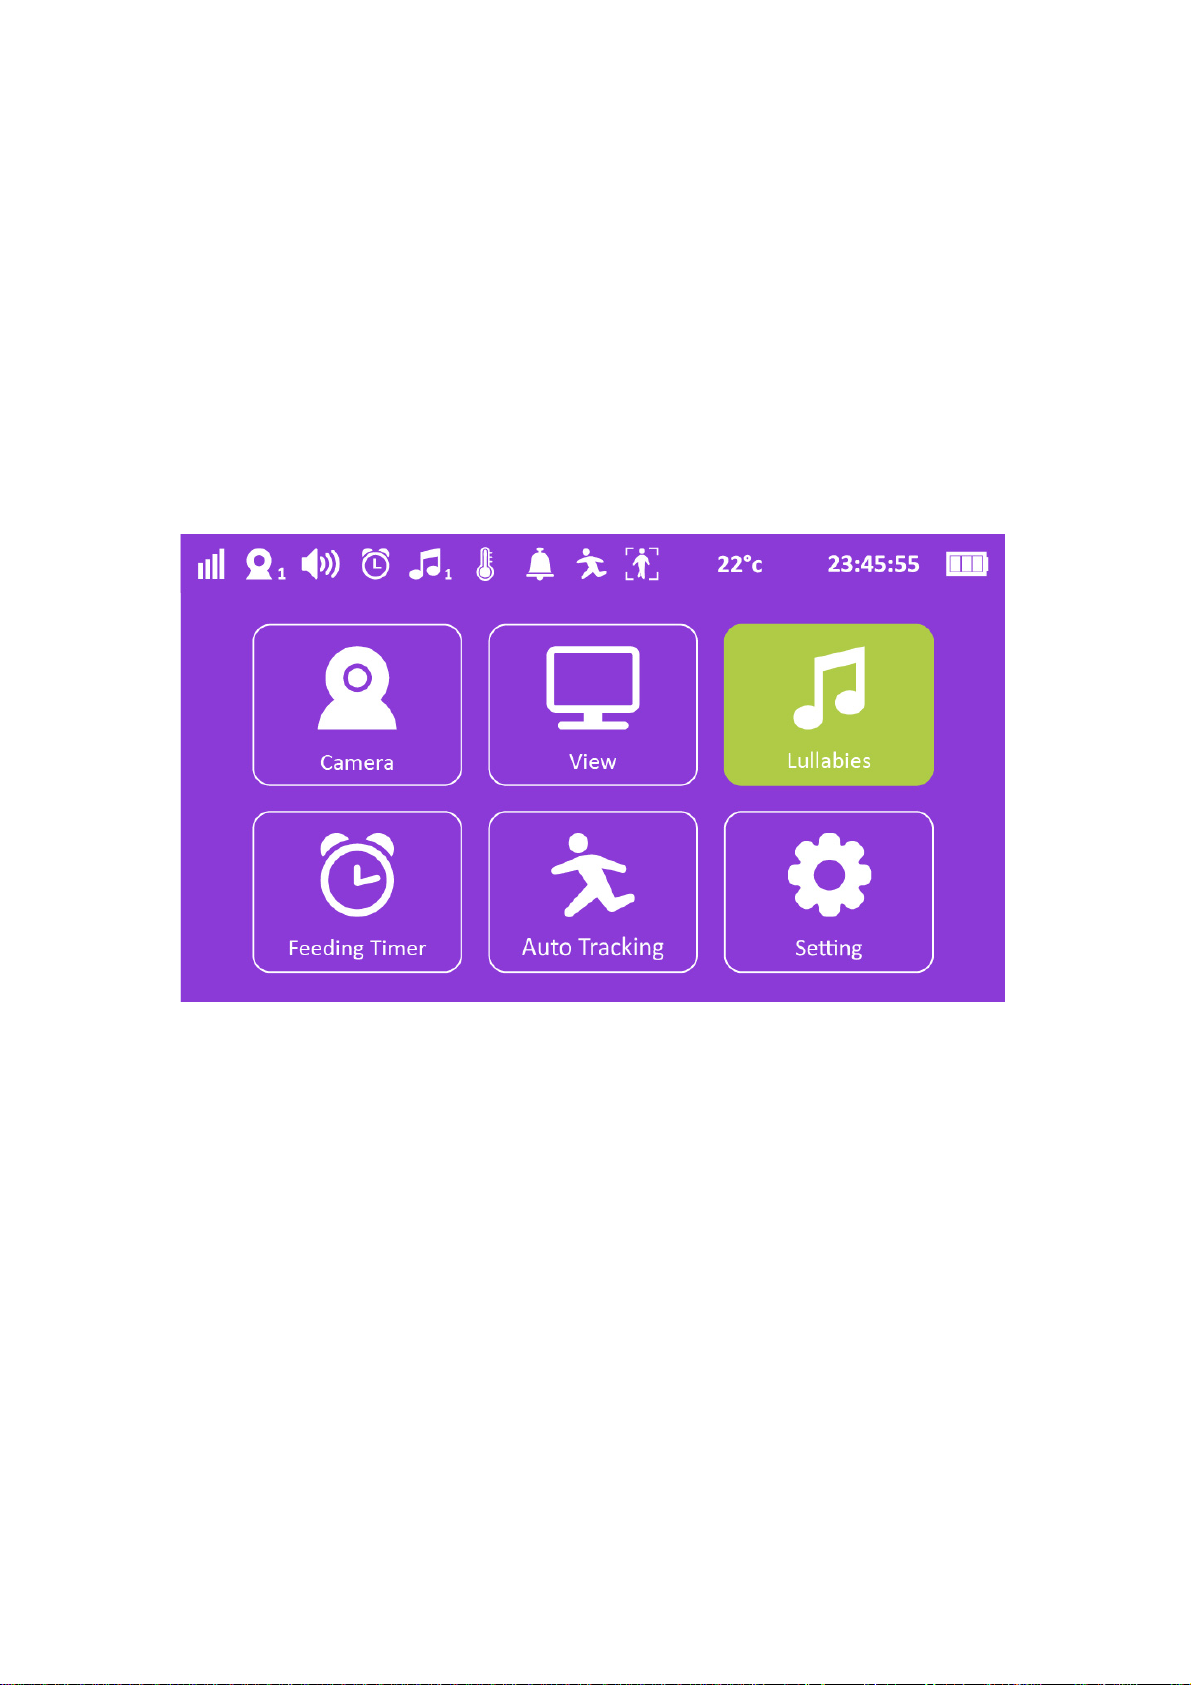
Lullabies
Press MENU button---Select Lullabies icon--press ‘’ OK’’ button---then you
can choose lullaby to play from lullabies list. It will automatically single cycle
once you chose one of lullaby; If chose All, it will automatically repeat all
lullabies list.
6
 Loading...