

Page 1

ENGLISH
User manual
Copyright HT ITALIA 2012 Release EN 2.00 - 18/12/2012
Page 2

HT77N
Table of contents:
1. PRECAUTIONS AND SAFETY MEASURES ............................................................... 2
1.1. Preliminary instructions ............................................................................................................ 2
1.2. During use ................................................................................................................................. 3
1.3. After use .................................................................................................................................... 3
1.4. Definition of measurement (overvoltage) category................................................................ 3
2. GENERAL DESCRIPTION ........................................................................................... 4
3. PREPARATION FOR USE ........................................................................................... 4
3.1. Initial checks ............................................................................................................................. 4
3.2. Instrument power supply.......................................................................................................... 4
3.3. Calibration ................................................................................................................................. 4
3.4. Storage ...................................................................................................................................... 4
4. OPERATING INSTRUCTIONS ..................................................................................... 5
4.1. Instrument description.............................................................................................................. 5
4.1.1. Description of the controls...................................................................................................... 5
4.1.2. Alignment marks and hand protection .................................................................................... 5
4.2. Description of functions keys................................................................................................... 6
4.2.1. /Data/Auto/Peak Hold key .................................................................................................. 6
4.2.2. Wide/50-60Hz/Compare key .................................................................................................. 7
4.2.3. Range key ............................................................................................................................. 7
4.2.4. Auto Backlight sensor ............................................................................................................ 7
4.3. Operating instruction ................................................................................................................ 8
4.3.1. AC Current measurement ...................................................................................................... 8
4.3.2. Leakage current measurement .............................................................................................. 9
5. MAINTENANCE.......................................................................................................... 10
5.1. General information ................................................................................................................ 10
5.2. Battery replacement ............................................................................................................... 10
5.3. Cleaning the instrument ......................................................................................................... 10
5.4. End of life ................................................................................................................................ 10
6. TECHNICAL SPECIFICATIONS................................................................................. 11
6.1. Technical characteristics ....................................................................................................... 11
6.1.1. Electrical specifications .........................................................................................................12
6.1.2. Reference guideline ..............................................................................................................12
6.1.3. General characteristics .........................................................................................................12
6.2. ENVIRONMENT ..................................................................................................................... 12
6.2.1. Environmental conditions for use ..........................................................................................12
6.3. Accessories............................................................................................................................. 12
6.3.1. Standard accessories ...........................................................................................................12
7. SERVICE .................................................................................................................... 13
7.1. Warranty conditions ............................................................................................................... 13
7.2. Service..................................................................................................................................... 13
EN - 1
Page 3
HT77N
CAUTION
1. PRECAUTIONS AND SAFETY MEASURES
The instrument has been designed in compliance with directive IEC/EN61010-1 relevant to
electronic measuring instruments. For your safety and in order to prevent damaging the
instrument, please carefully follow the procedures described in this manual and read all
notes preceded by the symbol with the utmost attention.
Failure to comply with the caution notes and/or instructions may damage the
instrument and/or its components and be a source of danger for the operator.
Before and after carrying out the measurements, carefully observe the following
instructions:
Do not carry out any current measurement in humid environments.
Do not carry out any measurements in case gas, explosive materials or flammables are
present, or in dusty environments.
Avoid contact with the circuit being measured if no measurements are being carried out.
Avoid contact with exposed metal parts, with unused measuring probes, circuits, etc.
Do not carry out any measurement in case you find anomalies in the instrument such
as deformation, breaks, substance leaks, absence of display on the screen, etc.
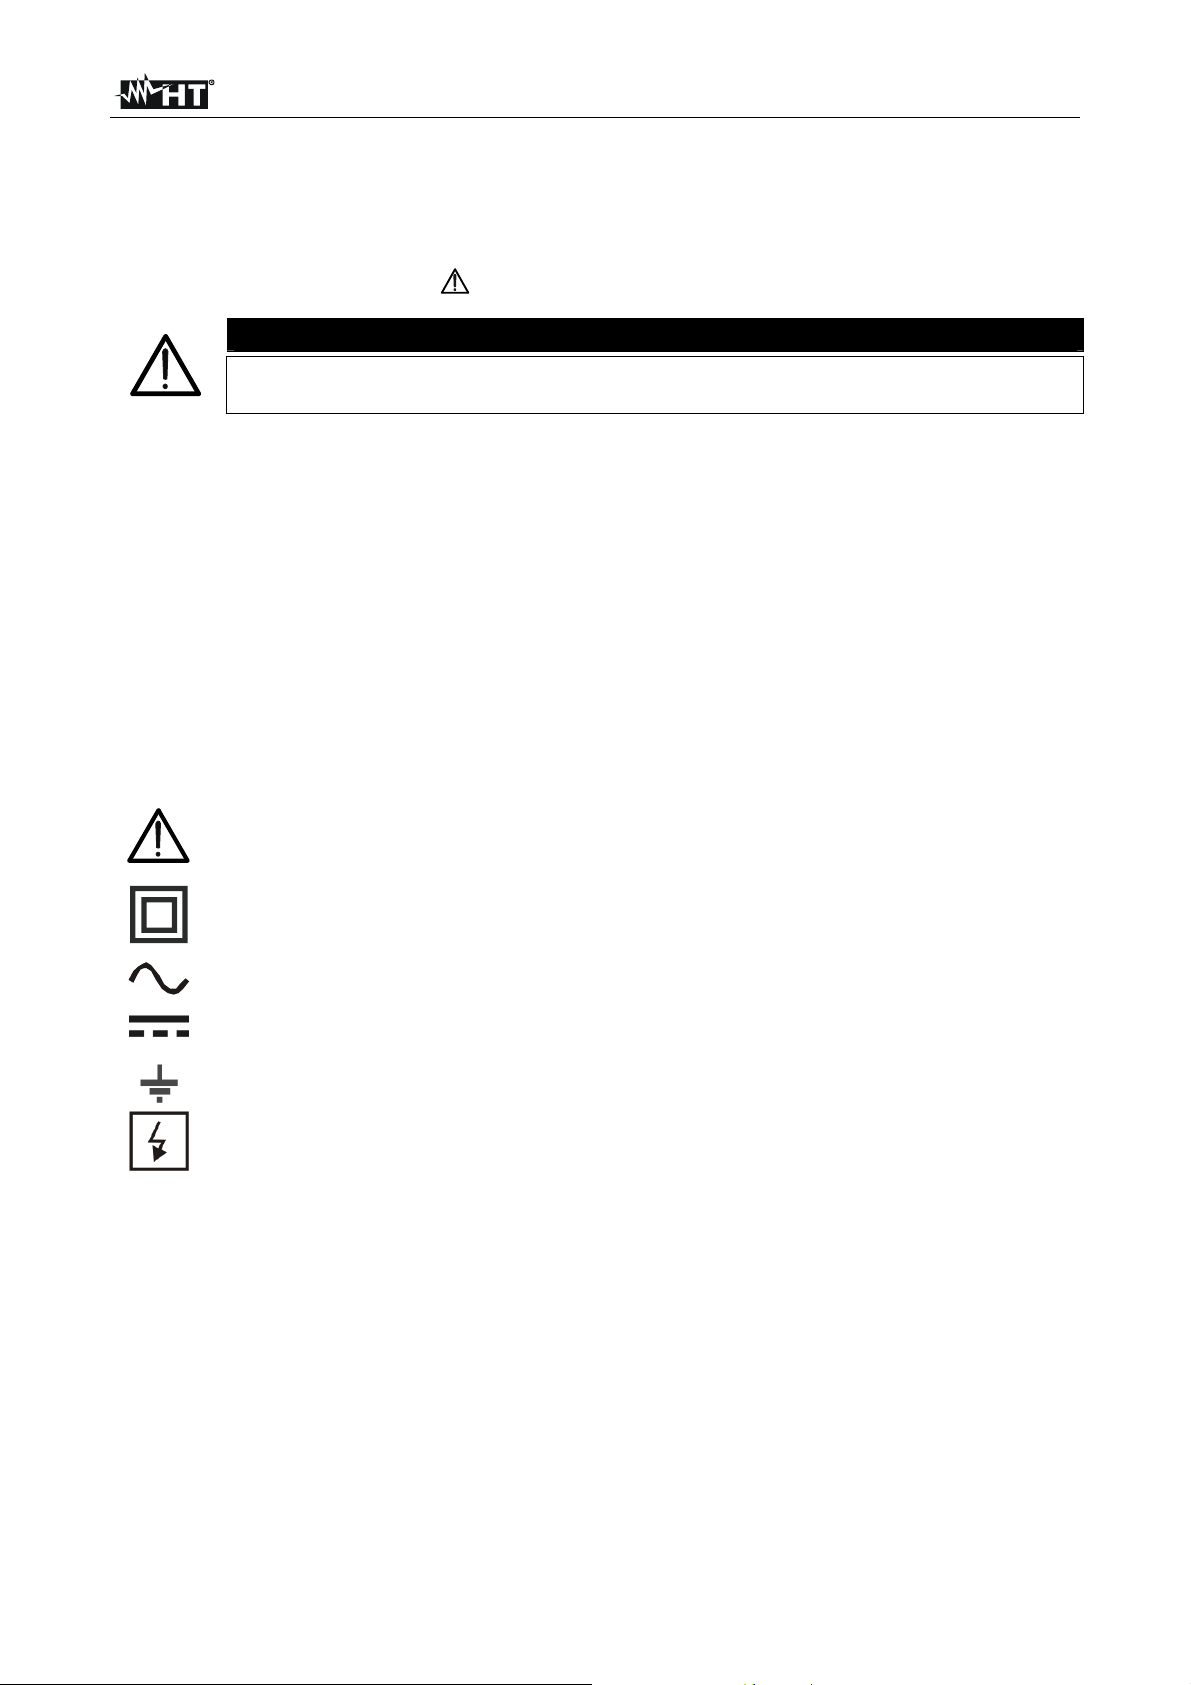
In this manual, and on the instrument, the following symbols are used:
CAUTION: observe the instructions given in this manual; an improper use could
damage the instrument or its components.
Double-insulated meter.
AC current
DC voltage
Ground reference
This symbol indicates that the clamp can operate on live conductors.
1.1. PRELIMINARY INSTRUCTIONS
This clamp has been designed for use in environments of pollution degree 2.
It can be used for CURRENT measurements, on installations with overvoltage category
III 300V. For a definition of the above-mentioned categories, see § 1.4
This instrument is not suitable for direct current measurements
Please take the standard safety precautions aimed at protect you against dangerous
electric currents and protect the instrument against incorrect use
Do not test circuits exceeding the specified current and voltage limits
Check that the battery is correctly inserted
EN - 2
Page 4

HT77N
CAUTION
1.2. DURING USE
Please carefully read the following recommendations and instructions:
Failure to comply with the Caution notes and/or Instructions may damage the
instrument and/or its components or be a source of danger for the operator.
Before switching on the clamp, remove the conductor from the clamp jaw.
When the instrument is connected to the circuit under test, do not touch any unused
terminal.
During current measurement, any other current near the clamp may affect
measurement precision.
When measuring current, always put the conductor as near as possible to the middle of
the clamp jaw, as described in § 0, to obtain the most accurate reading.
While measuring, if the value or the sign of the quantity being measured remain
unchanged, check if the HOLD or PEAK HOLD function is enabled.
1.3. AFTER USE
When measurement is complete, switch off the clamp.
If the instrument is not to be used for a long time, remove the battery.
1.4. DEFINITION OF MEASUREMENT (OVERVOLTAGE) CATEGORY
Standard IEC/EN61010-1: Safety requirements for electrical equipment for measurement,
control and laboratory use, Part 1: General requirements” defines what measurement
category, commonly called overvoltage category, is. In § 6.7.4: Measured circuits, circuits
are divided into the following measurement categories:
(OMISSIS)
Measurement category IV is for measurements performed at the source of the low-
voltage installation.
Examples are electricity meters and measurements on primary overcurrent protection devices
and ripple control units.
Measurement category III is for measurements performed on installations inside
buildings.
Examples are measurements on distribution boards, circuit breakers, wiring, including cables,
bus-bars, junction boxes, switches, socket-outlets in the fixed installation, and equipment for
industrial use and some other equipment, for example, stationary motors with permanent
connection to fixed installation.
Measurement category II is for measurements performed on circuits directly
connected to the low-voltage installation.
Examples are measurements on household appliances, portable tools and similar equipment.
Measurement category I is for measurements performed on circuits not directly
connected to MAINS.
Examples are measurements on circuits not derived from MAINS, and specially protected
(internal) MAINS-derived circuits. In the latter case, transient stresses are variable; for that
reason, the standard requires that the transient withstand capability of the equipment is made
known to the user.
EN - 3
Page 5

HT77N
2. GENERAL DESCRIPTION
Dear Customer, thank you for choosing one of the instruments in our range. If used
according to the instructions given in this manual, the clamp you have just purchased will
guarantee accurate and reliable measures. The clamp is designed to guarantee maximum
safety, thanks to a newly conceived development, which ensures double insulation and
enables the clamp to reach CAT III 300V in compliance with standard IEC/EN61010-1.
The instrument carries out the following measurements:
AC TRMS current
AC TRMS leakage current
Peak value of AC current
3. PREPARATION FOR USE
3.1. INITIAL CHECKS
Before shipping, the instrument has been checked from an electric as well as mechanical
point of view.
All possible precautions have been taken so that the instrument is delivered undamaged.
However, we recommend generally checking the instrument in order to detect possible
damage suffered during transport. In case anomalies are found, immediately contact the
forwarding agent.
We also recommend checking that the packaging contains all components indicated in §
6.3.1. In case of discrepancy, please contact the Dealer.
In case the instrument should be replaced, please carefully follow the instructions given in
§ 7.
3.2. INSTRUMENT POWER SUPPLY
The instrument is supplied with two 1.5V AAA LR03 batteries, included in the package.
In order to prevent compromising its charge, the battery is not inserted in the instrument.
For battery installation, follow the instructions given in § 5.2.
The “ ” symbol appears when the battery is nearly discharged. Replace the battery,
following the instructions given in § 5.2.
3.3. CALIBRATION
The instrument has the technical specifications described in this manual. The instrument’s
performance is guaranteed for 12 months.
3.4. STORAGE
In order to guarantee precise measurement, after a long storage time under extreme
environmental conditions, wait for the instrument to come back to normal condition (see §
6.2.1).
EN - 4
Page 6

HT77N
4. OPERATING INSTRUCTIONS
4.1. INSTRUMENT DESCRIPTION
4.1.1. Description of the controls
CAPTION:
1. Inductive clamp jaw
2. Opening lever
3. /Data/Auto/Peak Hold key
4. Wide/50-60Hz/Compare key
5. Range key
6. LCD display
7. Display backlight sensor
Fig. 1: Instrument description
4.1.2. Alignment marks and hand protection
Put the conductor as close as possible to the middle of the jaws on the intersection of the
indicated marks (see Fig. 2) in order to meet the meter accuracy specifications.
CAPTION:
1. Alignment marks
2. Cable
3. Hand protection
4. Safe area
Fig. 2: Alignment marks and hand protection
Always keep your hands under the hand protection. This protection is always located in a
suitable position to guarantee a correct safety distance from possible exposed or live parts
(see Fig. 2)
EN - 5
Page 7

HT77N
4.2. DESCRIPTION OF FUNCTIONS KEYS
4.2.1. /Data/Auto/Peak Hold key
Switching on/off
Shortly pressing the “ ” key allows switching on the clamp. While switching on, the
display shows the charge percentage of the power supply battery. Replace the battery the
0% appears (see § 5.2). To switch off the clamp, press and hold the “ ” key for about 3
seconds.
Enabling/disabling the auto power off function
Long pressing the “ ” key (> 3 seconds) allows switching on the clamp without enabling
the “APO” (Auto Power Off) function. With enabled auto power off, the clamp switches off
after approx. 20 minutes of idleness.
Enabling/disabling the AutoHold function
Long pressing the “ ” key (> 5 seconds) allows switching on the clamp enabling the
AutoHold function. With enabled function, the clamp automatically freezes the measured
data when the measured current value goes from 0A to a higher value with at least 10
digits. The display shows “AutoHold” and the buzzer beeps three times in a short time. The
clamp automatically exits the AutoHold condition after 5 seconds when no current is
measured.
Data Hold
Shortly pressing the “ ” key while measuring current allows holding the current value
shown on the display. The display shows “Hold”. With active Hold function, if the
measured current increases by 50 digits with respect to the value shown on the display,
the internal buzzer sounds continuously and the current value shown on the display
flashes. Shortly pressing the “ ” key again allows exiting the Hold mode.
Peak Hold
Long pressing the “ ” key (> 1 second) during current measurement allows enabling the
Peak Hold function. When the function is enabled, the full scale is forced in manual mode
and the display shows “PeakHold”. Shortly pressing the “ ” key allows exiting the Peak
Hold mode.
EN - 6
Page 8

HT77N
4.2.2. Wide/50-60Hz/Compare key
Wide/50-60Hz
Shortly pressing the Wide/50-60Hz/Compare key allows enabling the low-pass filter,
which has a cutting frequency of approx. 100Hz. When the function is enabled, the full
scale is forced in manual mode and the display shows “50-60Hz”. Shortly pressing the
Wide/50-60Hz/Compare key again, with enabled function, allows disabling the low-pass
filter and going back to the normal measuring mode.
Compare
Long pressing the Wide/50-60Hz/Compare key (> 1 second) allows enabling the
Compare function. The display shows “Compare” and the set current limit value flashes.
By pressing the Range key it is possible to set the limit comparison current among the
following values: 0.25mA, 0.50mA and 3.5mA. To confirm the set value, press the
Wide/50-60Hz/Compare key again. With active Compare function, if the measured current
exceeds the set limit value, the internal buzzer sounds continuously and the current value
shown on the display flashes. Long pressing the Wide/50-60Hz/Compare” (> 1 second)
key again, with enabled function, allows disabling the Compare function and going back to
the normal measuring mode.
4.2.3. Range key
Shortly pressing the Range key allows setting the measuring full scale in manual mode. In
this condition, the display does not show “Autorange”. Pressing the Range key again
allows setting the desired full scale. To restore the Autorange mode, press the Range key
for a time > 2 seconds.
4.2.4. Auto Backlight sensor
The clamp is equipped with a brightness sensor which, in case of low light, automatically
activates the display’s backlight.
EN - 7
Page 9

HT77N
CAUTION
4.3. OPERATING INSTRUCTION
4.3.1. AC Current measurement
Insert the cable in the middle of the clamp jaws, in order to obtain accurate
measures. Use the marks as a reference (see 4.1.2)
Correct Incorrect
Fig. 3: Use of the clamp for AC current measurement
1. Switch on the clamp by pressing the key
2. Select the desired capacity with the Range key or keep in the Autorange mode
3. Open the clamp jaw and insert the cable in the middle of it (see Fig. 3). The current
value will be shown on the display
4. For Hold, Data Hold, Auto Hold and Peak Hold feature refer to § 4.2
EN - 8
Page 10

HT77N
CAUTION
4.3.2. Leakage current measurement
Insert the cable(s) in the middle of the clamp jaws, in order to obtain
accurate measures. Use the marks as a reference (see § 4.1.2)
Fig. 4: Measuring leakage current with direct
method in a single phase load
Fig. 6: Measuring leakage current with direct
method in a three phase load
Fig. 5: Measuring leakage current with
indirect method in a single phase load
Fig. 7: Measuring leakage current with
indirect method in a three phase load
Leakage current measurement with Direct method on earth conductors
1. Switch on the clamp by pressing the key
2. Select the desired capacity with the Range key or keep in the Autorange mode
3. Open the clamp jaw and connect the clamp as shown in Fig. 4 or Fig. 6. The leakage
current value will be shown on the display
4. For Hold, Data Hold, Auto Hold and Peak Hold feature refer to § 4.2
Leakage current measurement with Indirect method
1. Switch on the clamp by pressing the key
2. Select the desired capacity with the Range key or keep in the Autorange mode
3. Open the clamp jaw and connect the clamp as shown in Fig. 5 or Fig. 7. The leakage
current value will be shown on the display
4. For Hold, Data Hold, Auto Hold and Peak Hold feature refer to § 4.2
EN - 9
Page 11

HT77N
CAUT
ION
5. MAINTENANCE
5.1. GENERAL INFORMATION
1. The instrument you purchased is a precision instrument. While using and storing the
instrument, carefully observe the recommendations listed in this manual in order to
prevent possible damage or danger during use.
2. Do not use the instrument in environments with high humidity levels or high
temperatures. Do not expose to direct sunlight.
3. Always switch off the instrument after use. In case the instrument is not to be used for a
long time, remove the battery to avoid liquid leaks that could damage the instrument’s
internal circuits.
5.2. BATTERY REPLACEMENT
When the LCD displays the “ ” symbol, replace the battery.
Only expert technicians should perform this operation.
Before carrying out this operation, make sure you have removed the cable
being tested from inside the clamp jaw.
Fig. 8: Battery replacement
1. Switch off the clamp.
2. Remove the cable being tested from the clamp jaw.
3. Loosen the battery cover fastening screw and remove the cover.
4. Disconnect the battery from the connector.
5. Fit two new batteries (see § 6.1.3) and pay attention to correct polarity
6. Position the battery cover back over the compartment and fasten it with the relevant
screw
7. Do not scatter old batteries into the environment. Use the relevant containers for
disposal
5.3. CLEANING THE INSTRUMENT
Use a soft and dry cloth to clean the instrument. Never use wet cloths, solvents, water, etc.
5.4. END OF LIFE
CAUTION: the symbol on the instrument indicates that the appliance and its
accessories must be collected separately and correctly disposed of.
EN - 10
Page 12

HT77N
Accuracy
Accuracy
Accuracy
Accuracy
6. TECHNICAL SPECIFICATIONS
6.1. TECHNICAL CHARACTERISTICS
Accuracy indicated as [%reading + (digit number*resolution)] at 23°C±5°C, < 80%RH
AC TRMS current
Range Resolution
(50 60Hz)
(61 400Hz)
6mA (*) 0.001mA
60mA 0.01mA
(1% rdg+8dgt) (2% rdg+11dgt)
600mA 0.1mA
6A 0.001A
0 10A
60A 0.01A
(1% rdg+8dgt)
10 50A
(2% rdg+10dgt)
100A 0.1A
50 100A
(10% rdg+10dgt)
(*) With this capacity there may be an instability of 3 digits in readings
Frequency range: 50 400Hz
Overload protection: 600V rms
Error due of position cable not in center of jaws: 1%rdg
Error due to the influence of an external magnetic field of an adjacent conductor: 0.04% (typical value)
Response time PEAK HOLD feature: 50ms
Additional error due to the Crest Factor (CF) of non-sinusoidal signals:
C.F: 1.4 2.0 Add 1.0%rdg
C.F: 2.0 2.5 Add 2.5%rdg
C.F: 2.5 3.0 Add 4.0%rdg
Max. Crest Factor:
1.6 with 6000 ~ 5000 digits
2.0 with 5000 ~ 3000 digits
3.0 with 3000 ~ 0 digits
0 10A
(2% rdg+11dgt)
10 50A
(10% rdg+11dgt)
50 100A
(35% rdg+11dgt)
AC current with low-pass filter
Range Resolution
(50 60Hz)
6mA (*) 0.001mA
60mA 0.01mA
(2% rdg+8dgt)
600mA 0.1mA
6A 0.001A
60A 0.01A
0 10A
(2% rdg+8dgt)
10 50A
100A 0.1A
(3% rdg+10dgt)
50 100A
(12% rdg+10dgt)
(*) With this capacity there may be an instability of 3 digits in readings
Characteristic attenuation: approx. -24dB/oct
Cutting frequency: approx. 100Hz
Overload protection: 600V rms
(61 400Hz)
Not specified
EN - 11
Page 13

HT77N
6.1.1. Electrical specifications
Conversion type: TRMS
Sample rate: 4 times / second
Temperature coefficient: 0.2x(accuracy) /°C, <18°C o >28°C
6.1.2. Reference guideline
Safety: IEC/EN61010-1
Insulation: double insulation
Pollution level: 2
Max height of use: 2000m (6562 ft)
Measurement category: CAT III 300V
6.1.3. General characteristics
Mechanical characteristics
Size (L x W x H): 200 x 70 x 40mm (8 x 3 x 2in)
Weight (battery included): 265g (9 ounces)
Jaw opening: 40mm (2in)
Max. cable diameter: 40mm (2in)
Power supply
Battery type: 2x1.5V batteries type AAA LR03
Low battery indication: symbol “ ” at display
Battery duration: approx. 60 hours
Auto Power OFF: after 20 min of idleness
Display
Characteristics: 4 LCD, 6000 counts, decimal point, bargraph
and backlight
6.2. ENVIRONMENT
6.2.1. Environmental conditions for use
Reference temperature: 23° ± 5°C (73° ± 41°F)
Operating temperature: 0°C ÷ 30°C (32°F ÷ 86°F) (RH ≤ 80%)
30°C ÷ 40°C (86°F ÷ 104°F) (RH ≤ 75%)
40°C ÷ 50°C (104°F ÷ 122°F) (RH ≤ 45%)
Allowable relative humidity: <80%RH
Storage temperature: -20 ÷ 60 °C (-4°F ÷ 140°F)
Storage humidity: <80%RH
This instrument satisfies the requirements of Low Voltage Directive 2006/95/EEC
(LVD) and of EMC Directive 2004/108/EEC
6.3. ACCESSORIES
6.3.1. Standard accessories
User manual
Carrying bag
Batteries (not fitted)
EN - 12
Page 14

HT77N
7. SERVICE
7.1. WARRANTY CONDITIONS
This instrument is warranted against any material or manufacturing defect, in compliance
with the general sales conditions. During the warranty period, defective parts may be
replaced. However, the manufacturer reserves the right to repair or replace the product.
The manufacturer declines any responsibility for injury to people or damage to property.
The warranty shall not apply in the following cases:
Repair and/or replacement of accessories and battery (not covered by warranty).
Repairs that may become necessary as a consequence of an incorrect use of the
instrument or due to its use together with non-compatible appliances.
Repairs that may become necessary as a consequence of improper packaging.
Repairs which may become necessary as a consequence of interventions performed
by unauthorized personnel.
Modifications to the instrument performed without the manufacturer’s explicit
authorization.
Use not provided for in the instrument’s specifications or in the instruction manual.
The content of this manual cannot be reproduced in any form without the manufacturer’s
authorization.
Our products are patented and our trademarks are registered. The manufacturer
reserves the right to make changes in the specifications and prices if this is due to
improvements in technology
7.2. SERVICE
If the instrument does not operate properly, before contacting the After-sales Service,
please check the conditions of batteries and replace them, if necessary.
Should the instrument still operate improperly, check that the product is operated
according to the instructions given in this manual.
Should the instrument be returned to the After-sales Service or to a Dealer, transport will
be at the Customer’s charge. However, shipment will be agreed in advance.
A report will always be enclosed to a shipment, stating the reasons for the product’s return.
Only use original packaging for shipment; any damage due to the use of non-original
packaging material will be charged to the Customer.
EN - 13
 Loading...