

Page 1

ENGLISH
User manual
© Copyright HT ITALIA 2012 Release EN 1.03 - 13/01/2012
Page 2

HT3301-HT3310
Table of Contents:
1. SAFETY PRECAUTIONS AND PROCEDURES .......................................................... 2
1.1. Preliminary ........................................................................................................................... 2
1.2. During use ............................................................................................................................ 3
1.3. After use ............................................................................................................................... 3
2. GENERAL DESCRIPTION ........................................................................................... 3
3. PREPARATION TO USE .............................................................................................. 4
3.1. Initial control ......................................................................................................................... 4
3.2. Supply voltage ...................................................................................................................... 4
3.3. Calibration ............................................................................................................................ 4
3.4. Storage ................................................................................................................................. 4
4. INSTRUMENT DESCRIPTION ..................................................................................... 5
4.1. Frontal panel ........................................................................................................................ 5
4.2. Display ................................................................................................................................. 5
4.3. Autopoweroff ........................................................................................................................ 5
4.4. Description of function keys ................................................................................................. 6
4.4.1. MODE key ................................................................................................................................ 6
4.4.2. Switch °C / °F, LOCK ON/OFF and SET ALARM .................................................................... 7
5. PARAMETERS SETTINGS .......................................................................................... 8
5.1. Emissivity adjustment ........................................................................................................... 8
5.1.1. Definition ................................................................................................................................... 8
5.1.2. Emissivity adjustment (HT3301) ............................................................................................... 8
5.1.3. Emissivity adjustment (HT3310) ............................................................................................... 8
6. OPERATING INSTRUCTIONS ................................................................................... 10
6.1. Temperature measurement ................................................................................................ 10
6.1.1. Infrared measurement mode .................................................................................................. 10
6.1.2. Type K measurement mode (HT3301 only) ........................................................................... 11
7. MEMORY (HT3301 ONLY) ......................................................................................... 11
7.1. Storing results .................................................................................................................... 11
7.2. Recalling Data .................................................................................................................... 11
7.3. Clear Data .......................................................................................................................... 11
8. MAINTENANCE .......................................................................................................... 12
8.1. General .............................................................................................................................. 12
8.2. Battery replacement ........................................................................................................... 12
8.3. Cleaning ............................................................................................................................. 12
8.4. End of life ........................................................................................................................... 12
9. TECHNICAL SPECIFICATIONS ................................................................................. 13
9.1. General specifications ........................................................................................................ 13
9.2. Environmental conditions ................................................................................................... 14
9.2.1. Climatic condition ................................................................................................................... 14
9.3. Standard accessories ......................................................................................................... 14
9.4. Optional accessories .......................................................................................................... 14
10. SERVICE .................................................................................................................... 15
10.1. Warranty conditions ........................................................................................................... 15
10.2. After sale service ................................................................................................................ 15
EN - 1
Page 3

HT3301-HT3310
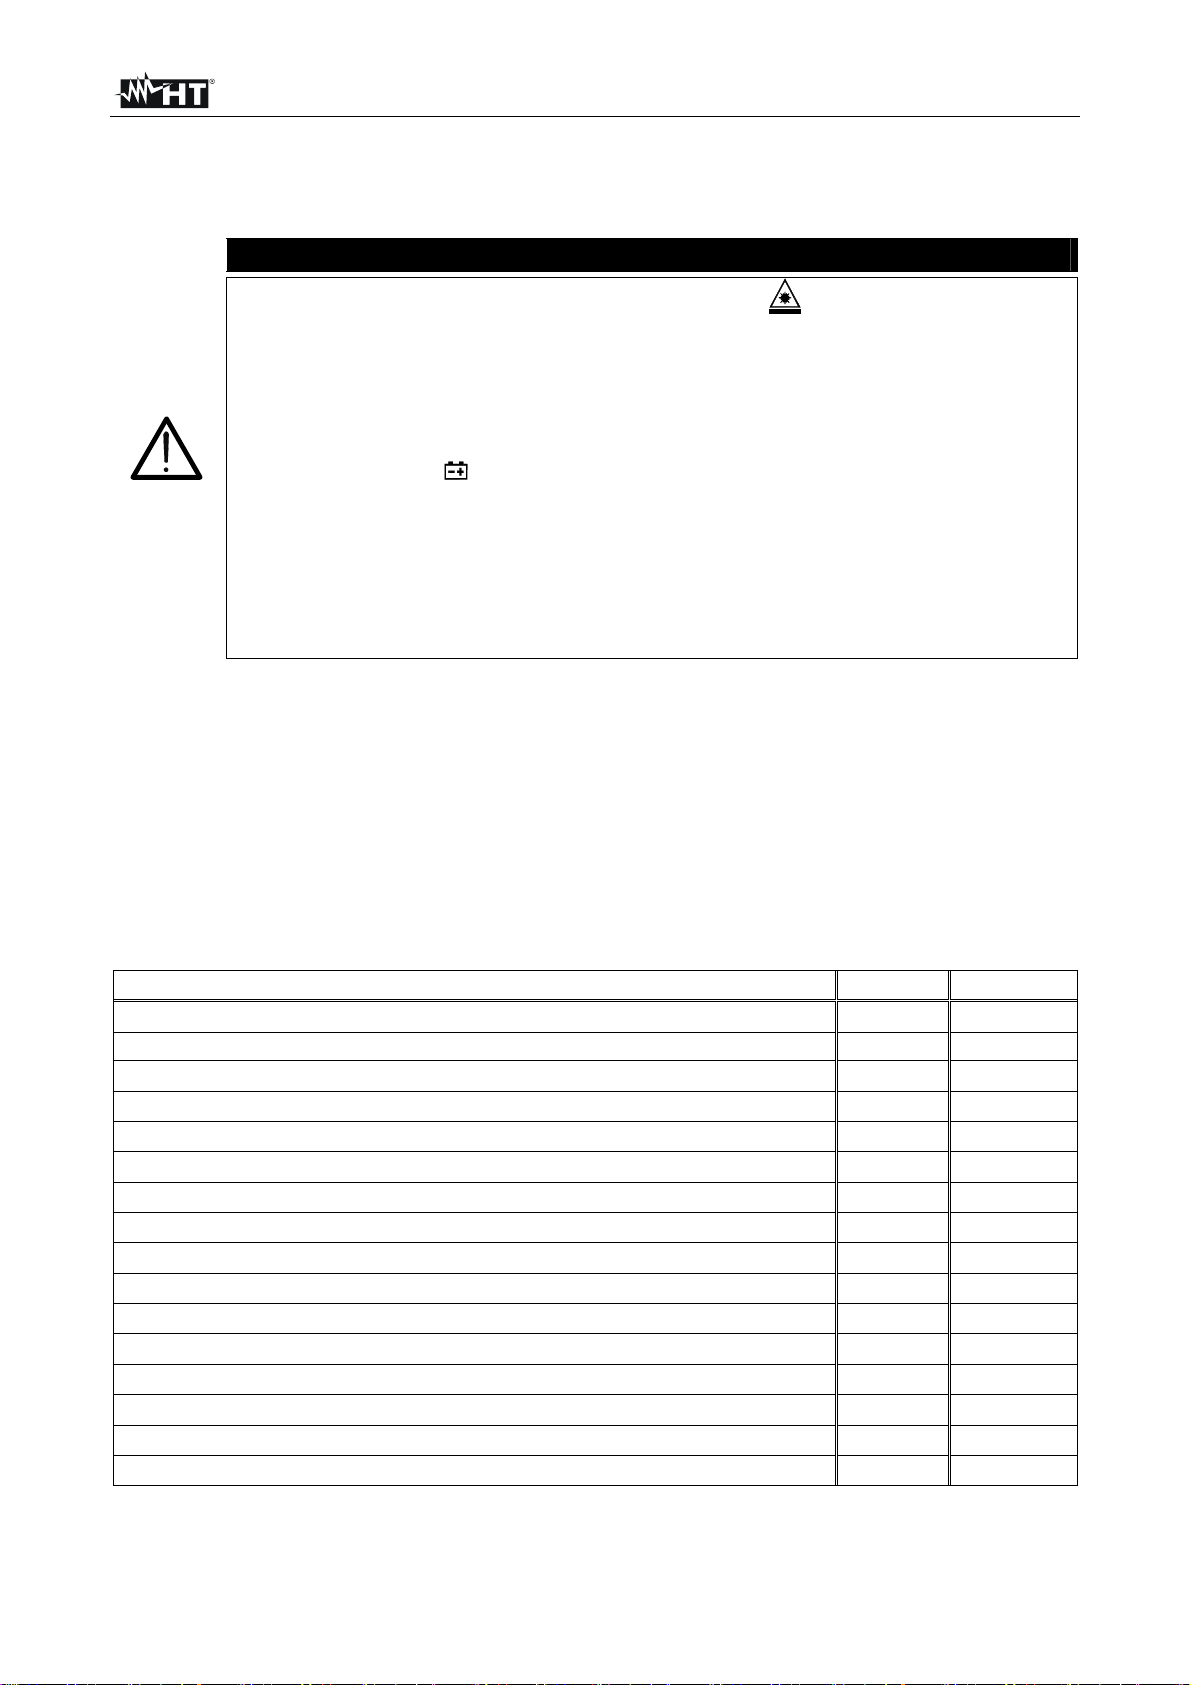
1. SAFETY PRECAUTIONS AND PROCEDURES
This instrument complies with EMC standards related to electronic measuring equipment.
For your own safety and to avoid damaging the instrument follow the procedures
described in this instruction manual and read carefully all notes preceded by this symbol
.
The following symbol is used in this manual:
When this symbol is displayed, the meter is radiating the laser. Always prevent
the laser from radiating to your eyes. Class II laser apparatus according to EN
60825-1.
1.1. PRELIMINARY
• Use the meter only as specified in this manual. An improper use may
damage the instrument or its components
• During usage and storage, keep the meter away from direct sunlight or
strong sources of light, hot objects (70℃/158℉), high temperatures, high
humidity or dust
• After a period of storage in extreme environmental conditions exceeding
the limits mentioned in this manual let the instrument resume normal
operating conditions before using it
• If the meter is moved quickly from a cold to a hot environment, some
condensation may appear on the focal lens. In this case wait for the
condensation to dissipate before taking measurements
• Do not touch the focal lens
• Make sure that the target is larger than the unit’s spot size. The smaller the
target, the closer you should be to it. When accuracy is critical, make sure
the target is at least twice as large as the spot size
• Only the accessories supplied with the instrument guarantee compliance
with the safety standards in force. They must be in good conditions and, if
necessary, replaced with identical ones
• Do not perform measurements beyond the limits specified in chapter 9
• Make sure that the battery is properly installed
• Avoid doing that if you notice anomalous conditions such as breakages,
deformations, fractures, leakages of battery liquid, blind display etc
• This meter is not recommended for use in measuring shiny or polished
metal surfaces (stainless steel, aluminum, etc.)
• The unit cannot measure through transparent surfaces such as glass. It will
measure the surface temperature of the glass instead
• Steam, dust, smoke, etc., Can prevent accurate measurement by
obstructing the unit’s optics
CAUTION
CAUTION
EN - 2
Page 4
HT3301-HT3310
1.2. DURING USE
Read carefully the following recommendations and instructions:
CAUTION
• Be careful not activate the trigger if the symbol is displayed and the laser
output is turned in your direction. A pressure on the trigger activates the
laser. Always prevent the laser from radiating to your eyes.
• If the object under test has a smooth surface reflecting the laser, prevent the
laser from radiating to our eyes.
• Never radiate the laser to inflammable gas
• If the symbol is displayed during use interrupt testing and replace
batteries according to the procedure described under paragraph 8.2
• Use extreme caution when the laser beam is turned on
• Do not let the beam enter your eye, another person’s eye or the eye of an
animal
• Be careful no to let the beam on a reflective surface strike your eye
• Do not allow the laser light beam impinge on any gas which can explode
1.3. AFTER USE
• After using the instrument turn it off
• If you expect not to use the instrument for a long period remove the battery to avoid
leakages of battery liquids which may damage its inner components
2. GENERAL DESCRIPTION
This manual covers products HT3301 and HT3310. The following features are herewith
available and are the s ame if n o t e xpress ively indicated
Function HT3301 HT3310
Type K temperature measurement
•
Distance / Spot ratio 30:1 50:1
Unique flat surface, modern housing design
Built-in laser pointer
Automatic Data Hold
Automatic power off
°C/°F switch
Emissivity adjustable from 0.10 to 1.0
MAX, MIN, DIF, AVG record
20 locations Memory
LCD with backlight
Automatic range selection
Resolution 0.1ºC(0.1ºF)
Trigger lock
High and Low alarm
Obtain automatic emissivity
• •
• •
• •
• •
• •
• •
• •
•
• •
• •
• •
• •
• •
•
Tabella 1: List of available features
EN - 3
Page 5

HT3301-HT3310
3. PREPARATION TO USE
3.1. INITIAL CONTROL
This instrument was checked both mechanically and electrically prior to shipment.
Notwithstanding we suggest you to check it rapidly (eventual damages may have occurred
during transport. Make sure that all standard accessories mentioned in paragraph 9.3 are
included. Should you have to return back the instrument for any reason please follow the
instructions mentioned in paragraph 10.1
3.2. SUPPLY VOLTAGE
The instrument is powered by a single 9V battery type IEC6F22 NEDA1604 included in the
package. For battery autonomy please see paragraph 9.1. The symbol " " appears when
batteries are nearly discharged. Replace them according to the instructions in paragraph
8.2
3.3. CALIBRATION
The instrument complies with the technical specifications contained in this manual and
such compliance is guaranteed for 1 year. Annual recalibration is recommended
3.4. STORAGE
After a period of storage in extreme environmental conditions exceeding the limits
mentioned in paragraph 9.2.1 let the instrument resume normal operating conditions
before using it.
EN - 4
Page 6

HT3301-HT3310
4. INSTRUMENT DESCRIPTION
4.1. FRONTAL PANEL
LEGEND:
1. IR sensor
2. Laser pointer beam
3. LCD Display
4. down button
5. up button
6. mode button
7. laser/backlight button
8. Measurement Trigger
9. Handle Grip
10. Battery Cover
11. K Type inputs (only for HT3301)
4.2. DISPLAY
Fig. 1: Frontal panel description
LEGEND:
1. Data hold
2. Measuring indication
3. Emissivity symbol and value
4. °C/°F symbol
5. Auto obtain Emissivity (HT3301)
6. lock and laser” on” symbols
7. High alarm and low alarm symbol
8. Temperature values for the MAX,
MIN, DIF, AVG HAL, LAL.TK And
LOG
9. Symbols for EMS MAX, MIN, DIF,
AVG, HAL, LAL TK (HT3301),
LOG (HT3301)
10. Current temperature value
11. Low battery
Fig. 2: LCD Display
4.3. AUTOPOWEROFF
In order to extend the battery life, the meter activate AUTOPOWER OFF function after 7
seconds last measurement executed.
EN - 5
Page 7

HT3301-HT3310
4.4. DESCRIPTION OF FUNCTION KEYS
LEGEND:
1. Up button
2. MODE button (for cycling
through the mode loop)
3. Down button
4. Laser/Backlight on/off button
(pull trigger and press button to
activate laser/backlight)
MODE
Fig. 3: Description of function keys
4.4.1. MODE key
Each time you press MODE key, you advance through the herewith mode
cycle:
¾ Emissivity (EMS) adjustment
¾ MAX: maximum value
¾ MIN: minimum value
¾ DIF: difference between MAX and MIN values
¾ AVG: average value
¾ HAL: high alarm condition
¾ LAL: low alarm condition
¾ TK: measurement with type K probe (only HT3301)
¾ LOG: memory with 20 locations (only HT3301)
MODE
EN - 6
Page 8

HT3301-HT3310
4.4.2. Switch °C / °F, LOCK ON/OFF and SET ALARM
LEGEND:
1. C/F
2. LOCK ON/OFF
3. SET ALARM
Fig. 4: Description of internal switch
In order to access to the switches perform the herewith steps:
1. Open the battery cover and extract the internal battery
2. Select the temperature units (°C or °F) by using the °C/°F switch
3. Slide the middle switch LOCK to lock the instrument on for continuous measurement. If
the trigger is pulled while the switch LOCK is set to ON, the laser and backlight will be
turned on if they have been activated. When the unit is locked on, the backlight and
laser will remain on unless it is turned off using the Laser/Backlight button on the
keypad
4. To activate the alarms, please slide the bottom switch SET ALARM right. To set values
for the High Alarm (HAL), Low Alarm (LAL) and Emissivity (EMS), firstly active the
display by pulling the trigger or pressing the MODE button, then press the MODE
button until the appropriate code appears in the lower left corner of the display, press
the UP and down buttons to adjust the desired values.
EN - 7
Page 9

HT3301-HT3310
5. PARAMETERS SETTINGS
5.1. EMISSIVITY ADJUSTMENT
5.1.1. Definition
Emissivity is a term used to describe the energy-emitting characteristics of materials.
Most (90% of typical applications) organic materials and painted or oxidized surfaces have
an emissivity of 0.95 (pre-set in the unit). Inaccurate readings will result from measuring
shiny or polished metal surfaces. To compensate, cove the surface to be measured with
masking tape or flat black paint. Allow time for the tape to reach the same temperature as
the material underneath it. Measure the temperature of the tape or painted surface.
5.1.2. Emissivity adjustment (HT3301)
1. Set the EMS mode by press the MODE key (see paragraph 4.4.1)
2. Press and hold the trigger until the “SCAN” message is blinking at the top left part of
display
3. In the same condition of point 2 always with trigger on press and hold the
Laser/Backlight key up to the blink of “EMS” symbol at display
4. Connect the type K probe to the object surface and test the temperature of same point
with IR measurement
5. After both values are stable, press UP or DOWN button for confirmation. Then,
emissivity of the object will be shown at the upper side of the LCD
6. Press MODE button or trigger to enter normal measurement
Note:
• When the IR value is not corresponding to the TK value, or IR and TK tested the
different points, no emissivity will be obtainable or a wrong emissivity will be obtained
• The temperature of the target should be higher than the environment temperature.
Normally, 100°C is suitable for obtaining a higher accuracy emissivity
• After obtaining the emissivity, if the difference between IR value (in the middle of LCD)
and TK value (at the lower side of LCD) is too big, the obtained emissivity will be
incorrect. It’s necessary to obtain a new emissivity
5.1.3. Emissivity adjustment (HT3310)
1. Set the EMS mode through the MODE button (see paragraph 4.4.1)
2. Using UP and DOWN buttons set the desired value
3. Press MODE button or trigger to enter normal measurement.
Note:
• After emeissivity setting, we recommend to compare the IR measurement with a
“standard” measurement trough a K Type probe. The temperature of the target should
be higher than the environment temperature. Normally, 100°C is suitable for obtaining
a higher accuracy emissivity.
• After obtaining the emissivity, if the difference between IR value and TK value is too
big, the obtained emissivity will be incorrect. It’s necessary to set a new emissivity.
EN - 8
Page 10

HT3301-HT3310
Emissivity of common metal, refractory and buildings materials is shown in Table 2
Object Emissivity Object Emissivity
Zinc (oxidized) 0.1 (*) Carbon (soot) 0.95
Galvanized iron 0.3 Red brick (rough) 0.75 to 0.9
Tin-plated steel 0.1 (*) Fire clay 0.75
Gold (polished) 0.1 (*) Asbestos 0.95
Silver (polished) 0.1 (*) Cast iron (turned 100°C) 0.45
Chromium (polished) 0.1 (*) Cast iron (turned 100°C) 0.6 to 0.7
Steel (ground sheet) 0.6 Zirconium 0.85
Steel plate (oxidized) 0.9 Cast iron (rough) 0.95
Rough ingot iron 0.9 Polished aluminium 0.1 (*)
Aluminium (oxidized) 0.25 Aluminium oxide at 260°C 0.6
Aluminium oxide at 800°C 0.3 Brass (polished) 0.1 (*)
Brass (roughened) 0.2 Brass (oxidized) 0.6
Copper (polished) 0.05 (*) Copper (oxidized) 0.8
Molten copper 0.15 Lead (pure) 0.1 (*)
Lead (oxidized at 25°C) 0.3 Lead (oxidized at 200°C) 0.6
Nickel (pure) 0.1 (*) Nick-Chrome 0.7
Nick-Chrome (oxidized) 0.95 Mortar 0.89 to 0.91
Marble 0.9 Plaster 0.9
Alumina (fine grain) 0.25 Alumina (coarse grain) 0.45
Silica (fine grain) 0.4 Silica (coarse grain) 0.55
Quartz (rough) 0.9 Carbon (graphite) 0.75
Timber (various) 0.8 to 0.9 Enamel (any colour) 0.9
Oil paint (any colour) 0.95 Lacquer 0.9
Water 0.98 Rubber (smooth) 0.9
Rubber (rough) 0.98 Plastic (various) 0.8 to 0.95
Paper 0.9 Silicone polish 0.7
Asphalt 0.90 to 0.98 Cloth (black) 0.98
Concrete 0.94 Human skin 0.98
Cement 0.96 Lather 0.75 to 0.80
Sand 0.90 Charcoal (powder) 0.96
Earth 0.92 to 0.96 Glass 0.90 to 0.95
Water 0.92 to 0.96 Ceramic 0.90 to 0.94
Ice 0.96 to 0.98 Rubber (black) 0.94
Snow 0.83 Plastic 0.85 to 0.95
(*) Emissivity variable with point
Table 2: Emissivity values
EN - 9
Page 11

HT3301-HT3310
6. OPERATING INSTRUCTIONS
6.1. TEMPERATURE MEASUREMENT
6.1.1. Infrared measurement mode
1. Select the desired additional parameter displayed according to paragraph 4.4.1
2. Hold the meter by its handle grip and point it toward the surface to be measured
3. Pull and hold the trigger to turn the meter on and begin testing. The display will light if
the battery is good. Replace the battery if the display does not light. While measuring,
the SCAN display icon will appear in the upper left corner of the LCD
4. Release the trigger and the HOLD icon will appear on the LCD indicating that the
reading is being held
5. The meter will automatically power off after approximately 7 seconds after the trigger is
released
6. The Fig. 5 shows the ratio between distance of the meter from the object under test
and the surface diameter of application. As the distance (D) from the object increases,
the spot size (S) of the area measured by the unit becomes larger. The relationship
between distance and spot size for each unit is listed below. The focal point for each
unit is 914mm (36”). The spot sizes indicate 90% encircled energy
HT3301 – Spot size HT3310 – Spot size
Fig. 5: Diameter of application surface S with reference distance D from object
7. Make sure that the target is larger than the unit’s spot size (see Fig. 6) The smaller the
target, the closer you should be to it. When accuracy is critical, make sure the target
is at least twice as large as the spot size. To find a hot spot aim the thermometer
outside the area of interest, then scan across with an up and down motion until you
locate hot spot
Fig. 6: Spot size area
EN - 10
Page 12

HT3301-HT3310
6.1.2. Type K measurement mode (HT3301 only)
1. Pressing the MODE button, select the “TK” symbol according to paragraph 4.4.1
2. Disable laser beam using the Laser/Backlight key
3. Connect the K Type probe to the corresponding inputs respecting the polarity marked in
the socket and in the plug.
4. Pull and hold the trigger to turn the meter on and begin testing. The display will light if
the battery is good. Replace the battery if the display does not light. While measuring,
the SCAN display icon will appear in the upper left corner of the LCD. The temperature
detected by the probe will be displayed in the small display on the LCD low-right corner.
5. Release the trigger and the HOLD icon will appear on the LCD indicating that the
reading is being held
6. The meter will automatically power off after approximately 7 seconds after the trigger is
released.(Unless the unit is locked on)
7. MEMORY (HT3301 only)
7.1. STORING RESULTS
1. To store data from an infrared reading, pull the trigger. While holding the trigger, press
the MODE button until LOG appears in the lower left corner of the display
2. A log location number will be shown. If no temperature has been recorded in the shown
LOG location, 4 dashes will appear in the lower right corner
3. Aim the unit at the target area you want to record, and press the laser/backlight key
4. The recorded temperature will appear in the lower right corner. To select another log
location, press the up and down keys. Your thermometer is capable of storing up to 20
data locations. The infrared temperature and temperature scale (°C or °F) are also
stored
7.2. RECALLING DATA
1. To recall stored data after the unit shuts off, press the MODE button until LOG appears
in the lower left corner
2. A LOG location number will be shown below LOG, and the stored temperature for that
location will be display
3. To move to another LOG location, press the UP and Down keys
7.3. CLEAR DATA
1. Press the MODE button until the LOG mode is selected
2. While in LOG mode, press the trigger, and then press the “down” arrow button until you
reach LOG location “0”. This can only be done when the trigger is pulled. LOG location
“0”cannot be accessed, by using the “up” arrow button.
3. When LOG location “0” shows in the display, press the laser/backlight button. A tones
will sound, and the LOG location will automatically change to “1”, signifying that all data
locations have been cleared.
EN - 11
Page 13

HT3301-HT3310
8. MAINTENANCE
8.1. GENERAL
1. This meter is a precision instrument. Whether in use or in storage, please do not
exceed the specifications to avoid any possible damage or danger during use
2. Do not keep this meter at high temperatures and/or humidity or expose to direct
sunlight
3. Be sure to turn the meter off after use. For long term storage, remove the battery to
avoid leakage of battery fluid that can damage the internal components
8.2. BATTERY REPLACEMENT
When battery is low, the symbol is displayed to require replacement
Before replacing the battery disconnect test leads from any energised circuits
to avoid electrical shocks
CAUTION
1. Open the battery cover (see Fig. 4)
2. Replace the old battery with a new one and reposition the battery cover
3. Use the appropriate battery disposal methods for your area
8.3. CLEANING
To clean the instrument use a soft dry cloth. Never use wet clothes, solvents or water, etc.
8.4. END OF LIFE
CAUTION: this symbol indicates that equipment, the battery and its accessories
shall be subject to a separate collection and correct disposal.
EN - 12
Page 14

HT3301-HT3310
9. TECHNICAL SPECIFICATIONS
Accuracy is indicated as [% of reading + degree]. It is referred to the following reference
conditions: 18 to 28 °C (64 to 82 °F), less than 80 % RH.
INFRARED MEASUREMENT
Function Resolution Range Accuracy Response time
-50°C ÷ –20°C
-20°C ÷ 200°C
°C 0.1°C
°F 0.1°F
Spectral Response: 8 ~ 14um
Rapporto D/S: 30:1 (HT3301), 50:1 (HT3310)
Emissivity: Adjustable 0.10 ~ 1.00
Sensor: Thermopile
Laser Diode: Output < 1 m W, W a v e length 630~670nm, Class 2(II) laser product
200°C ÷ 538°C
538°C ÷ 1000°C (HT3301)
538°C ÷ 1000°C (HT3310)
-58°F ÷ –4°F
-4°F ÷ 392°F
392°F ÷ 1000°F
1000°F ÷ 1922°F (HT3301)
1000°F ÷ 1832°F (HT3310)
± ( 1.5%rdg + 2.0°C)
± ( 2.0%rdg + 2.0°C)
± ( 3.5%rdg + 5.0°C)
± ( 1.5%rdg + 3.6°F)
± ( 2.0%rdg + 3.6°F)
± ( 3.5%rdg + 9.0°F)
±5.0°C
±9.0°F
1s
TYPE K MEASUREMENT (only for HT3301)
Function Resolution Range Accuracy Response time
°C 0.1°C
°F
NOTE: The basic accuracy specification does not include the error of the probe. Please refer to the probe
accuracy specification for additional details.
0.1°F
1°F 2000°F to 2498°F
-50.0°C to 1000.0°C ± ( 1.5%rdg + 3.0°C)
1000.0°C to 1370.0°C ± ( 1.5%rdg + 2.0°C)
-58°F to 1832.0°F ± ( 1.5%rdg + 5.0°F)
1832.0°F to 1999.9°F
± ( 1.5%rdg + 3.6°F)
1s
9.1. GENERAL SPECIFICATIONS
Safety: Comply with CE marks and EMC directives
Mechanical characteristics
Dimensions: 100(L)×56(W)×230mm(H)
3.9(L)×2.2(W)×9.0(H) inches
Weight: 290g (battery included) ; 10 ounces
Power supply
Battery type: 1 x 9V battery type IEC6F22
Low battery indication: “
” is displayed when battery is low and
needs replacement
Battery life: Approx. 50 hours (with laser pointer and
backlight turned off)
Display
Characteristics: Backlight LCD Display
Auto power off: Approx. 7s
Over range indication: “OL” or “-OL”
Memory
Only for HT3301: 20 test (direct reading from display)
EN - 13
Page 15

HT3301-HT3310
9.2. ENVIRONMENTAL CONDITIONS
9.2.1. Climatic condition
Operating temperature: 0°C ÷ 50°C (32°F ÷122°F)
Operating humidity: 10 ÷ 80%RH
Storage temperature: –20°C ÷ 60°C (-4°F ÷ 140°F)
Storage humidity: < 70%RH
Operating max altitude: 2000m (6.562 ft)
9.3. STANDARD ACCESSORIES
The accessories contained inside the packaging are the followings:
• Instrument
• Battery
• Type K bead probe (only for HT3301)
• Carrying case
• User manual
9.4. OPTIONAL ACCESSORIES
The herewith type K thermocouple are available (only for HT3301):
Model Description
TK107
TK108
TK109
TK110
Air and gas
temperature
Inner temperature of
fluids and semisolid
substances
Inner temperature of
fluids and solid
substances
Surface temperature
Temperature
range
-40 ÷ 800 °C
-40 ÷ 800 °C
-40 ÷ 800 °C
-40 ( 400 °C
Accuracy
(at 100°C)
± 2.2 °C 200 1.5
± 2.2 °C
± 2.2 °C
Probe length
± 2.2 °C
Surface
TK111
temperature with
-40 ( 400 °C
± 2.2 °C
fixed tip at 90°
Diameter
(mm)
200 3
200 4
(mm)
200 5
260 5
EN - 14
Page 16

HT3301-HT3310
10. SERVICE
10.1. WARRANTY CONDITIONS
This instrument is guaranteed against material or production defects, in accordance with our general
sales conditions. During the warranty period the manufacturer reserves the right to decide either to
repair or replace the product.
Should you need for any reason to return back the instrument for repair or replacement take prior
agreements with the local distributor from whom you bought it. Do not forget to enclose a report
describing the reasons for returning (detected fault). Use only original packaging. Any damage
occurred in transit due to non original packaging will be charged anyhow to the customer.
The manufacturer will not be responsible for any damage to persons or things.
The warranty doesn’t apply to:
• Accessories and batteries (not covered by warranty).
• Repairs made necessary by improper use (including adaptation to particular applications not
foreseen in the instructions manual) or improper combination with incompatible accessories or
equipment.
• Repairs made necessary by improper shipping material causing damages in transit.
• Repairs made necessary by previous attempts for repair carried out by non skilled or
unauthorized personnel.
• Instruments for whatever reason modified by the customer himself without explicit
authorization of our Technical Dept.
The contents of this manual may not be reproduced in any form whatsoever without the
manufacturer’s authorization.
Our products are patented and our logotypes registered. We reserve the right to modify
specifications and prices in view of technological improvements or developments which might be
necessary.
10.2. AFTER SALE SERVICE
Shouldn’t the instrument work properly, before contacting your distributor make sure that
batteries are correctly installed and working, check the test leads and replace them if
necessary. Make sure that your operating procedure corresponds to the one described in
this manual.
Should you need for any reason to return back the instrument for repair or replacement
take prior agreements with the local distributor from whom you bought it.
Do not forget to enclose a report describing the reasons for returning (detected
fault).
Use only original packaging. Any damage occurred in transit due to non original packaging
will be charged anyhow to the customer. The manufacturer will not be responsible for any
damage to persons or things.
EN - 15
 Loading...