

Page 1
Features
Manual
Ultra wide dynamics.
The use of an ultra light cone 12-inch woofer, strong magnet, and a large flared port optimized for mid and upper bass
response translates into effortless dynamics and a bass line that you can follow and tap your feet to.
Custom built woofers.
For high efficiency and lightning quick acceleration, we custom designed a 12-inch woofer with an ultra light but stiff cone.
It is capable of reproducing all micro dynamics so you can tap your feet and follow the music.
Complements our True Subwoofers.
True subwoofers need a heavier cone to work efficiently in the low bass. These woofers do not have very high efficiency in
the mid to upper bass. By splitting the bass range into low and mid/high bass, we get the best of both worlds – very tight,
dynamic upper bass with micro details, plus awesome deep bass performance. Note too that i.m. distortion is also reduced
– the mid and upper bass signals are no longer modulated by the high amplitude low bass signals.
Sealed and Ported Variable Tuning Modes.
Variable tuning is here! The new MBM-12 MK2 allows the user to switch from sealed to ported mode with the flip of a
switch and removal of a port plug. This provides ultimate flexibility and maximum performance for any type of system.
Powerful BASH amplifiers.
The high headroom BASH amplifier works in concert with our woofer, protecting the MBM-12 MK2 from damage and
keeping distortion to a minimum.
Easy to set up.
It’s very easy to setup. Simply use a Y adapter to split the subwoofer out signal to feed both the true subwoofer and the
MBM-12 MK2.
Page 2
2
10. Protect the power cord from being
NO USER SERVICEABLE
PARTS ARE INSIDE.
walked on or pinched particularly at
plugs, convenience receptacles, and the
point where they exit from the apparatus.
11. Unplug this apparatus during
lightning storms or when unused for
long periods of time.
12. Refer all servicing to qualified service
personnel. Servicing is required when
the apparatus has been damaged in any
way, such as power-supply cord or plug
is damaged, liquid has been spilled or
objects have fallen into the apparatus,
the apparatus has been exposed to rain or
moisture, does not operate normally, or
has been dropped.
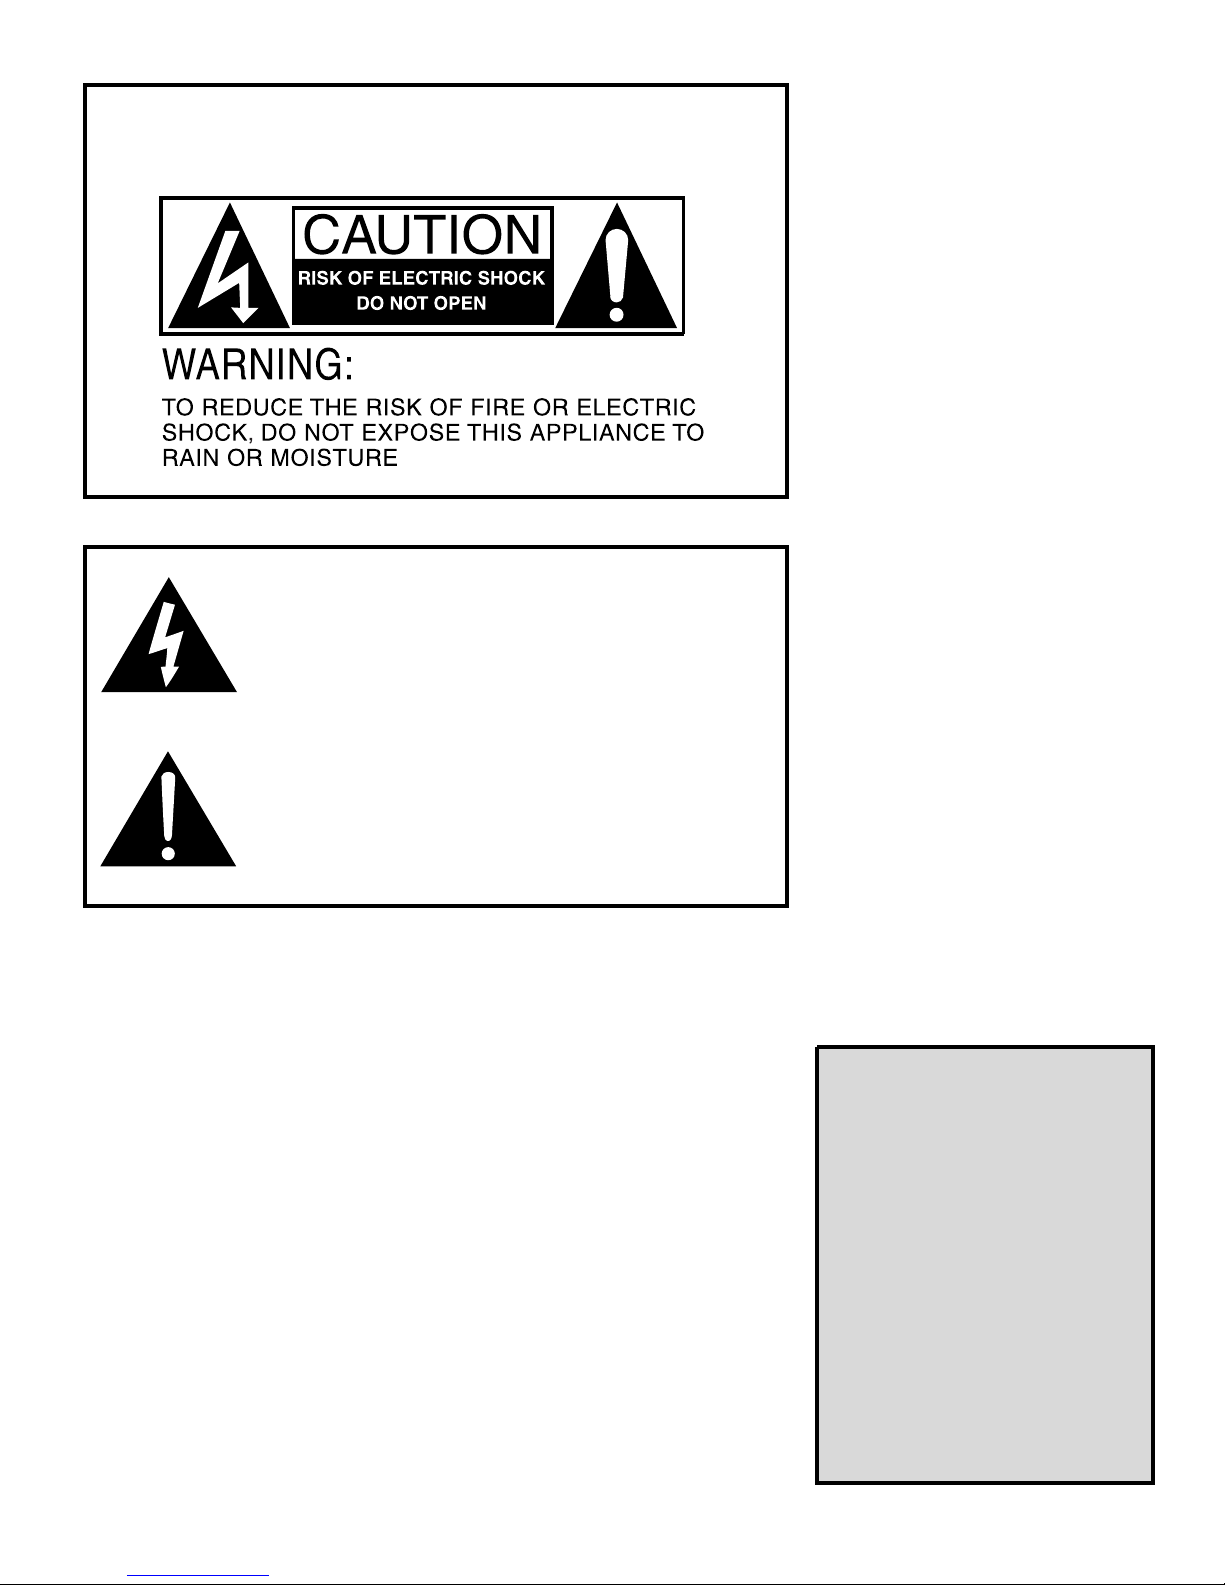
The lightning flash with arrowhead symbol within an equilateral triangle is
intended to alert the user to the presence of uninsulated “dangerous voltage”
within the product’s enclosure that may be of sufficient magnitude to constitute
a risk of electric shock to persons.
Le symbole éclair avec point de flèche à l’intérieur d’un triangle équilatéral
est utilisé pour alerter l’utilisateur de la presence à l’intérieur du coffret de
“voltage dangereux” non isolé d’ampleur suffisante pour constituer un risque
d’éléctrocution.
The exclamation point within an equilateral triangle is intended to alert the
user to the presence of important operating and maintenance (servicing)
instructions in the literature accompanying the product.
Le point d’exclamation à l’intérieur d’un triangle équilatéral est employé pour
alerter les utilisateurs de la présence d’instructions importantes pour le
fonctionnement et l’entretien (service) dans le livret d’instruction
accompagnant l’appareil.
Important Safety Instructions
1. Read these instructions.
2. Keep these instructions.
3. Heed all warnings.
4. Follow all instructions.
5. Do not use this apparatus
near water.
6. Clean only with dry cloth.
7. Do not block any ventilation
openings. Install in accordance with
the manufacturer’s instructions.
8. Do not install near any heat sources
such as radiators, heat registers, stoves,
or other apparatus (including amplifiers)
that produce heat.
9. Do not defeat the safety purpose of
the polarized or grounding-type plug.
A polarized plug has two blades with
one wider than the other. A grounding
type plug has two blades and a third
grounding prong. The wide blade or
the third prong are provided for your
safety. If the provided plug does not fit
into your outlet, consult an electrician
for replacement of the obsolete outlet.
13. WARNING: To reduce the risk of fire
or electric shock, this apparatus should
not be exposed to rain or moisture and
objects filled with liquids, such as vases,
should not be placed on this apparatus.
14. To completely disconnect this
equipment from the mains, disconnect
the power supply cord plug from the
receptacle.
15. The mains plug of the power supply
cord shall remain readily operable.
TABLE OF
CONTENTS
UNPACKING . . . . . . . . . . . . .3
PLACEMENT . . . . . . . . . . . .3
HOOKUP . . . . . . . . . . . . . . .4
FINE TUNING . . . . . . . . . . . .4
TROUBLESHOOTING . . . . .5
REPAIR . . . . . . . . . . . . . . . . .6
SPECIFICATIONS . . . . . . . .7
WARRANTY . . . . . . . . . . . . .7
Page 3
Set-Up
Step 1: Unpacking
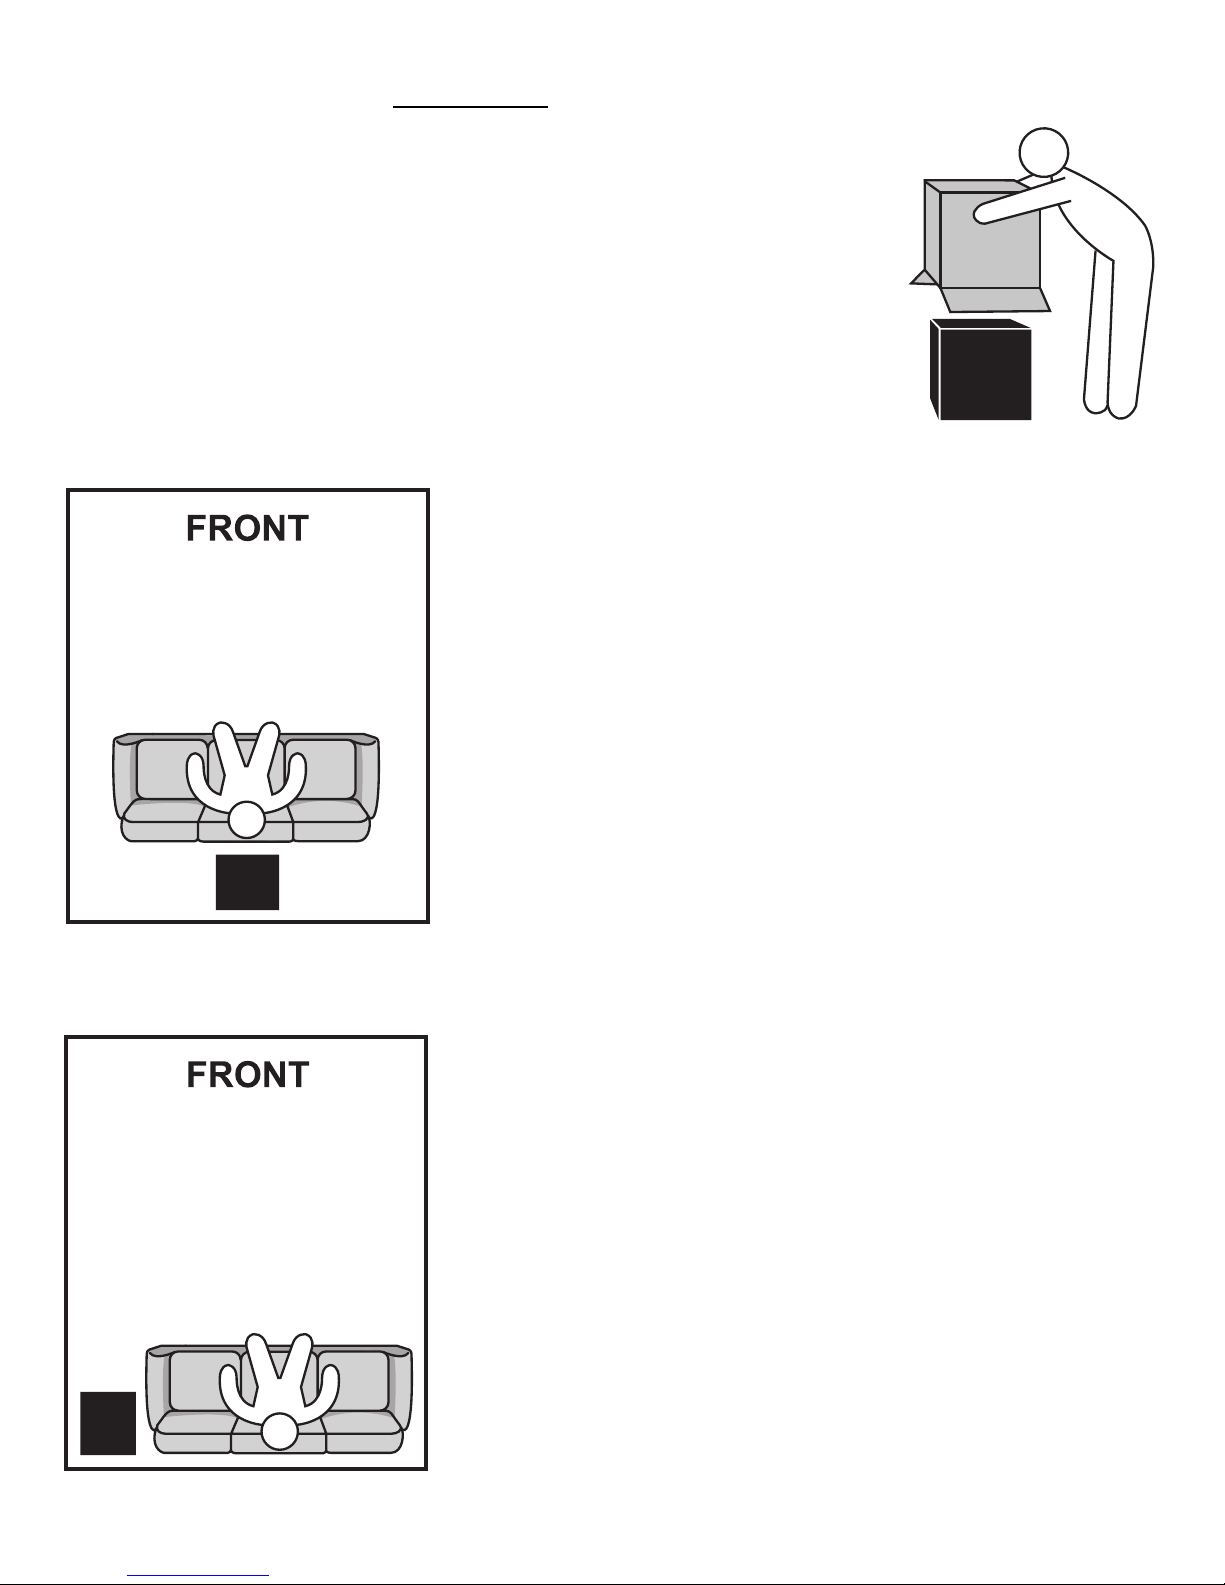
If your room does not have carpeting, unpack the MBM-12 MK2 on a throw rug or piece of
carpeting to avoid unwanted scuffing or scratching. If the MBM-12 MK2 is too heavy, please
ask for assistance. Find the top of the box and open it. Holding the flaps open, roll the box over
until it is upside-down. Lift the box off.
Stop for a moment to inspect the protective bag for any rips or tears that may have occurred
during shipping. If there is damage to the MBM-12 MK2 underneath, or if there are missing
items, notify HSU Research as soon as possible. We will help you find a solution.
Leave the protective bag on for now because it will protect the MBM-12 MK 2 when you move
it into position.
Step 2: Placement
The MBM-12 MK2 is intended to be used with a true subwoofer to provide the
best upper bass impact, lowest bass extension, and the highest headroom. Nearfield reproduction of the mid to upper bass gives you very high direct versus
reflected sound. This minimizes room effects, and gives you the tight mid/upper
bass impact headphones give. Close proximity also means high SPL for a given
input. This results in lower distortion and higher headroom. The result is effortless, tight, and dynamic mid to upper bass.
3
Directly behind the listener
is optimal
MBM-12 MK2 Placement
The MBM-12 MK2 should be placed as close to the listener as practical. Next-to
or directly-behind placements usually are best.
Subwoofer Placement
The low bass subwoofer is generally best placed in a front corner furthest from
openings. In normal sized rooms where the length of the room is 10 - 20 feet,
deep bass is strongest when the sub is placed in a front corner.
If you have test equipment…
If you have means to do detailed measurements of frequency response, place the
mike at the listening chair and measure the response of the MBM-12 MK2 at various practical locations near your listening chair. Place the sub in the position that
yields the smoothest response at your listening chair over the MBM-12 MK2’s
operating range.
Similarly move the true subwoofer around to determine where the bass below 50
Hz is smoothest and strongest. Place the true subwoofer at that location.
You may purchase some digital delay box to time align the MBM-12 MK2 to the
true subwoofer. If the MBM-12 MK2 is 14 ft closer to you, dial in 14 ms delay.
End table or nearest corner
placement is next best
Page 4
4
Step 3: Hookup
We will refer to receivers, integrated amplifiers, and preamps as controllers. Take a look at the back of your controller. The output
connectors available determine the best method of hooking up your subwoofer.
Method A. Connecting to controllers with a SUBWOOFER or LFE output
Use a Y adapter to split the signal from the sub out to feed both the true subwoofer and the MBM-12 MK2. Set the crossover
frequency on the subwoofer to 50 Hz, and crossover switch to ‘in’. The MBM-12 MK2 will then reproduce the range from 50 Hz
up to the crossover frequency set on your controller. Your true subwoofer will reproduce the range from 50 Hz down. Set the distance parameter on the controller for the subwoofer to the distance of the MBM-12 MK2 to you.
If you wish to time align the MBM-12 MK2 with respect to the true subwoofer, you can get an after-market time delay unit to delay
the signal to the MBM-12 MK2. Dial in 1 ms for each ft difference in distance between the MBM-12 MK2 and the true subwoofer.
In this case, set the subwoofer distance parameter on the controller to the distance of the true subwoofer, not the MBM-12 MK2.
Method B. Connecting to controllers with PRE-OUTS
You will need to get a high pass filter to filter out bass from the main speakers. Split your pre-out into three – one set going to the
true subwoofer, one set going to the MBM-12 MK2, and the third set going to the high pass filter. Connect the output of the high
pass filter to the input of your main amp.
Set the crossover on the MBM-12 MK2 to the same frequency as the high pass filter and its crossover switch to ‘in’. Set the
crossover on the true subwoofer to 50 Hz and crossover switch to ‘in’.
With the analog crossovers, the signal to the MBM-12 MK2 is already delayed so its reasonably time aligned with the main speakers.
Step 4: Fine Tuning
Variable Tuning
1) Sealed Mode: To set the MBM-12 MK2 for sealed mode, insert the foam port plug into
the port hole on the front of the unit, and set the variable tuning switch on the amplifier
to ‘Sealed’ mode.
2) Ported Mode: To set the MBM-12 MK2 for ported mode, remove the foam port plug
from the port hole on the front of the unit, and set the variable tuning switch on the amplifier to ‘Ported’ mode. NOTE: DO NOT run the MBM-12 MK2 in mis-matched tuning
modes, as this may damage the unit!
Volume Level
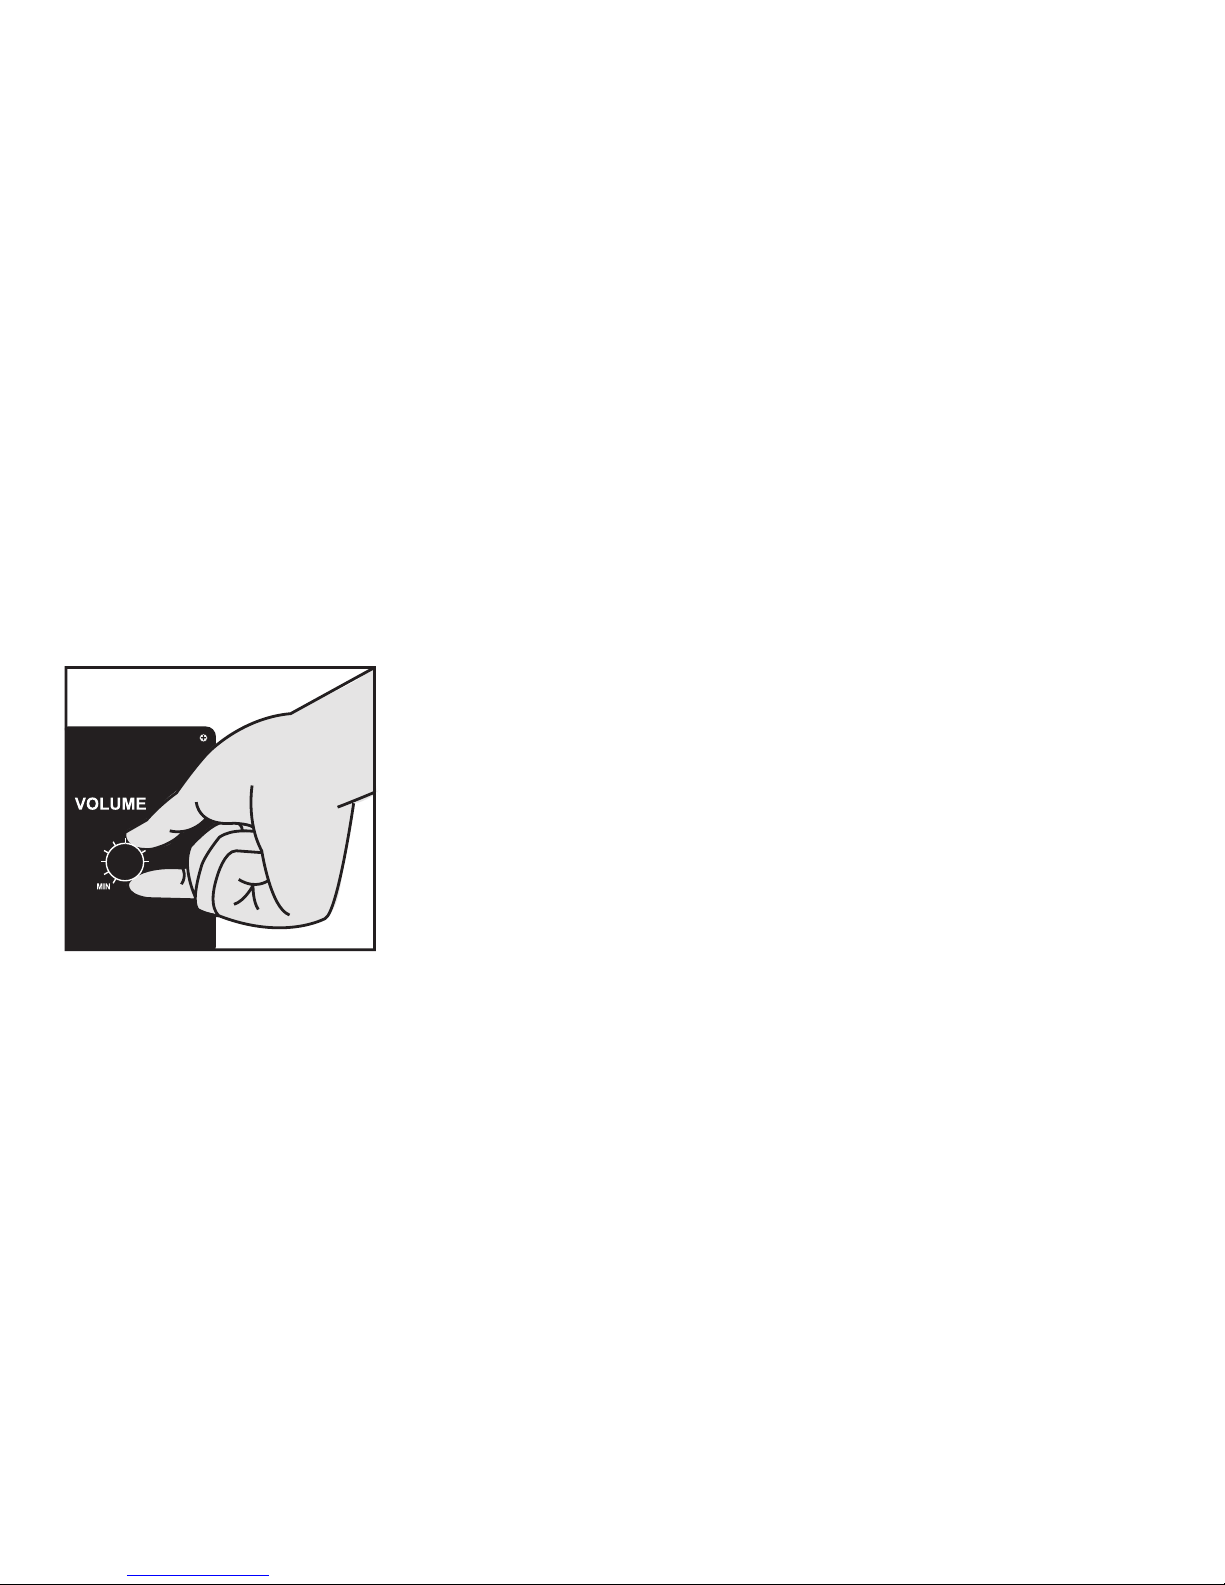
If you have test equipment, adjust the level of the MBM-12 MK2 and the true subwoofer to match the level of the main speakers.
Otherwise, adjust the level of each by playing good recordings and adjusting the level of the MBM-12 MK2 to give a tight, nonboomy upper bass, and the true subwoofer for a good low end support without making the upper bass lose its tightness.
Using the Test CD
The test CD provided with the MBM-12 MK2 has warble tones from 16 Hz up to 200 Hz. Used with a Radio Shack SPL meter,
you can fine tune your system. Use C weighting and slow mode. The meter is down 12 dB at 16 Hz, 7 dB at 20 Hz, 4 dB at 25 Hz,
and 2 dB at 31.5 Hz. Add these figures to your meter’s readout to get true SPL. Place the SPL meter at the listening chair and play
the 63 Hz track. Adjust for 75 dB reading on the SPL meter. Play the tones from the lower limit of your true subwoofer up to 200
Hz and write down the SPL numbers for each frequency. Add the corrections to the appropriate measured results. Take the average of the numbers handled by each of the system – true sub (up to 40 Hz), MBM (63 Hz), and the main speakers (100 Hz and
up). If the subwoofer’s average is 5 dB higher than the main speakers, adjust the sub-woofer down by 5 dB (you do this by playing a 40 Hz tone, not the SPL reading, and then adjust the volume on the subwoofer to get the meter to read 5 dB less). Similarly
adjust the MBM-12 MK2’s level to get 63 Hz level to match the main speaker’s average.
Removing buzzes and rattles from the room
Annoying sounds can be fixed by using adhesives, tape, or felt pads in the area where objects are vibrating against each other.
Equalizing the MBM-12 MK2 and subwoofer
If you have an equalizer, avoid raising dips in the frequency response. Instead, use the equalizer to remove peaks. This will prevent
potential speaker damage.
Page 5

Troubleshooting
If you think your MBM-12 MK2 has a problem, please do everything you can to confirm the problem before contacting us for
service, including reading through the troubleshooting section. Many times the problem actually is caused by other items in the
system or the MBM-12 MK2’s interaction with those items. Much of the time, the service department will not be able to reproduce the error.
Problem Cause Solution
5
Humming or
buzzing noise
MBM-12 MK 2
goes into STANDBY
mode while
material is playing.
You have an amplifier problem.
Your speaker wires or interconnects are
the cause.
A light dimmer or other triac based (SRC)
device is on the same AC circuit.
ou have a problem with other equipment.
Y
The source is not providing enough signal.
• Disconnect all interconnects from the amplifier. If still
hums, call/e-mail technical support.
• It is possible that some cables have a poor or broken
ground due to poor construction, oxidation, or damage.
Also, poorly shielded cables can potentially pick up
noise. Tr y another interconnect or speaker wire. Also,
move the signal cable away from AC cables, power
transformers, or other EMI sources.
• Use an AC line filter or plug the unit into a different cir cuit.
• If hum goes away when interconnects are disconnected,
the hum is coming from the rest of your equipment.
Add them back one piece at a time. The one that causes
the system to hum is the source of the hum.
• The unit is going into STANDBY mode during the quiet
passages. Tr y turning the source signal up. On a Dolby
Digital receiver, turn the SUBWOOFER level up in the
SPEAKER SET-UP menu. After you turn the signal up,
turn down the volume knob on the MBM-12 MK2 to
compensate.
• An alternative is to turn the MBM-12 MK2’s ON/AUTO/OFF
switch to the ON position. It does not use any more
power and does not affect reliability.
AC power is not getting to the amplifier.
No output from
the MBM-12 MK2
(the LED does
not light up).
The amplifier’s fuse is blown.
• Check that the power cord is plugged in securely at both
ends and make sure that the power outlet the MBM-12
MK2 is plugged into is working.
• Check the fuse. The fuse is located on the amplifier, near
the power plug. Unplug the power cord and remove the
fuse holder with a flat head screwdriver. If the fuse is
blown, the output transistors are probably damaged.
Call/e-mail technical support for authorization to send
the amplifier back for service.
Page 6

6
Problem Cause Solution
No output from
the MBM-12 MK2
(LED lights up
red).
No output from
the MBM-12 MK2
(LED turns
green).
Little or no sound
from one main
speaker..
The MBM-12 MK2 is not receiving
a signal.
MBM-12 MK2 amplifier is faulty.
Connection between the MBM-12
MK2 amplifier and woofer is faulty.
Driver or amplifier is faulty.
You used speaker level connections
and have mixed up the polarity of
the wires, thus shorting one channel
of the main amplifier.
• Recheck the connections between the source and the MBM-12 MK2.
• With the volume on the MBM-12 MK2 turned to a low setting, try
plugging the MBM-12 MK2 directly into a CD player or lightly
touching the unplugged end of the input cable. If you hear noise
from the MBM-12 MK2, the problem is with your connection to th e
system. If you hear no noise, try turning the volume on the MBM12 MK2 up some more. If you still hear no noise, call/e-mail technical support for authorization to send the amplifier back for service.
• If wire is loose, tighten the connector and reconnect.
• Take the driver out of the cabinet and connect to your main amplifier.
If it plays fine, then the amp is bad. If it does not play, then the
woofer is bad. Call/e-mail technical support for authorization to
send non-working part back for service.
• Correct the polarity of the speaker wires by matching the +/- from
the receiver/amplifier to the +/- of the MBM-12 MK2’s speaker
level input.
Bass output from
MBM-12 MK2
is low.
MBM-12 MK2
thumps when the
system is being
turned on and off.
You used speaker level connections
and one or both your main amplifier’s ‘ - ’ are not true ground.
Level on MBM-12 MK2 or receiver’s
subwoofer output is too low.
Noise is being generated by upstream equipment.
• Connect only to the channel that has a true ground ‘ - ’. If neither
channel has a true ground ‘ - ’, e-mail/call technical support.
• Increase the volume of the MBM-12 MK2 and the subwoofer level
or LFE level on the receiver or other source. It is best to set the
level of the MBM-12 MK2 relative to the other speakers using a
test disk and a Radio Shack SPL meter, or built-in tones on your
pre-amp/processor. See “Volume Level” in Step 4.
• When you shut down your equipment, turn off the MBM-12 MK2
first. When powering up, turn on the MBM-12 MK2 last.
Repair
If your unit needs service, please re-review the troubleshooting section first.
Contact tech support via e-mail (24/7) or call 1-800-554-0150 9am to 5pm Pacific time, Monday through Friday.
We will try and respond to emails sent to [email protected] within two business days.
Page 7
7
HSU Speaker
System Limited
Warranty
If the
speaker system proves to be
defective in materials or workmanship
within seven years from the date of the
original customer’s purchase, or the
amplifier within two years, we will, at our
option, repair or replace the defective
product.
*DISCLAIMER
THE WARRANTY STATED HEREIN IS IN LIEU
OF ALL OTHER WARRANTIES, EXPRESS OR
IMPLIED, INCLUDING MERCHANTABILITY
AND FITNESS FOR PARTICULAR PURPOSE AND
ALL OTHER LIABILITIES AND OBLIGATIONS
OF
HSU
, ALL OF WHICH ARE EXPRESSLY DISCLAIMED.
NOT HEREBY MAKE ANY OTHER REPRESENTATION, WARRANTY OR COVENANT WITH
RESPECT TO THE CONDITION, QUALITY,
DURABILITY, DESIGN, OPERATION, CAPACITY,
FITNESS FOR USE OR SUITABILITY OF THE
SPEAKER SYSTEMS.
HSU
HAS NOT MADE AND DOES
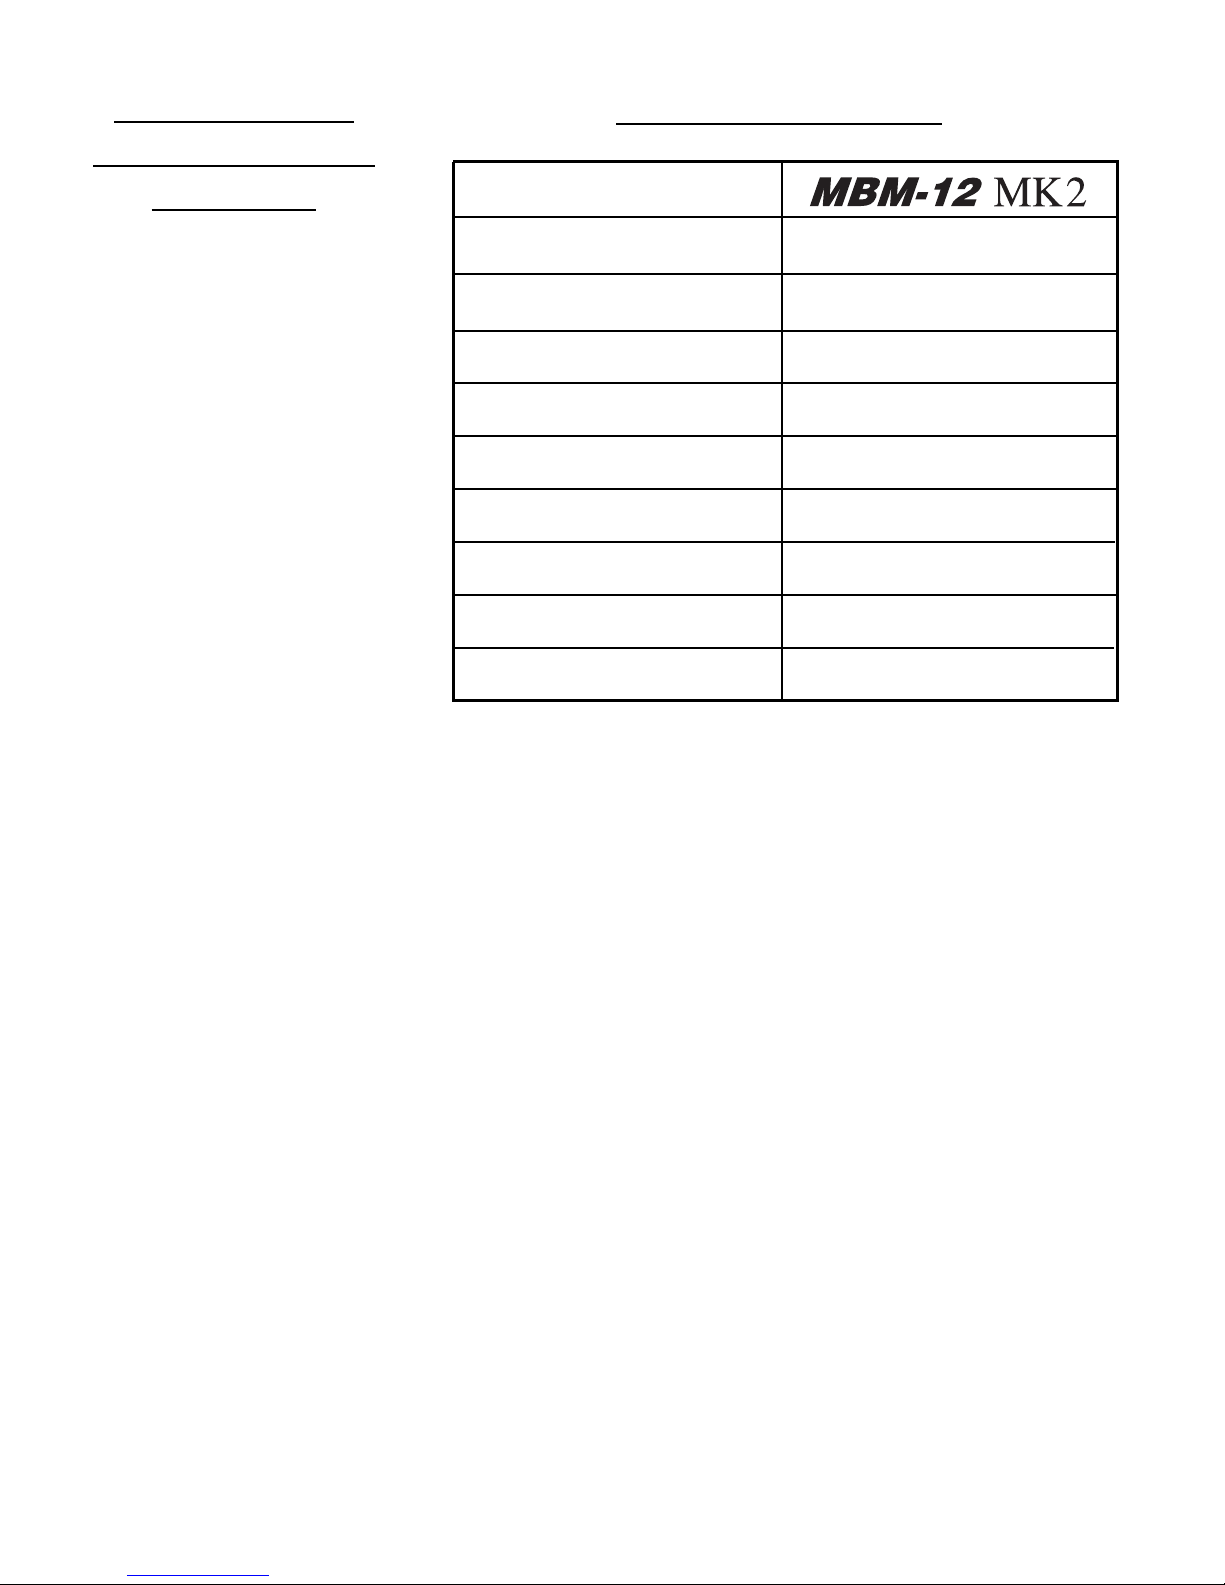
Specifications
Response
Woofer Size
Amplifier Power
Crossover Frequency Range
Crossover Slope
Crossover Type
Phase
Dimensions
Ship Weight
This Warranty Does
50 -150 Hz +/–2 dB
12 inches
350 Watts RMS
50 -150 Hz, bypassable
24 dB/Oct Linkwitz-Riley
low pass only
0°/180°
19˝(h)/14˝(w)/18˝(d)
43 lbs. (19.5 kg)
Warranty Service
Exclusion of
Certain Damages
HSU’s liability for any defective product is
limited to repair or replacement of the product at our option. HSU shall not be liable for
incidental or consequential damages of any
kind or character because of product defects.
Some states do not allow limitations on how
long an implied warranty lasts and/or do not
allow the exclusion or limitation of incidental
or consequential damages, so the above limitations and exclusions may not apply.
Not Cover:
Damage caused by abuse, accident, misuse, negligence, or improper operation.
Products that have been altered or modified.
Any product whose serial number has been
altered, defaced, or removed.
Normal wear and maintenance.
Damages caused by shipping. (All claims
for shipping damage must be made with
the carrier.)
Warranty service must be performed by
Hsu Research or an authorized repair center.
All warranty repairs must be accompanied
by the original bill of sales. No other
document is acceptable or is required.
This warranty gives you specific legal rights,
and you may also have other rights which
vary from state to state.
Due to our continual efforts to improve product
quality as new technology and techniques become
available, HSU reserves the right to revise its
Speaker Systems specifications without notice.
©2009 HSU Research
Page 8

8
HSU Research
985 N. Shepard St.
Anaheim, CA 92806
1-800-554-0150
HSURESEARCH.COM
 Loading...