

HSAJET MiniKey User Manual
MiniKey
User Manual
ENGLISH
Updated for MiniKey firmware version 1.91 (January 2014)
MINIKEY User Manual
Page 2 of 66 HSA SYSTEMS
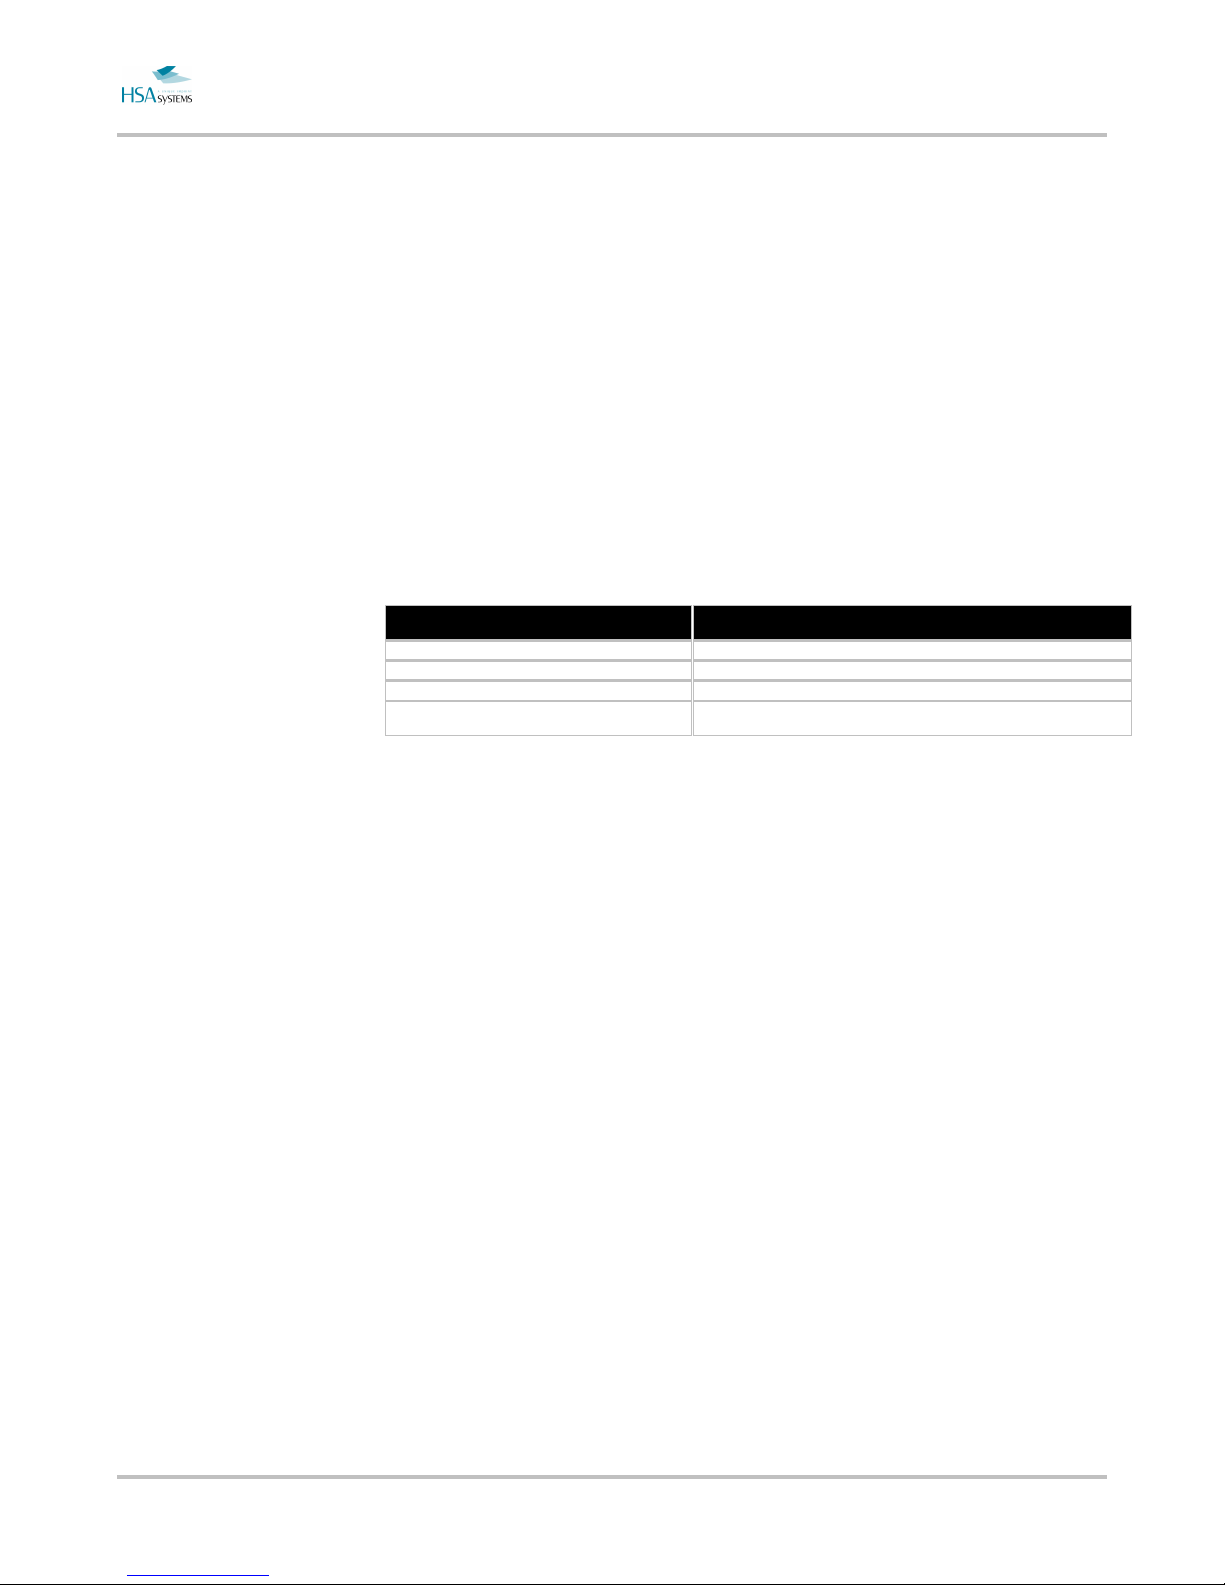
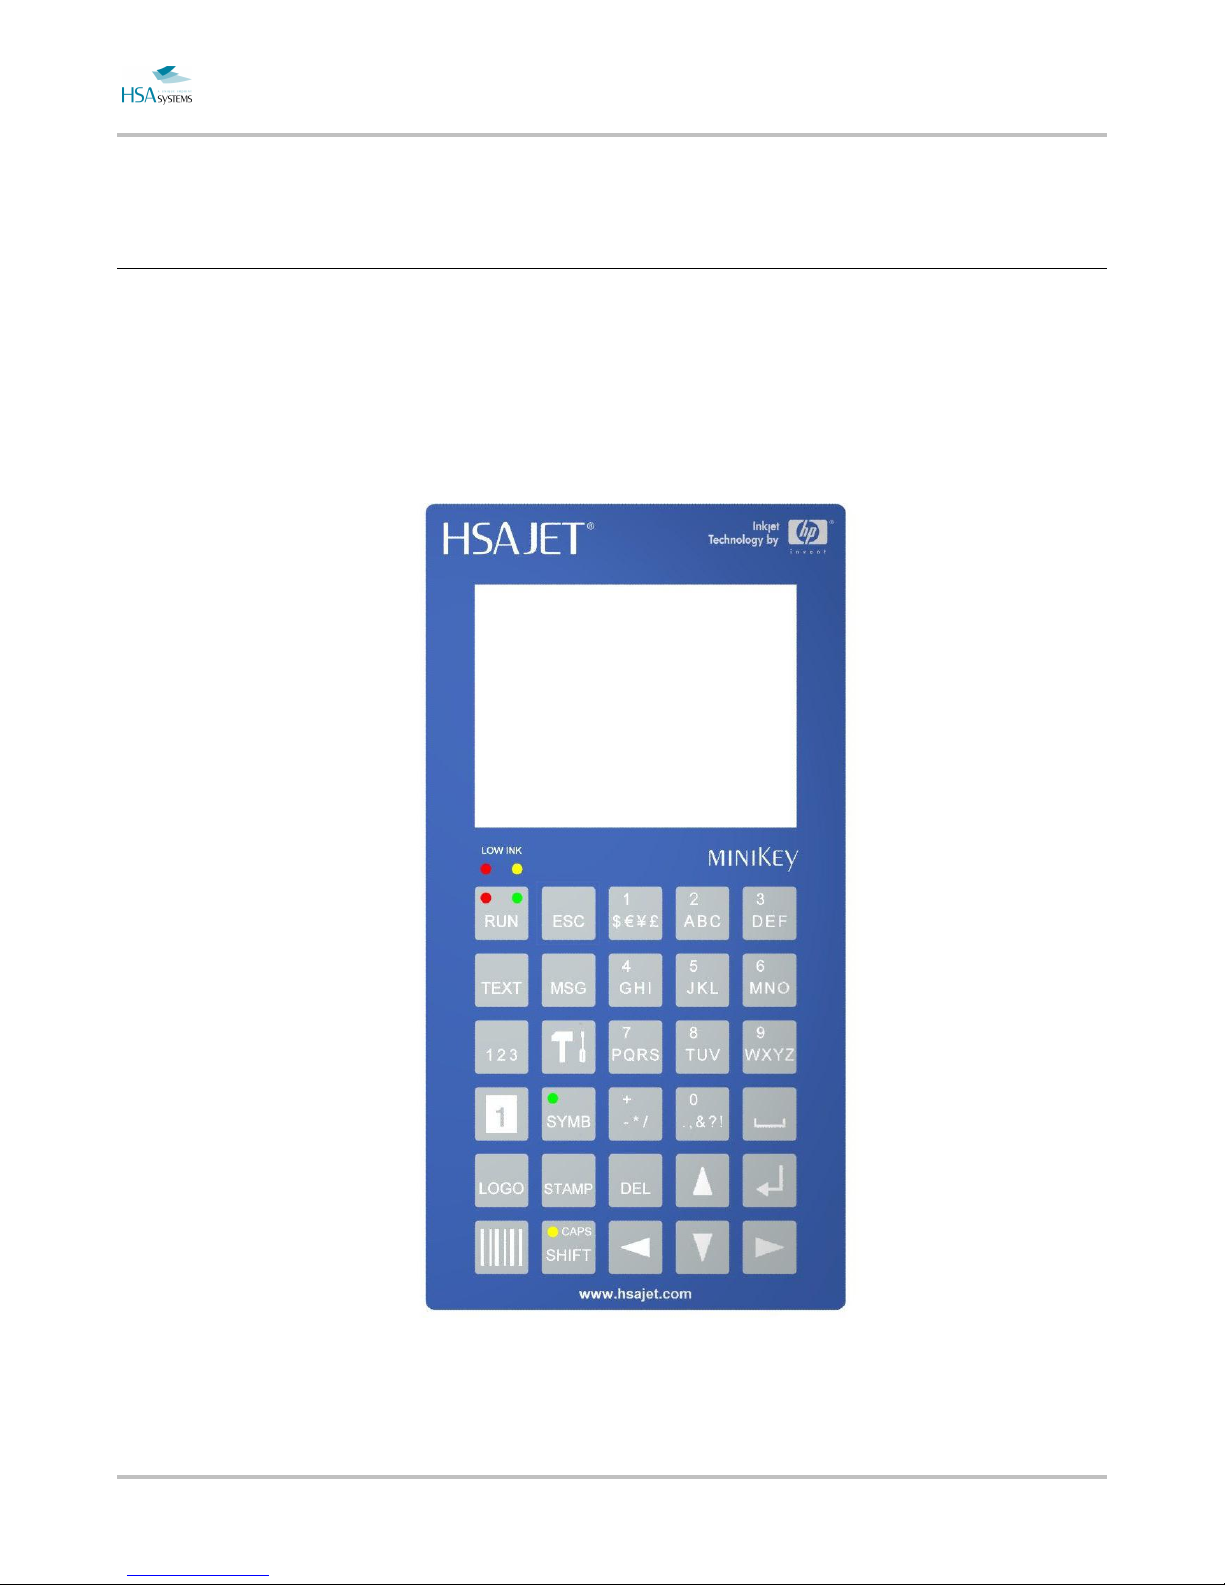
Congratulations on your purchase. MiniKey is one of the most advanced, compact
and user-friendly inkjet controllers available.
This manual covers the usage of the controller. Before using the product, please read
the manual carefully.
Please also refer to:
Manual Content
Installation Manual Technician's guide to installation of this product.
Quick Guide Technician's guide to setting up this product.
Remote Communication for the Mini series Commands for ethernet and RS232 connections.
MiniDraw for HSAJET MINIKEY/MiniKey Optional software for creating and uploading print jobs.
This manual covers MiniKey with firmware 1.91
MINIKEY User Manual
Page 3 of 66 HSA SYSTEMS
Safety Instructions
The MINIKEY is a controller unit for inkjet printing. Only use this device for the
intended use.
Do not subject the controller to strong shocks or vibrations.
Install the MINIKEY in the recommended installation environment only.
Connect power supply to input voltage 100-240 VAC
Follow the wiring instructions in the installation manual carefully. Wrong wiring
could destroy the controller unit.
Shut down MINIKEY properly before turning off the power supply. Power loss
during normal operation may result in memory card write failure and data loss.
Do not clean controller with strong solvents.
Do not let liquids get in touch with any electrical parts.
The MINIKEY is only to be repaired by trained personnel.
Do not forget your administrator password, or delete the administrator
account.

MINIKEY User Manual
Page 4 of 66 HSA SYSTEMS
Table of Content
Introduction ................................................................................................. 6
Features and performance .................................................... 6
Navigation .............................................................................. 7
Editing values – using the keypad ......................................... 9
What are layout, object & Content? ..................................... 11
Limits to the system ............................................................. 13
Loading and printing ................................................................................ 14
Login to the system ............................................................. 14
How to load and print a layout ............................................. 15
Functions while in print mode .............................................. 16
Manage your layout .................................................................................. 18
How to create a new layout ................................................. 18
Create a new layout, based on another .............................. 20
How to delete a layout ......................................................... 20
Add content to your layout ....................................................................... 22
Text objects ......................................................................... 23
Barcode objects ................................................................... 27
Graphical objects ................................................................. 30
Prompts ............................................................................... 35
How to preview your layout ................................................. 37
Edit the message ....................................................................................... 38
Edit object properties ........................................................... 38
Change print settings ............................................................................... 39
How to setup your print head(s) .......................................... 43
How to setup input and output ............................................. 46
How to test your equipment ................................................. 47
How to purge the pens ........................................................ 48
How to change system settings ............................................................... 50
Edit user accounts ............................................................... 50
Change the language .......................................................... 52
Change network settings ..................................................... 53

MINIKEY User Manual
Page 5 of 66 HSA SYSTEMS
Change screen settings ....................................................... 54
Set system clock .................................................................. 55
Display system info .............................................................. 56
Use the USB feature .................................................................................. 57
How to upload Layout and resources from USB ................. 57
How to export log files to USB ............................................. 57
How to update firmware ....................................................... 58
Using databases........................................................................................ 59
Database limits and possibilities ......................................... 59
Database layout ................................................................... 59
Using database print ............................................................ 60
Reference Section ..................................................................................... 62
List of date formats .............................................................. 62
List of system events ........................................................... 63
Overview of Connectors ...................................................... 64
Data Exchange .................................................................... 66
Support ................................................................................ 66
MINIKEY User Manual Introduction
Page 6 of 66 HSA SYSTEMS
Introduction
Features and performance
Features
Text, barcode and graphical objects
Simple inclusion of stamps by a list
Multilingual Keyboard
Prompts
Real time printing
2 configurable hardware outputs
2 configurable hardware inputs
Print of databases
Performance
Number of pens: Up to 4 pens. (max 2 physical heads)
Printing speed: depending on resolution, 35 m/min at 600 dpi.
Resolution: Variable in print direction, in 18 steps from 75 to 2400 dpi
Manual row select
Print length: up to 2700 mm.
Interface
Integrated Keyboard
Documented protocol for remote operation (Ethernet and RS232)
External PC software "MINIDRAW" for creation of print jobs. This software is
supplied on the CD that follows the controller.
Hardware
Quadrature encoder supported
Power supply 100-240VAC included
Built-in sensor in print heads
MINIKEY User Manual Introduction
Page 7 of 66 HSA SYSTEMS
Navigation
The MINIKEY has a flat menu with direct access from Keys. At any time you can
switch to a new function by Keypress (notice: you need to exit menus by green
checkmark to save changes you have made)
MINIKEY User Manual Introduction
Page 8 of 66 HSA SYSTEMS
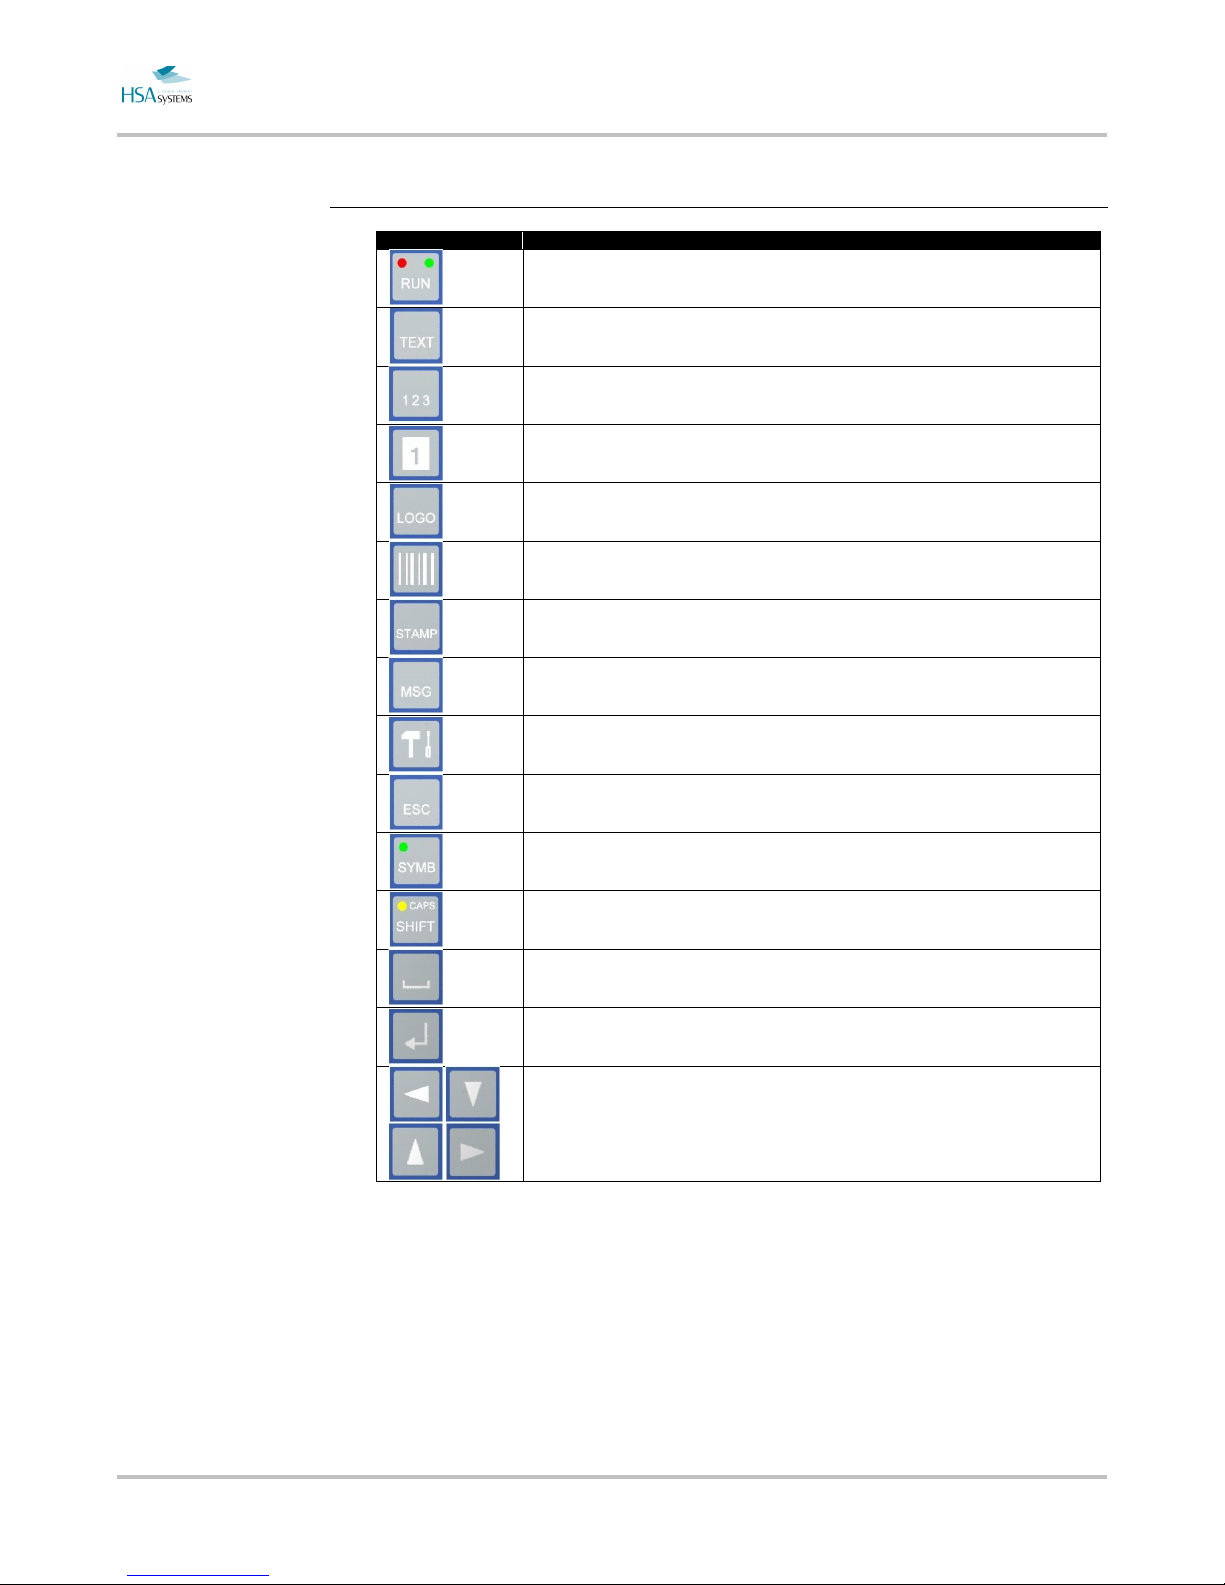
Function of Keys
KEY FUNCTION
Start / stop print mode
Work with TEXT content
Work with COUNTER content
Work with DATE content
Work with GRAPHICS content
Work with BARCODE content
Work with STAMP content
Load / Save files
Change settings
Go back to main menu/ previous menu.
Does NOT cancel addition of an object.
Changes between "symbol" Keyboard and normal Keyboard. Symbol Keyboard contains
characters in other encodings (ex:Cyrillic, Greek, ... ), depending on font selected.
Next character should be upper case. Press twice to activate CAPS LOCK.
Insert a SPACE character.
Also used to toggle menu items and icons at bottom
ENTER:
Change values in selected menu item, select icon, accept value in inputbox
Arrow Keys navigate between menu item s, icons and letters in the edit line
MINIKEY User Manual Introduction
Page 9 of 66 HSA SYSTEMS
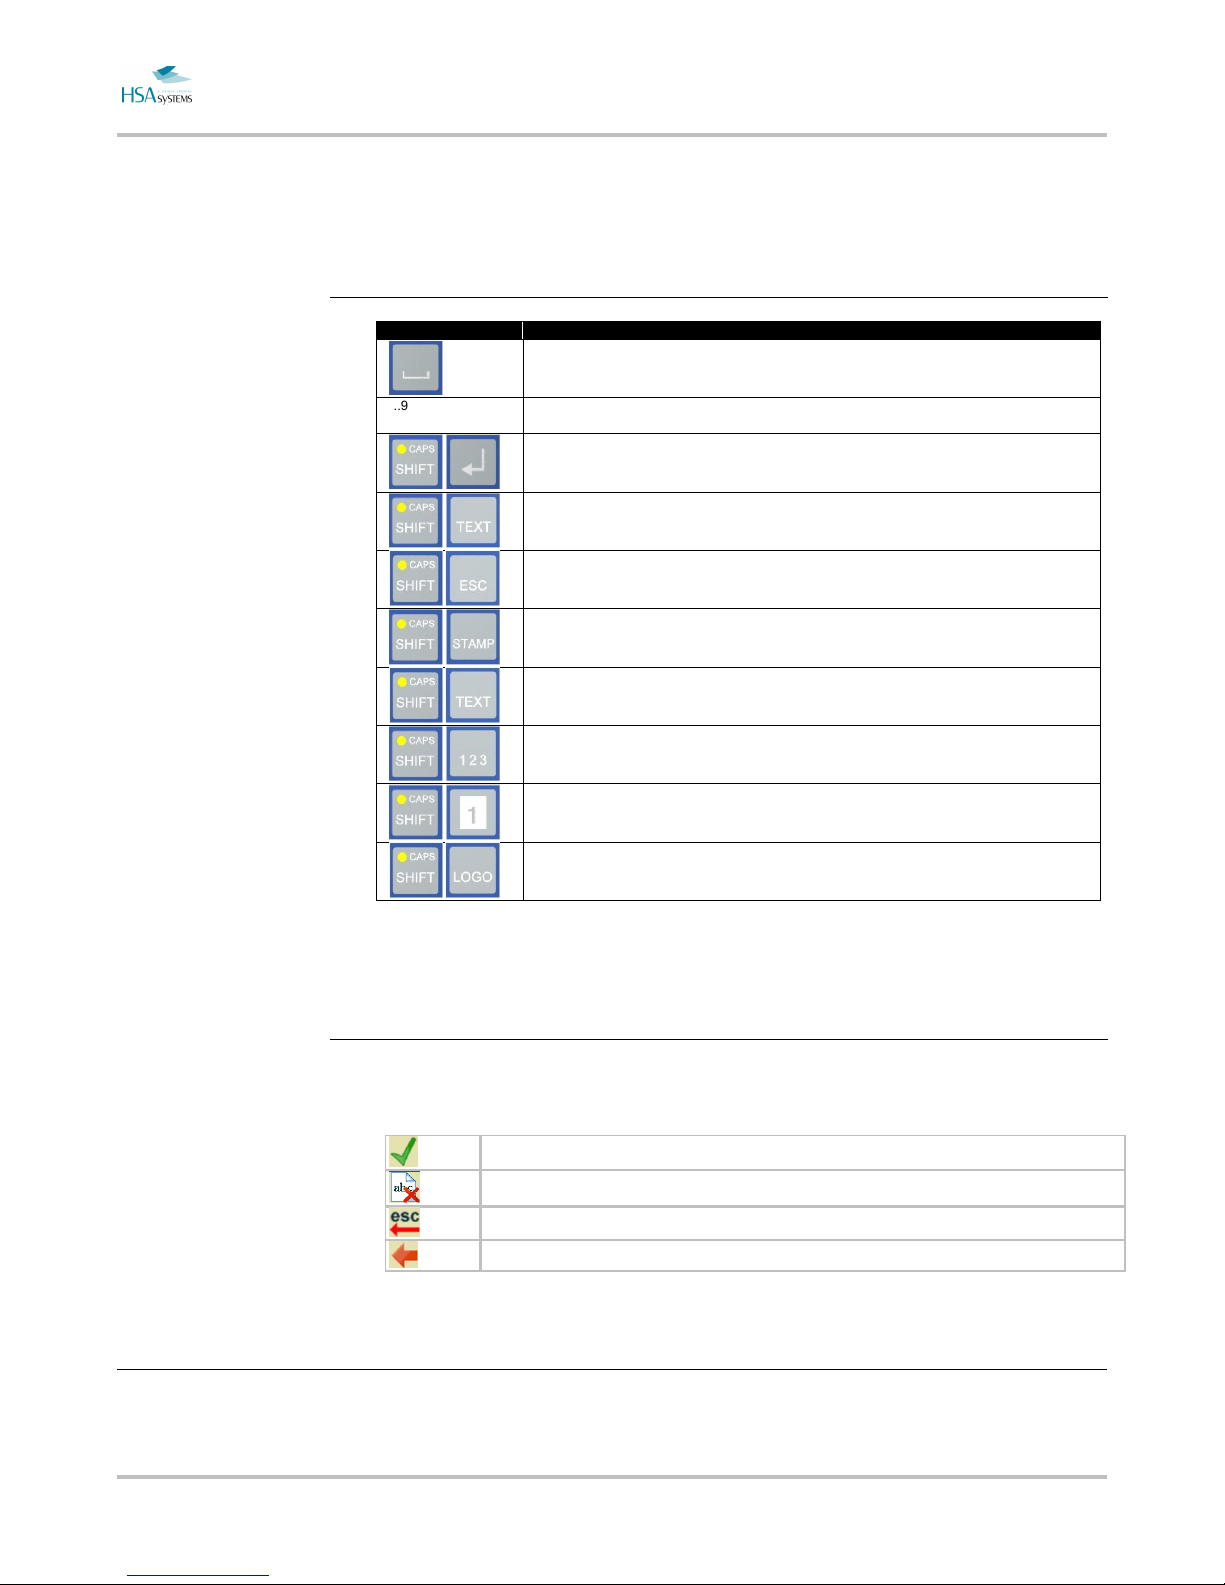
Shortcuts
SHORTCUT FUNCTION
Toggle between menu lines and icons at the bottom
1..9 Direct access to icons in icon-based menus (counting icons from top-left), or direct access to
lines in text-based menus.
Accept changes in the menu (same as space + arrow Keys to green checkmark)
Create a new text object, and edit it instantly
Same can be applied to to counter, date, graphics and barcode
Shuts down controller
Create a new stamp, directly selected from list of stamps (visually)
Create a new text object and directly edit it
Create a new counter object and directly edit it
Create a new date/time object and directl y edit it
Create a new logo object and directly edit it
Common navigation icons
At the bottom of each screen, a menu with navigation shortcuts can be found.
Save changes and proceed.
Delete object (cancel add) and go back.
Do not save changes. Go back to previous menu.
BACK to previous menu.
Editing values – using the keypad
In the MiniKey, you can enter values in different ways, depending on what the value /
parameter is used for.

MINIKEY User Manual Introduction
Page 10 of 66 HSA SYSTEMS
Text lines
Text lines are values that can accept zero or more characters. Example: name of
objects, text variables, counter values.
Press ENTER to edit the value.
You will see a screen showing what you enter, the current value indicated in RED,
and a keyboard below, corresponding to the keys [0]..[9] and [+]. If a key is used
when text is red, it will be replaced. If arrow keys are used first, it will remain and be
edited.
Now you have the following options:
ENTER will accept the value
ESC will cancel editing
ARROW KEYS move left /right or start/ end of text string
SYMB will change between ENGLISH and SYMBOL keyboard. Which symbol
keyboard that displays depends on the language choice.
Number keys will toggle between printed values. Numbers are last. Example: 5 key
will toggle j,k,l,5. A long press will always give a number.
DEL will delete a character to the left
SPACE will insert a blank
SHIFT will change to upper case for one keypress. Press again to lock. Press again to
unlock.
Values (measured distance)
Any value that can be measured is entered using a similar display, but only with a
numeric keypad shown.
By default, the value is indicated in RED. Type any number to overwrite, or use arrow
keys to edit.
SYMBOL will change unit of measure.
Internally all units are stored in pixel, which may cause rounding in
other values. 1 inch = 600 pixel = 25,4 mm.
Example: 10,0 mm 9.99 mm.
MINIKEY User Manual Introduction
Page 11 of 66 HSA SYSTEMS
Toggles
Toggles are options with few defined values. A separate editing screen will not be
shown. Instead, a new value will appear at each press on ENTER.
The list of values is circular and will revert to first option at the end.
Other options may appear at certain selected values, where this will make sense.
Lists
For options that are determined by a list of values, but not known in advance, a list is
shown. Example: list of objects, fonts and files.
Move to selection with arrow keys and press ENTER.
The first 9 values can be accessed directly using number keys.
What are layout, object & Content?
On the MINIKEY layouts, objects and content constitute your print job. It is important
to understand the difference. The following will explain:
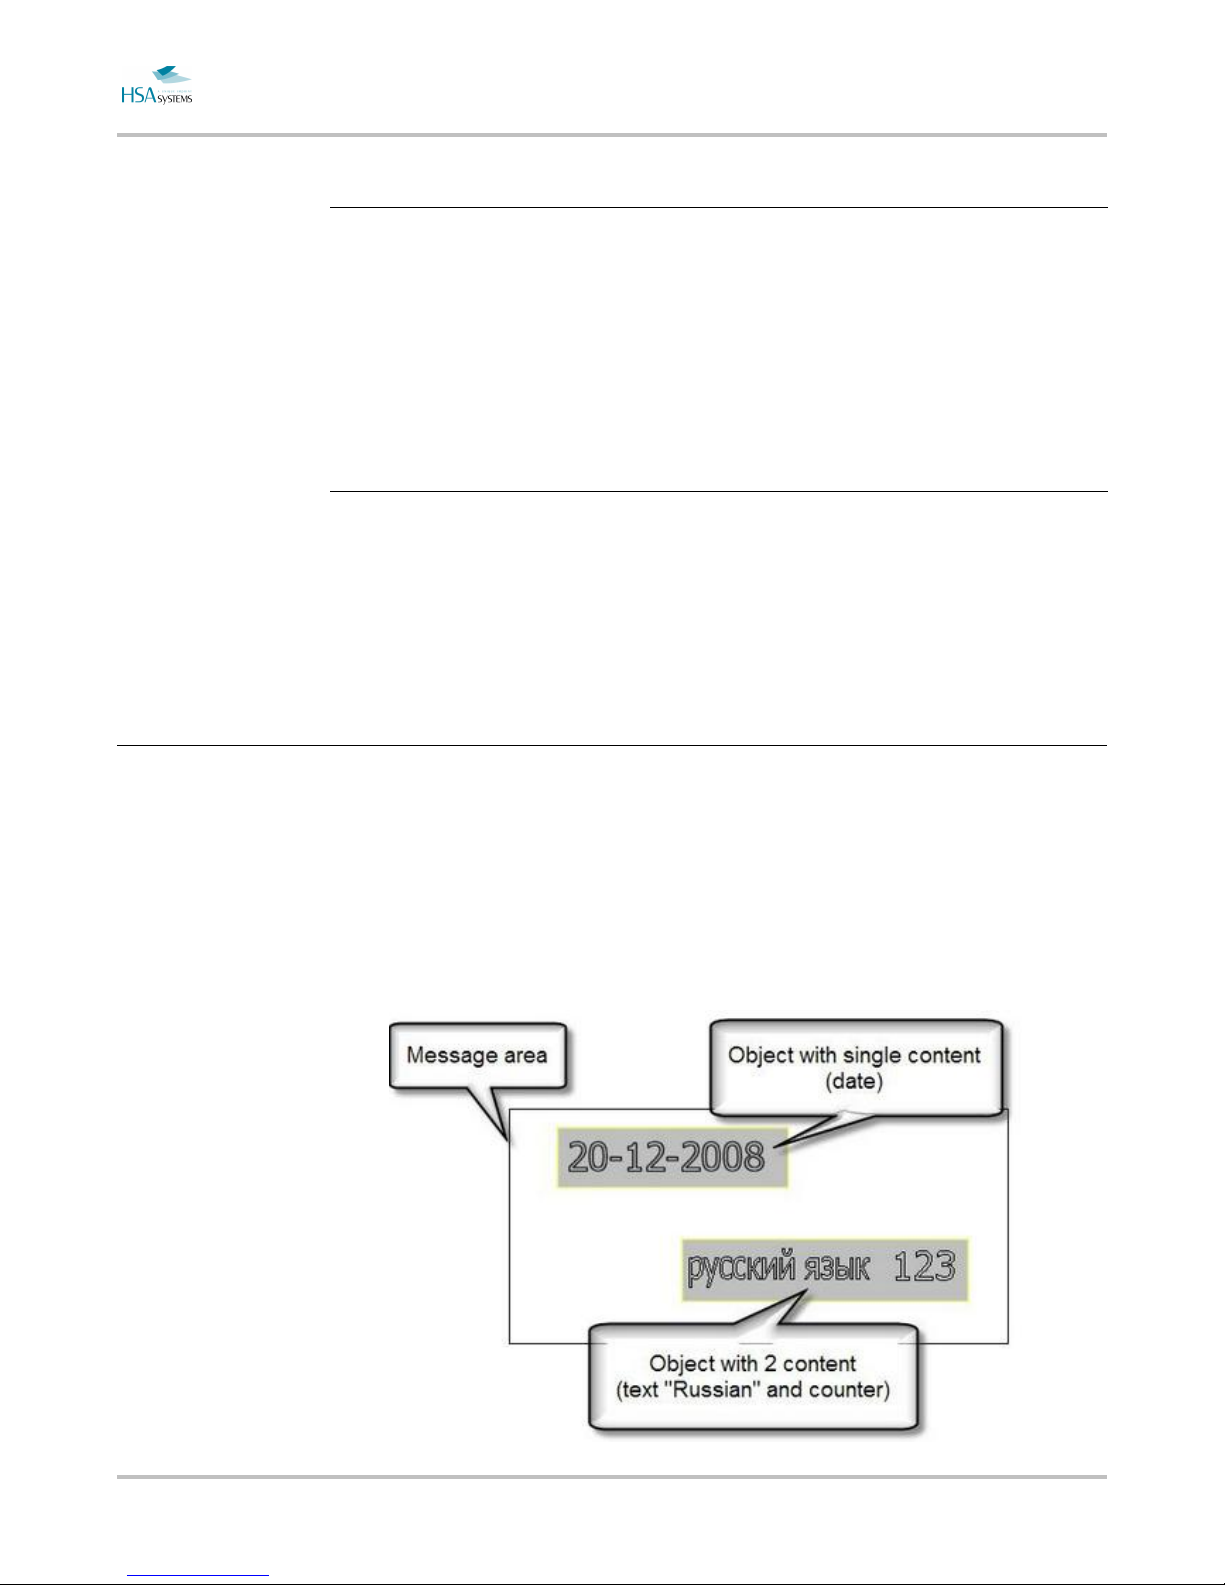
Your layout is like a white piece of paper where you place content. Objects are
placeholders for content. They are like post it notes on your paper. On the post it note
you write something. That is your content.
You can see the principle illustrated here:
MINIKEY User Manual Introduction
Page 12 of 66 HSA SYSTEMS
When you create a layout, it is a blank piece of paper.
When you place an object on your layout, content will be created at the same time
and the two will be linked together.
NOTICE: On MiniKey you cannot from the controller link multiple
content to textual objects. This is ONLY possible for barcodes!
Objects linked to multiple content from software will print but can’t be
edited.
There are 3 types of objects.
Text objects Displays content as text or numbers.
Barcode objects Displays content as barcode.
Graphical objects display a logo, a line or a box. Not linked to a content
There are 4 types of content.
Content type Meaning
Static text
A static text is content that is the same on every print.
Counter Counters increment every time the start sensor is activated.
Date/time Displays the date and/or time based on the system clock.
Shift Code Displays content based on time/day
System Variable Display content based on controller / layout properties
Indentifier
Application identifier for EAN 128
barcode.
MINIKEY User Manual Introduction
Page 13 of 66 HSA SYSTEMS
Limits to the system
Property Limit
Number of folders on internal
memorycard
Unlimited. (up to 2 GB. Each layout is 16.349 b ytes.)
Number of layouts 50 layouts in each folder on the internal memory card.
Number of objects in one layout 16 text objects.
10 barcode objects.
10 graphical objects
Number of contents in one layout 16 static texts.
10 counters.
10 date/time.
10 identifiers.
Number of fonts in one layout 10 fonts. (Max. 50 fonts altogether on controller).
Number of locales in one layout
Language files
5 locales (Max 50 locales altogether).
50 language files altogether.
String length: Object/content name: 15 characters.
Content 127 characters.
Printing speed Frequency of print head 15 kHz. Resolutio n is variable, so maximum
speed depends on chosen resolution.
Theoretical maximum speed in 75 x 300 dpi close to 600 m/min.
600x600 dpi Speed limit is 37 m/min
300x300 dpi Speed limit is 148 m/min
150x300 dpi Speed limit is 296 m/min
300x300 dpi (One row) Speed limit is 74 m/min
File transfer rate USB 400KBit/second
Ethernet 4000kBit/second
RS232 115kbit/second
Length of prompt question 21 characters
MINIKEY User Manual Loading and printing
Page 14 of 66 HSA SYSTEMS
Loading and printing
This section will briefly introduce you to
basic operations of the MiniKey
controller, so the user is able to log in,
load a layout and start print function.
Login to the system
If MINIKEY is password protected a login screen will be shown when you start the
controller.
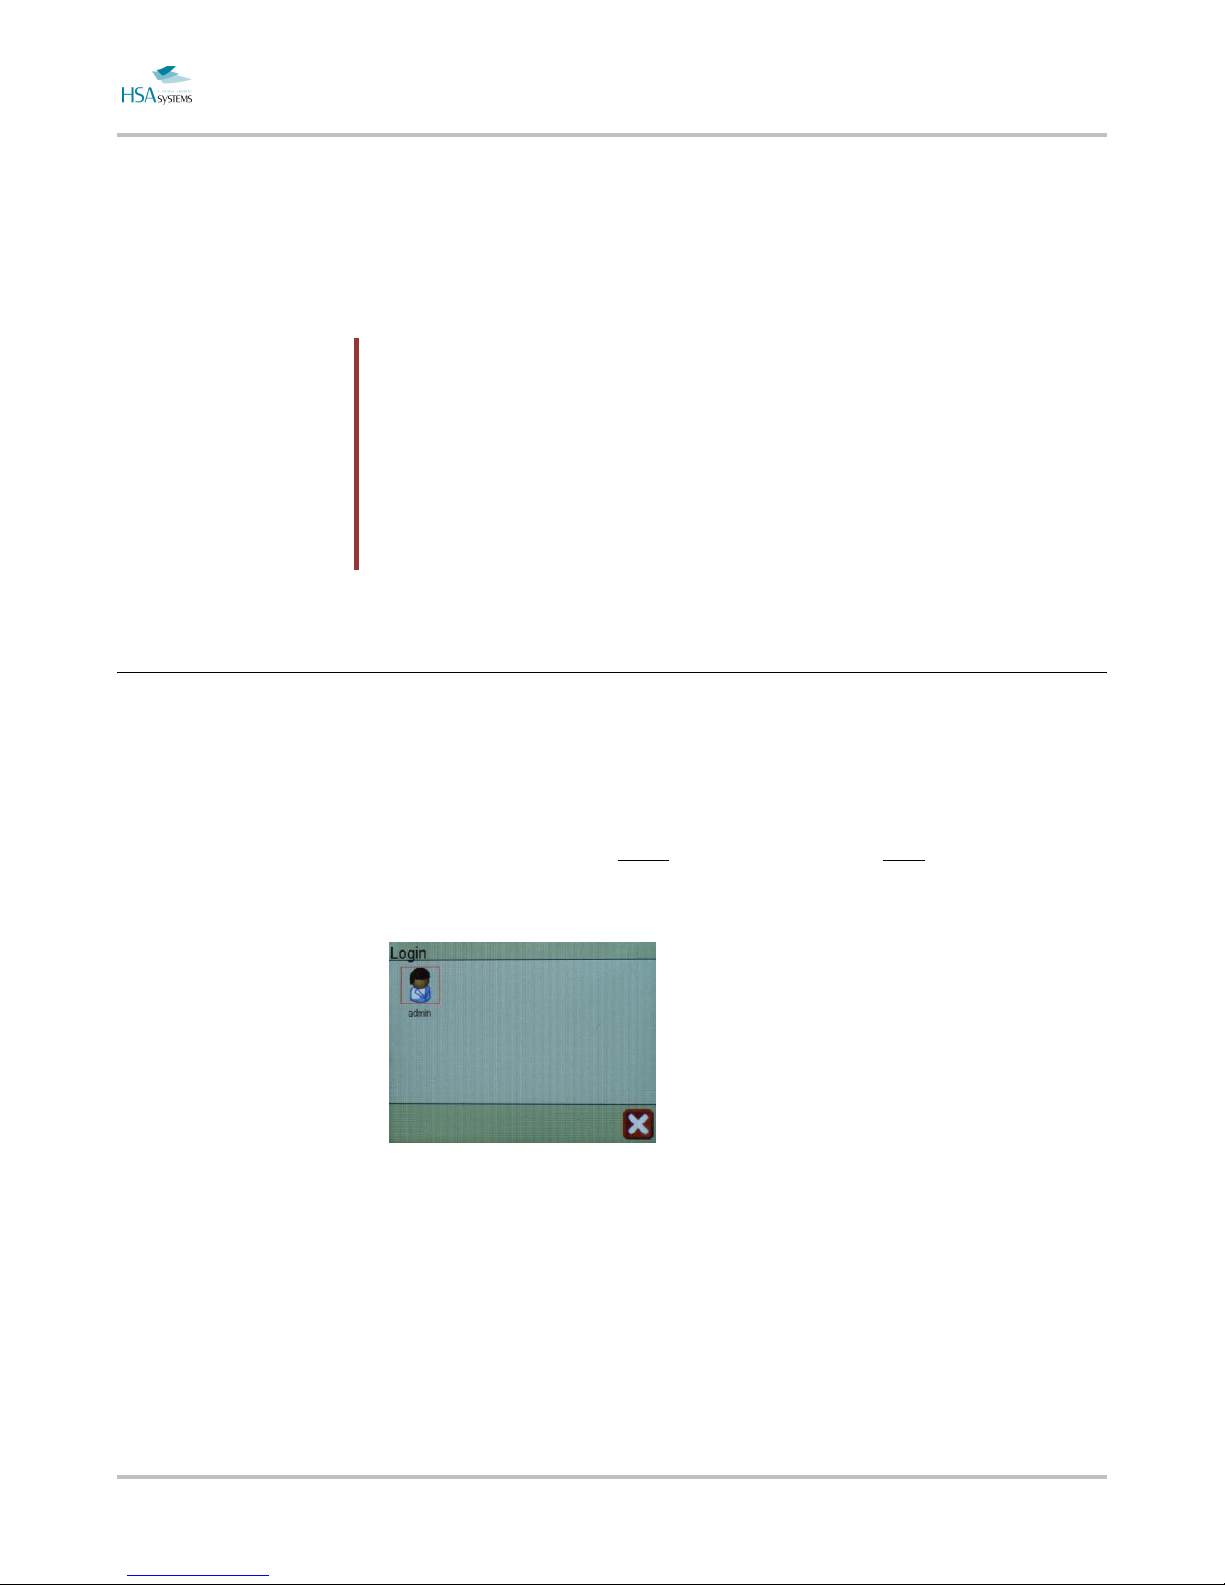
Graphical login is default. When graphical login is enabled, all user accounts on the
unit will be represented by an icon.
The default user account is admin. The default password is 1234.
It is recommended to change the default for security reasons.
If more than 8 user accounts have been setup, a scroll bar will appear.
To login in, press an icon to select a user account.
Next type in the password. You cannot see password as you type it.
Passwords are limited to numbers on this controller.
MINIKEY User Manual Loading and printing
Page 15 of 66 HSA SYSTEMS
Press ENTER when done or ESC to cancel and go back to select another user
account.
How to load and print a layout
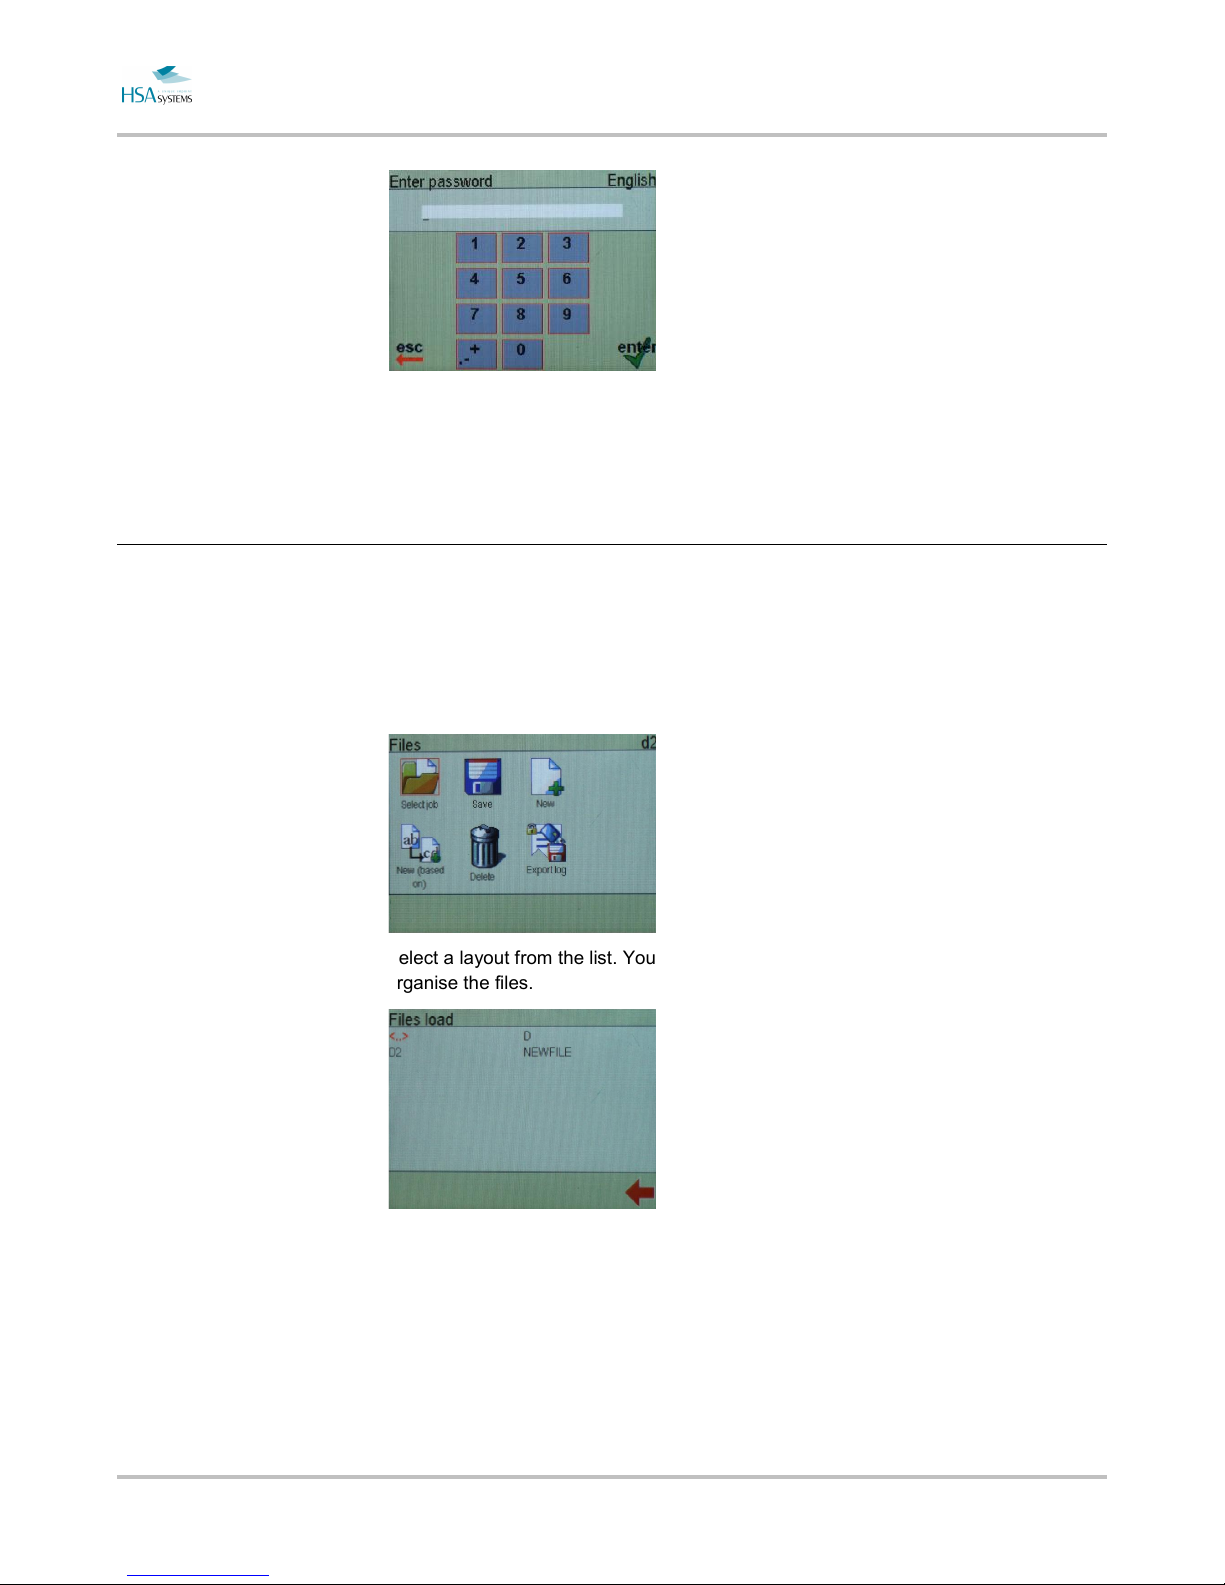
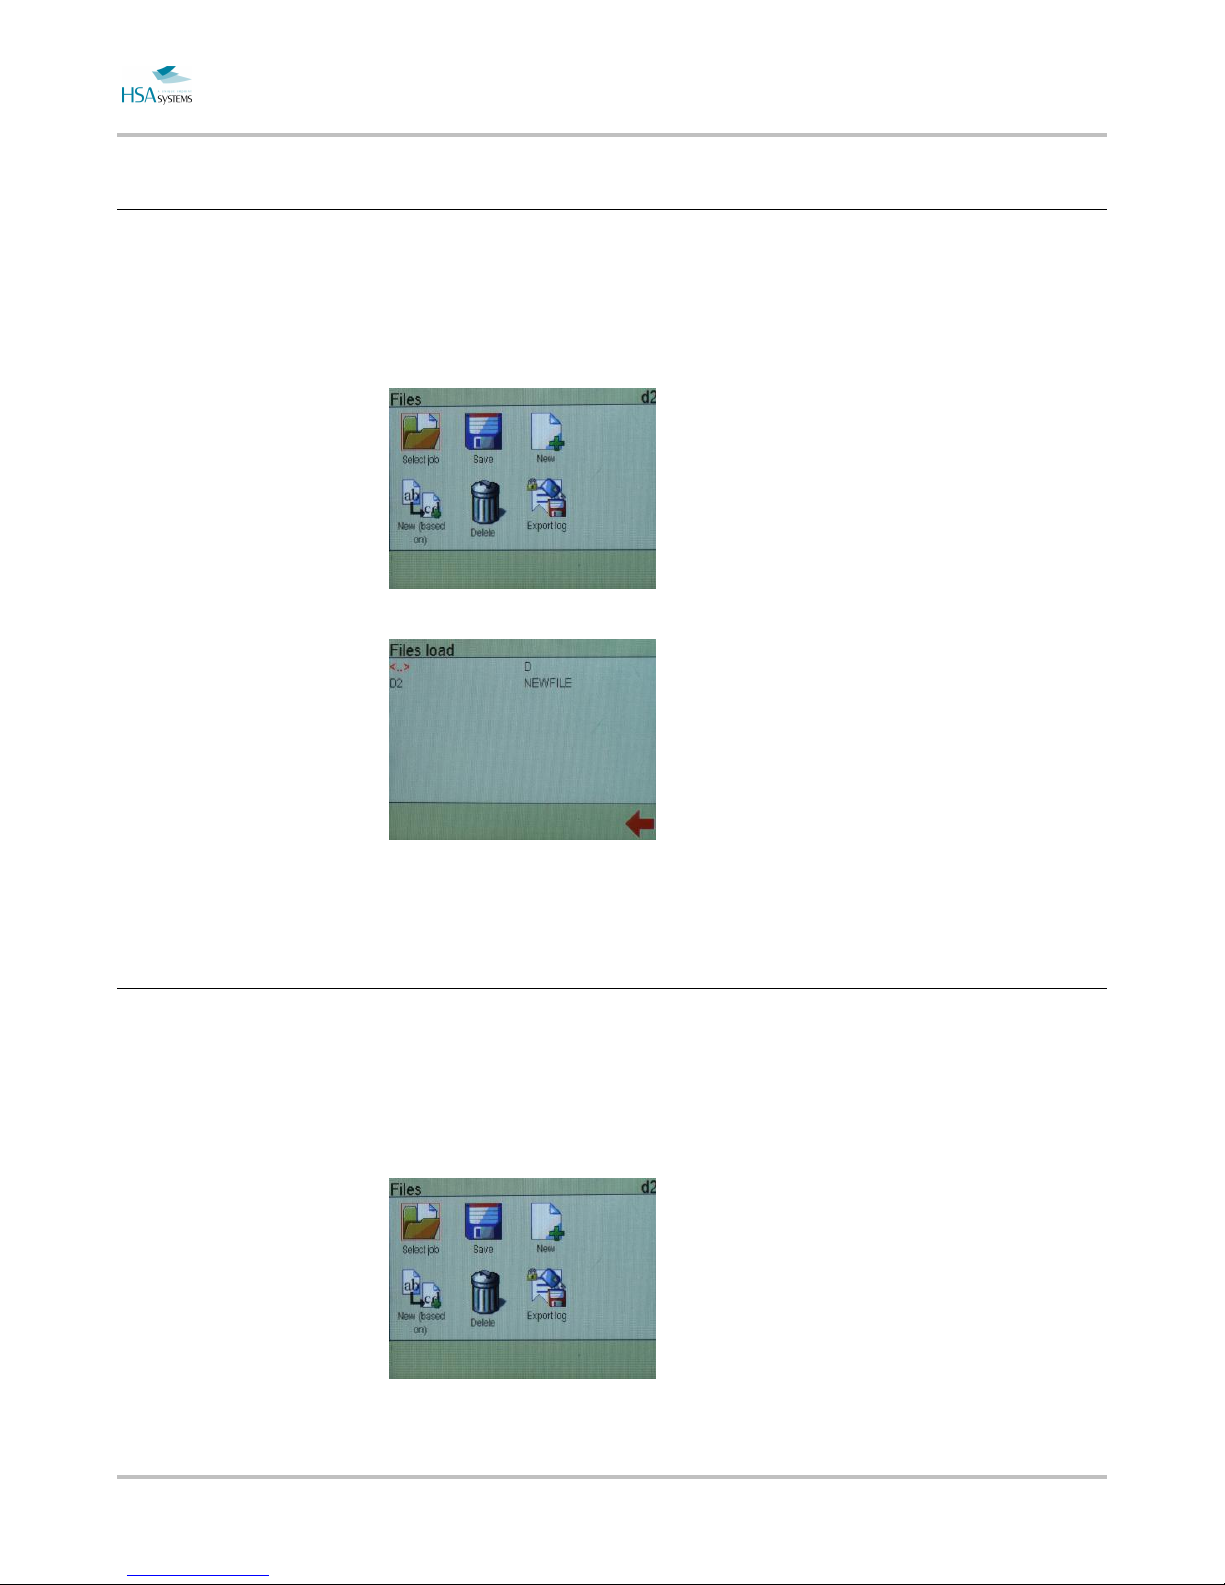
Press the MSG button
Press ENTER on "Select job".
Select a layout from the list. You can create / use a subdirectory if you wish to
organise the files.
The layout will load, and you will return to main menu. Press "RUN” Key to enter print
mode.
MINIKEY User Manual Loading and printing
Page 16 of 66 HSA SYSTEMS
Functions while in print mode
Screen display
While in print mode, the screen will display a print performance screen, along with the
calculated ink level remaining.
From the top, the performance screen displays:
Speed
Measured (by encoder) or set speed, in m/min. Also displays the number of prints per
hour.
Lot
Number of prints done since print mode was last activated
Total
Number of prints in total for this job
Timer
How long time the print mode has been active
If a database is active, the current record number and time remaining of database
print is also displayed.
Cartridge maintenance
While in print mode, it is possible to perform certain cartridge functions.
Press [1] .. [4] to work with respective cartride. Notice only needed numbers are
defined – so as example, if only 2 cartridges are defined, keys 3 and 4 will do nothing.
In “ink management”, you can perform
Reset of ink level
On level bar, the ink level can be reset
Disconnect cartridge power
The MK does not have a switch. It is recommended to switch off power before
cartridge is taken out.

MINIKEY User Manual Loading and printing
Page 17 of 66 HSA SYSTEMS
Purge
Hold ENTER to purge
Press ESC to return to print mode menu
Emergency cancel of remote control
During remote control, and while in print mode, it is normally not possible to use
keyboard functions.
The remote control can be interrupted using SHIFT + ESC. Then login with
user+password.
MINIKEY User Manual Manage your layout
Page 18 of 66 HSA SYSTEMS
Manage your layout
This section will detail how to manage
layout files and create new layout files
How to create a new layout
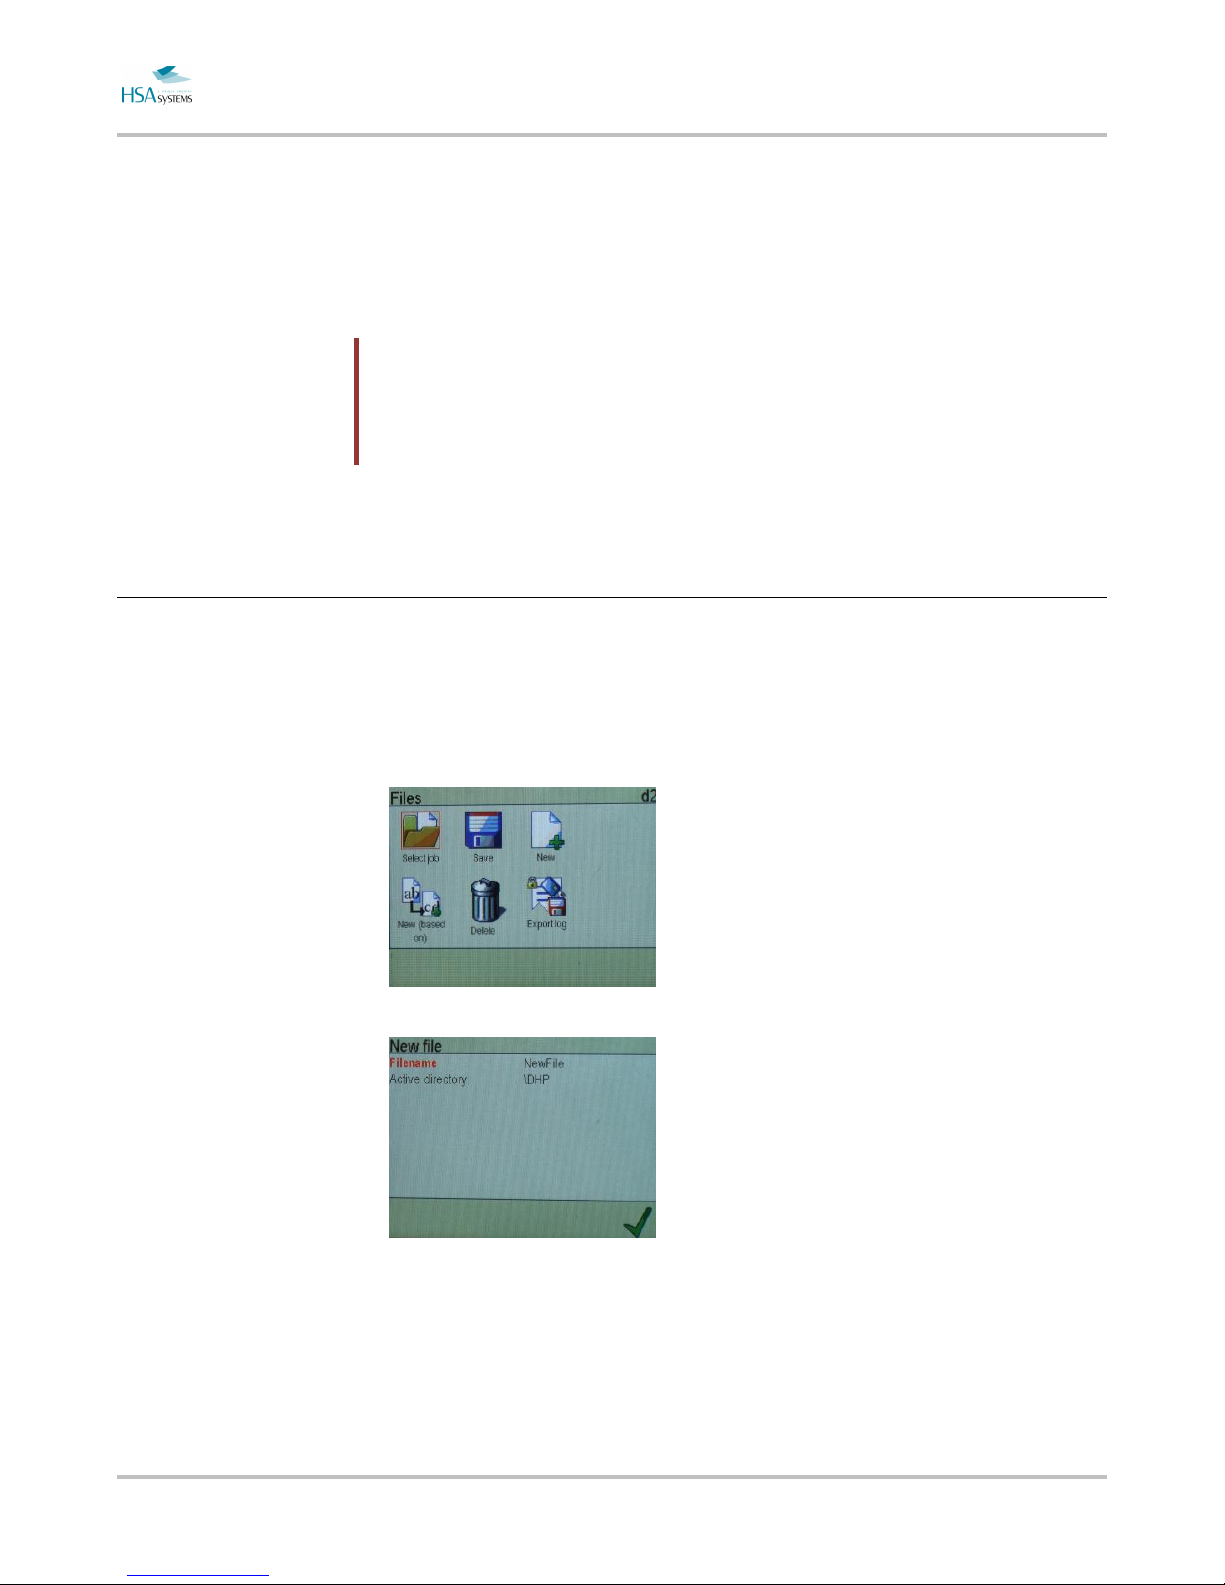
Press the MSG button.
To create a new layout, press "new". Shortcut “1”.
Press "filename" to enter a file name for the new file.
Enter a new filename in the text field. Press ENTER to finish. You can use maximum
7 characters for the file name.
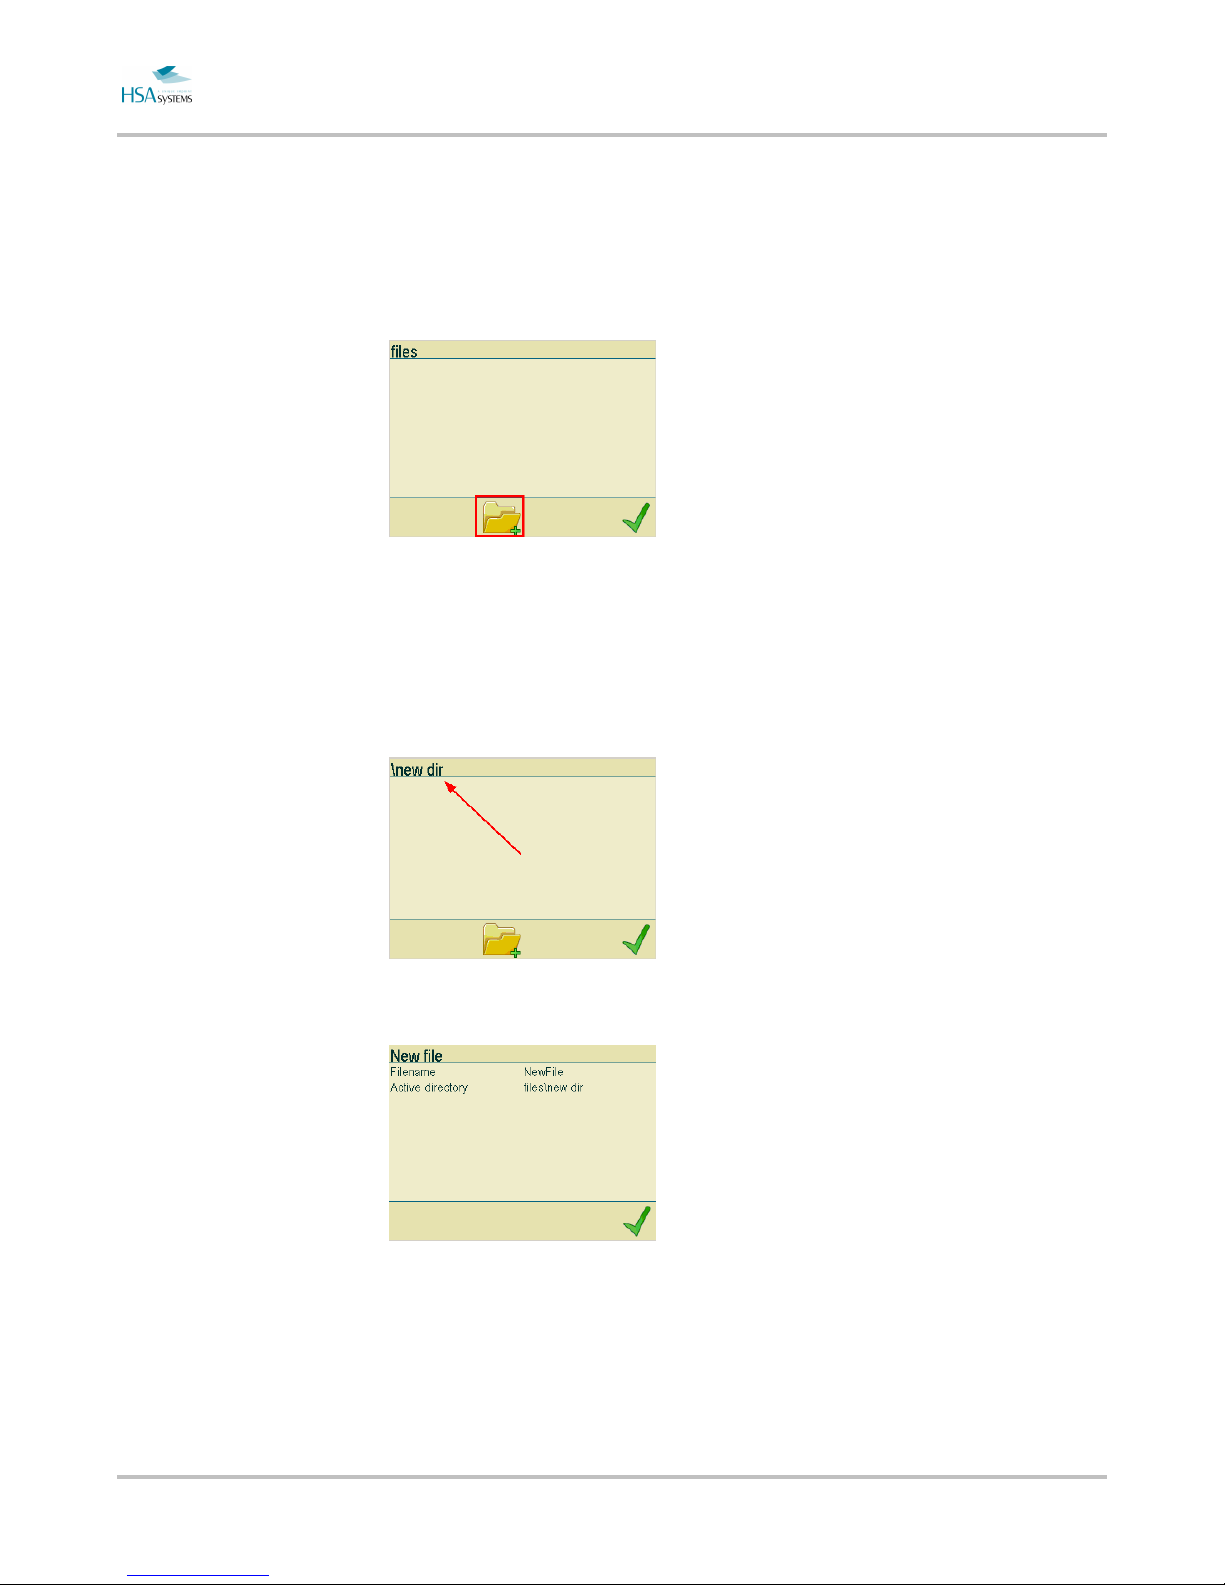
To change active directory press "active directory". Active directory is where your file
will be saved on the internal memory card. Each directory level can contain 50 entries,
MINIKEY User Manual Manage your layout
Page 19 of 66 HSA SYSTEMS
where an entry is a layout or another directory. Effectively, you can have 2500 layouts
with a 2 levels of subdirectories.
Next, press the "new directory" icon at the bottom of the screen.
Enter new directory name .
Press ENTER to continue
On the next screen you have changed location to the new directory. The new directory
name will be shown at the top of the screen.
Press the green check mark to return to the previous screen.
Press ENTER to finish.
Now your file will be created and will be the active file. It will be empty (no objects),
and will have parameters based on the machine parameters. You are now ready to
create content.
MINIKEY User Manual Manage your layout
Page 20 of 66 HSA SYSTEMS
Create a new layout, based on another
The option "New (based on)" will save a layout under a new name. This option is an
advantage if you want to create a new layout using the settings from another layout.
Select "New (based on)". Shortcut “4”
Select source layout.
Enter name for the new layout. Press the green check mark to continue.
The MINIKEY will automatically save your new layout to the internal memory card
How to delete a layout
Press the MSG Key
To delete a layout, select "delete". Shortcut “5”
Select a layout to delete.
 Loading...