

HPA B 300, B 600, B 1200, B 1500, B 902 Owner's Manual
...
Owner’s Manual
B300
B1802
B 300
B 600
B 900
B 1200
B 1500
B 902
B 1202
B 1802

WARNING

1
B 300 / B 600 / B 900 / B 1200 / B 1500 / B 902 / B 1202 / B 1802
Introduction ………………………………………………………… 2
Features ……………………………………………………………… 3
Front Panel Controls ………………………………………………… 4
Rear Panel Controls ………………………………………………… 5
Protection ……………….…………………………………………… 7
Setup ………………………………………………………………… 8
Speaker Connections ….....….…………………………………… 9
Wiring ………………………………………………………………… 12
Specifications ……………………………………………………… 13
Black Diagrams ....………………………………………………… 14
Table of Contents
Table of Contents
2
B 300 / B 600 / B 900 / B 1200 / B 1500 / B 902 / B 1202 / B 1802
Introduction
Welcome.
Congratulation and thank you for the purchasing B Series, a state-of-the-art professional
amplifier.
These amplifier are designed to provide a big impact in sound reproduction and to
produce the best and highest quality audio at an affordable price. We wish you great
enjoyment and satisfaction when using your amplifier, whether you are an installation,
or reinforcement engineer.
Unpacking and Installation
Although it is neither complicated to install nor difficult to operate your amplifier, a few
minutes of your time is required to read this manual for a properly wired installation
and becoming familiar with its features and how to use them. Please take a great care
in unpacking your set and do not discard the carton and other packing materials. They
may be needed when moving your set and are required if it ever becomes necessary to
return your set for service. Never place the unit near radiator, in front of heating vents,
to direct sun light, in excessive humid or dusty location to avoid damages and to guaranty a long reliable use. Connect your unit with the system components according to
the description on the following pages.
B1500
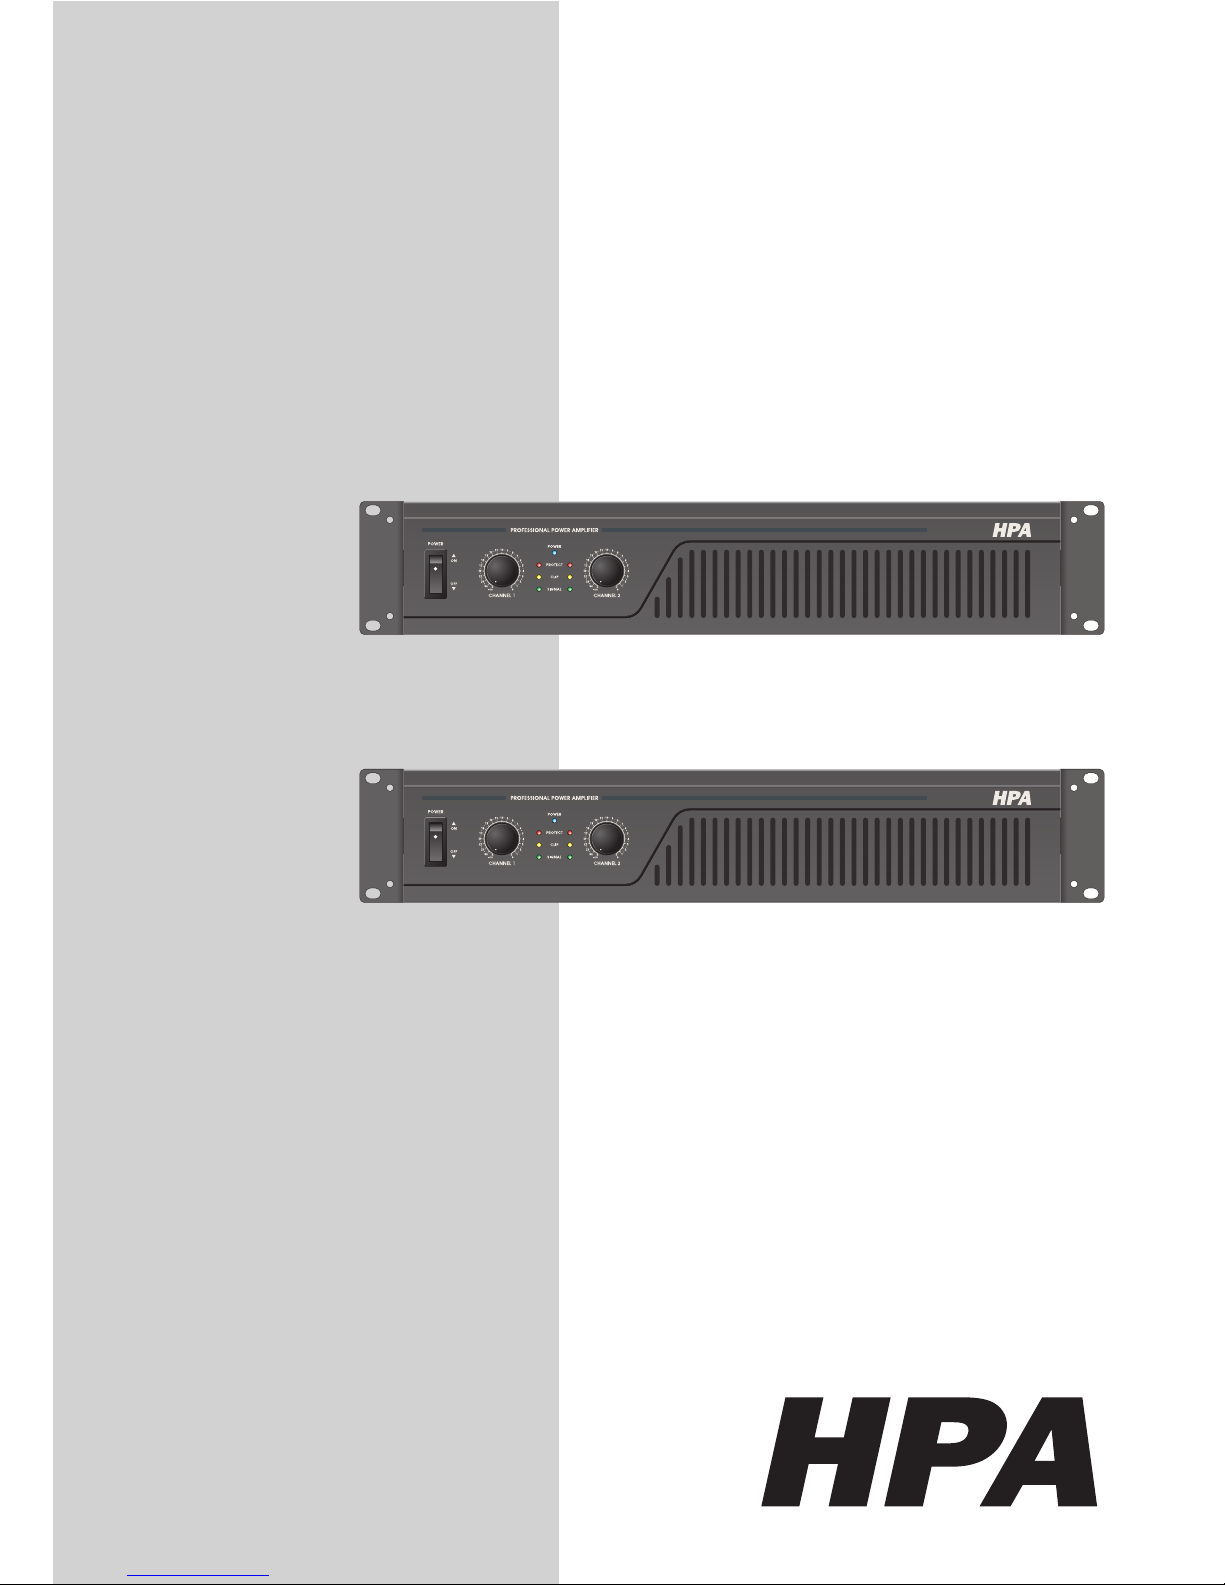
B 300 / B 600 / B 900 / B 1200 / B 1500 / B 902 / B 1202 / B 1802
PROFESSIONAL AMPLIFIER
Introduction

3
B 300 / B 600 / B 900 / B 1200 / B 1500 / B 902 / B 1202 / B 1802
Features
HPA B-Series amplifier delivers the following power ratings.
B 300 2 x 100 Watts at 8 ohm, 2 x 150 Watts at 4 ohm
B 600 2 x 200 Watts at 8 ohm, 2 x 300 Watts at 4 ohm
B 900 2 x 300 Watts at 8 ohm, 2 x 450 Watts at 4 ohm
B 1200 2 x 400 Watts at 8 ohm, 2 x 600 Watts at 4 ohm
B 1500 2 x 500 Watts at 8 ohm, 2 x 750 Watts at 4 ohm
B 902 2 x 200 Watts at 8 ohm, 2 x 300 Watts at 4 ohm and 2 x 450 Watts at 2 ohm
B 1202 2 x 300 Watts at 8 ohm, 2 x 450 Watts at 4 ohm and 2 x 600 Watts at 2 ohm
B1802 2 x 400 Watts at 8 ohm, 2 x 600 Watts at 4 ohm and 2 x 900 Watts at 2 ohm
2-channel, parallel or bridged mono operating modes for flexible application 300
Watts for B 300, 600 Watts for B 600, 900 Watts for B 900 and B 902,1200 Watts
for B 1200 and B 1202, 1500 Watts for B 1500 and 1800 Watts for B 1802.
Independent input level controls for each channel allow precision adjustments.
Precise signal and clip LED indicators to monitor performance, allow you to correct
for overloading (clipping) condition.
One-tunnel and two temperature-sensitivity forced-air cooling system to maintain a
low temperature working station.
Balanced XLR or balanced 1/4-inch TRS Combination input connector for each
channel.
5-way output binding posts or Speaker connectors enable secure operation.
High-current toroidal transformer for absolute reliability.
Independent DC thermal and overload protection on each channel automatically protects amplifier and speaker.
The B series can be mounted in any standard 19” rack.
•
•
•
•
•
•
•
•
•
•
Features
4
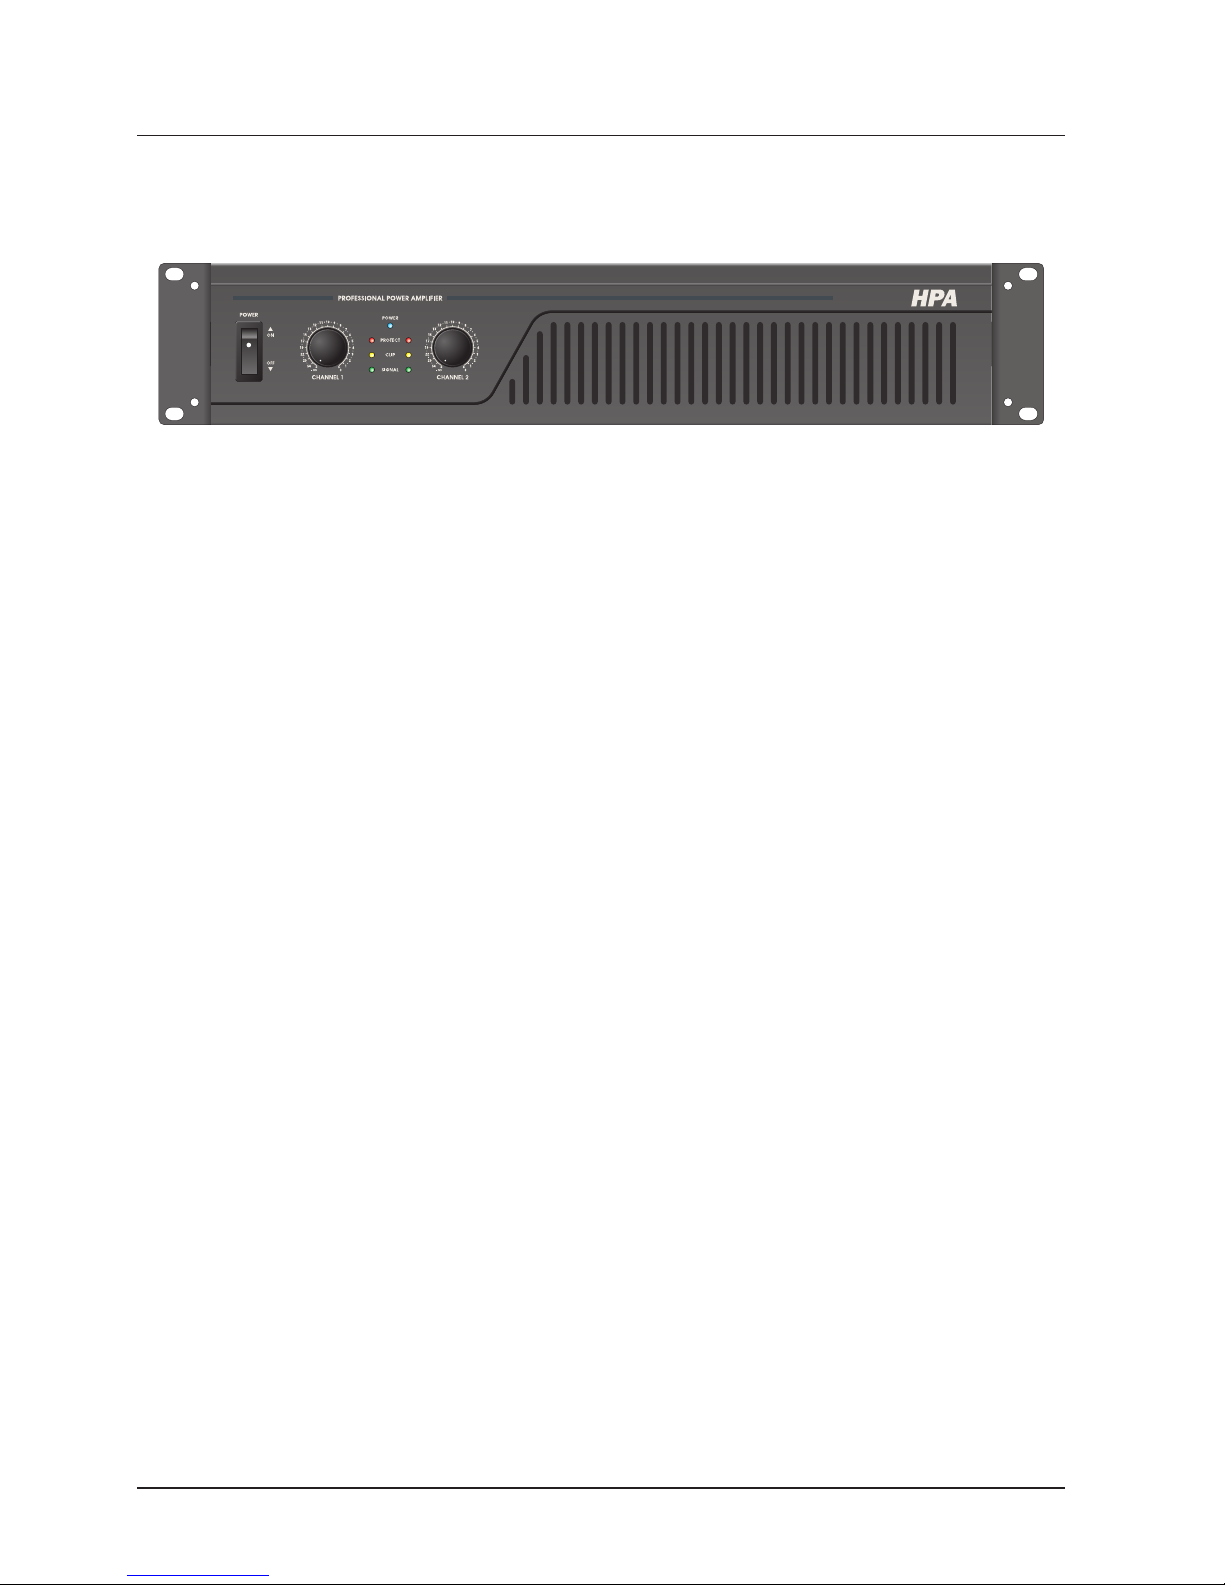
B 300 / B 600 / B 900 / B 1200 / B 1500 / B 902 / B 1202 / B 1802
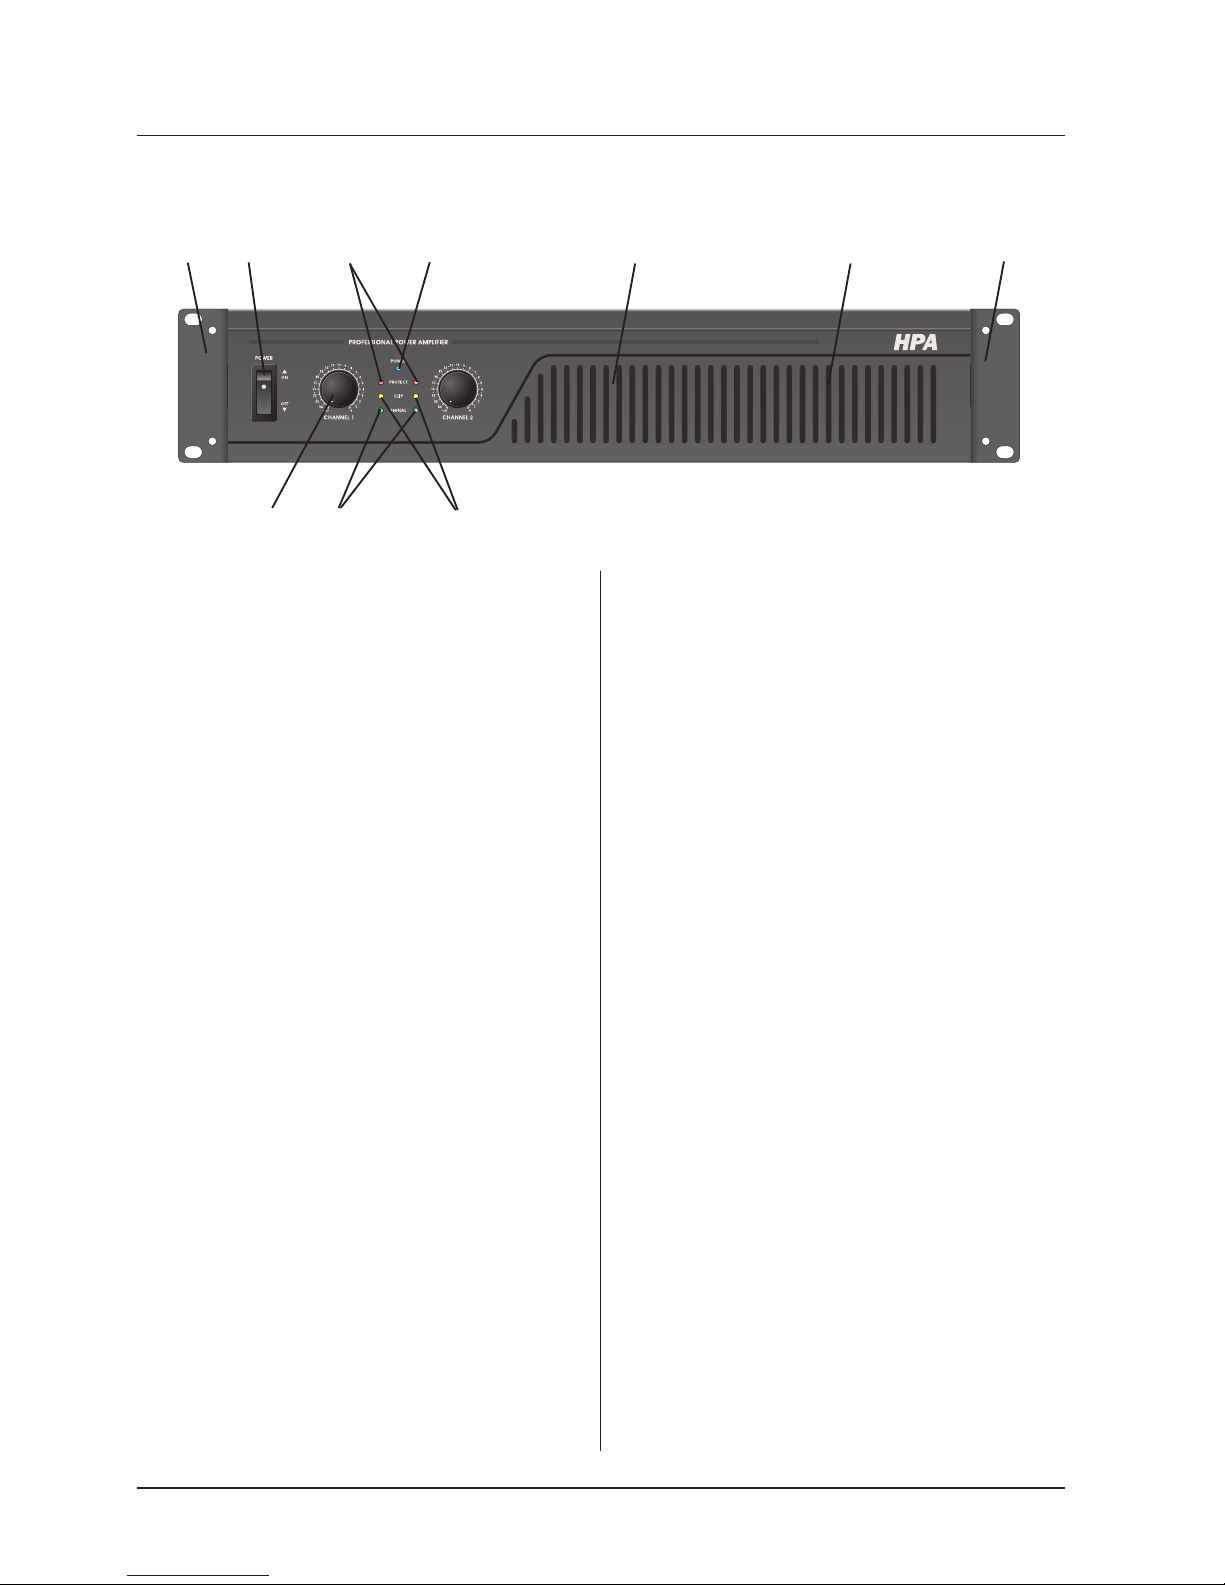
Front Panel Controls
1. Rack Mounting Ears
Two front panel mounting holes are provided
on each mounting ear.
2. Fan Vent
Cool air is flowed through the front fan filters,
reducing the temperature of the inside components while forcing the heat out the rear vents.
Never block these vents and keep them clean at
all time.
3. AC Power Switch
This switch controls the units main power.
4. Signal Indicators
These green LED will illuminate to indicate
that a signal is present at the amplifier input,
and that the signal is being amplified.
5. Clip Indicators
These yellow LED will illuminate at the clipping threshold. If it lights frequently, you maybe
overloading the HPA B-Series and a distorted
signal is probably being output. Under heavy
clipping activity lower the channel gain controls
to reduce the risk of damage to your speakers
and amplifier.
6. Active Indicators
These blue LED indicate that AC power is
connected and the amplifier is turned on.
7. Protect Indicators
These red LED indicate that the channel is in
Protect mode. When the channel goes into protect mode all output for that channel will turn off
by output relay. The protect LED will light when
B1802
1 3
4
2 1
8
overheating or other severe problem occur. This
is to protect any speakers connected to the
channel. These LED light for approximately five
seconds whenever the B Series is powered on
and to fade slowly when the amplifier is powered off. It is normal.
8. Channel input level control
These two 21-position detented controls
adjust input level for their respective amplifier
channels. In Bridged Mono Mode, only channel
1 input level control are used to adjust signal
level. In Parallel Mode, both input level control
are used to adjust signal level for their respective amplifier channels. At their fully counterclockwise position, the signal is attenuated by
more than 80dB. At their fully clockwise position, the signal is at unity gain. When 0 dBu of
signal arrives at the input jacks and the Channel
input level controls are set to their fully clock-
wise position, the B Series delivers full power
output.
9. Fan
This is a variable speed cooling fan. Cooling air enters the amplifier through the fan
ports located on front of the amplifier chassis,
Be sure not to block these ports when installing the amplifier or other associated equipment.
Front Panel Controls
5
7 6 9
 Loading...