

HP ML570, ProLiant ML500 G2 Installation Manual
HP ProLiant ML500 Series
Generation 2 Server
Memory Installation Guide
October 2002 (Second Edition)
Part Number 279987-002

Microsoft, Windows, and Windows NT are trademarks of Microsoft Corporation in the U.S.
and other countries.
Intel, Pentium, and Itanium are trademarks of Intel Corporation in the U.S. and other
countries.
UNIX is a trademark of The Open Group in the U.S. and other countries.
Hewlett-Packard Company shall not be liable for technical or editorial errors or omissions
contained herein. The information in this document is provided “as is” without warranty of
any kind and is subject to change without notice. The warranties for HP products are set forth
in the express limited warranty statements accompanying such products. Nothing herein
should be construed as constituting an additional warranty.
HP ProLiant ML500 Series Generation 2 Server Memory Installation Guide
October 2002 (Second Edition)
Part Number 279987-002

Contents
About This Guide
Audience Assumptions ....................................................................................................... v
Important Safety Information ............................................................................................. v
Symbols on Equipment....................................................................................................... v
Rack Stability....................................................................................................................vii
Symbols in Text................................................................................................................ vii
Related Documents..........................................................................................................viii
Getting Help.....................................................................................................................viii
Technical Support .....................................................................................................viii
HP Website.................................................................................................................. ix
Authorized Reseller..................................................................................................... ix
Reader’s Comments........................................................................................................... ix
Chapter 1
Memory
Memory Quick Start Guidelines ...................................................................................... 1-3
Quick Start DIMM Installation .................................................................................1-3
Quick Start Memory Configuration ..........................................................................1-5
Quick Start LED Information....................................................................................1-6
Memory Boards ............................................................................................................... 1-6
Parts of the Memory Board....................................................................................... 1-7
Memory Board Slot Locations .................................................................................. 1-8
Memory Board LEDs................................................................................................ 1-9
Advanced ECC (Standard) Memory Technology.......................................................... 1-13
Advanced Memory Protection Options .........................................................................1-14
Online Spare Memory Technology .........................................................................1-15
Single-Board Mirrored Memory Technology ......................................................... 1-17
HP ProLiant ML500 Series Generation 2 Server Memory Installation Guide iii

Contents
Hot-Plug Mirrored Memory Technology ............................................................... 1-19
Software ........................................................................................................................1-21
Configuring the Memory............................................................................................... 1-22
Installation, Removal, and Replacement Procedures .................................................... 1-23
Removing a Memory Board ................................................................................... 1-24
Removing a DIMM................................................................................................. 1-27
Installing a DIMM.................................................................................................. 1-28
Installing a Memory Board..................................................................................... 1-29
Chapter 2
Error Messages
Index
List of Figures
1-1 Parts of the memory board........................................................................................ 1-7
1-2 Memory board slots .................................................................................................. 1-8
1-3 Memory board LEDs and icons................................................................................ 1-9
1-4 Removing the memory board ................................................................................. 1-26
1-5 Removing a DIMM................................................................................................. 1-27
1-6 Installing and latching a DIMM.............................................................................. 1-28
1-7 Installing the memory board................................................................................... 1-30
List of Tables
1-1 Quick Start DIMM Installation Guidelines .............................................................. 1-4
1-2 Memory LED States on a Properly Configured Memory Board.............................. 1-6
1-3 Parts of the Memory Board....................................................................................... 1-7
1-4 Memory Board Slots................................................................................................. 1-8
1-5 Advanced ECC (Standard) Memory LEDs .............................................................. 1-9
1-6 Online Spare Memory LEDs .................................................................................. 1-10
1-7 Single-Board Mirrored Memory LEDs................................................................... 1-11
1-8 Hot-Plug Mirrored Memory LEDs ......................................................................... 1-11
1-9 Memory Board Icons.............................................................................................. 1-12
1-10 Memory LED States on a Properly Configured Memory Board............................ 1-31
2-1 POST Error Messages............................................................................................... 2-2
2-2 Other POST Messages.............................................................................................. 2-3
iv HP ProLiant ML500 Series Generation 2 Server Memory Installation Guide
This guide provides step-by-step installation instructions and reference information
for operation, troubleshooting, and future upgrades for the memory system in HP
ProLiant ML500 series generation 2 servers.
Audience Assumptions
This guide is for the person who installs, administers, and troubleshoots servers. HP
assumes you are qualified in the servicing of computer equipment and trained in
recognizing hazards in products with hazardous energy levels.
Important Safety Information
Before installing this product, read the Important Safety Information document
included with the server.
About This Guide
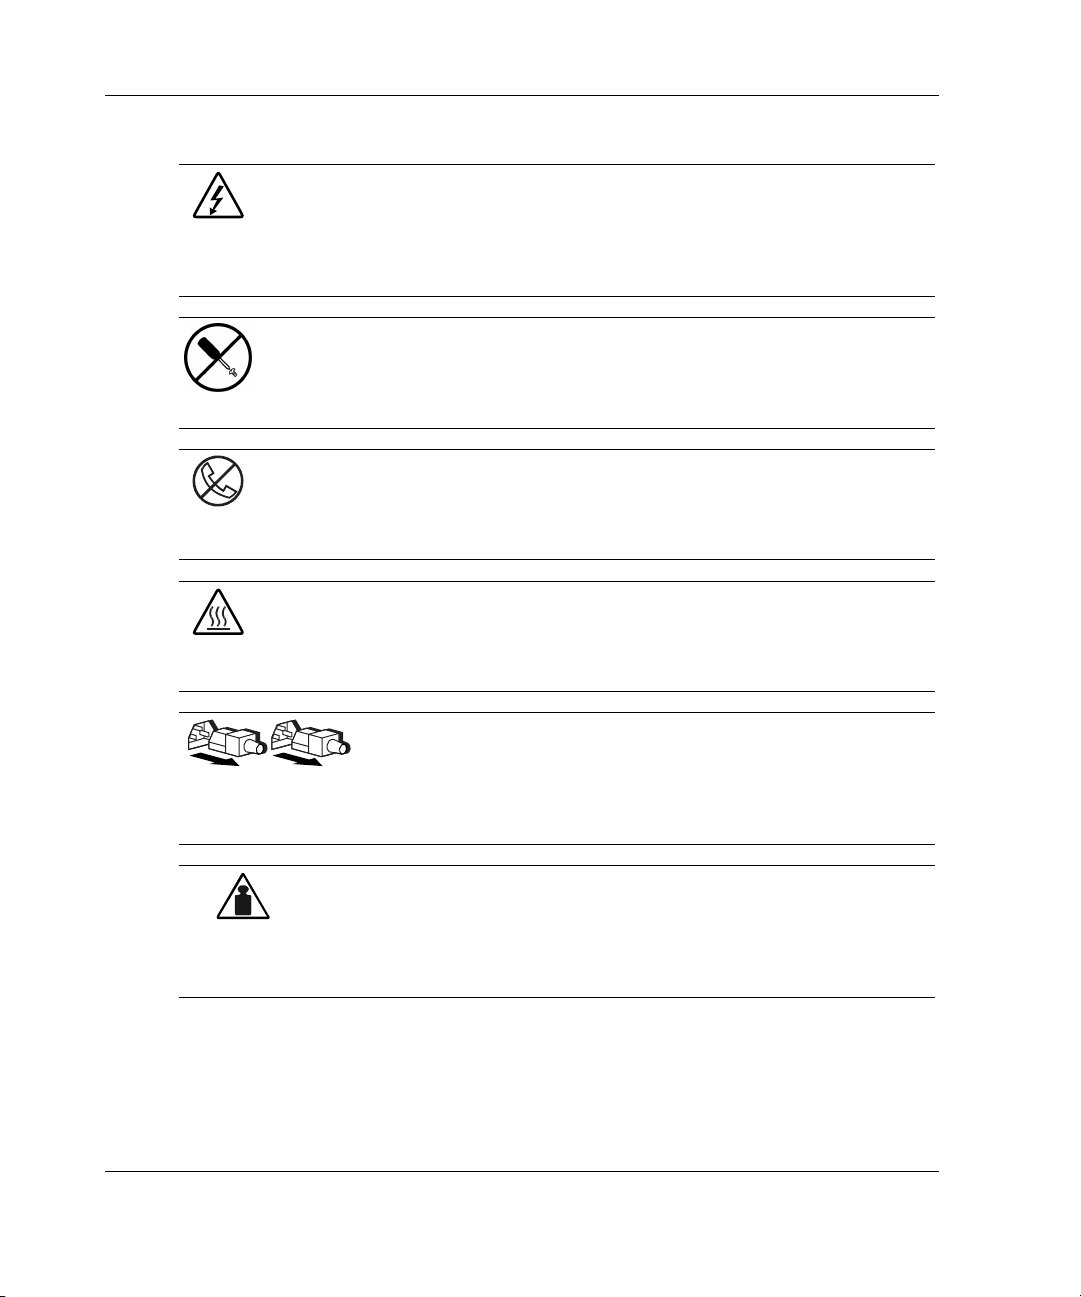
Symbols on Equipment
The following symbols may be placed on equipment to indicate the presence of
potentially hazardous conditions:
WARNING: This symbol, in conjunction with any of the following symbols,
indicates the presence of a potential hazard. The potential for injury exists if
warnings are not observed. Consult your documentation for specific details.
HP ProLiant ML500 Series Generation 2 Server Memory Installation Guide v
About This Guide
Weight in kg
Weight in lb
This symbol indicates the presence of hazardous energy circuits or electric
shock hazards. Refer all servicing to qualified personnel.
WARNING: To reduce the risk of injury from electric shock hazards, do not
open this enclosure. Refer all maintenance, upgrades, and servicing to
qualified personnel.
This symbol indicates the presence of electric shock hazards. The area
contains no user or field serviceable parts. Do not open for any reason.
WARNING: To reduce the risk of injury from electric shock hazards, do not
open this enclosure
This symbol on an RJ-45 receptacle indicates a network interface connection.
WARNING: To reduce the risk of electric shock, fire, or damage to the
equipment, do not plug telephone or telecommunications connectors into this
receptacle.
This symbol indicates the presence of a hot surface or hot component. If this
surface is contacted, the potential for injury exists.
WARNING: To reduce the risk of injury from a hot component, allow the
surface to cool before touching.
These symbols, on power supplies or systems, indicate that the
equipment is supplied by multiple sources of power.
WARNING: To reduce the risk of injury from electric shock,
remove all power cords to completely disconnect power from the
system.
This symbol indicates that the component exceeds the recommended
weight for one individual to handle safely.
WARNING: To reduce the risk of personal injury or damage to the
equipment, observe local occupational health and safety requirements
and guidelines for manual material handling.
vi HP ProLiant ML500 Series Generation 2 Server Memory Installation Guide
Rack Stability
WARNING: To reduce the risk of personal injury or damage to the equipment,
be sure that:
• The leveling jacks are extended to the floor.
• The full weight of the rack rests on the leveling jacks.
• The stabilizing feet are attached to the rack if it is a single-rack installation.
• The racks are coupled together in multiple-rack installations.
• Only one component is extended at a time. A rack may become unstable if
more than one component is extended for any reason.
Symbols in Text
These symbols may be found in the text of this guide. They have the following
meanings.
WARNING: Text set off in this manner indicates that failure to follow directions
in the warning could result in bodily harm or loss of life.
About This Guide
CAUTION: Text set off in this manner indicates that failure to follow directions could
result in damage to equipment or loss of information.
IMPORTANT: Text set off in this manner presents essential information to explain a concept
or complete a task.
NOTE: Text set off in this manner presents additional information to emphasize or supplement
important points of the main text.
HP ProLiant ML500 Series Generation 2 Server Memory Installation Guide vii

About This Guide
Related Documents
• The white paper on Advanced Memory Protection on the HP website:
www.compaq.com/products/servers/technology/memoryprotection.html
• The hardware installation and configuration poster that ships with your server
• The hardware installation and configuration labels located on the inside of the
access panel of your server
• The installation documentation that ship with option kits
• The Documentation CD, which includes the following resources:
— The setup and installation guide
— HP Servers Troubleshooting Guide
— ROM-Based Setup Utility Guide
— A link to the maintenance and service guide
— The Advanced Memory Protection multimedia demo
Getting Help
If you have a problem and have exhausted the information in this guide, you can get
further information and other help in the following locations.
Technical Support
In North America, call the HP Technical Support Phone Center at 1-800-652-6672.
This service is available 24 hours a day, 7 days a week. For continuous quality
improvement, calls may be recorded or monitored. Outside North America, call the
nearest HP Technical Support Phone Center. Telephone numbers for worldwide
Technical Support Centers are listed on the website,
Be sure to have the following information available before you call HP:
• Technical support registration number (if applicable)
• Product serial number
viii HP ProLiant ML500 Series Generation 2 Server Memory Installation Guide
www.hp.com.

• Product model name and number
• Applicable error messages
• Add-on boards or hardware
• Third-party hardware or software
• Operating system type and revision level
HP Website
The HP website has information on this product as well as the latest drivers and flash
ROM images. You can access the HP website at
Authorized Reseller
For the name of your nearest authorized reseller:
• In the United States, call 1-800-345-1518.
• In Canada, call 1-800-263-5868.
About This Guide
www.hp.com.
• Elsewhere, see the HP website for locations and telephone numbers.
Reader’s Comments
HP welcomes your comments on this guide. Please send your comments and
suggestions by e-mail to
HP ProLiant ML500 Series Generation 2 Server Memory Installation Guide ix
ServerDocumentation@hp.com.

Memory
This guide explains the procedures associated with the memory system in the
ProLiant ML500 series Generation 2 server. The topics include:
• Memory quick start guidelines
• Memory boards
— Parts of the memory board
— Memory board slot locations
— Memory board LEDs
• Advanced ECC (standard) memory technology
• Advanced Memory Protection options
— Online spare memory technology
— Single-board mirrored memory technology
1
— Hot-plug mirrored memory technology
• Software
• Configuring the memory
• Installation, removal, and replacement procedures
HP ProLiant ML500 Series Generation 2 Server Memory Installation Guide 1-1

Memory
For more information specific to Advanced Memory Protection, refer to the
following resources:
• The white paper on Advanced Memory Protection on the website:
www.compaq.com/products/servers/technology/memoryprotection.html
• The Advanced Memory Protection multimedia on the Documentation CD
• The installation documentation that ships with option kits
• The hardware installation and configuration poster that ships with the server
• The hardware installation and configuration labels located on the inside of the
access panel of the server
For more information on configuring the memory through the ROM-Based Setup
Utility (RBSU), refer to the ROM-Based Setup Utility Guide on the Documentation
CD.
1-2 HP ProLiant ML500 Series Generation 2 Server Memory Installation Guide

Memory Quick Start Guidelines
This section gives a brief overview of memory in the ProLiant ML500 series
Generation 2 servers, including:
• Quick start DIMM installation
• Quick start memory configuration
• Quick start LED information
More detailed information about each of these items can be found in following
sections in this chapter.
Quick Start DIMM Installation
Always observe the following guidelines when installing DIMMs:
• Use only industry-standard PC1600 registered DDR SDRAM DIMMs.
• Install DIMMs in pairs.
Memory
• Be sure that both DIMMs in a bank are of the same capacity.
• Be sure that bank A is populated.
HP ProLiant ML500 Series Generation 2 Server Memory Installation Guide 1-3
Memory
Use the following Table 1-1 as a quick reference for DIMM installation guidelines
specific to your desired memory configuration.
Table 1-1: Quick Start DIMM Installation Guidelines
Advanced ECC
(Standard) Memory
One or two memory
boards can be
installed.
A memory board
may be installed in
either slot.
This configuration has
DIMMs in the online
Bank D on memory
Bank D of memory
Online Spare Memory Single-Board
Mirrored Memory
One or two memory
boards can be
installed.
Memory board slot 1
must be populated.
no hot-plug
capabilities.
spare bank must be of
equal or greater
capacity than DIMMs in
each remaining bank.
board 1 must always
be populated.
board 1* is the online
spare bank, even if two
boards are installed.
Install only one
memory board.
Memory board slot 1
must be populated.
This configuration has
no hot-plug
capabilities.
DIMMs in the mirrored
banks must be
configured identically
to the banks they are
mirroring.
Banks A and C must
always be populated.
Bank C mirrors
bank A.
Bank D mirrors
bank B.
Hot-Plug Mirrored
Memory
Two memory boards
are required.
Both memory board
slots must be
populated.
“Ready to Hot Plug”
LED indicates when
memory board can be
hot-plugged.
Both memory boards
must be configured
identically.
* Memory board slot 1 is the memory board slot closest to the PCI-X slots.
1-4 HP ProLiant ML500 Series Generation 2 Server Memory Installation Guide

Quick Start Memory Configuration
If you plan to use online spare memory, single-board mirrored memory, or hot-plug
mirrored memory, you must configure your desired memory mode through RBSU.
HP also recommends testing new DIMMs. To test DIMMs and configure memory:
1. Power on the server.
2. Press the F9 key to enter RBSU.
3. Select Advanced Options.
4. Change POST Speed Up to disable.
5. Press any key to return to the RBSU main menu.
6. Select System Options.
7. Select Advanced Memory Protection.
8. Select the desired memory mode.
9. Press the ESC key twice to go back to the main RBSU menu.
Memory
10. Press the F10 key to exit RBSU. The server reboots and tests all memory in the
system.
11. Once the memory has been tested, re-enable POST Speed Up for faster system
boot, if desired.
IMPORTANT: To reconfigure the memory mode after initial setup, you must reboot the
system and enter RBSU.
HP ProLiant ML500 Series Generation 2 Server Memory Installation Guide 1-5
 Loading...