

Page 1
Nillo 100
Quick Start Guide
Page 2
!
Welcome
The Nillo 100 is the world’s first truly-intelligent, Androidpowered document camera that allows you to:
• Record lessons and view documents in full-motion HD
• Stream and upload lessons instantly to the cloud
• Connect wirelessly to Chromebook, iPad, Android
tablet, PC and Mac
• And more!
What’s in the box:
1. Nillo 100 Document Camera
2. DC Power Adapter
3. Wired Mouse
4. USB Cable
5. HDMI Cable
6. Document Positioning Mat
7. Warranty Registration Card
Page 3
!
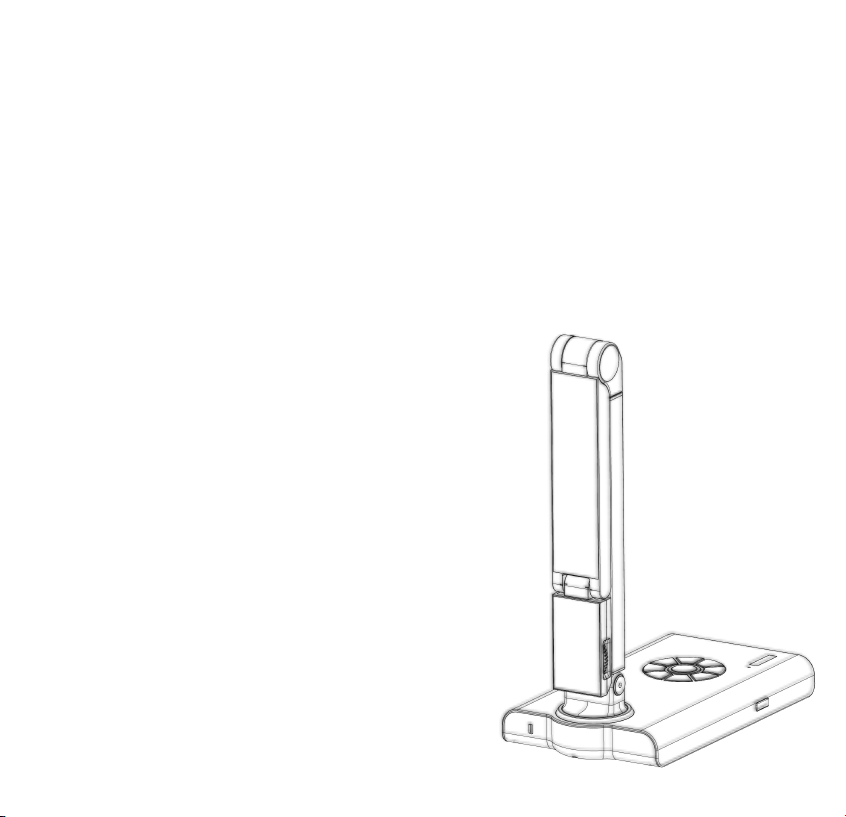
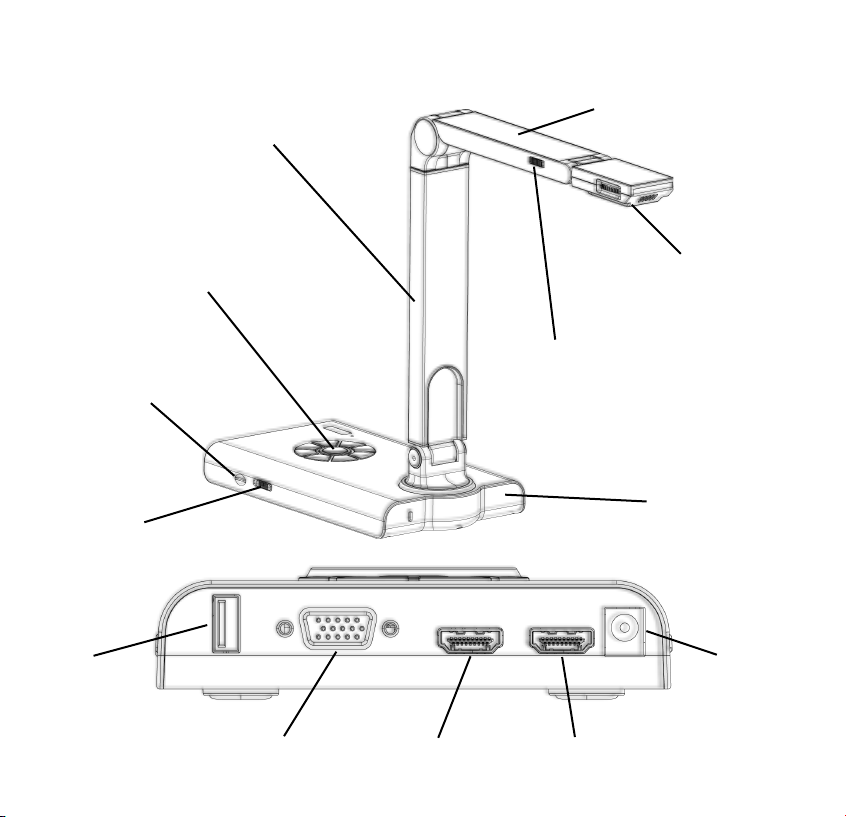
Getting to know the Nillo 100
Camera
Sensor
Post
Arm
LED Switch
Base
Camera
Controls
Mirco-SD
HDMI
Switcher
USB
VGA
HDMI-Out
HDMI-In
DC-In
Page 4
!
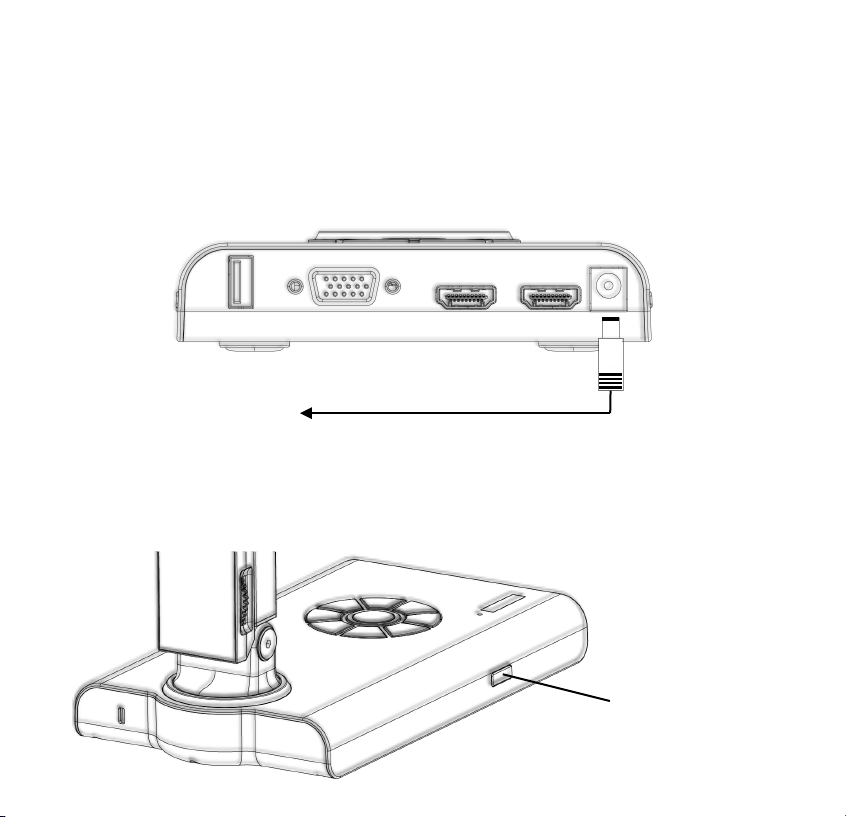
1. Powering On
to power outlet
power button
To power on the Nillo 100, first plug the included DC
power adapter into an available power outlet, and plug
the the cord into the Nillo’s DC power in.
Next, press and hold the power button for five seconds.
Boot-up time is approximately 60 seconds.
Page 5

!
2. Connecting to a Display
To connect your Nillo 100 unit with HDMI, simply
insert an HDMI cable to the HDMI-Out port on your
Nillo 100 and the display you wish to use. Make sure
the HDMI Switch is set to “OUT”
You can also connect your Nillo 100 to a VGA
projector, via the VGA port shown below:
(For wireless connectivity, skip to step 7)
Page 6

!
3. Navigating the Nillo 100
The Nillo 100 can be operated with a wired USB mouse
(included), a bluetooth mouse, or a USB Touch-enabled
display. Simply insert your wired mouse, wireless dongle,
or touch USB cable into the USB port to navigate your
device.
Bluetooth
Mouse
Wired
Mouse
Interactive
Display
Page 7

!
4. Operating the Software
*Before operating the Nillo 100, make sure you have the most up-to-date software (Step 7)*
The main document camera application provides access to
the Nillo 100’s camera features and controls:
Media
Library
Captures a
Still Image
Magnifies
View
Records
a Video
Freezes
Current View
Rotation &
Mirroring
Focus
Controls
Settings
Menu
Home
Screen
Camera!
Preferences
Lesson Recording
Annotation Wheel
Control Dock
Page 8
!
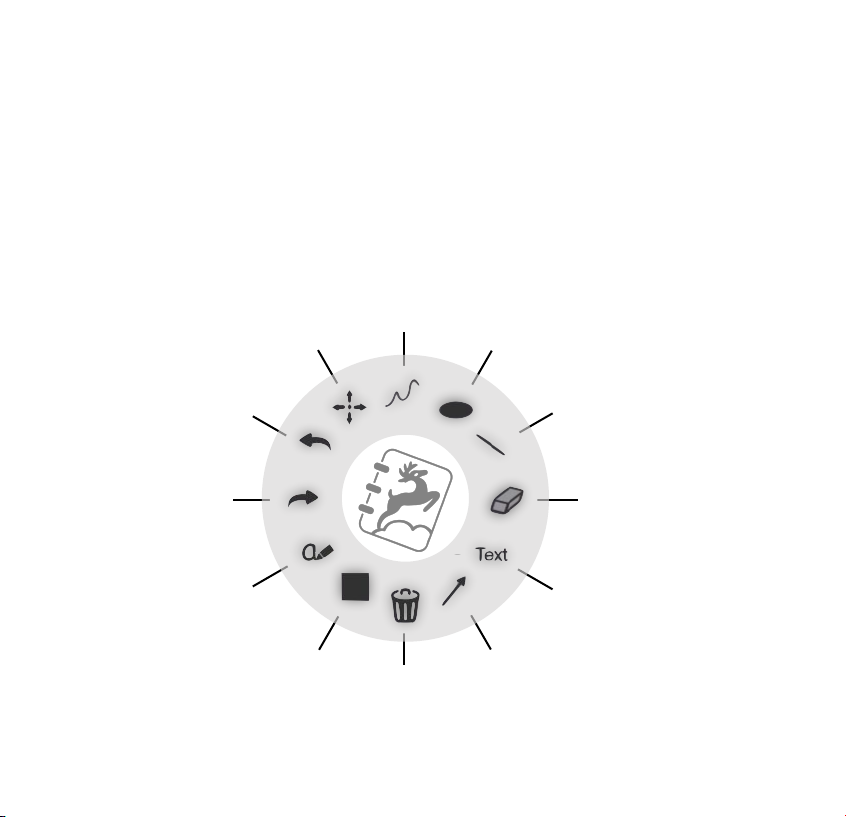
5. Annotating
undo
last action
select and
move objects
creates
freehand
lines
creates
ovals
creates
straight lines
erases a
specific area
creates an editable
textbook
creates an
arrow
clears all
annotations
creates a
rectangle
Smart
To o l *
redo
previous
action
The software also includes a pull-out Annotation Wheel
(located on the right side of the screen) with the several
functions. To adjust color, thickness and transparency of
annotations, simply double click on the function’s icon.
*The Smart Tool automatically recognizes hand-drawn text, numbers, and objects, and
digitizes them into interactive functions.
Page 9

!
6. Controlling Camera Functions
Autofocus
continuous autofocus
Screenshot
of the entire screen
Record
starts/stops video
and audio recording
Zoom-In
on the current image
Zoom-Out
of the current image
Freeze
current onscreen image
Rotate
the image 90 degrees
Focus Lock
disables autofocus
Snapshot
of the current camera view
For added convenience, the following camera controls
can also be accessed via the control wheel located on
the base of the Nillo 100:
Page 10

!
7. Wireless Connectivity
To use the Nillo’s wireless capabilities, you’ll first need
to connect to a WiFi network. Find WiFi Settings
under the “Settings” tab located on the control dock,
select the appropriate network, and enter the
necessary security information.
Once you have successfully
connected to WiFi, be sure
you update your Nillo 100
to the latest software by
selecting Update App*
To use the Lesson Recording
feature to upload lessons to
the cloud, you’ll first need to
login to your KnoteSter account. Select the User
menu item to enter your KnoteSter email address and
password, or create un account by selecting “register”
*You may have to update more than once for the latest document camera software
Page 11

!
8. Screen Sharing and Wireless Control
The Nillo 100 features DashTop, an application that allows
uses to remotely view, annotate, and control the Nillo 100’s
document camera application from a mobile device
application or a computer’s internet browser.
To get started, first make sure both
the Nillo 100 and screen sharing
device are on the same wireless
network. (see Step 7)
Next, select the Screen Sharing
option from the “Settings” tab
located on the control dock.
Once the Screen Sharing menu comes up, use the slider to
turn-on Screen Sharing, and take note of the Device IP.
ON
Screen Sharing
Device IP: 192.168.1.20
Page 12

"
"
9. Screen Sharing and Wireless Control
(Cont.)
To wirelessly connect with a computer, open your internet
browser and access dashtop.knotester.com and enter the
Device IP. To wirelessly connect with a mobile device,
download the DashTop app from the iOS or Google Play app
stores and enter the Device IP.
DashTop
Devices
Please enter the Device IP
address which is displayed
on your HoverCam Nillo
100, or you can select a
previous device.
Device IP
dashtop.knotester.com
Internet
Browser
Need assistance? Visit our website at www.thehovercam.com
the complete Nillo 100 user manual, or contact us:
support@thehovercam.com / (866)-201-2056
HoverCam Technical Support
 Loading...