

Hougen HMD505, HMD501 Operator's Manual
HMD505
PORTABLE MAGNETIC DRILL
OPERATOR’S MANUAL
FOR USE WITH “12,000-SERIES” ROTABROACH® CUTTERS
HOUGEN
®
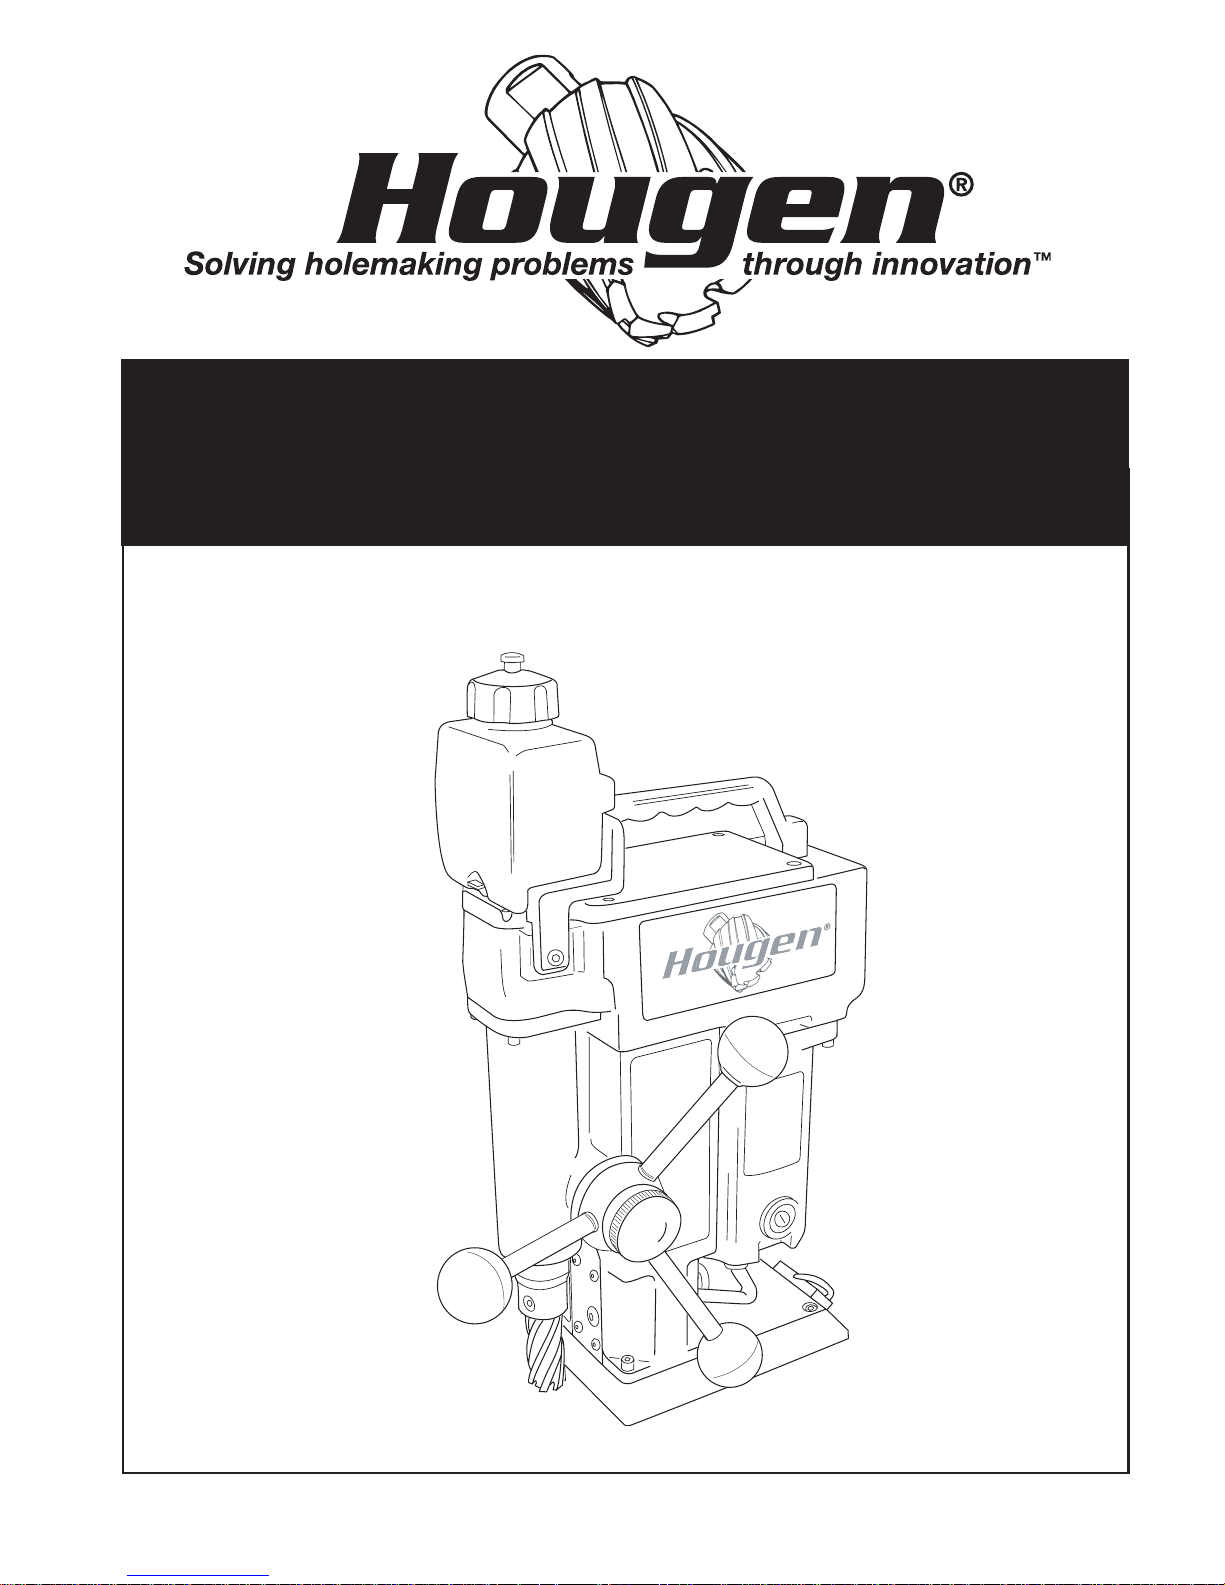
Portable Magnetic Drill
Model HMD505
Welcome to Hougen
Congratulations on your purchase of the Hougen® Portable Magnetic Drill
Model HMD505. Your model is designed to produce superior holes quickly
and efficiently. Through constant innovation and development, Hougen is
committed to provide you with hole-producing tools and products to help you
be more productive.
Before attempting to operate your new Portable Magnetic Drill, please read all
instructions first. These include the Operator's Manual and Warning Label on
the unit itself. With proper use, care, and maintenance, your model will
provide you with years of effective hole drilling performance. Once again,
thank you for selecting our product and welcome to Hougen.
INDEX
Important Safety Instructions 3-4
Unpacking Drill/Safety Switch Adjustment / Use of Safety Chain 5
Cutter Installation 5
Installation of Cutting Fluid Bottle 5
Operation of Cutting Fluid Bottle 6
Operating Instructions 6
Magnet Operation, Maintenance 6
Safety Switch Adjustment, Hints for Smoother Operation 7
Arbor Assembly, Motor Assy., Optional Pressurized Coolant 8
Panel Layout 9
Panel Hookup Diagram 10
Exploded View 11
Drill Parts List 12-13
“12,000-Series” Rotabroach Cutters 14
Commercial / Industrial Limited Warranty 15
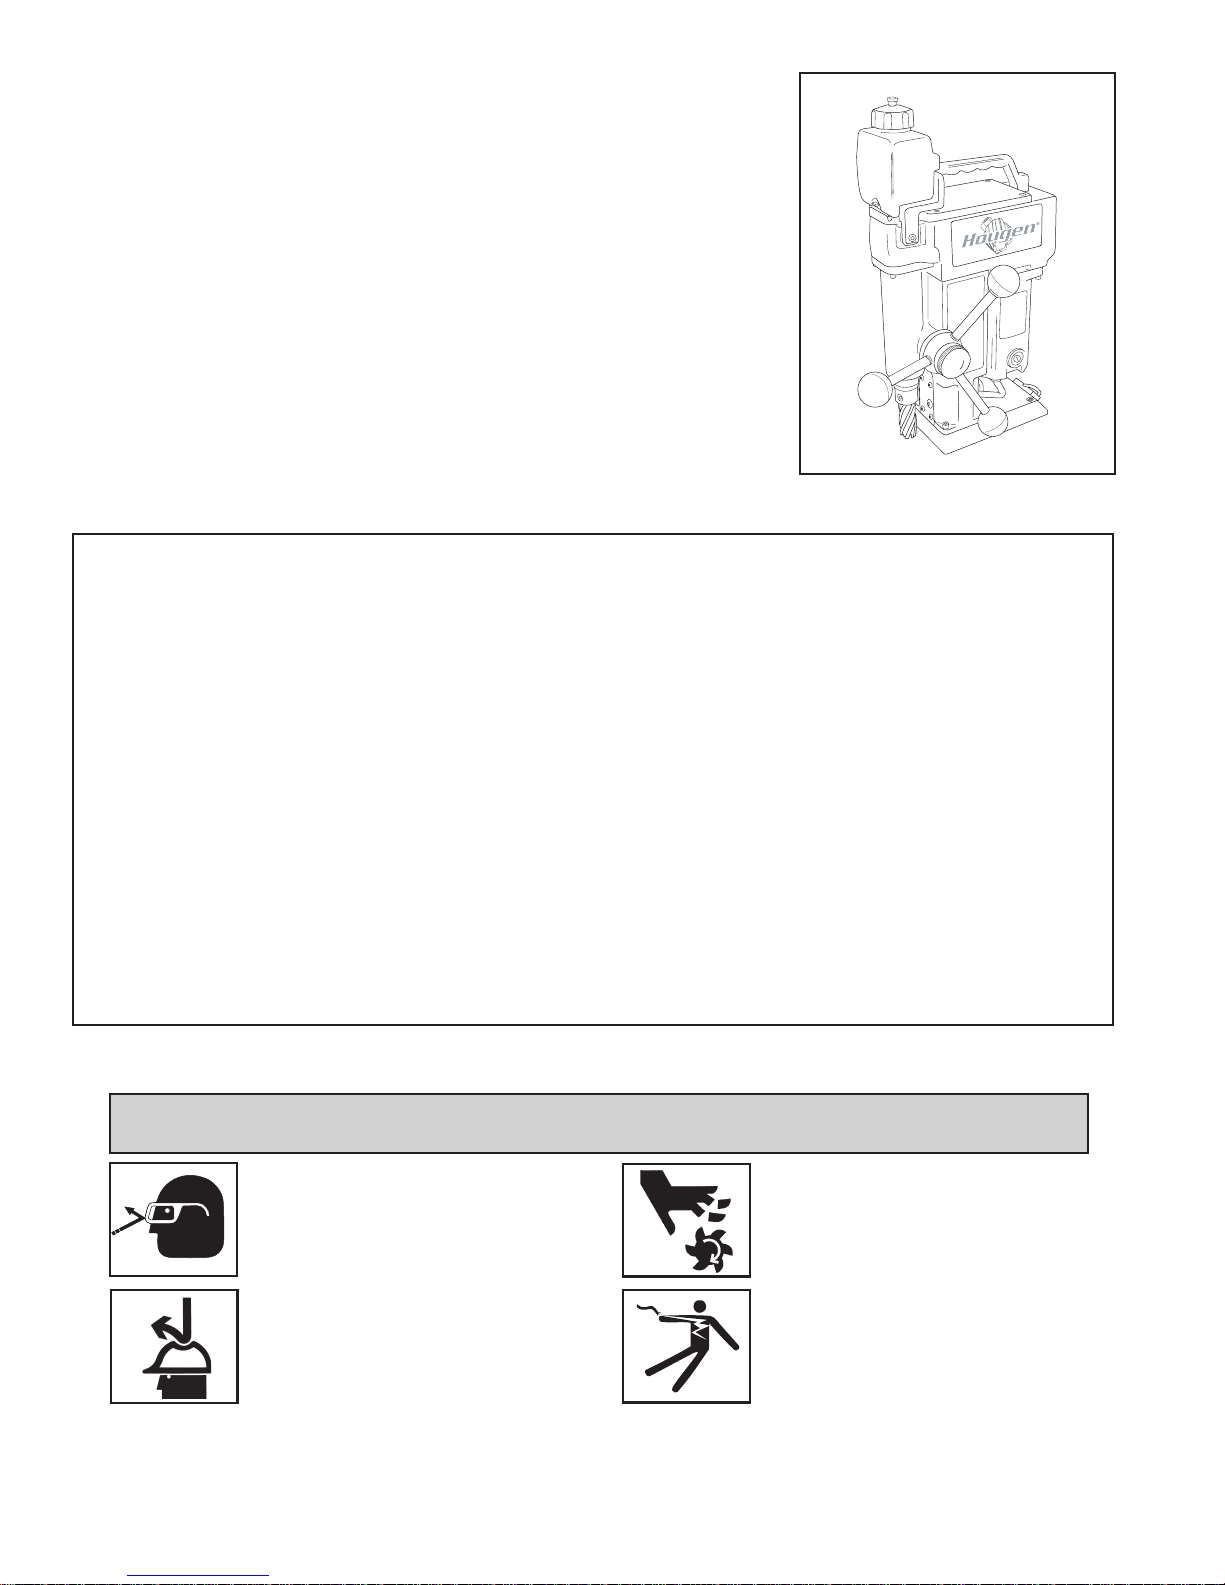
SAFETY FIRST
Always wear eye protection while
using cutting tools, or in the
vicinity of cutting.
CAUTION! The slug is ejected at
the end of the cut. Do not aim
cutter or arbor so that ejected
slug may hit someone around, or
below you.
CAUTION! Cutters are sharp.
Wear gloves when installing or
removing cutter from arbor. Do
not grab a rotating cutter.
CAUTION! To prevent electric
shock, do not use power tools
near wet areas, or where power
tool may become wet.
2
IMPORTANT SAFETY INSTRUCTIONS
WARNING: When using electric tools, basic safety precautions should always be followed
to reduce the risk of fire, electric shock, and personal injury, including the following:
1. Read All Instructions
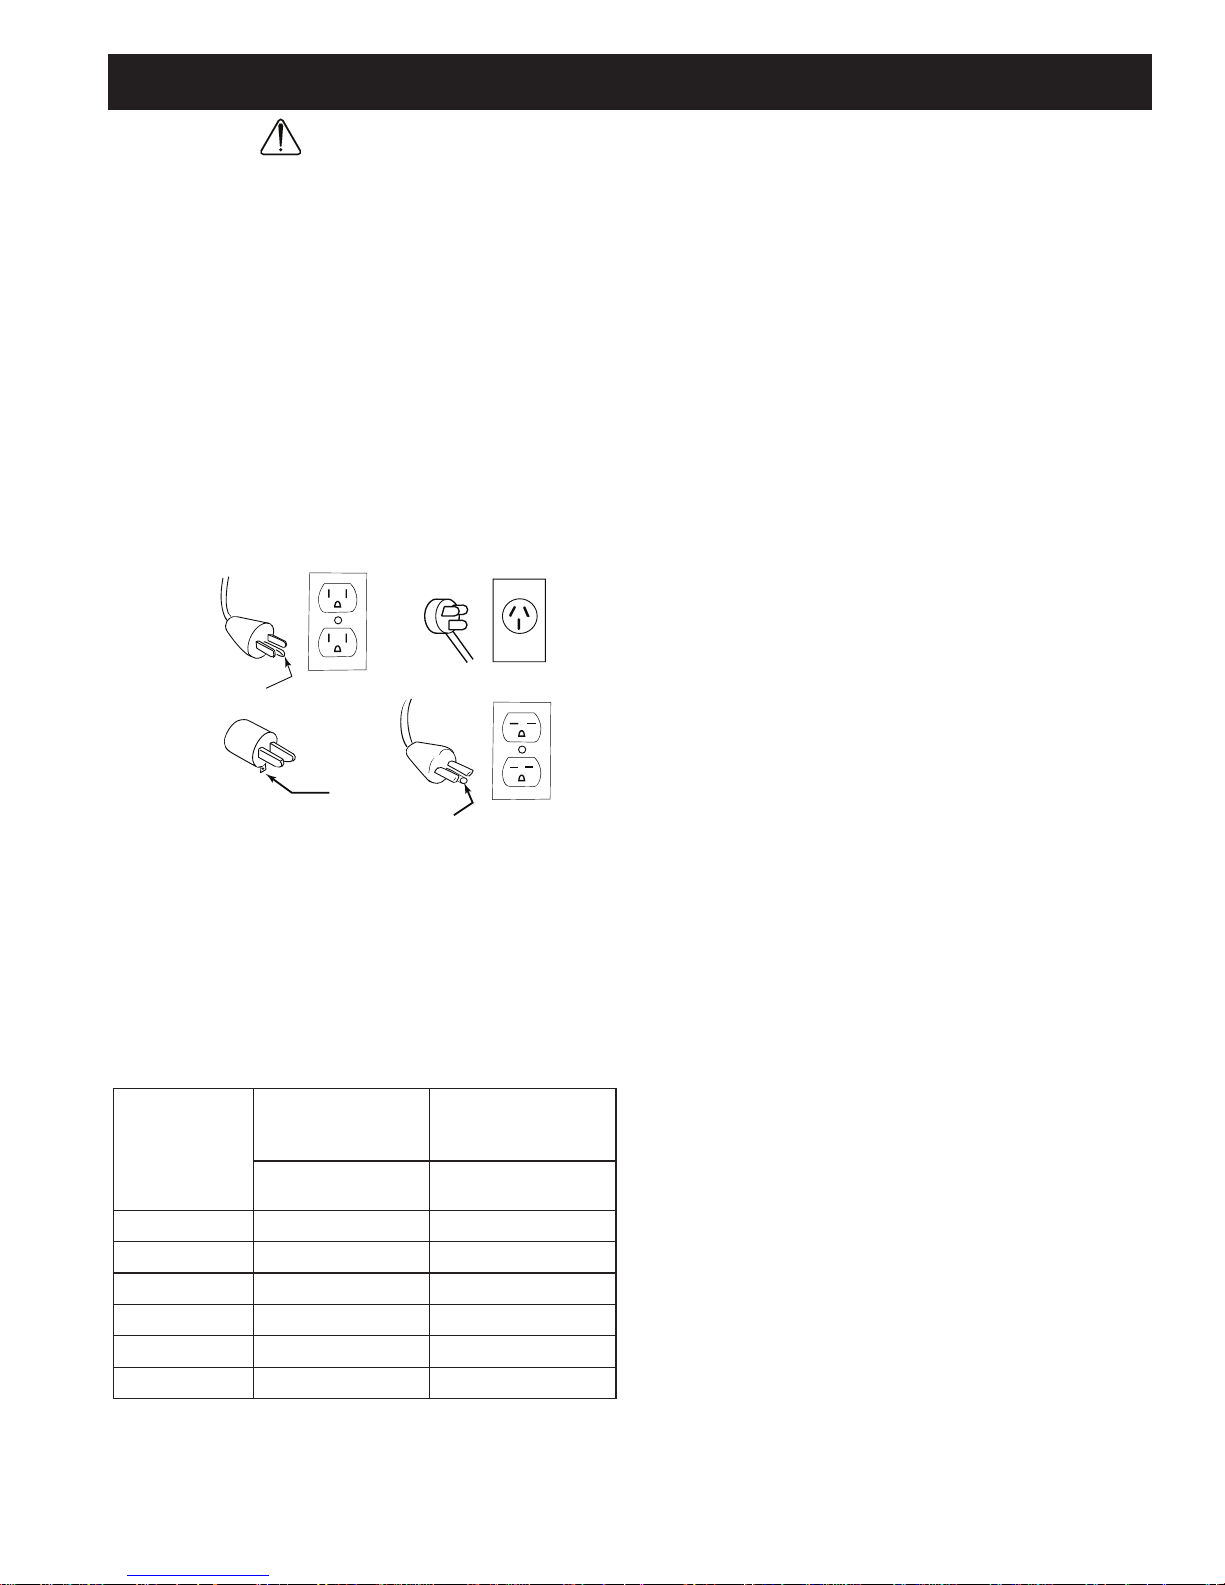
2. Grounding Instructions
This tool should be grounded while in use to protect the
operator from electric shock. The tool is equipped
with a 3-conductor cord and a 3-prong grounding type
plug to fit the proper grounding type receptacle. The
green (or green and yellow) conductor in the cord is the
grounding wire. Never connect the green (or green and
yellow) wire to a live terminal. If your unit is for use on
115V, it has a plug that looks like that shown in sketch
(A). If it is for use on 230V, it has a plug that looks like
that shown in sketch (B). An adapter, see sketch
and (C), is available for connecting sketch (A) type
plugs to 2-prong receptacles. The green-colored rigid
ear, lug, or the like, extending from the adapter must be
connected to a permanent ground, such as a properly
grounded outlet box. No adapter is available for a plug
as shown in sketch (D).
Grounding Pin
(C)
(A)
Grounding
Means
Grounding Pin
(B)
(D)
3. Extension Cords
Use only 3-wire extension cords that have 3-prong
grounding type plugs and 3-pole receptacles that accept
the tool's plug. Replace or repair damaged cords.
Make sure the conductor size is large enough to prevent
excessive voltage drop which will cause loss of power
and possible motor damage. See Table below.
dednemmoceR
,droCfohtgneL
teeF
52otpU6181
05-624181
001-150161
002-101841
003-102621
005-103401
eguaGeriW
rotoMV511
spmA41-01
4. Do Not Force Tool
It will do the job better and faster at the rate for which it
was intended.
5. Keep Work Area Clean
Cluttered areas and benches invite injuries. Keep dirt
and chips from under magnet and Hougen Cutter
area.
6. Consider Work Area Environment
Do not expose tool to rain.
Do not use tool in damp or wet locations.
Keep work area well lit.
Do not use tool in presence of flammable liquids or
gases.
7. Guard Against Electric Shock
Prevent body contact with grounded surfaces. For
example: pipes, radiators, ranges, refrigerator
enclosures.
8. Keep Children Away
Do not let visitors contact tool. All visitors should be
kept away from work area.
9. Store Idle Tools
When not in use, tools should be stored in a dry, and
high or locked-up place — out of reach of children.
10. Use Right Tool
Do not force small tool or attachment to do the job of a
heavy duty tool. Do not use tool for purpose not
intended — for example — do not use a circular saw for
cutting tree limbs or logs.
11. Non-Conforming Cutting Tools
Your Magnetic Drill is designed to use Hougen
Cutters. The use of drilling tools havingdifferent shank
styles is not recommended as they may not tighten
securely in the drill arbor with risk of accident or injury.
12. Secure Work
Use clamps or a vise to hold work. It is safer than using
your hand and it frees both hands to operate tool.
13. Always Wear Safety Glasses or Goggles
14. Dress Properly
Do not wear loose clothing or jewelry. They might
entangle with spinning chips or get caught in moving
parts. Rubber gloves and nonskid footwear are
recommended when working outdoors. Wear sturdy
leather gloves when working indoors.
dednemmoceR
eguaGeriW
Wear protective hair covering to contain long hair.
15. Do Not Abuse Cord
Never carry drill unit by its cord or yank it to discon-
rotoMV032
spmA7-4
nect from receptacle.
Keep cord away from heat, oil, and sharp edges.
16. Do Not Overreach
Keep proper footing and balance at all time.
17. Maintain Tools With Care
Keep tools sharp and clean for better and safer
performance.
Do not use dull or broken Hougen Cutters.
Follow instructions for lubricating and changing
accessories.
Keep handles dry, clean, and free from oil and
grease.
3
IMPORTANT SAFETY INSTRUCTIONS - CONTINUED
Continued...
Inspect tool cords periodically and, if damaged,
have repaired by authorized service facility.
Inspect extension cords periodically and, if damaged,
have repaired by authorized service facility.
18. Disconnect Tools
Disconnect when not in use, before servicing, and when
changing Hougen Cutters or accessories.
19. Remove Adjusting Keys and Wrenches
Form a habit of checking to see that keys and
wrenches are removed from tool before turning it on.
20. Check Damaged Parts
Before further use of the drill, a part that is damaged
should be carefully checked to determine that it will
operate properly and perform its intended function.
Check for alignment of moving parts, binding of
moving parts, breakage of parts, mounting, and any
other conditions that may affect its operation. A part
that is damaged should be properly repaired or replaced
by an authorized service center unless otherwise
indicated elsewhere in this operator manual. Do not
operate tool if switch does not turn it on and off.
21. Stay Alert
Watch what you are doing.
Use common sense.
Do not operate tool when you are tired.
Have defective switches replaced by authorized service
center.
22. Outdoor Use Extension Cords
When tool is used outdoors, use only extension
cords intended for use outdoors and so marked.
23. Additional Safety Precautions
Spindle and cutter should never be used as a handhold.
Keep hands and clothing away from all moving parts.
Do not use Hougen Cutters where ejected slug
might cause injury (slug ejected at end of cut).
Be sure that all safety devices are properly adjusted
and in use. Also, adhere to all operating
instructions.
Do not drill through any surface that may contain live
electrical wiring. Drilling into a live wire could cause
exposed metal parts of the drill to be made live.
Remove chips wrapped around Hougen Cutter
and arbor after each hole. With motor off and
power disconnected, grasp chips with leather gloved
hand or pliers and pull while rotating counterclockwise.
Should the cutter become jammed in the work, stop
the unit immediately to prevent personal injury.
Disconnect the drill from the power supply and loosen
jammed cutter by turning the arbor counterclockwise.
Never attempt to free the jammed cutter by starting the
motor.
Service at authorized repair center only.
24. Operating Near Welding Equipment
It is NOT recommended that you use this tool on the
same work surface as an arc welder. This can cause
severe damage to the unit, particularly the power cord.
This could also result in personal injury to the operator.
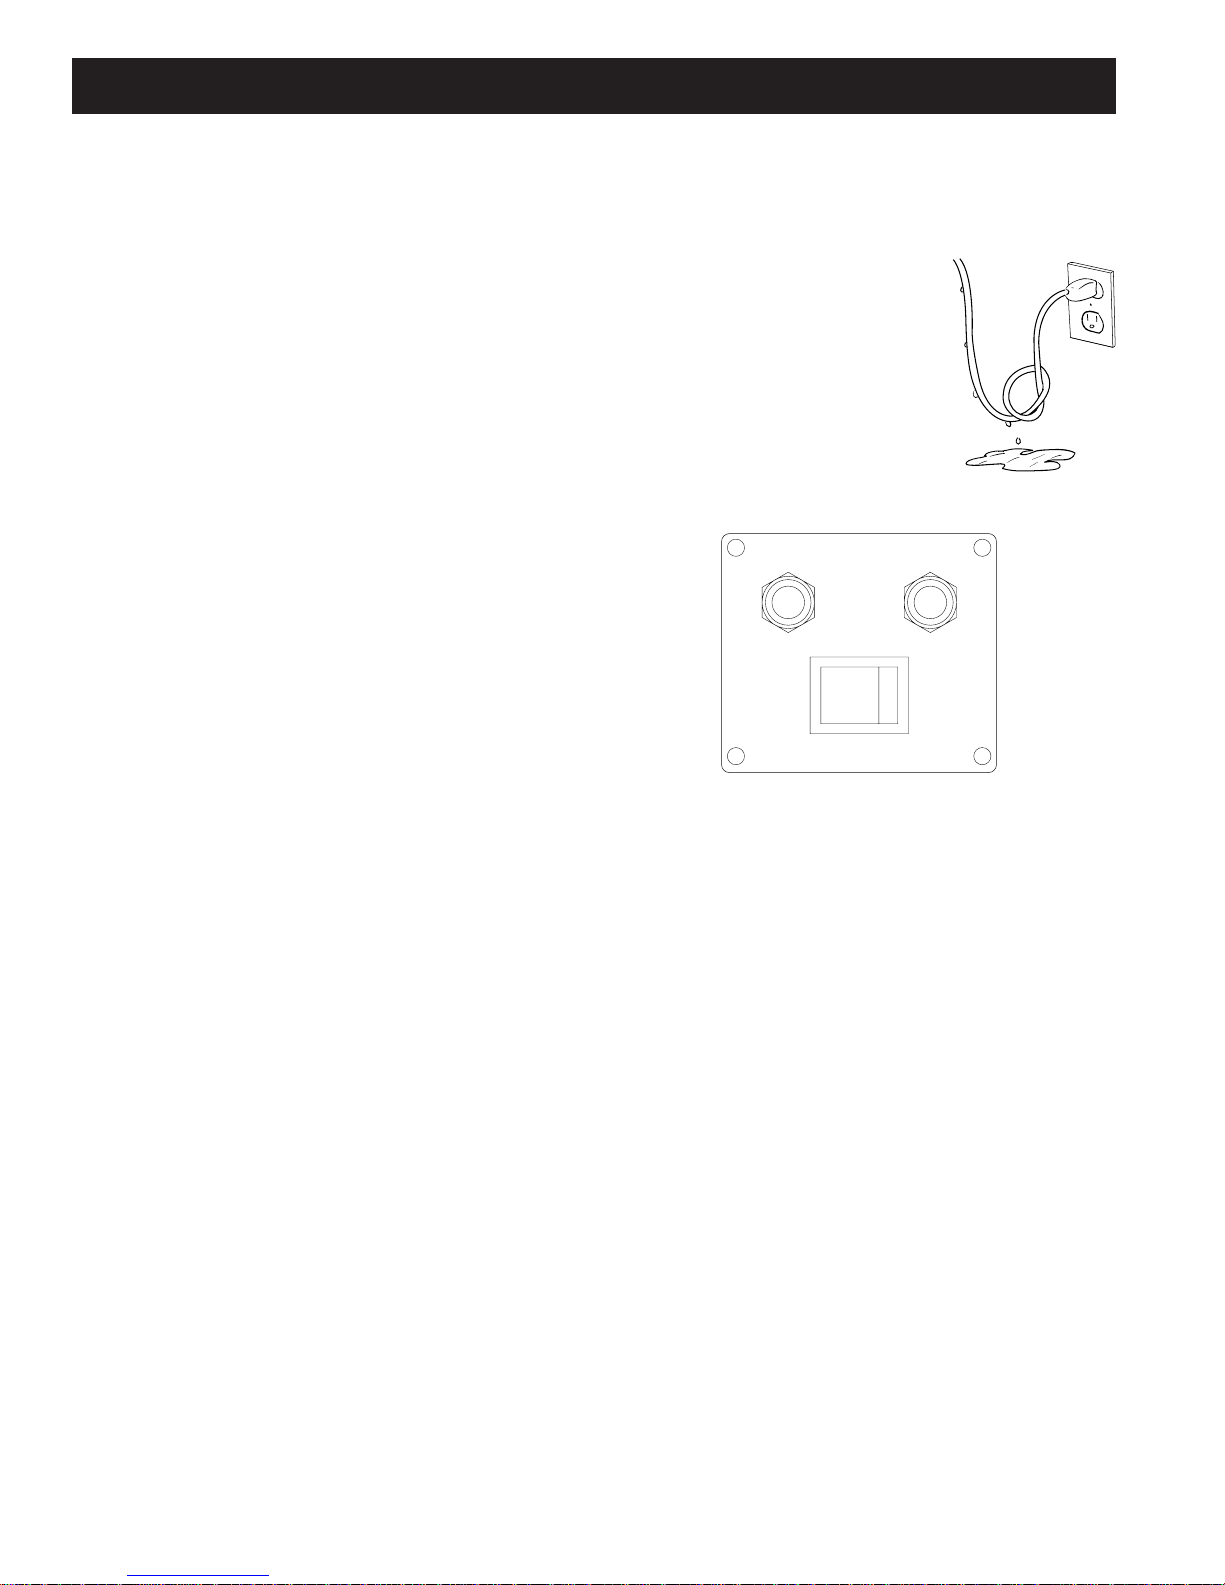
25. Safe Electrical Connection
Wet electrical connections are shock hazards. To prevent
the cutting fluid from traveling along the cord and contact
ing the plug or power outlet, tie a drip loop as shown at
below. Also elevate extension cords or gang box
connections.
26. Save These Instructions
BEFORE INSTALLING CUTTER
OFF
MOTOR
O
F
F
MAGNET
IMPORTANT: Before turning on the machine, it is imperative that the operator understands the interrelated functions of the SAFETY SWITCH, GLIDE POSTS,
MAGNET SWITCHES, AND MOTOR SWITCHES.
1. Place Magnetic Drill on clean, flat steel plate that is at
least 3/8" thick.
2. Plug unit into proper AC power source. DO NOT use with
DC power.
3. Locate the Magnet ON / OFF switch and the MOTOR
ON and OFF switches as shown below.
MOTOR ON SWITCH — Starts the motor (will not function
unless the magnetic base is energized and the safety switch
is activated).
MOTOR OFF SWITCH — Deactivates motor. Magnetic base
remains energized and safety switch activated.
MAGNET ON / OFF-- Energizes - De-energizes the magnetic
base. Magnet must be ON to activate the motor.
SAFETY SWITCH — Located in base of drill. Enables motor
operation only when magnet is properly seated on a clean
and flat work surface. Turns motor off if drill unit
should lift or shift while cutting (Fig. 6).
GLIDE POSTS — Lifts magnet and breaks residual magnetic
energy after magnet is turned off. It also acts as a glide point
when drill is being moved from one position to another on the
work surface, thus minimizing wear on magnet. It also
permits easier repositioning and protects the safety switch.
4
ON
O
N
UNPACKING YOUR NEW MAGNETIC DRILL
1. Open shipping carton and lay the drill case on it’s side.
2. Open the case lid and remove the hardware and literature
packets.
3. Read and Follow All Instructions before
attempting to operate your new Magnetic Drill.
4. Complete and mail the Product Registration Card now. It
is important that Hougen Manufacturing, Inc. have a
record of product ownership.
5. Included with your new Mag Drill are the following parts:
24011 Hub Assembly
01447 Feed Handles (3)
10570 Feed Handle Knobs (3)
10730 Safety Chain
11741 Concentrated Cutting Fluid (Pint)
24166 Hex-Key “T” Handle 7/32”
10727 Allen Wrench 3/16”
13013 Allen Wrench 5/32”
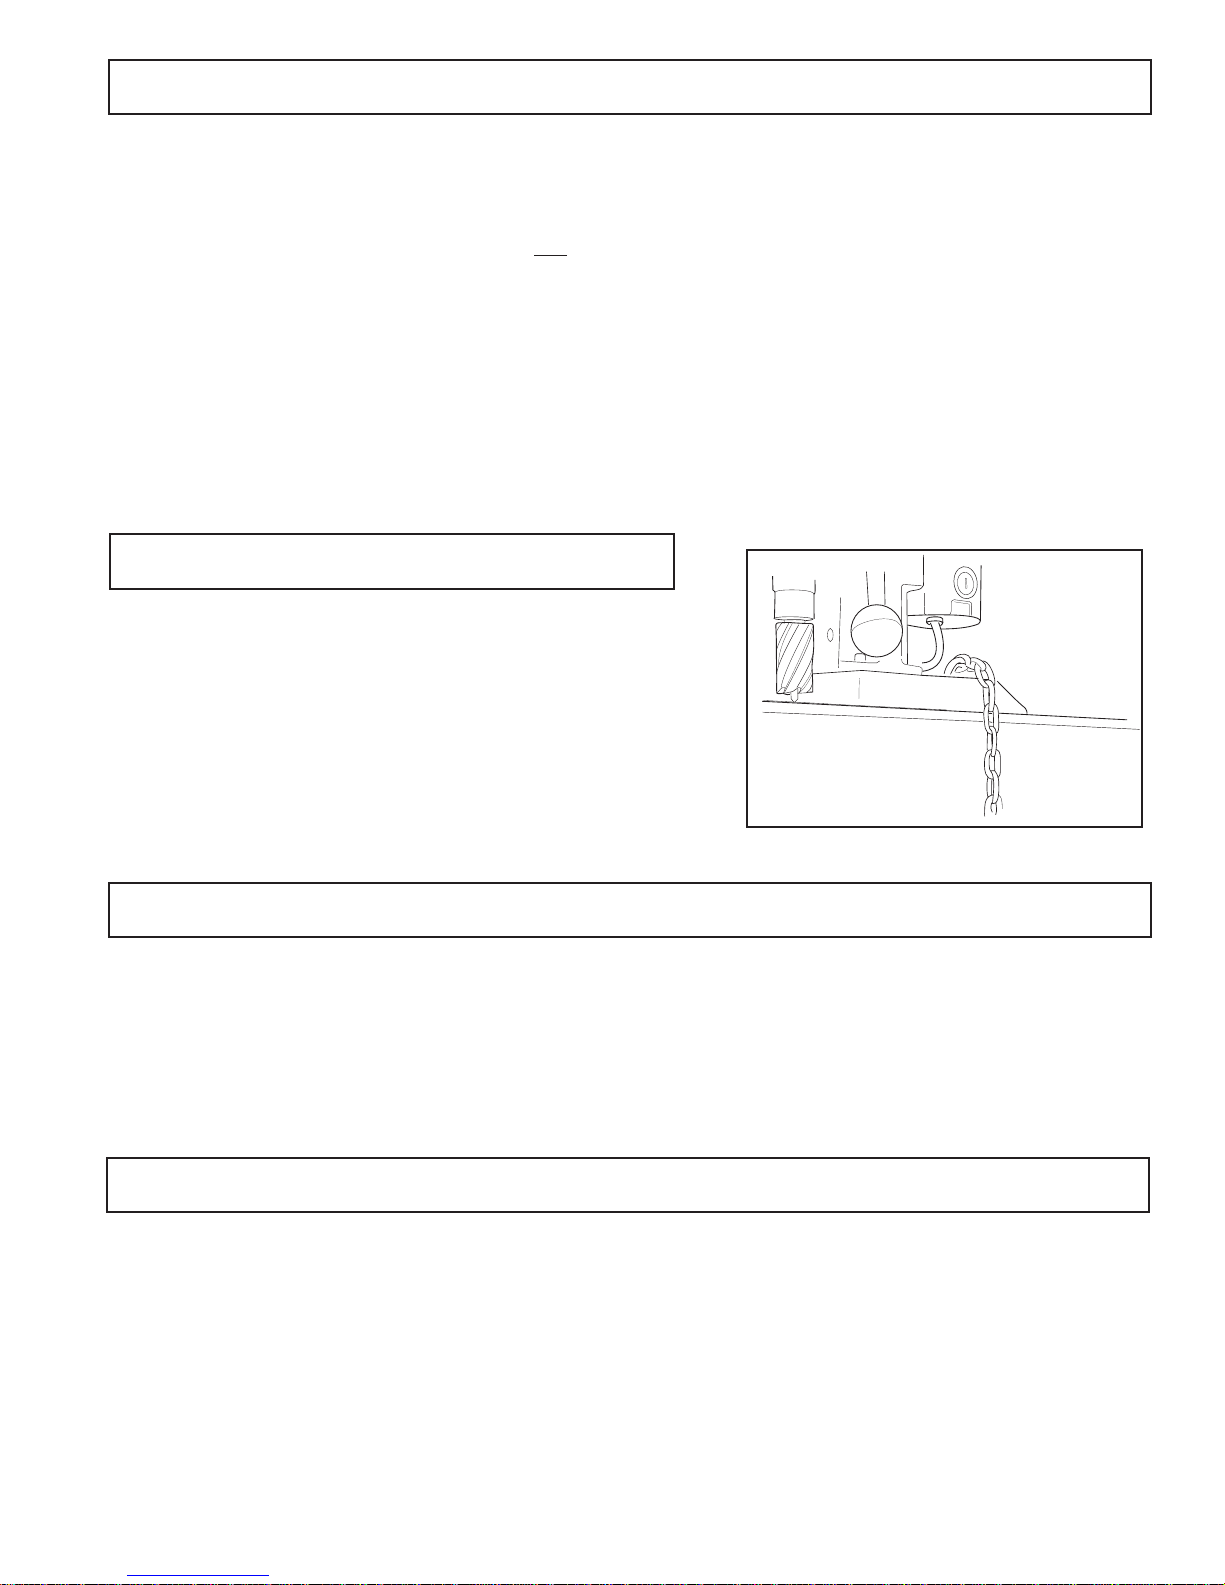
USE OF SAFETY CHAIN
The safety chain should be used to prevent the drill unit from
falling in the event of a power failure or if the magnet breaks
loose from the work surface. The safety chain should be
attached to the drill by running it through the “D” ring located
at the rear of the magnet, and tightly secured.
6. Using the handle of Magnetic Drill, lift unit out of the
shipping case.
7. Remove all packing and securing material from the drill
unit.
8. Your Magnetic Drill was factory adjusted prior to shipping.
Check to make sure that all fasteners are snug and have
not vibrated loose in transit.
9. Your new Magnetic Drill comes complete with an internal
quill/arbor assembly. The 3/4" diameter arbor bore fits
all 3/4"- shank "12,000-Series" Hougen Cutters.
Reread Safety Warnings listed in the Operator's Manual
and on the drill unit to avoid injury. Follow operating
procedures.
HOUGEN CUTTER INSTALLATION
1. Disconnect from power source.
2. Lay drill on its side with feed handles up or be sure Arbor
clears table if unit is in normal operating position.
3. Remove set screws from spindle.
4. Insert proper pilot in shank end of Hougen Cutter. Pilot
#24131 is recommended for use with spring loaded
ejection on cutters 3/4” diameter and larger.
INSTALLATION OF CUTTING FLUID BOTTLE
1. With Magnetic Drill in operating position, turn feed handle
so that cutter and pilot are above the work surface.
2. Set coolant bottle in carrying handle yoke with valve
facing toward the spindle of the drill. Press down to seat
nipple into port.
3. Tighten mounting screw on back of coolant bottle.
5. Insert Hougen Cutter until flats on cutter shank are
aligned with set screw holes and are exactly perpendicular
to axis of set screw holes. If 1/2" diameter shank cutter
is used, slip (10851) Arbor Adapter over the cutter shank
with adapter hole positioned exactly over flat on cutter
shank prior to inserting into Arbor bore.
6. Insert set screws and tighten. Check to be certain that
cutter is secure.
4. To test cutting fluid flow (with the magnet ON and motor
OFF), feed the arbor gently toward the work surface until
the pilot is pushed up into the cutter. Open valve on
coolant bottle cap. Fluid should filter down onto the work
surface through the groove in the pilot.
5. To insure proper cutter lubrication, always make sure
that the slot in the pilot is kept clean.
5
 Loading...