

HotSpotEngine router, WRT54XX User Manual

Getting Started Guide (v.1.2) http://www.hotspotengine.com
HotSpotEngine Getting Started
Guide
HotSpot Management Solution
Version 1.2
Revision 2 (April 22.2010)
1

Getting Started Guide (v.1.2) http://www.hotspotengine.com
Table of Contents
1.System Installation………………………………………………………………. 3
1.1 Prerequirement………………………………………………………………. 3
1.2 PreInstallation……………………………………………………………….. 3
1.3 Installation processes………………………………………………………... 5
1.4 Console login………………………………………………………………... 9
1.5 Change console password..………………………………………………….. 10
2. System Configuration…………………………………………………………... 10
2.1 DHCP client configuration………………………………………………….. 10
2.2 Hotspot administrator panel login…………………………………………… 10
2.3 Change administrator password……………………………………………... 11
2.4 Change network address…………………………………………………….. 12
2.5 Change default gateway and DNS…………………………………………... 12
2.6 Change date and time………………………………………………………... 13
2.7 Change hotspot identification……………………………………………….. 13
2.8 Create billing plan…………………………………………………………… 14
2.9 Add hotspot user…………………………………………………………….. 14
3. Hotspot Operation………………………………………………………………. 14
3.1 Integration with your network………………………………………………. 14
3.2 Hotspot login………………………………………………………………… 15
3.3 Hotspot logout……………………………………………………………….. 15
3.4.Hotspot usage information…………………………………………………... 15
3.5 DDWRT Integration ………………………………………………………… 15
3.6 Mikrotik RouterOS Integration …………………………………………….... 17
3.7 Paypal Integration …………………………………………………………… 19
4.Troubleshoot & Tips…………………………………………………………….... 22
4.1 Alternative logout……………………………………………………………. 22
4.2 Change hotspot login page………………………………………………….... 22
4.3 Limited 4GB issue…………………………………………………………… 22
4.4 Checking Downloaded File ………………………………………………….. 22
4.5 Client Unable to Browsing …………………………………………………... 23
4.6 Activate Software License ………………………………………………….... 23
5.Support …………………………………………………………………………… 23
2

Getting Started Guide (v.1.2) http://www.hotspotengine.com
1.System Installation
To install HotspotEngine, download the ISO image from the website and burn it into a
blank CDROM using any CD Burner of your choice. To boot up the computer, set up the
computer BIOS to boot from CDROM drive as first priority and insert the prepared CD
into the CDROM Drive. HotSpotEngine CD installer should begin to install
automatically.
Warning: during the installation process, the installer will format the entire partition of
your harddisk and use all space of that drive.
1.1.Prerequirement
By default HotSpotEngine will act as router for your network, even though built in
authenticating feature service can be used by other network via NAS remote. Thus, we
have to provide 2 network interface cards (LAN Card). In addition to the required
hardware you will need an existing network infrastructure A minimal setup will require a
broadband internet connection with router. This router can be either wired or wireless.
You will also need a dedicated wireless access point to use as your public hotspot.
HotSpotEngine then sits between your router and hotspot (see diagram below for better
explanation)
[_Hotspot_] <--> [_HotSpotEngine_] <--> [_Router/Modem Router_] <--> (Internet)
You may be able to use a standard wireless router for your hotspot access point by
disabling its DHCP, Router and Encryption functionality and using only the switch/LAN
port (do not use the WAN or Internet port to connect to the HotSpotEngine machine.)
WRT54XX Port Information
3

Getting Started Guide (v.1.2) http://www.hotspotengine.com
This method works on many wireless routers but not all. If you are having problems
receiving an IP address after installation and are using a wireless router as an wireless
access point, you may need an actual wireless access point.
1.2.Preinstallation and Default Configuration
HotSpotEngine Installation process is simple and straightforward. The installer will set
default password for console login (user root), hotspot administrator panel login and also
the default address of all networks.
HotSpotEngine is configured with the following defaults:
Default console login (SSH port 22)
Username : root
Password : hengine
Default hotspot administrator panel (HTTP port 80, FTP port 21)
Address : http://192.168.120.1/admin
Username : admin
Password : hengine
Default WAN network address:
IP Address : 192.168.1.2
Subnet Mask : 255.255.255.0
Default Gateway and DNS
IP Address : 192.168.1.1
Primary DNS : 192.168.1.1
Secondary DNS : 192.168.2.1
Default LAN network address :
IP Address : 192.168.110.1
Subnet Mask : 255.255.255.0
Default Hotspot Network :
Hotspot Gateway :
IP Address : 192.168.120.1
Subnet Mask : 255.255.255.0
LAN Network (DHCP) :
IP Address Range : 192.168.120.2 – 192.168.120.254
4

Getting Started Guide (v.1.2) http://www.hotspotengine.com
Subnet Mask : 255.255.255.0
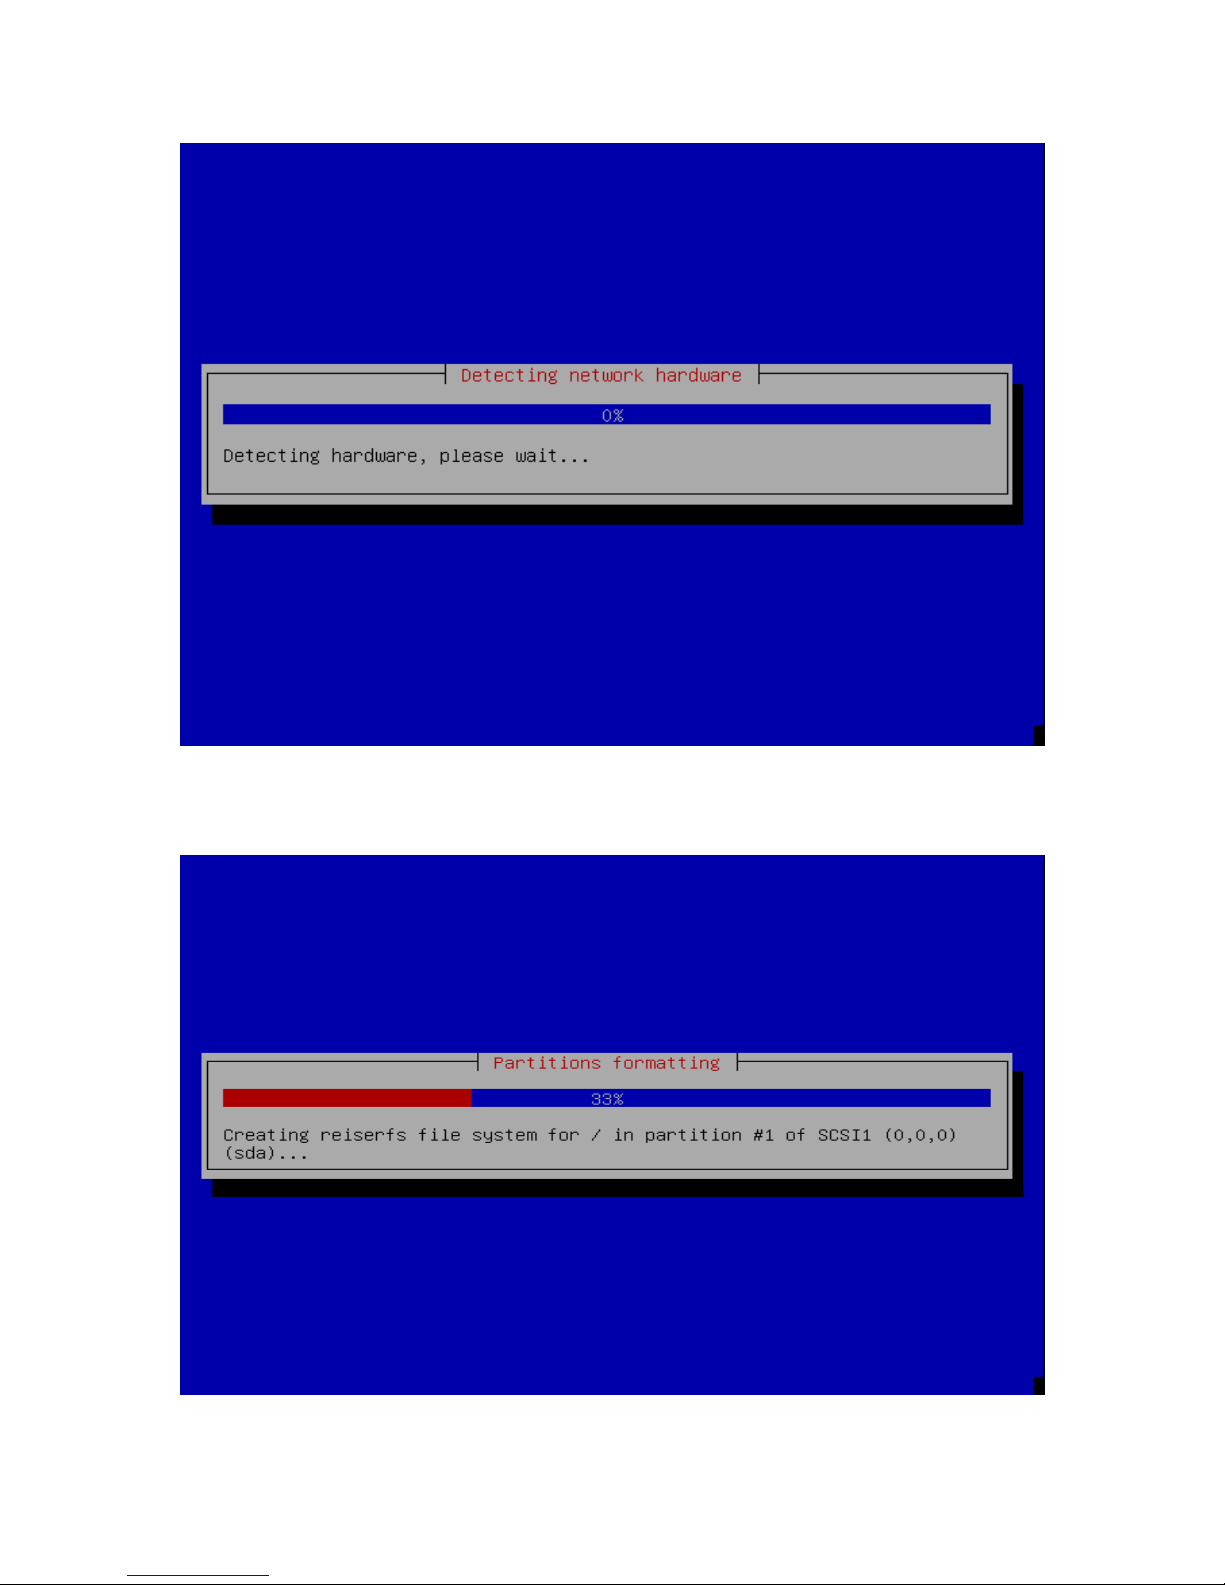
1.3.Installation Process
The installer automatically detects hardware to find CDROM drive, and scans it content
The installer also automatically detect Network Hardware (Network Interface Card) and
later the default network address
5
Getting Started Guide (v.1.2) http://www.hotspotengine.com
The installer automatically erases and format hard disk and use the entire space on
that disk
6
Getting Started Guide (v.1.2) http://www.hotspotengine.com
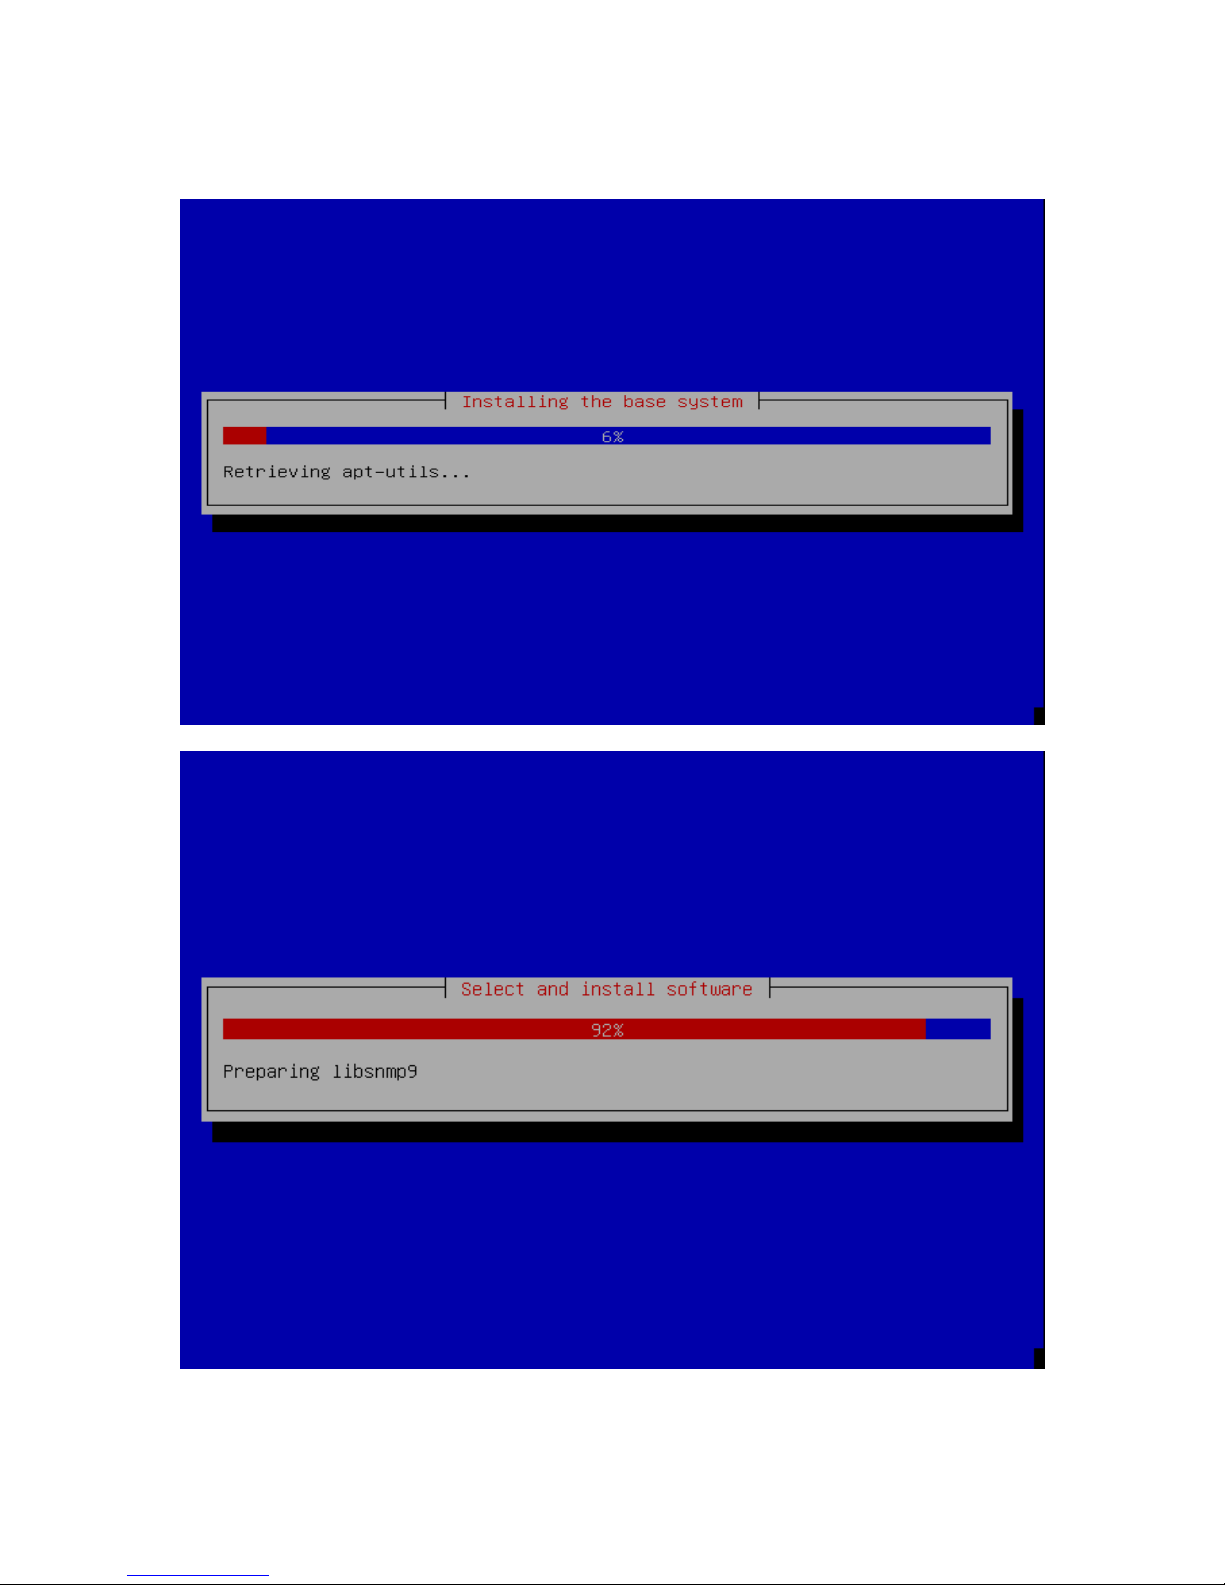
The Installer automatically installs base system and install required software
7
 Loading...