

Hotpoint RCAA 100 P, RCNAA 300 P, RCNAA 250 P Installation Instructions Manual
1
Before Using Your Freezer
Remove the exterior and interior packing.
Check to be sure you have all of the
following parts:
1 Storage Basket
1 Instruction Manual
Before connecting the freezer to the power
source, let it stand upright for approximately
2 hours. This will reduce the possibility of a
malfunction in the cooling system from
handling during transportation.
Clean the interior surface with lukewarm
water using a soft cloth.
Installing Your Freezer
This appliance is designed to be free
standing only, and should not be recessed or
built-in.
Place your freezer on a floor that is strong
enough to support the freezer when it is fully
loaded.
Allow 15 cm of space between the back and
sides of the freezer, which allows the proper
air circulation.
Locate the freezer away from direct sunlight
and sources of heat (stove, heater, radiator,
etc.). Direct sunlight may affect the acrylic
coating and heat sources may increase
electrical consumption. Extreme cold
ambient temperatures may also cause the
freezer not to perform properly.
Avoi d lo ca ti ng t he f re ez er i n mo is t ar ea s.
Plug the freezer into an exclusive, properly
installed-grounded wall outlet. Do not under
any circumstances cut or remove the third
(ground) prong from the power cord. Any
questions concerning power and/or
grounding should be directed toward a
certified electrician or an authorized service
center.
INSTALLATION INSTRUCTIONS
1
2
3
4
5
6
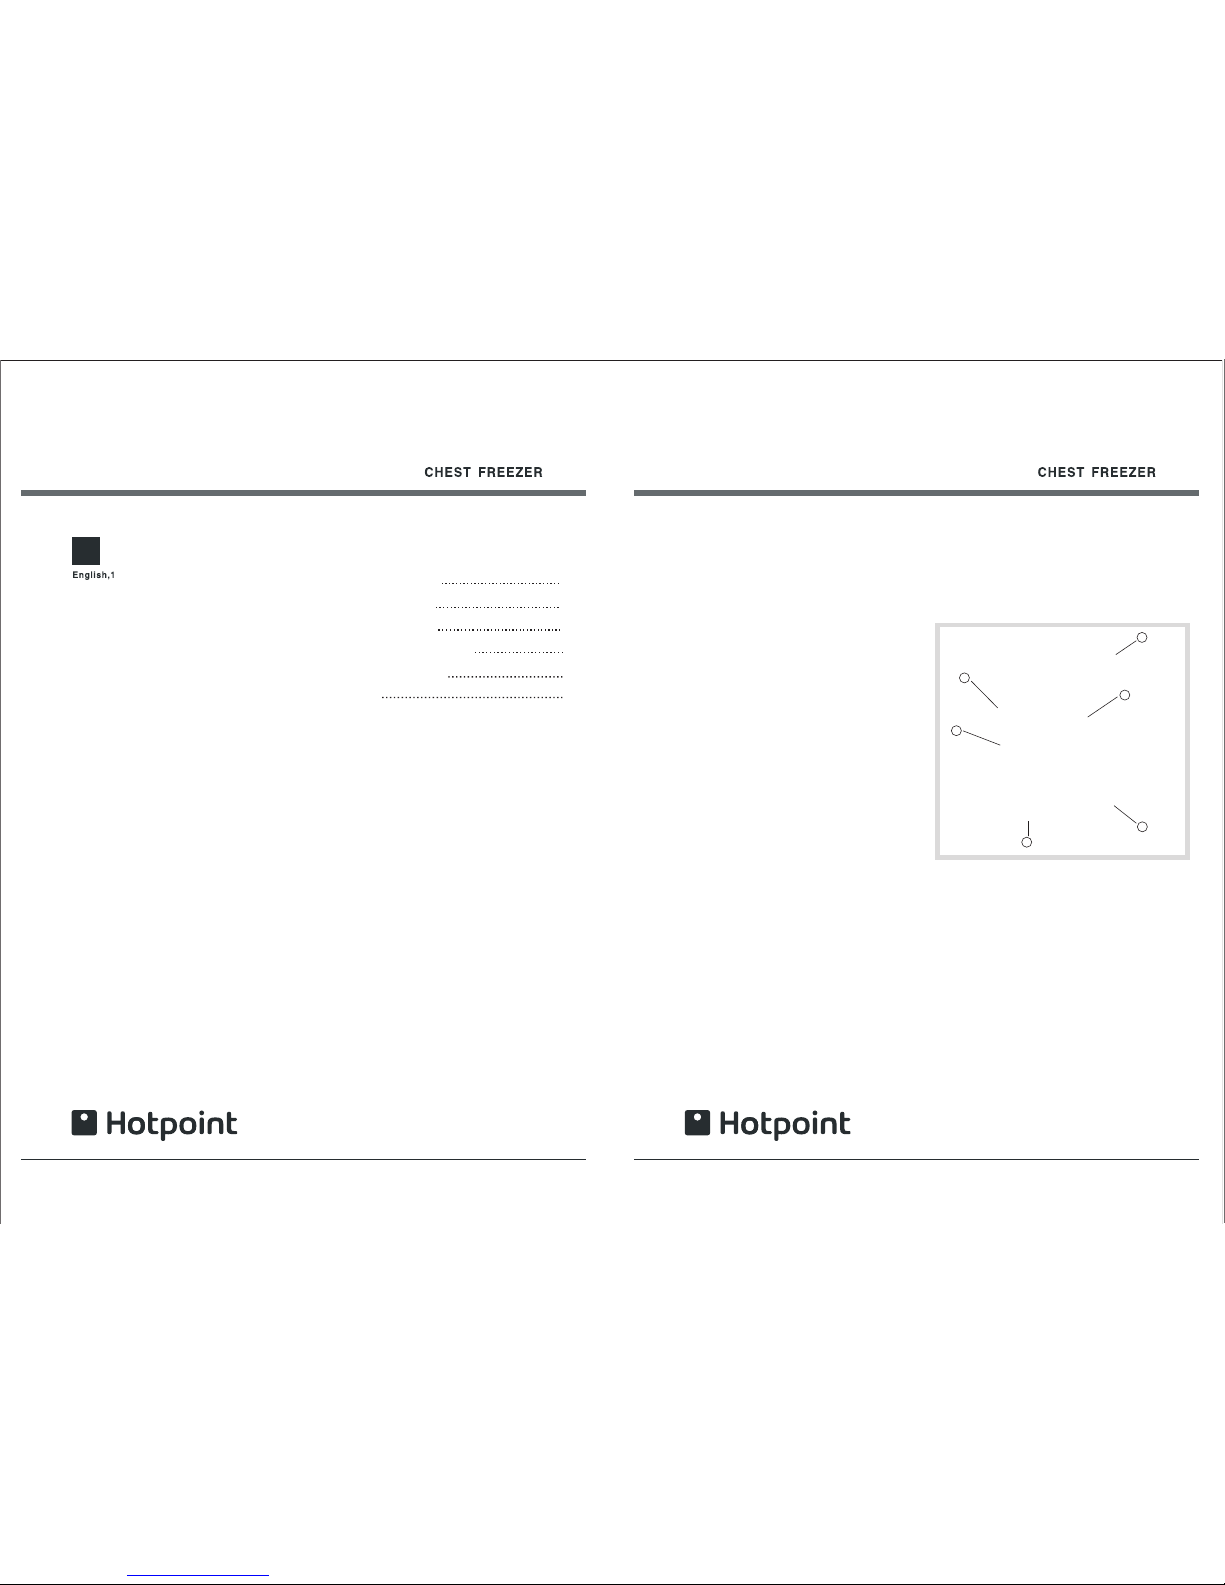
1.door seal
2.hanging basket
3.hinge
4.cabinet assembly foamed
5.outer tube
6.control panel
TABLE OF CONTENTS
3
6
7
INSTALLATION INSTRUCTIONS
OPERATING YOUR FREEZER
CARE AND MAINTENANCE
5
PROBLEMS WITH YOUR FREEZER
TROUBLESHOOTING GUIDE
2
2
Activate the super freeze function for 6 hours
before loading your food
Electrical Connection
For your safety please read the following
information
9
ASSISTANCE
RCAA 100 P
RCNAA 250 P
RCNAA 300 P
3
Defrosting Your Freezer
When? For the most effi ci en t op er at io n an d
minimum energy consumption, defrost the
freezer when the frost on the freezer walls is
excessive or 5 to 10 mm thick.
Choose a time when the stock of frozen food
is low.
CAUTION
Do not use boiling water because it may
damage the plastic parts. In addition, never
use a sharp or metallic instrument to remove
frost as it may damage the cooling coils and
will void the warranty. We r ec om me nd u si ng
the plastic scraper .
Remove the frozen food from the freezer and
place it in a cooler to protect the food.
Turn the thermostat knob to “OFF”.
Unplug the freezer. The Power Supply light
should be off (green light out).
During defrosting, the ice melts into the
cabinet.
Remove the drain plug on the inside floor of
the freezer by rotating it.
Place a shallow pan outside drain outlet.
The defrost water will drain out.
Check the pan occasionally so the water
does not overflow.
Clean the interior of the freezer.
Replace the plug on the inside floor.
Reset the thermostat to desired setting.
Allow the cabinet to cool for one hour.
Return food to the freezer.
OPERATING YOUR FREEZEROPERATING YOUR FREEZER
1 2 3 4
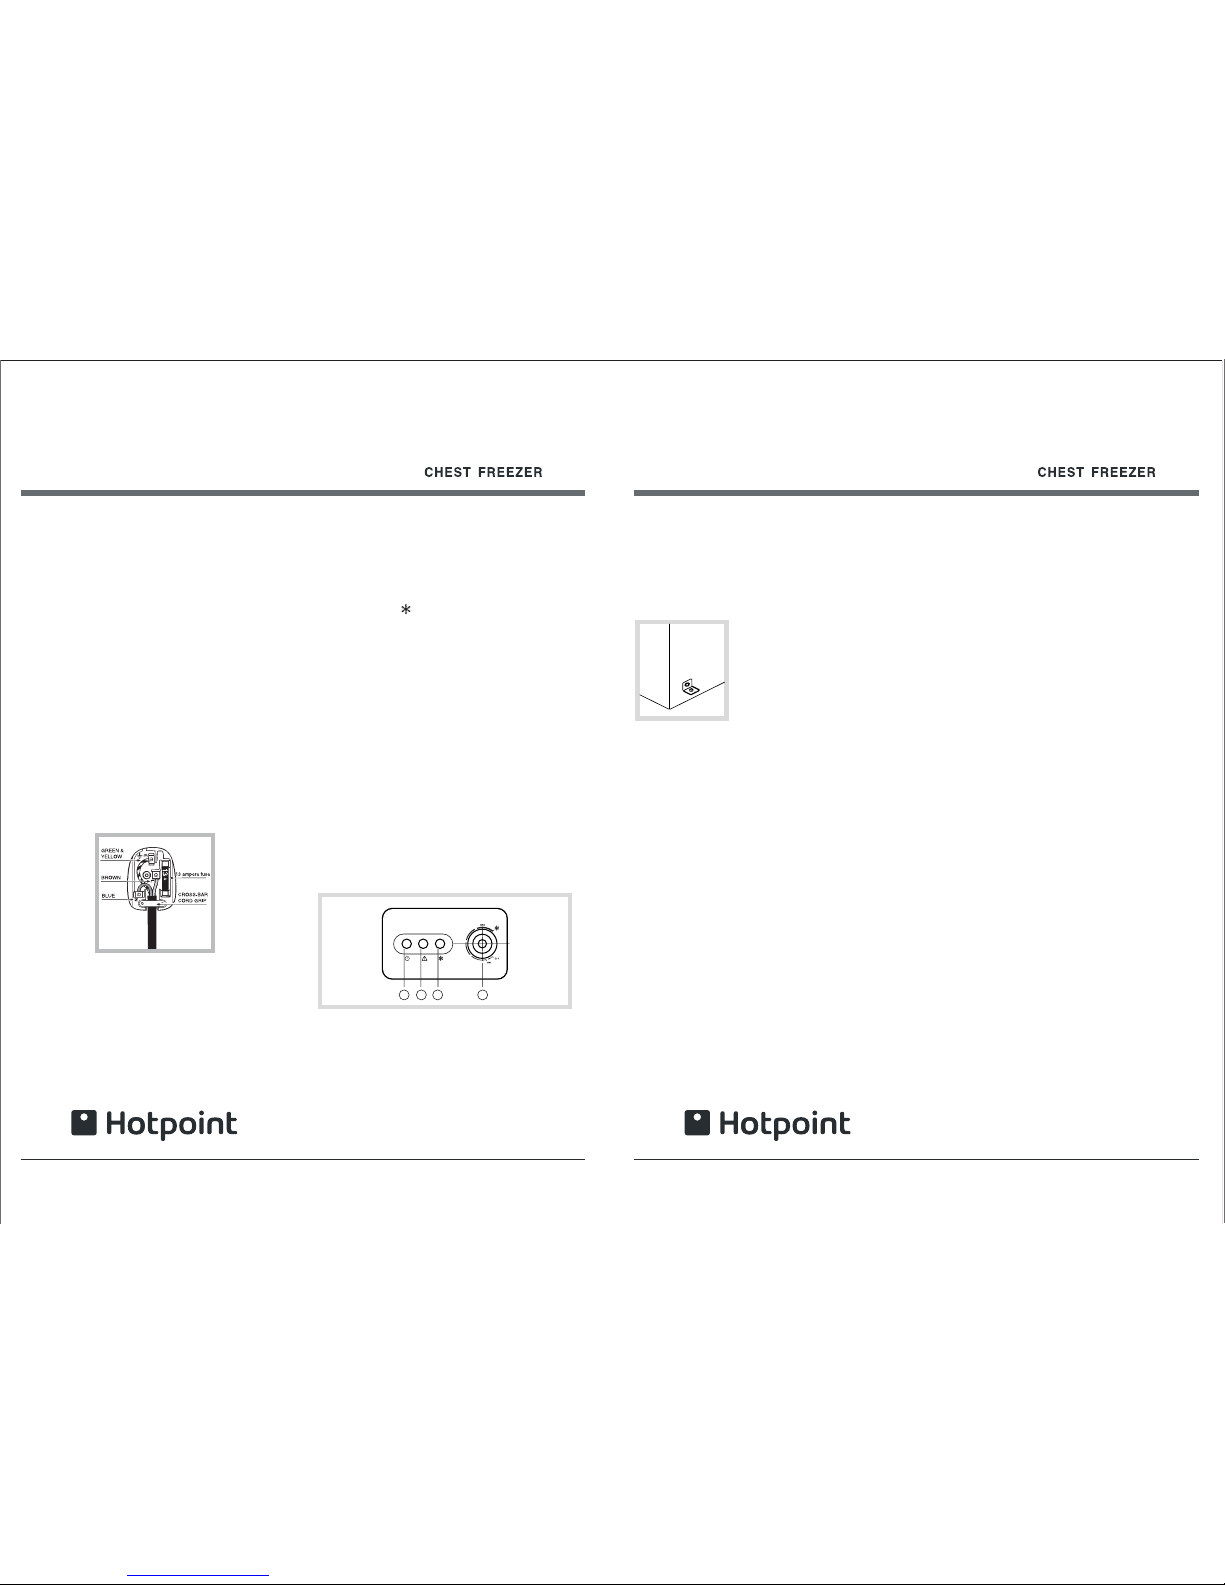
1.Power LED
2.Running LED
3.Super freeze
4.Thermostat knob
HELPFUL HINT:
Defrosting usually takes a few hours.
Leaving the door open will help speed the
process. Also, pouring warm water (not
boiling) on the ice/frost will help speed
melting. If you must use a scraper- please
use caution - it is very easy to damage the
freezer compartment and void your warranty.
The Freezer Compartment
This compartment is designed for the longterm storage of frozen food.
The s to ra ge l if e of f ro ze n fo od s va ri es a nd
the recommended storage time should not be
exceeded. The instructions regarding the
care of frozen foods should be followed when
defrosting the freezer.
Pre-packed commercially frozen food should
be stored in accordance with the frozen foods
manufacturer's instructions for a four star
frozen food storage compartment or home
freezer.
Place frozen food into the freezer as quickly
as possible after purchase. If there are
instructions on the packet, carefully follow
these instructions regarding storage times.
The f re ez er d oo r is s us ce pt ib le t o br ea ki ng
due to excessive ice build up. Be sure to
defrost when the ice reaches 5 to 10 mm
thick.
A storage basket is provided for the
organization of odd-shaped items. To reach
other packages in the freezer, just slide the
basket to one side, or lift it out.
4
Plug replacement(UK&lreland only)
Should you need to replace the plug,the
wires in the power cable are colour in the
following way:
Blue - Neutral ’N’
Brown - Live ‘L’
Green&Yellow - Ear th ‘ E’
As the colours of the wires in the power cable
may not correspond with the coloured
markings identifying the terminals in your
plug,and proceed as follows:
The green&yellow wire must be connected to
the terminal in the plug that is marked with
the letter E or by the earth symbol.
The blue wire must be connected to the
terminal that is marked with the letter N.
The b ro wn w ir e mu st b e co nn ec te d to t he
terminal that is marked with the letter L.
If power supply cord is damaged,it must
replaced by the manufacturer or its service
agent or a similar qualified person in order to
avoid a hazard.
.Remove the drain plug on
the inside floor of the freezer
by rotating it.
.Place a shallow pan outside
drain outlet.
The defrost water will drain
out
Temperature Control
The r an ge o f th e te mp er at ur e co nt ro l is f ro m
position" Min" the warmest to "Max" the
coldest.Adjust the temperature control to the
setting that best suits your needs. The setting
of medium position should be appropriate for
home or off ic e fr ee ze r us e.
When turn to “ ”, the freezer getting
“fast freeze” and the compressor will not
stop until you turn the knob to the other
position.
NOTE:
Turning the temperature control to "OFF"
position stops the cooling cycle but does not
shut off th e po we r to t he f re ez er.
If the unit is unplugged, lost power, or turned
off ; yo u mu st w ai t 3 to 5 m in ut es b ef or e
Restarting the unit. If you attempt to restart
before this time delay, th e fr ee ze r wi ll n ot
start.
Large amounts of food will lower the cooling
efficiency of the appliance.
If you choose to change the thermostat
setting, adjust thermostat control by one
numerical increment at a time. Allow several
hours for temperature to stabilize between
adjustments.
 Loading...