

Hotpoint RB761G Use And Care Manual
togetthe best froIm
AluminumFoil
18
ProblemSolver
26,27
Anti-TipBracket
3,5
RepairService
27
ApplianceRegistration
2 SafetyInstructions
3,4
CanningTips
9
SurfaceCooking
8-11
Care and Cleaning
22-25
ControlSettings
8
Clock/Timer
12
CookwareTips
10, 11
r
Energy-SavingTips
5
Warranty
BackCover
Features
6,7
r
I
InstallationInstructions
5
Leveling
5
ModeIand SerialNumbers 2
Oven
13
Baking/BakingGuide
14,15
Broiling/BroilingGuide
18,19
Control Settings
13
Door Removal
22
Light; BulbReplacement 22,23
Preheating
13
Roasting/RoastingGuide 16,17
Self-CleaningInstructions 20,’21
Thermostat Adjustment
24
GE Answer center@
VentDuct
22
8W.626.2000
I
use andcare of
model
RB761G
-e
—-. .
.
.
*.
If youdon’tunderstandsomething
or need morehelp,write (include
yourphone number):
ConsumerAffairs
Hotpoint
Appliace Rrk
Louisville,KY 40225
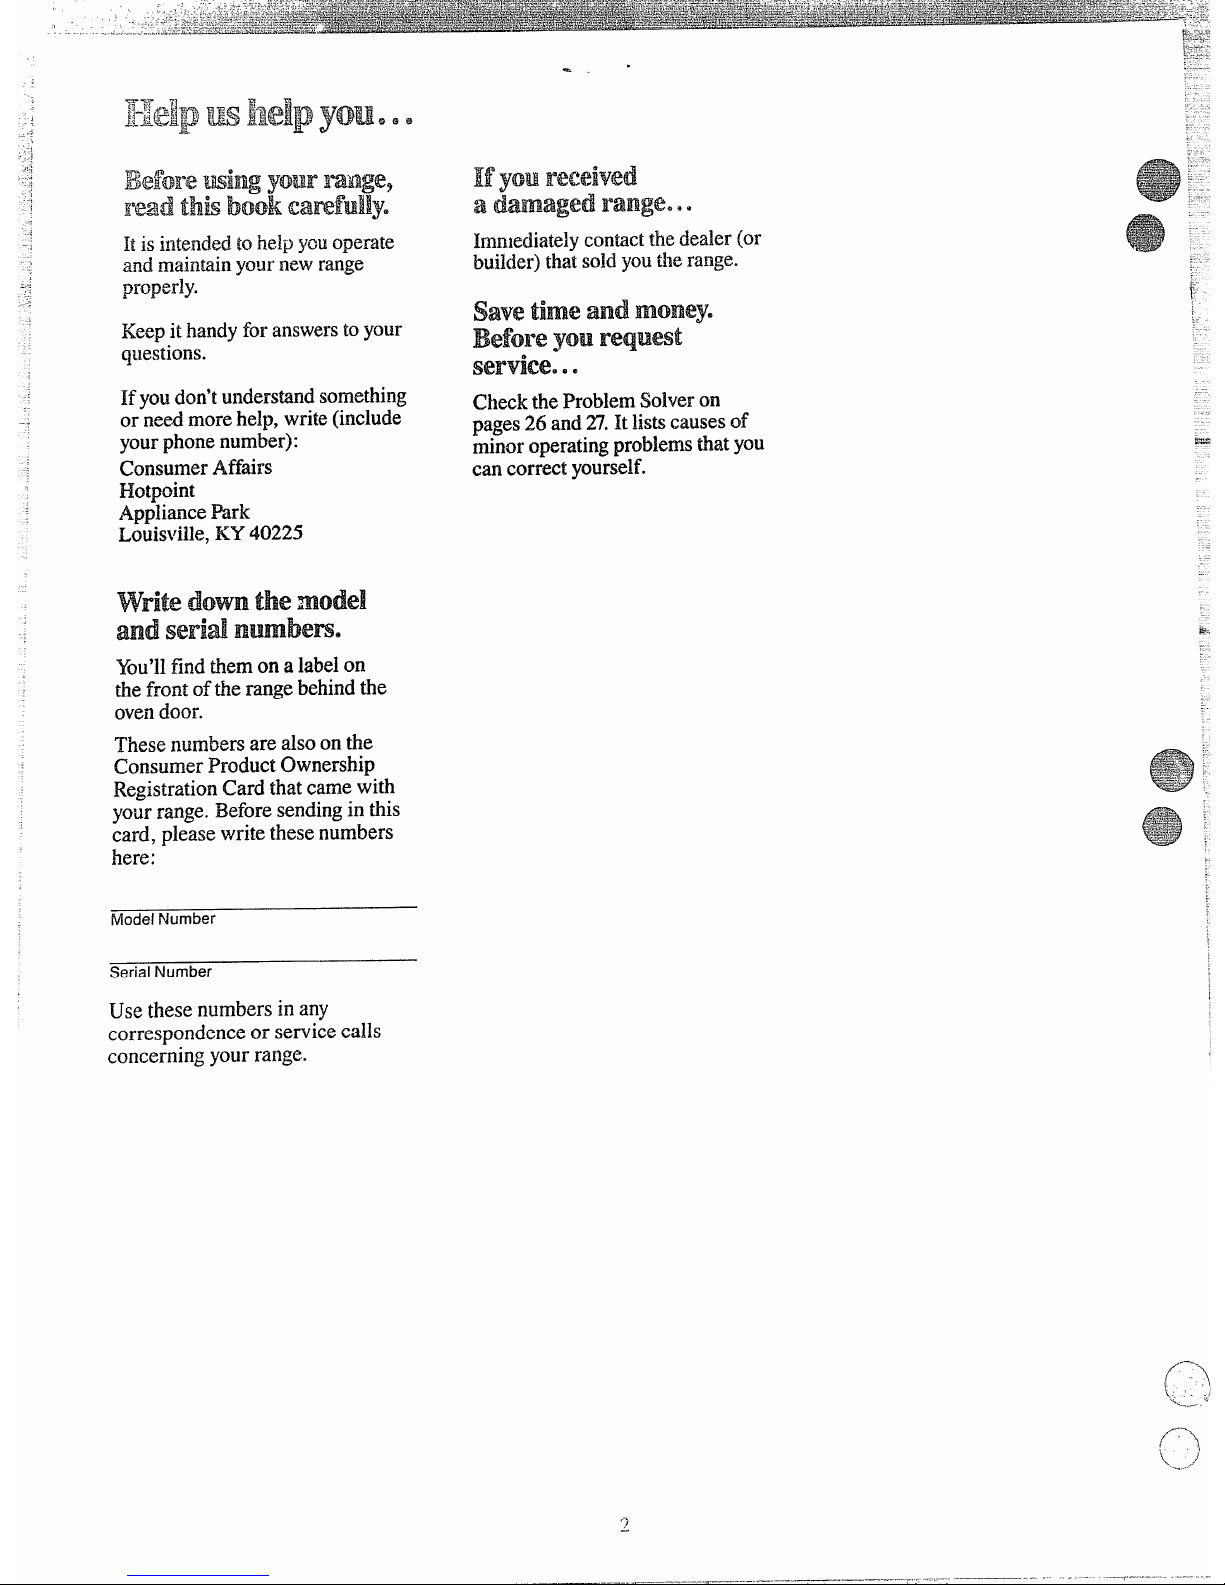
Write dom themodel
and
Ser;alnumbem.
You’llfind them on a labelon
the front of the range behindthe
ovendoor.
These numbers are also on the
Consumer Product Ownership
RegistrationCard that came with
yourrange. Beforesendingin this
card, please write these numbers
here:
ModelNumber
Serial Number
Use these numbers in any
correspondence or service calls
concerning your range.
Imnlediatelycontactthe dealer (or
builder)thatsoldyoutl~erange.
Checkthe Problem Solveron
pages26 and~. It listscausesof
minoroperatingproblemsthat you
cm correct yourself.

cRcm BmmR.
@Do nottouchbeating
elemenwor htedor surfaceof
oven. Thesesurfacesmaybehot
enoughtoburneventiough they
are
darkincolor. Durhg md
stir use, do nottouch, or let
clotig or other flmable
materialscontactsutiace units,
artis near~ sufice utits or any
interiorarea of the oven;allow
su~3cienttimefor cooling,fimt.
W@ntidly hot sufices include
tie cooMopad mess hcing tie
cooMop,ovenvent openingand
sutices near the opning, md
Crevicesaround me ovendmr.
Remember: The
inside sutiace
of the oven maybe
hot when he
door is opened.
cook the meat to an intem~~ “
temperamre of at least 170°F.
Thisassures that, in L4eremote
possibdity hat trichina maybe
present in the meat, it ‘willbe
tilled.and the naeatwillbe safe
toeat.
-+
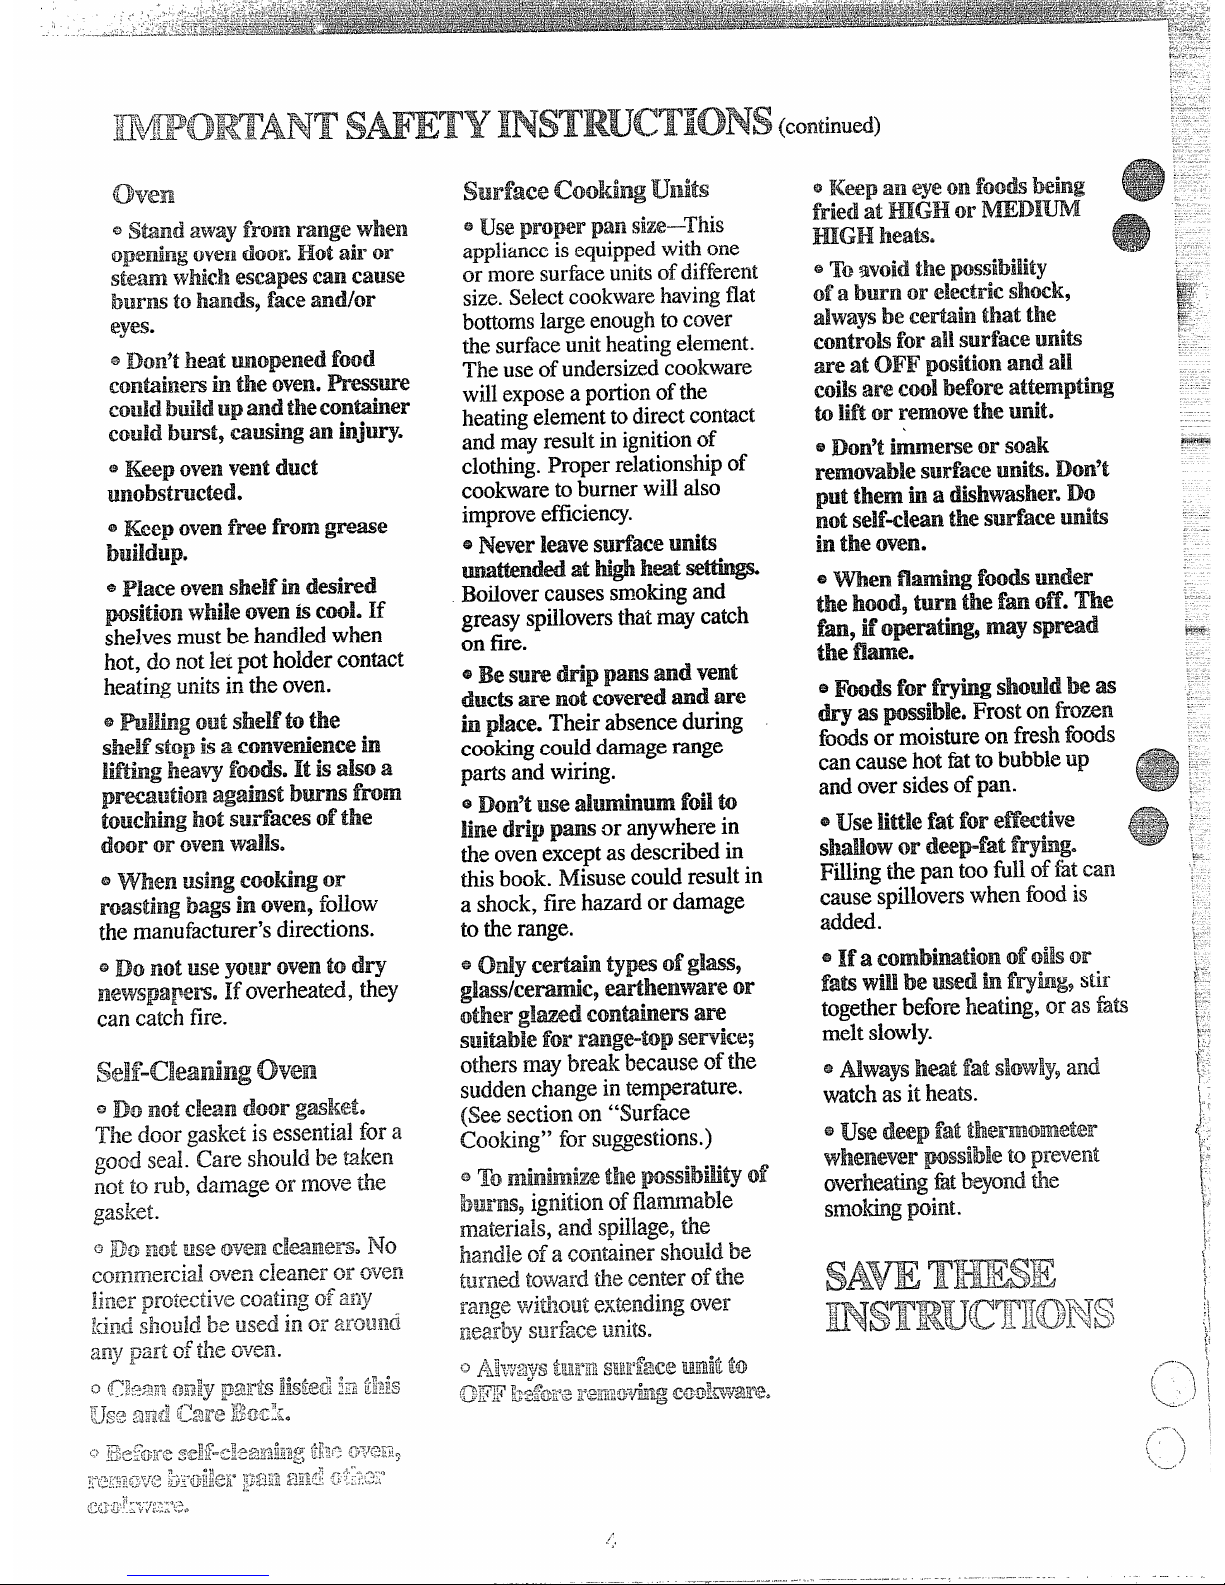
e ~M* f~~ fmg Shodd k m
@*
pwib~e.Frost on fioma ‘
foods or moistureon fresh foods
cm causehot fit to bubbleup
a
$&~
--’
and over sidesofpan.
,.
.—.- --
. .

onthistype of flooring, usecare,
and itisrecommendedthatthese
simpleand inexpensiveinstructions
befollowed.
Therangeshouldbe installed on
a l/4-inch-thicksheetofplywood
(orsimilarmaterial)as follows:
JWenthefloor coven”ngeds d the
front of the range,
thearea thatthe
rangewill rest on shouldbebuilt
upwithplywoodto the samelevel
or higher than the floor covering.
ThiswilIallowthe range tobe
movedfor cleaningor servicing.
uveIiw the
~x~t Levelingscrewsare located on
e
~=- each corner of the base ofthe
range. Removethe bottomdrawer
andyoucan levelthe rangeon
an unevenfloor with the useof
a nutdriver.
T’ remove drawer,pulldrawer
outalltheway9tilt up the front
and take it
out.To replace
drawer, insert glides at back of
drawerbeyondstopon rangeglides.
Lif~drawer if necessary to insert
~;isi~y.Let frontofdrawer down,
[henpush in to close.
Oneof the rear levelingscrews
i}~illengagethe ANTI-TIP bracket
(allowfor some side to side
.~djustment).Allowa minimum
~’learaIIceof 1/8”between the range
.~ndthc Ieve]ingscrew that is
tobe
installedintotheANTI-TIP
bracket.
* Use cookwareof medit~mweight
aluminum, with tight-fittingcovers,
and flat bottomswhich completely
covertie heated portionofthe
surfaceunit.
* COOk fresh vegetableswith a
minimumamountof waterin a
coveredpari.
s watch
foodswhenbringingbem
quictiy to tooting temperaturesat
HI ad MED H heatsettings.men
food reaches cookingtemperature,
reduce heat immediatelyto lowest
settingthatwill keep it tooting.
~Use residual heat wilh surface
cookingwheneverpossible. For
example, when cookingeggsin tie
sheU,bring water and eggsto
boil,
thenturntoOFFpositionand
cover with lid to completethe
cooking.
@Use correet heat for cootig task:
Hi—to
startcooking(iftime
allows, do not use high heat to
start).
MED Hi—quick browning.
MED—s1owf~ing.
LO—finishcooking most
quantities, simmer—doubleboiler
heat, finish cooking, and special
for small quantities.
WM—to maintain serving
tem~?eratureof most foods.
@v~hen boiling water for tea or
coffee, heat only amount needed.
It is not economical toboil a
container full of water for one
or $VJOcups.
ovenCaotimg
@
Preheatovenonly when
necessary.Mast foodswill cook
satisfactorilywithoutpreheating.
If youfindpreheating is necessary,
watchthe indicatorlight, md put
foodinovenpromptlyafter the
lightgoesout.
@Alwaysturn ovenoffbefore
removingfood.
@Duringbaking, avoidfrequent
door openings.Keepdoor openas
shorta time as possible if it is
opened.
~Besureto wipe up excess spillage
beforestartingthe self-cleaning
operation.
@Cook complete ovenmeals
insteadof just one fooditem.
Potatoes,other vegetables,and
somedesse~ willcooktogether
with a main-dishcasserole, meat
loaf, chicken or roast. Choose
foodsthat cook at the same
tempemture ad in approximately
the same time.
@Use residud heat in the oven
wheneverpossibleto finish
cookingcasseroles, ovenmeals,
etc. Also add rollsor precooked
desserts to warm oven,using
residual heat to warmthem.
‘i
0

—
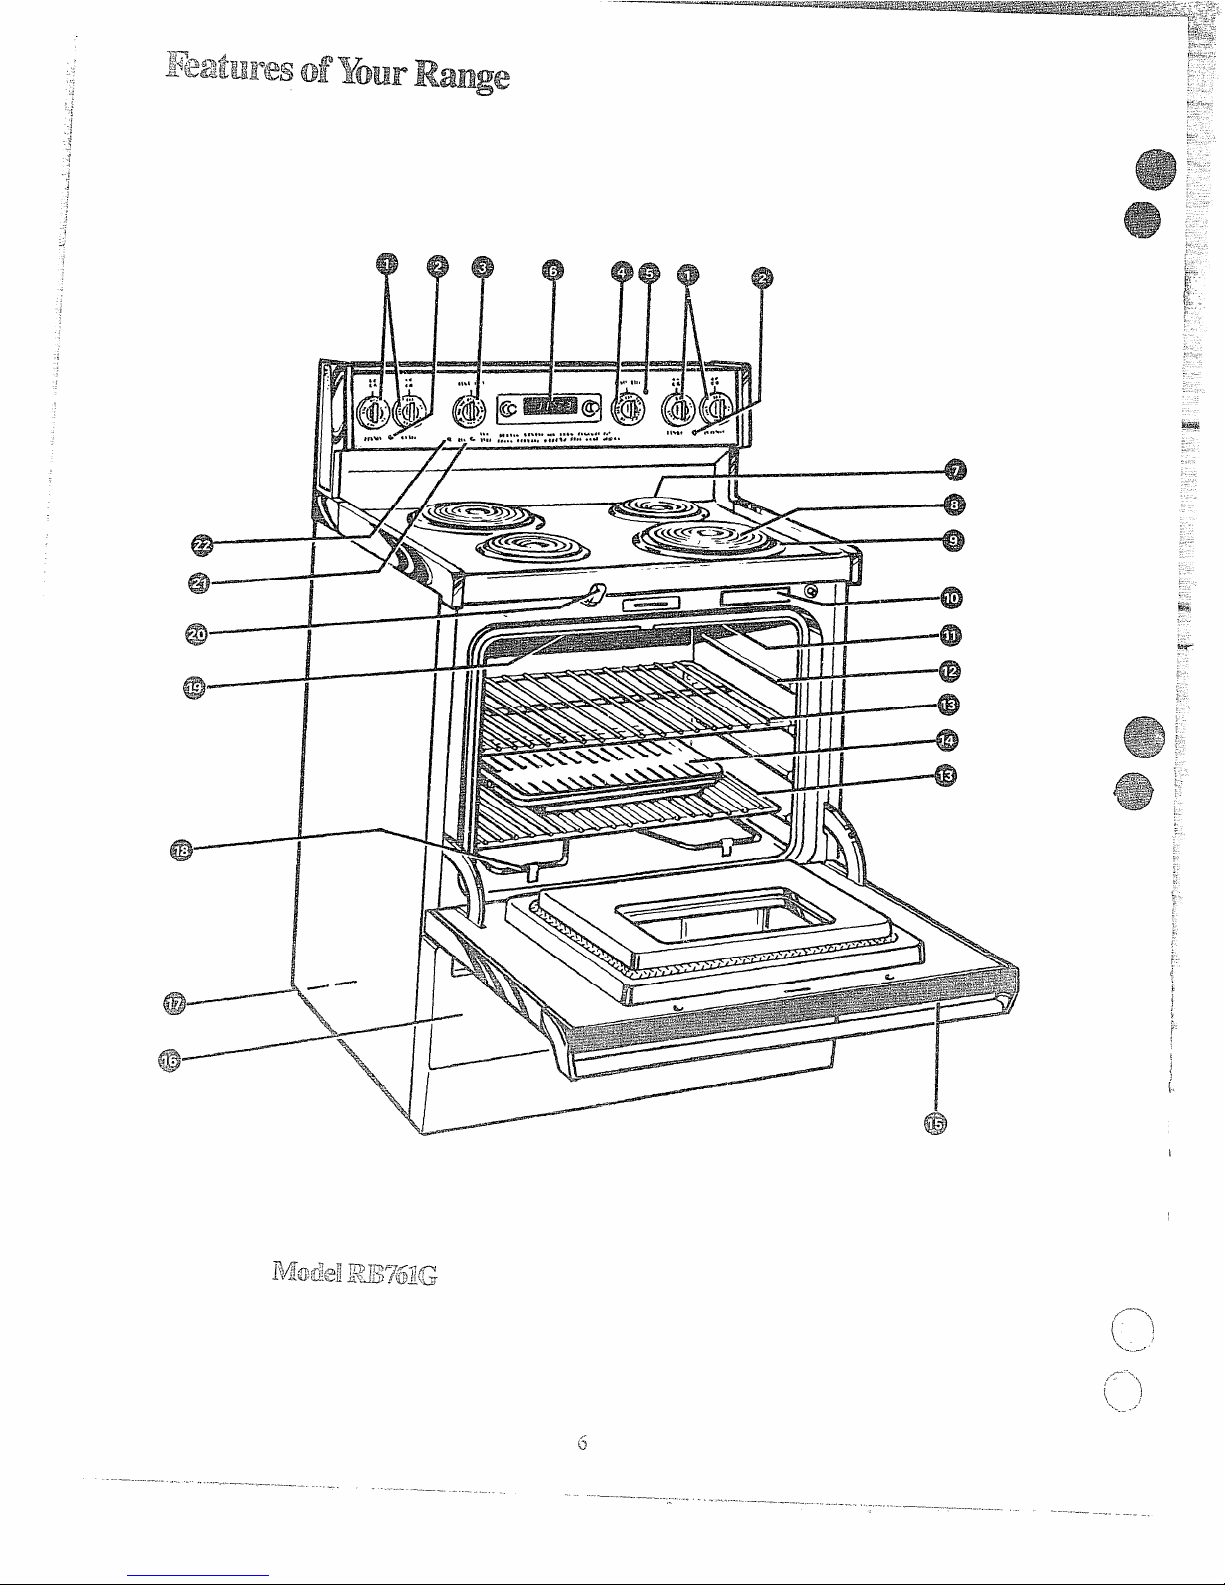
Feature Index
8
1 SurfaceUnit Controls
8
2
2 SurfaceUnit’’ON’’IndicatorLight
3 Oven SetControl
4 OvenTempControl
13
5 OvenCyclingLight
6 AutomaticOven Timer, Clock and
MinuteTimer
22
@
23
two6-in.
two 8-in.
7 OvenVentDuct (Located under right
rear surfaceunit.)
8 Plug-In Calrod” Surface Unit (Maybe removed
when cleaning under unit.)
9 ChromePlatedTrimRingsand Porcelain Drip Pans
10 Modeland Serial Numbers
11 OvenInterior Light (Comes on automatically
whendoor isopened.)
12 OvenShelfSupports(LettersA, B, C & D
indicatecooking positionfor shelvesas
recommended on cookingguides.)
13
I
13 Oven Shelves
14 Broiler Par-iand ~ck (Do not clean in
Self-Cleanoven.)
13
e
15 Oven Light Switch
22
16 StorageDrawer
i7 Anti-TipBracket
(See Installation Instructions)
18 Bake Unit (Maybe lifted gently for wiping
ovenfloor.)
19 Broil Unit
20 Door Latch (Use for Self-Clean only.)
21 Oven Cleani~2gLight
—
q~ Dc~orLocked Light
.——
.,
3,5
20
@
18,20
20
20
21
Q
.-.
,“,
.,
1
\
... . -.
.....—.—.—.... . ---

surfaceCOQMWtith
Infini& HeatComtmk
Yoursurfaceunitsand controlsme
designedto giveyou an infinite
choiceofheat settingsfor surface
unitcooking.
Atboti OFF md HI positions,
thereisa slightnichesocontrol
“clicks”attiose positions; “click”
on HI marks the highest setting;the
lowestsettingis betw=n the words
LO andOFF. In a quiet kitchenyou
mayhear slight “clicting” sounds
during cooking,indicatingheat
settingsselectedare being
maintained.
Switchingheatsto higher settings
alwaysshowsa quicker change than
switchingto lower settings.
.
I
step1
Grasp control knob and push in...
1
Shp 2
~rn either clockwiseor counter-
clockwise to desired heat setting.
HI Quickstar’tfor cooking:
.-
bringwatfirto boil.
*.::-.
i
.4-;.-
‘~-.
WD Fastfry, panbroil; maintain ~~
GF--
HI fastboil on largeamountof
food.
mD
m
WM
Sauteandbrown;maintain
slowboilon largeamount
offood.
w
Cookafterstartingat HI;
cookwith Iittiewater in
coveredpan.
-.
Steamrice, cereal; maintain
servingtemperatureofmost
foods.
1. At HI, MED HI, neverleave
foodunattended.Boiloverscause
smoking;greasy spilloversmay
catch fire.
2. AtWM, LO, melt chocolate, ==- I
butter on smallunit.
0,
<*2 ~
M_=.-~,.
.—-
contro~mustbe pushedintoset
only
fromOm psition. when
Contro;is
inany positionother
thanOm, itmay beroated
%’tithout
pustingin.
Be sureyou turn control toOFF
when youfinish cooking. An
indicator light will glowwhen
ANY heat on any surfaceunitison.
...... . -—------—--
..
-.
themanufacturer’sinstructionsand
..+
recipesfor preservingfoods. Be
surecannerisfiat-bottomedand
fitsoverthe centerofyoursurface
unit. Sincecanning g;nerates large
amounts of steam, be carefulto
.
.-“
avoidbums from steamor heat.
Canningshouldonlybe doneon
surfaceunits.
Q.
canI Cover my drip panswith
foil?
A. No. Clean as recommendedin
CleaningGuide.
Q.
canI use specialci)oki~lg
equipment,likeanoriental WOIL,
onany
surfaceulli~?
A. Cookwarewithoutfla~surfaces
isnotrecommended.TIIelifeof
yoursurfaceunitcan be shortened
andtherangetop canbe damaged
fromthehigh heat neededforthis
typeofCooting.
Q. why am 1not getting the beat
I need from my surface Unib
eventhough I have the knobs on
the right
setting?
A.
Afierturningsurfaceunit off
andmakingsureitiscool, check to
makesurethatyour plug-inunits
are securely fastenedintothe
surfaceconnection.
Potsthat extendbeyond 1inch of
cookingelement’strim ring are not
recommended formost surface
cooking. However,when canning
with water-bath or pressure canner,
larger-diameterpotsmay be used.
This isbecause boiling water
temperatures (evenunder pressure)
are notharmful to cooktop surfaces
surrounding the surface unit.
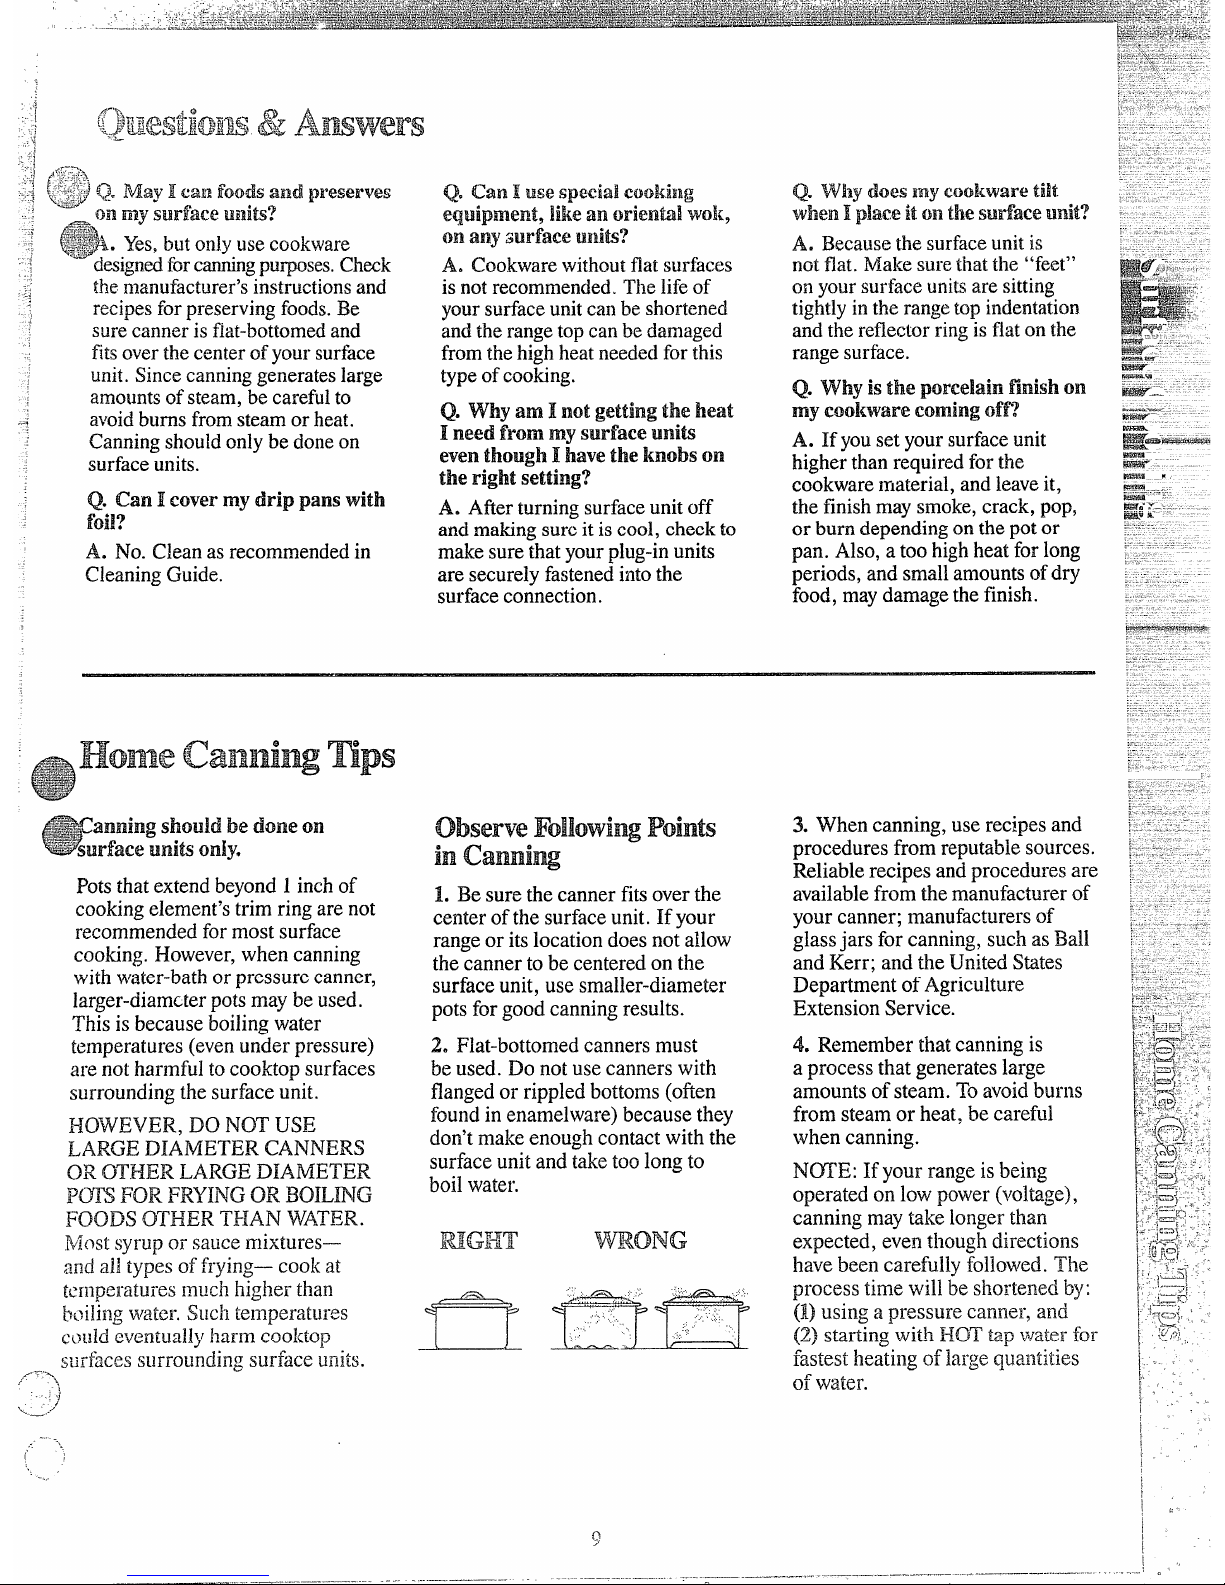
observeFoIlowingPoints
inCanniu
1. Be sure the canner fitsoverthe
center of the surface unit. If your
range or i~ location doesnot allow
the canner to be centered on the
surfaceunit, use smaller-diameter
potsfor good canning results.
2. Flat-bottomed canners must
be used. Do not use canners with
flangedor rippled bottoms(ofien
foundin enamelware) because they
don’tmake enough contact with the
surface unit and take too long to
--,
..’ -
(
..——.—----. .-.- -
. —.
Q.lvl?ydoesEnycookwaretilt
WlaenI placeitonthesMtiaceUtit?
A. B&causethe surfaceunitis
notflat. Makesurethatthe “feet”
ollyoursurfaceunitsare sitting
tightlyin the range top indentation
andthe reflectorringis flat on the
rangesurface.
Q. why is the porcelain finish on
my ‘cookwarecoming off?
A. If youset your surfaceunit
higherthanrequiredforthe
cookwarematerial, and leaveit,
the finishmay smoke,crack, pop,
or bum dependingon the pot or
pan. Also, a toohighheat forlong
periods, and smallamountsofdry
food, may damagethefinish.
3. When canning, use recipesand
procedures from reputablesources.
Reliablerecipes and procedures are
availablefrom themanufacturer of
your canner; manufacturers of
glassjars for canning, such asBall
and Kerr; and the United Stites
Department of Agriculture
Extension Service.
4. Remember that canning is
a process that generateslarge
amounts of steam. Toavoid bums
from steam or heat, be careful
when canning.
N~E: If your range is being
operated on low power (voltage),
canning maytake longerthan
expected, even thoughdirections
havebeen carefully followed. The
process time will be shorte]~edby:
(1)using a pressure canne~’,and
(2) stalling with HOT tap WaterfOl-
fastest heating of ]a~gequa~ltities
I
.1
I
I
.. ..O
 Loading...