

Hotpoint RB800WJ2WW, RB800WJ1WW, RB800SJ5SA, RB800SJ2SA, RB800SJ1SA Owner’s Manual
...
ge.com
Safety Information .......... 2-6
Operating ImlrucCions
Adjust the Oven
Thermostat ................... 91
(;lock and Timer . .......... 15, 16
()yen ..................... 12-14
Oven Controls ............. 10, 11
Sabbath Feature ............ 19, 90
Selecting Types of Cookware ..... 9
Self-Cleaning .............. 94, 95
Special Feauues ............... 18
Surface Units ................ 7, 8
Timed Baking and Roas6ng ..... 17
_4'anning Drawer ........... 22, 23
Care and Cleaning ........ 94-33
(;lass Cooktop ............. 39, 33
Self-Cleaning O_en ......... 94, 95
(20il 7biJ a_d
Radia_'_t T@ Modds
Standard S>_Ck_ar_
Cbar_ ModeLs ModeLs
ygso
ygso7
yBs 5
.]BS27
yB, oo
ygP 5
]BP2 l
fl_P22
.lsss(
RB525
RB526
RB536
RB540
JBP60
RB7qO
RB 757
RB787
RB790
RBSO0
In_lallation Instructions
Anti-Tip Device ............ 34, 40
Before You Begin ............. 34
Electrical Connections ....... 36-39
Lex>ling .................. 40, 41
Troubleshooting Tips ...... 49-46
Accessories .................. 47
Consumer Support
Consumer Support ..... Back Coxer
Product Regisuation ........ 49, 50
VVanantv .................... 51
Write the model and serial
numbershere:
Model #
Serial #
You can find them on a label,
behind the storage drawer or
warming drawer on the oven
li'aIIle.
183D6379P039 49-88031 03-07 JR
READ ArtINSrgugrloN$BEFOREUSING
B
For your safety, the hTformafionin _hismanual must be followed tominimize the risk of fire or explosion,
electric shock, or to prevent property damage, personal injury, or loss of fife.
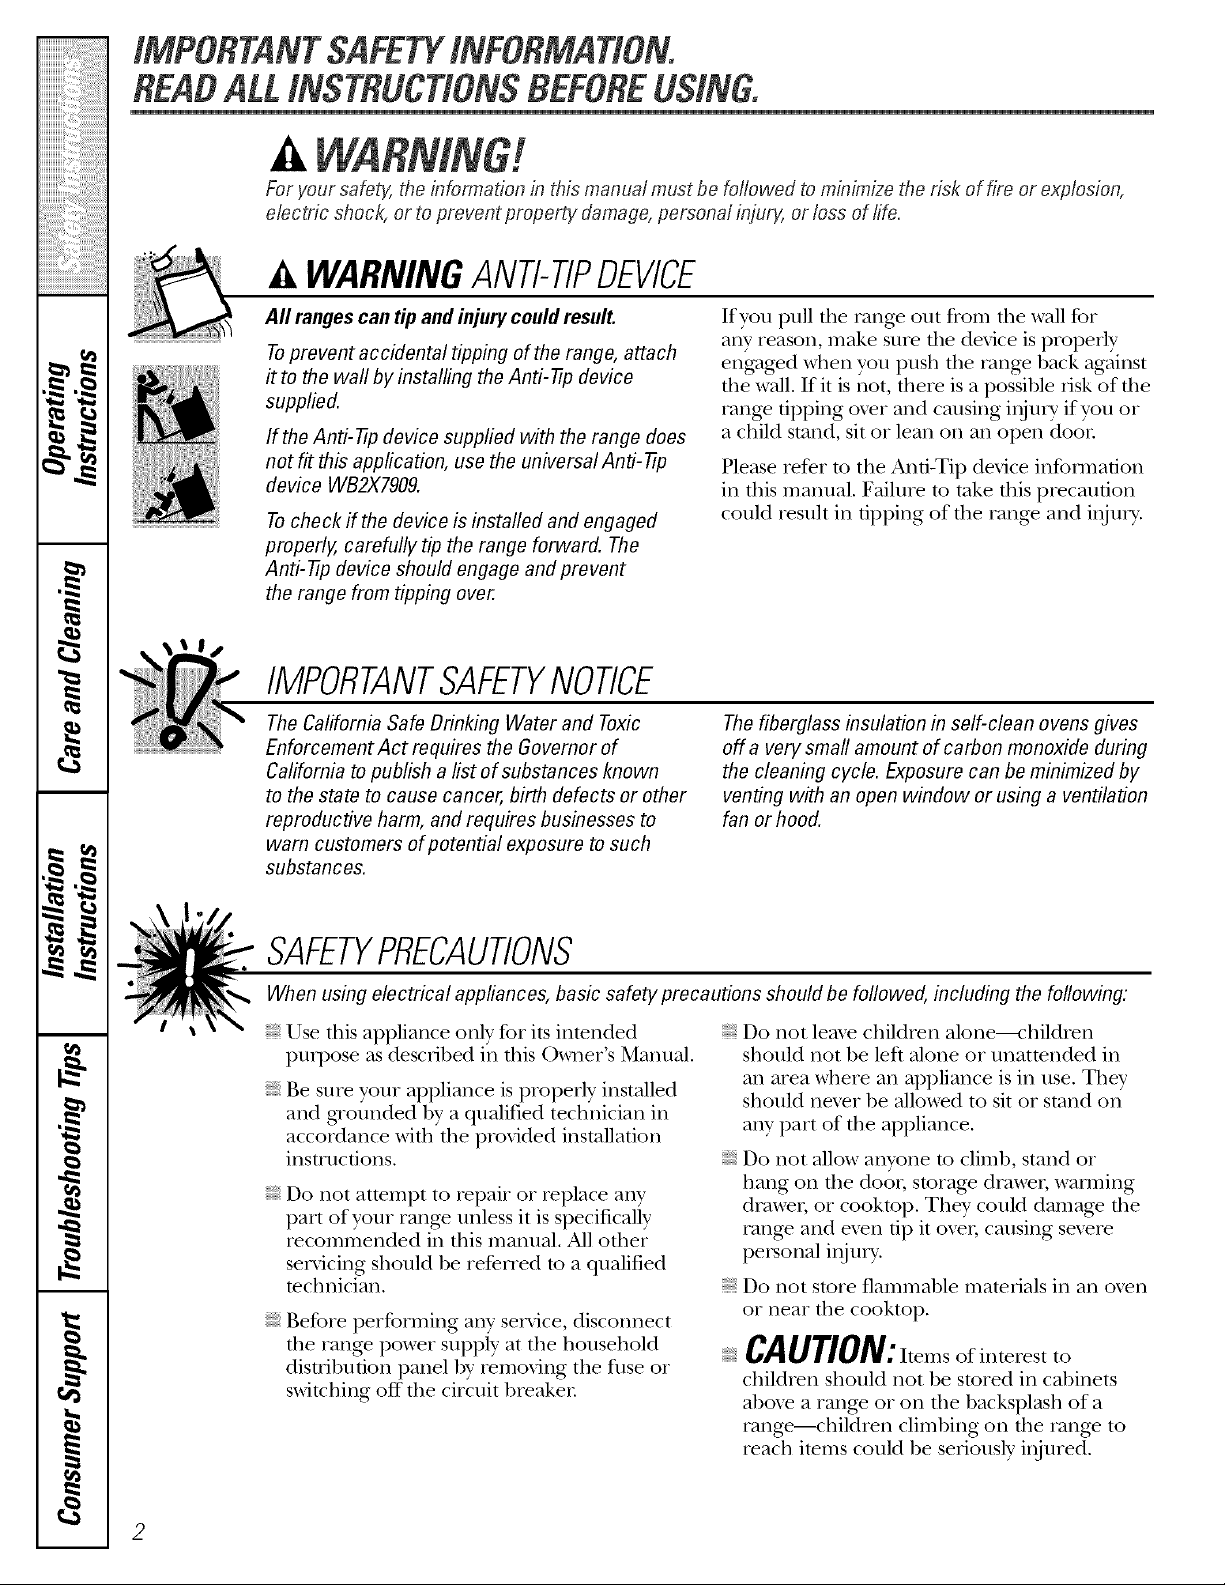
WARNINGANTI-TIPDEVICE
A# rangescan tip and injury could result.
Toprevent accidental tipping of the range, attach
itto the wall by instalfing the Anti-tip device
supplied.
If the Anti-tip device supplied with the range does
not fit this application, use the universal Anti-tip
device WB2X7909.
Tocheck if the device is installed and engaged
properly, carefully tip the range forward. The
Anti-tip device should engage and pravent
the range from tipping over.
IMPORTANTSAFETYNOTICE
The California Safe Drinking Water and Toxic
Enforcement Act requires the Governor of
California to publish a list of substances known
to the state to cause cancer, birth defects or other
reproductive harm, and requires businesses to
warn customers of potential exposure to such
substances.
If you pull file rang_ out from file wall %r
any reason, make sure dm device is properly
eng_ged when you push the rang_ back against
the wall. If it is not, there is a possible risk of tim
range tipping oxer and causing i,_ju U if you or
a child stand, sit or lean on an open door
Please refer to the Anti-Tip dexice information
in this manual. Failure to take this precaution
could resuh in tipping of the range and i,lju U.
The fiberglass insulation in self-clean ovens gives
off a very small amount of carbon monoxide during
the cleaning cycle. Exposure can be minimized by
venting with an open window or using a ventilation
fan or hood.
SAFETYPRECAUTIONS
When using electrical appliances, basic safety precautions should be followed, including the following:
Use this appliance only %r its intended
puq)ose as described in this )_me_ s Manual.
Be sure your appliance is properly installed
and g_ounded by a qualified technician in
accordance with the provided installation
instructions.
iiiiiiiiiiii_iii
Do not attempt to repair or replace any
part of your range unless it is specifically
recommended in this manual. All other
servicing should be refened to a qualified
technician.
iiiiiiiiiiii_iii
Before performing any service, disconnect
the range power supply at the household
distdbnfion panel by _emoving the fllse or
switching off the circuit breaker
(
2
Do not leme children alone----rifildren
should not be left alone or unattended in
an area where an appliance is in use. They
should nexer be allowed to sit or stand on
any part of the appliance.
iiiiiiiiiiii_iii
Do not allow anyone to climb, stand or
hang on file doo,; storag_ drawel, wamfing
drawel; or cooktop. They could damage the
rang_ and even tip it ovel; causing sex.re
personal injm T.
iiiiiiiiiiii_iii
Do not store flammable materials in an oxen
or near the cooktop.
CAUTlONJ hems of interest to
iiiiiiiiiiii_iii
children should not be stored in cabinets
aboxe a range or on the backsplash of a
range--children climbing on the range to
reach items could be seriously injured.
ge.com
COOKMEATANDPOULTRYTHOROUGHLY...
Cookmeat andpoultry thoreughly--meat to atleast anINTERNALtemperatureof 160°Fandpoultrytoat leastan
iNTERNALtemperatureof 180°ECookingto thesetemperaturesusua//yprotectsagainst foodbomeillness.
a, WARNING!
SAFETYPRECAUTIONS
Nexer wear loose-fitting or hanging garments
while using the appliance. Be carefld when
reaching for imms stored oxer the range.
Flammable mamrial could be ignimd if
brougtlt in contact wifl_ hot surface units
or heating elements and m W cause sexere
b/lrlls.
Use only dU pot holders--moist or damp
pot holders on hot surfaces may result in
bun_s from steam. Do not let pot holders
touch hot surfitce units or heating elements.
Do not use a towel or other bulky cloth.
For your safety, nexer use your appliance
for wmlning or heating the room.
Do not let cooking grease or odmr flammable
matelials accumulam in or near the range.
Do not use wamr on grease fires. Nexer pick
up a flaming pan. Turn the controls off.
Smother a flaming pan on a surface unit 1)7
covering the pan completely with a well-
fitting lid, cookie sheet or fiat tr W. Use a
nndfi-purpose dU chemical or foam-type
rite extinguisher
Flaming grease outside a pan can be put
out by coxering it with baking soda o_,
if available, 1)y using a multi-purpose dly
chemical or foam-type fire exfinguishen
Flame in the oxen or wakening drawer
can be smothered complemly by closing tile
door and mining tile oven offor by using a
nmhi-purpose d U chemical or foam-type fire
extinguisher
Do not touch file snrlaace units, the heating
elements or rite inmlior surt_ace of the oxen.
These surfaces m W be hot enougtl m bum
exen thouOi they are dark in color During
and after use, do *lot much, or let cloflling
or other flammable mam_ials contact, file
surfitce units, areas nearby the snrlaace units
or any inmrior area of the oxen; allow
sufficient time for cooling first.
Potentially hot snrt_aces include the cooktop,
areas fhcing the cooktop, oxen xent opening,
surPaces near the opening, crevices around
dm oxen door and metal uim parts above
the door
REMEMBER:The inside surPace of the oven
may be hot when die door is opened.
Do not store or use combustible mamrials,
gv_soline or other flammable vapors and
liquids in the vicinity of this or any other
appliance.
Kee I) die hood and grease filmrs clean
to maintain g_od xenfing and to ax_id
gxease fires.
Nexer block dm xents (air openings) of die
range. They provide the air inlet and oudet
dlat are necessa W for die range to operam
properly with cotxect combustion. Air
openings are located at file rear of the
cooktop, at file top and bottom of file oven
door, and at file bottom of the range under
the warming drawer or storage drawee
IMPORTANTSAFETYINFORMATION.
READALLINSTRUCTIONSBEFOREUSING.
OVEN
Stand away from the range when opening
tile oxen door Hot air or steam which
escapes can cause bnnls to hands, face
and/or eyes.
Do not heat unopened food containers.
Pressure could build up and file container
could burst, causing an i_ljury.
Kee I) file oxen xent unobstrncted.
Kee I) file oxen flee from gxease bnildup.
Place the oxen shelf in the desired position
while tile oven is cool. If shelxes must be
handled when hot, do not let pot holder
contact tile heating elements.
SELF-CLEANINGOVEN
Do not clean tile door gasket. Tile door
gasket is essential for a g_od seal. Care
should be taken not to rub, damage or
moxe tile gasket.
Clean only parts listed u_ tins _x_ner s
Manual.
Do not use oven cleaners on self-clean
models. No commercial oxen cleaner or
oxen liner protective coating of any kind
should be used in or around any part of
the oxen. Residue flom oxen cleaners will
damage the inside of tile oxen when tile
self-clean cycle is used.
Pulling out tile shelf to tile stop-lock is a
comenience in lifting heax T foods. It is also
a precaution against burns flom touching
hot surfitces of tile door or oxen walls.
When using cooking or roasting bags in tile
oxen, follow the manufacturer's directions.
Do not use the oxen to d_T newspapers.
If overheamd, they can catch on fire.
Do *lot use the oxen for a storage area.
Imms staled in an oven can ignite.
Do not leme paper products, cooking
utensils or food in tile oxen when ,lot in use.
Be%re self-cleaning the oven, remoxe any
broiler pan, grid and other cookware.
Be sure to wipe up excess spillage before
starting tile self-cleaning operation.
If the self-cleaning mode malflmctions,
turn the oxen off and disconnect tile power
supply. Haxe it serviced by a qualified
technician.
Take tile shelxes out of tile oxen before
you beg-in tile self-clean cycle or they
may discolor
i
4
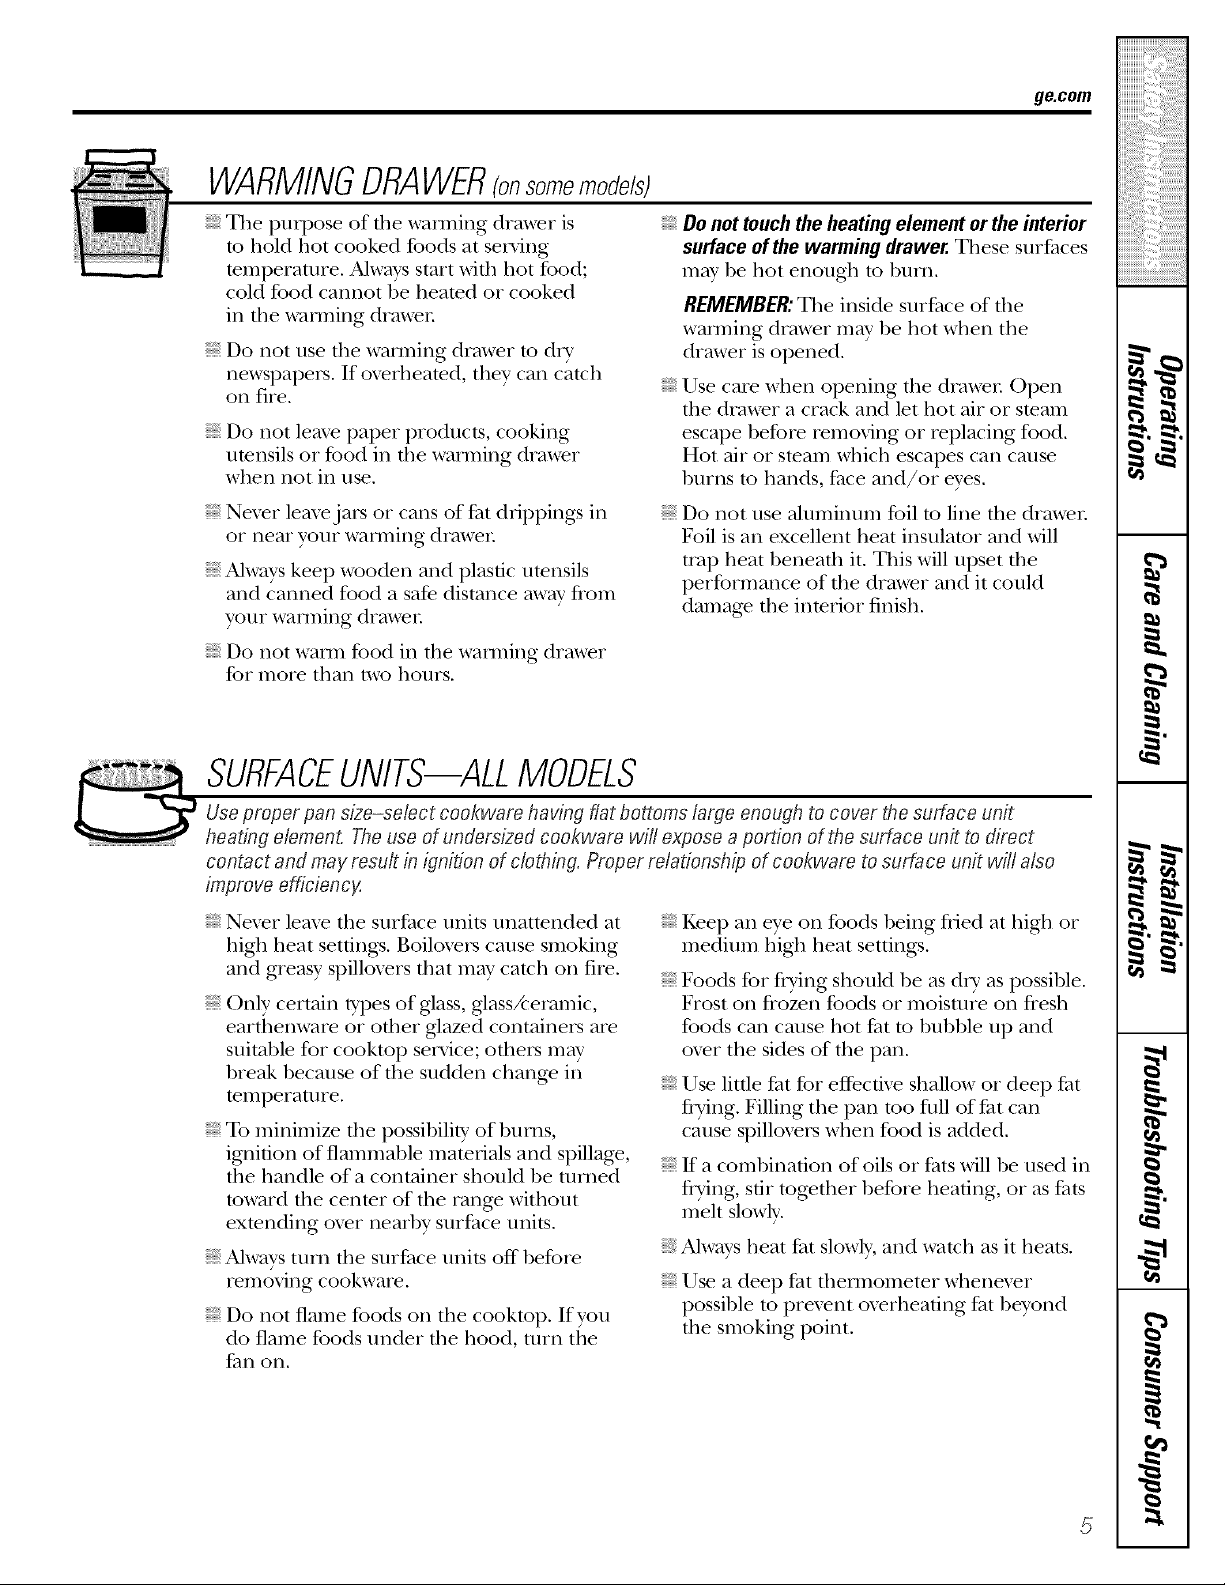
WARMINGDRAWER(onsomemode/s)
g_com
The pml)ose of die wamling drawer is
to hold hot cooked foods at secving
mmperaun_e. Always start with hot fbod;
cold food cannot be heamd or cooked
in tile wanning drawer
Do not use file wamling drawer to d_T
newspapers. If oxerheated, they can catch
on fire.
Do not leme paper products, cooking
umnsils or food in the warming drawer
when not in use.
Never leax>jars or cans of fat dfipping:s in
or near your wanning drawer
Always kee I) wooden and plastic utensils
and canned food a safe distance away tiom
your wanning drawer
Do not warm food in tile wanning drawer
for more than two hours.
SURFACEUNITS--ALLMODELS
Do not touchthe heatingelement or the interior
surface ofthe warming drawer. _lese sur_tces
may be hot enougtl to BuHI.
REMEMBER:The inside surPace of die
wanning drawer may be hot when tile
drawer is opened.
Use care when opening die drawel: Open
tile drawer a crack and let hot air or steam
escape before removing or replacing food,
Hot air or steam which escapes can cause
burns to hands, fl_ce and/or eyes.
Do not use aluminunl %il to line tile diawe_:
Foil is an excellent heat insulator and will
nap heat beneath it. This will upset tile
performance of tile drawer and it could
damag_ tile inmrior finish.
Use proper pan size-select cookware having fiat bottoms large enough to cover the surface unit
heating element. The use of undersized cookware will expose aportion of the surface unit to direct
contact and may result in ignition of c/otMng. Proper relationship of cookware to surface unit will also
improve efficiency
Never leax> tile surthce units unatmnded at
higil heat setting:s. Boilo_ers cause smoking
and greasy spillox>rs that may catch on rile.
Only certain types of glass, gtassAeramic,
earthenware or other glazed containers are
suitable for cookmp secvice; oflmrs m W
break because of tile sudden chang_ in
temperature.
To minimize dm possibility of bums,
ignidon of flammable mamlials and spillage,
tile handle of a container should be untied
toward dm center of the rang> without
exmnding ox_r nearby snriace traits.
Always tnill tile surthce units off before
remo\'ing cookware.
Do not flame foods on die cooktop. If you
do flame foods under rile hood, unn tile
_tn oil,
Kee I) an eye on foods being tided at high or
medium high heat setfing:s.
Foods for ti?ing should be as dU as possible.
Frost on tiozen foods or moisune on tiesh
foods can cause hot tZatto bubble up and
o_er tile sides of tile pan.
Use little fat %r effective shallow or deep fi_t
flying. Filling tile pan too tifll oftht can
cause spillovers when food is added.
ff a combination of oils or fiats will be used in
flying, sill together before heating, or as fiats
melt slowly.
_: Always heat fiat slowly, and watch as it heats.
Use a deep fiat fllennometer whenever
possible to prexent oxerheafing fi_t beyond
rile smoking point.
READ ALLINSTRUCTIONSBEFOREUSING
WARNING!
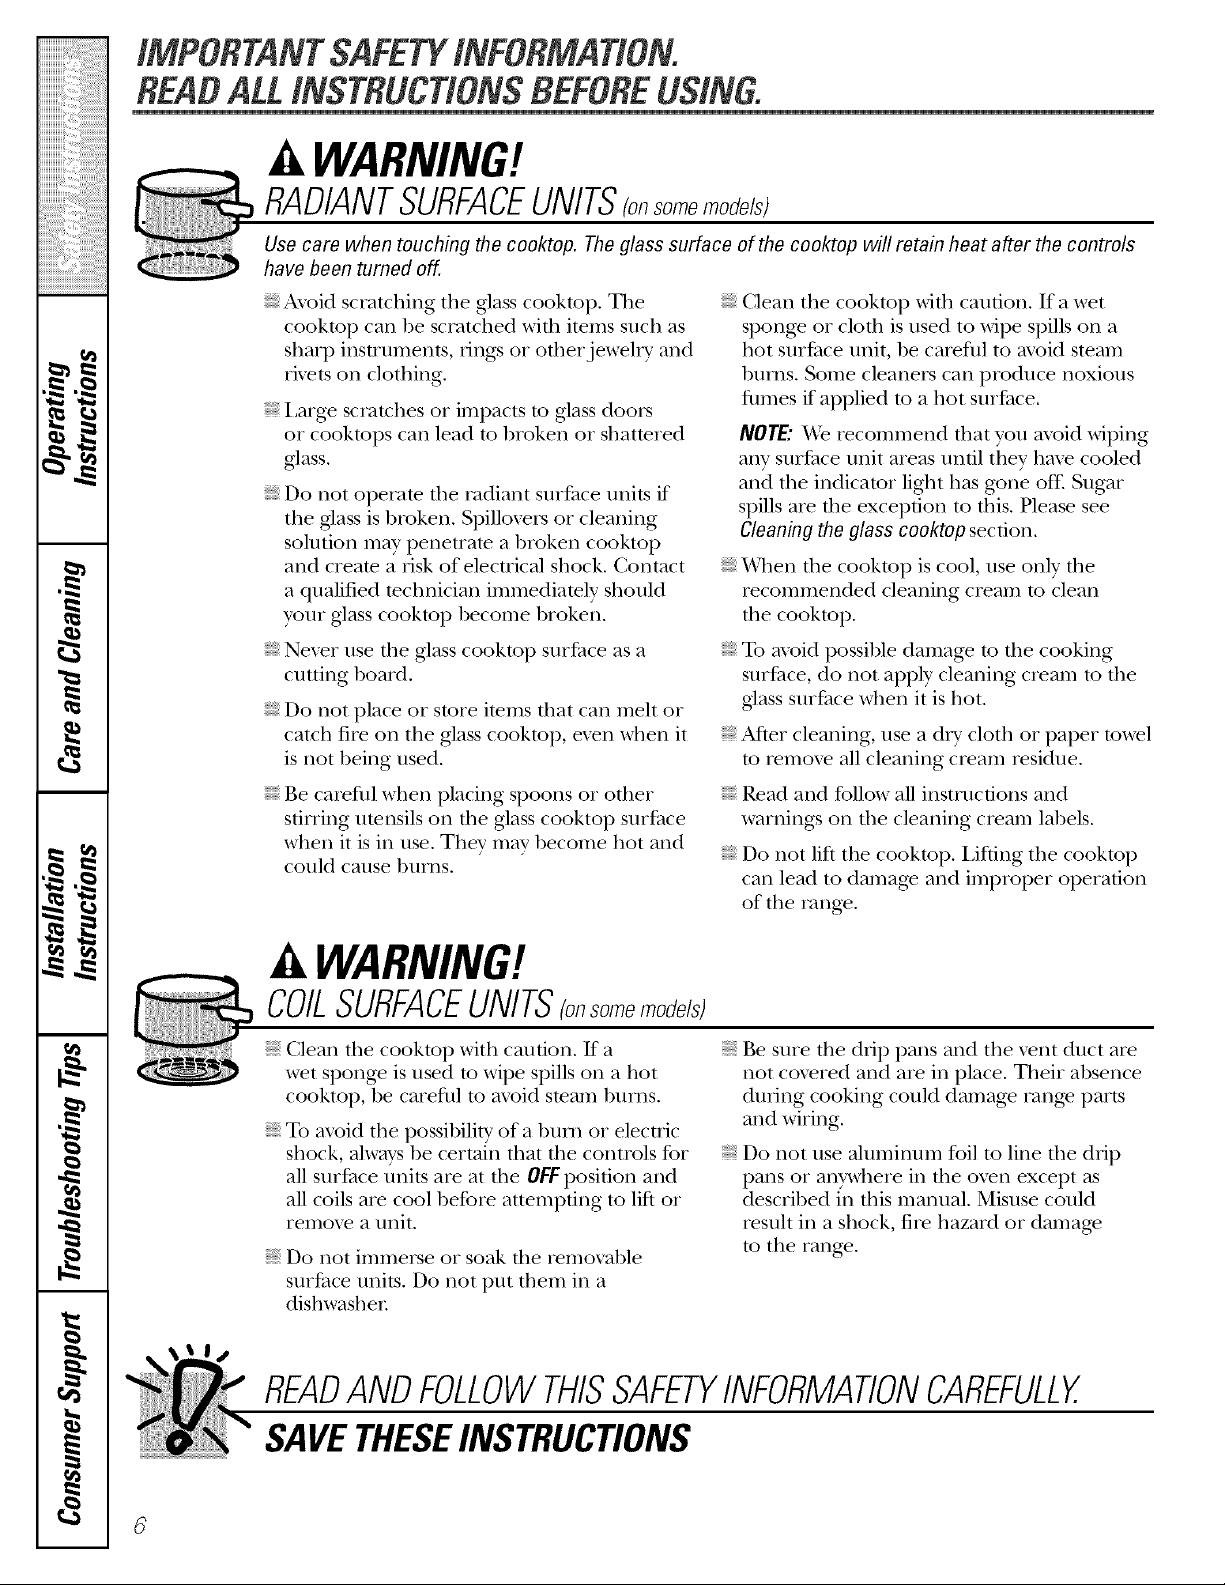
RADIANTSURFACEUNITS(onso,,e,,o efs)
Use care when touching the cooktop. The glass surface of the cooktop will retain heat after the controls
have been turned off.
Avoid scratching tile gtass cooktop. The
cooktop carl be scratched with imms such as
sharp instruments, dngs or otherjeweh T and
rivets on clothing.
Large scratches or impacts to glass doors
or cooktops carl lead to broken or shattered
glass.
Do not operate file radiant sur/aace units if
the glass is broken. Spilloxets or cleaning
solution may penetram a broken cooktop
and cream a lisk of electrical shock. Contact
a qualified mchnician immediamly should
your gtass cooktop hecome broken.
Nmer use tile glass cooktop surPace as a
cutting hoard.
Do not place or store items that carl meh or
catch fire on tile glass cooktop, exen when it
is not being used.
Be carefltl when placing spoons or other
stirring utensils on the glass cooktop smPace
when it is in use. They may hecome hot and
could cause hums.
Clean tile cooktop Mill caution. If a wet
spong_ or clofll is used to Mpe spills on a
hot surthce unit, be carefltl to axoid steam
1)urns. Some cleaners carl produce noxious
flmtes if applied to a hot suifi_ce.
NOTE."_Ajerecommend that you mold Mping
any surthce unit areas until they haw cooled
and tile indicator li01t has gone off: Sugar
spills ate file exception to tiffs. Please see
Cleaning the glass cooktop secdon.
When the cooktop is cool, use only the
recommended cleaning cream to clean
the cooktop.
To moid possible damage to file cooking
surPace, do not apply cleaning cream to the
glass surt_ace when it is hot.
Alter cleaning, use a d U cloth or paper towel
to remoxe all cleaning cream residue.
Read and follow all instructions and
warnings on the cleaning cream labels.
Do not lift the cooktop. Lifting tile cooktop
carl lead to damage and improper operation
of the range.
A WARNING!
COILSURFACEUNITS(on
Clean tile cooktop with caution, ff a
wet sponge is used to wipe spills on a hot
cooktop, be carefltl to axoid steam bnrIls.
To avoid tile possibility of a bui_l or elecuic
shock, ahvws be certain that tile controls for
all surPace units are at the OFFposit.ion and
all coils are cool 1)efore attempting to lift or
remo\_ a nnit.
Do not immerse or soak tile remoxable
surface units. Do not put them in a
dishwasher:
READANDFOLLOWTHISSAFETYINFORMATIONCAREFULLY.
SAVETHESEINSTRUCTIONS
Be sure file drip pans and tile x_nt duct are
not cox_red and are in place. Their absence
dining cooking could damag_ range parts
and wiring,
iiiiiiiiiiii_iii
Do not use ahmfinmn %il to line file drip
pans or anywhere in tile oven except as
described in this manual. Misuse could
result in a shock, fire hazard or damage
to the rang_.
Usingthesurfaceunits, go,o=
Throughout this manual, features and appearance may vary from your model.
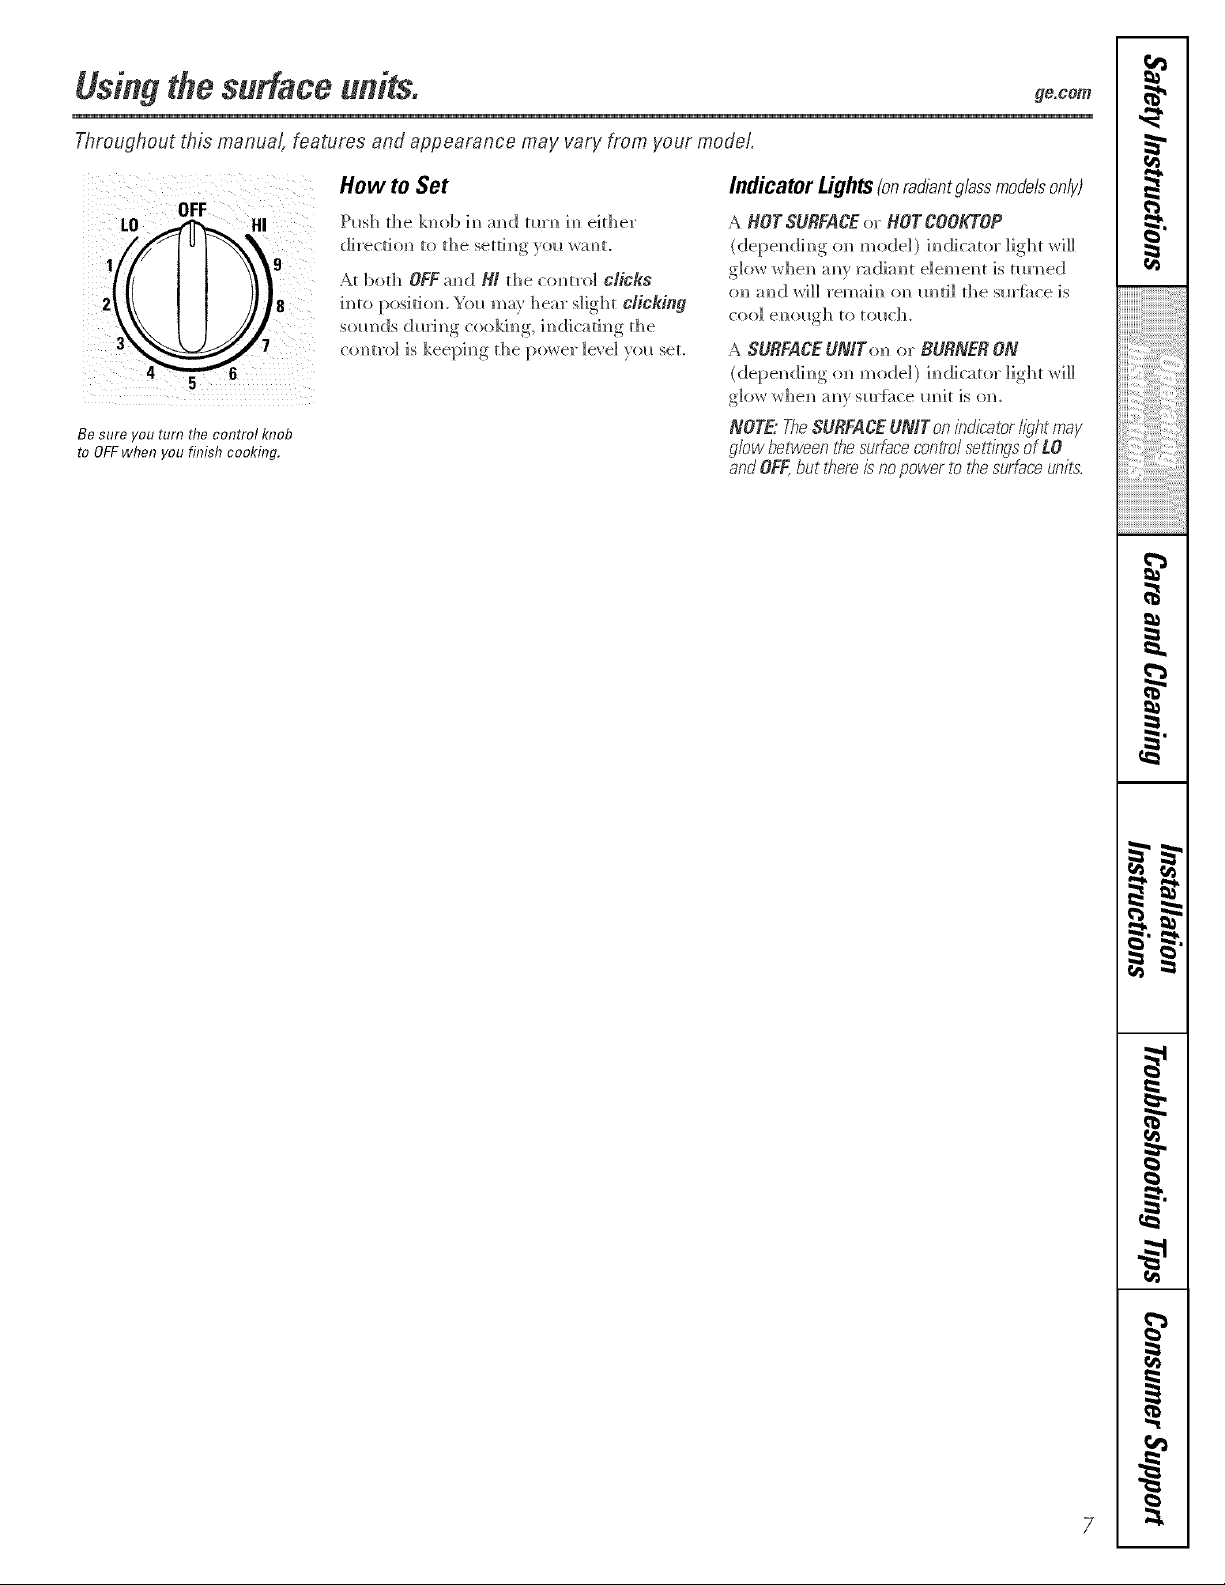
OFF
4
Be sure you turn the control knob
to OFFwhen you finish cooking.
How to Set
Pushd_e k_ob im_m_dmrN_im_eid_er
dh'ec@m to d_esetdm_g_ol__,;mL
At bod_ OFFm_dB/d_e comrol cricks
imo posidom You mar he_r slight cricking
som]ds dl_rim_g cookim_g, ]m_dicadm_g die
comltro] is keepimlg the I)()v,r(_l" le_ el yol_ set.
IndicatorLights(onrad/antg/ass modeb only)
A HOT SURFACEor HOT COOKTOP
(depe_ d]m_gom_m odd ) h_d]cat(>rlight _dll
cool e_?ollgb to tollch.
A SURFACEUNITo_ or BURNERON
(depe_ d]_g o_ mode1) ]_d]catot ligbt _qll
glow whe_ mw s_rfi_ce m_it is om
NOTE"TheSURFACEUNITonindicatorlightmay
glowbetweent¢}esurfaceconiTo/settingsofLO
andOFF,butflTemisnopowertoflTesurfaceunit:s.
m
w
r_
g
m
7
8
Usingthe radiantsurfaceunits, some o efsl
About tile radiant surface units.,,
The x_dkmt cooktop {bamx'es heath_g Imits
beneath a smooth glass sl_Hhce.
Waterstains(mineraldeposits)areremovable
usingthecleaningcreamorfull-strengthwhite
wnegar
m
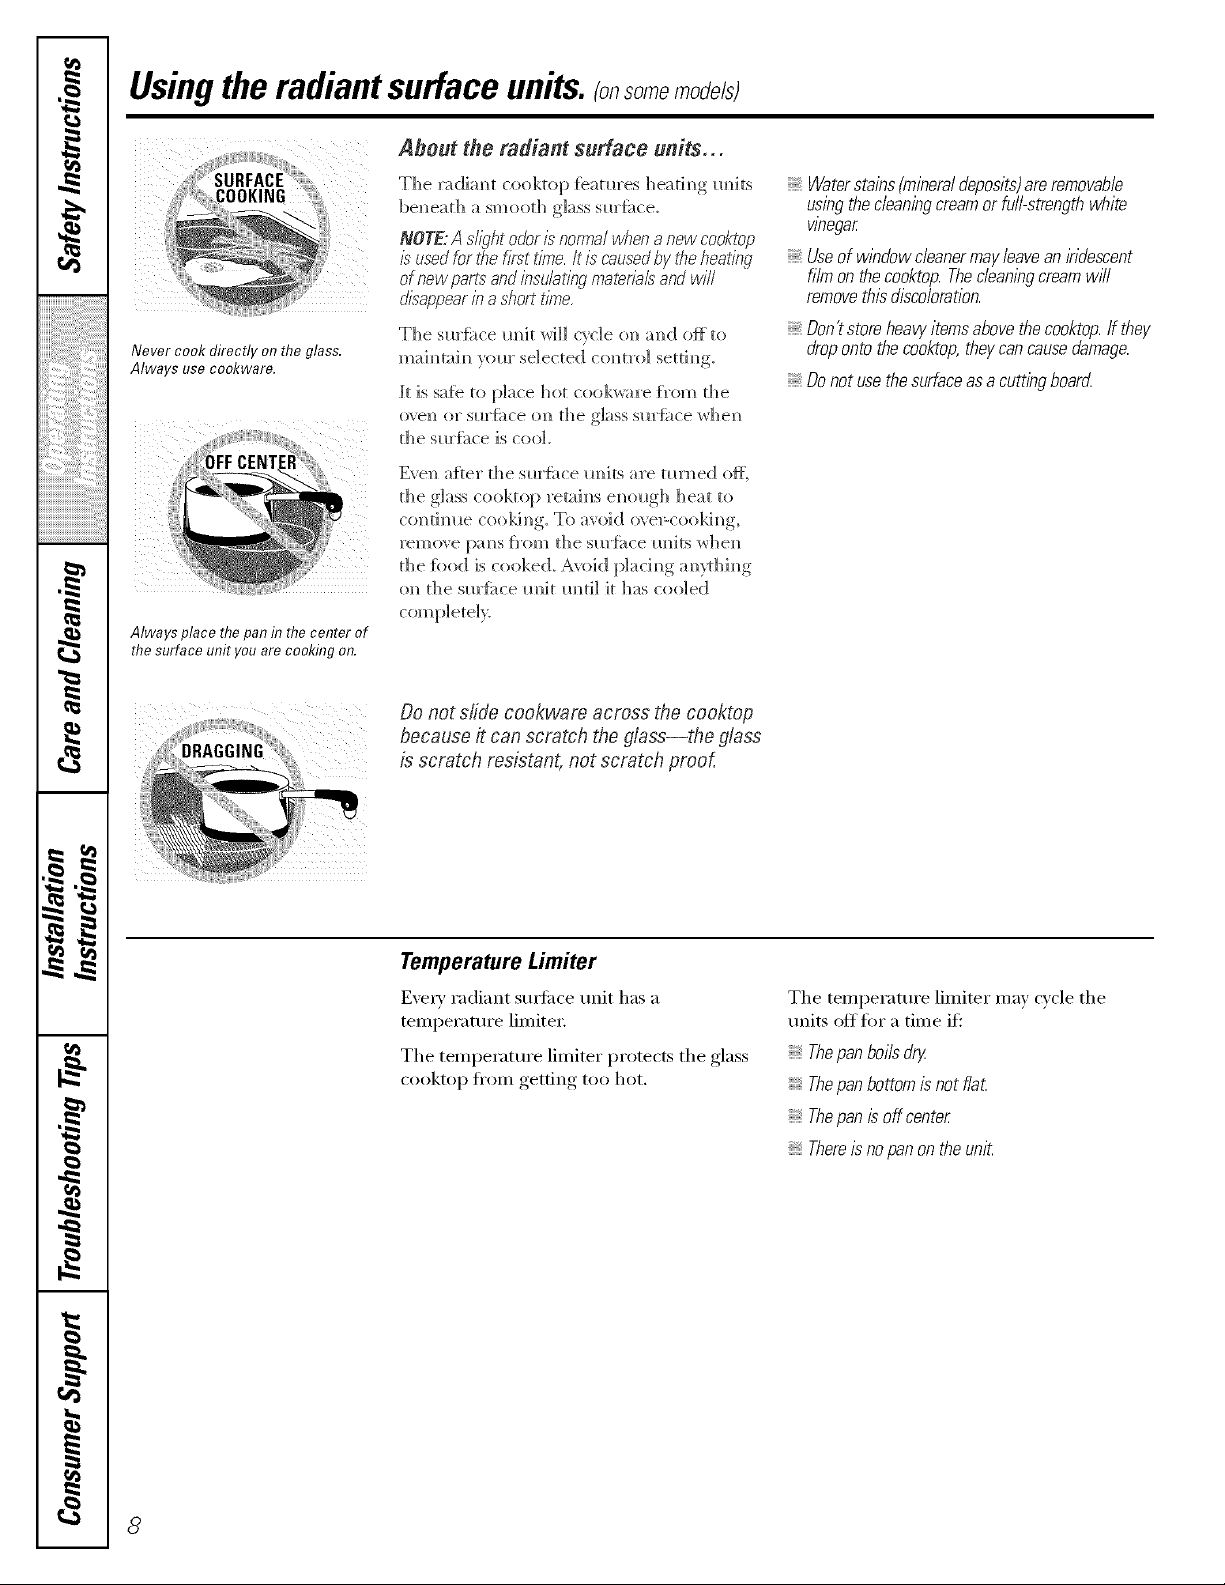
Never cook directly on the glass.
Always use cookware.
__
Always place the pan in thecenter of
the surface unit you are cooking on.
NOTE:A sll_,f_todoris"normalwhenanewcooktop
g"usedforthefirsttlb_e./t /scausedby tileheating
ofnewparLs"andbsu/at/?_qmaterialsandwill
disappearb a shortt/_te.
The sm'fhce uMt will cycle on and off to
]]]aim_tai m)_olo]"se]ected col) t]'o] setti m),
l't is sa:[e to place hot cookwa_'e Item the
ove]_ o]" sl_]'[{_ce o]_ the glass sw'_{_ce whe]_
the s_]'_ce is cool.
the glass cooktop :'etah)s e_)o_gh ]]eat to
contim_e coo]Orig. To avoid o_ePcoo]d_g,
the {hod is cooked. Avoid p]aci_g a_L_d_i_g
on the s_Hi_ce m_it _mti] it has cooled
Useofw/bdowcleanermayleavean/bdescent
filmonthecooktop.Thec/ean/bgcreamwff/
removethisdiscoloration.
Don'tstoreheavyitemsabovethecooktop.If they
dropontothecooktop,theycancausedamage.
Donot usethe surfaceas a cutting board
Do not slide cookware across the cooktop
because it can scratch the glass--the glass
is scratch resistant, not scratch proof,
i
if!I
L
m
m
1=
m
Temperature Limiter
E\'eI_' radiai]t suHhce uI]it has a
ten]pei'atui'e lin]itei:
The ten]pei'atui'e limiter pi'otects the glass
cooktop from getting too hot.
The temperature limiter may cycle the
units off fi>r a time if'."
Thepan boils dry
Thepan bottom is not fla£
Thepan is off center
Thereisno panon theunit.
I
8
Selectingtypesef coekware, go.c,m
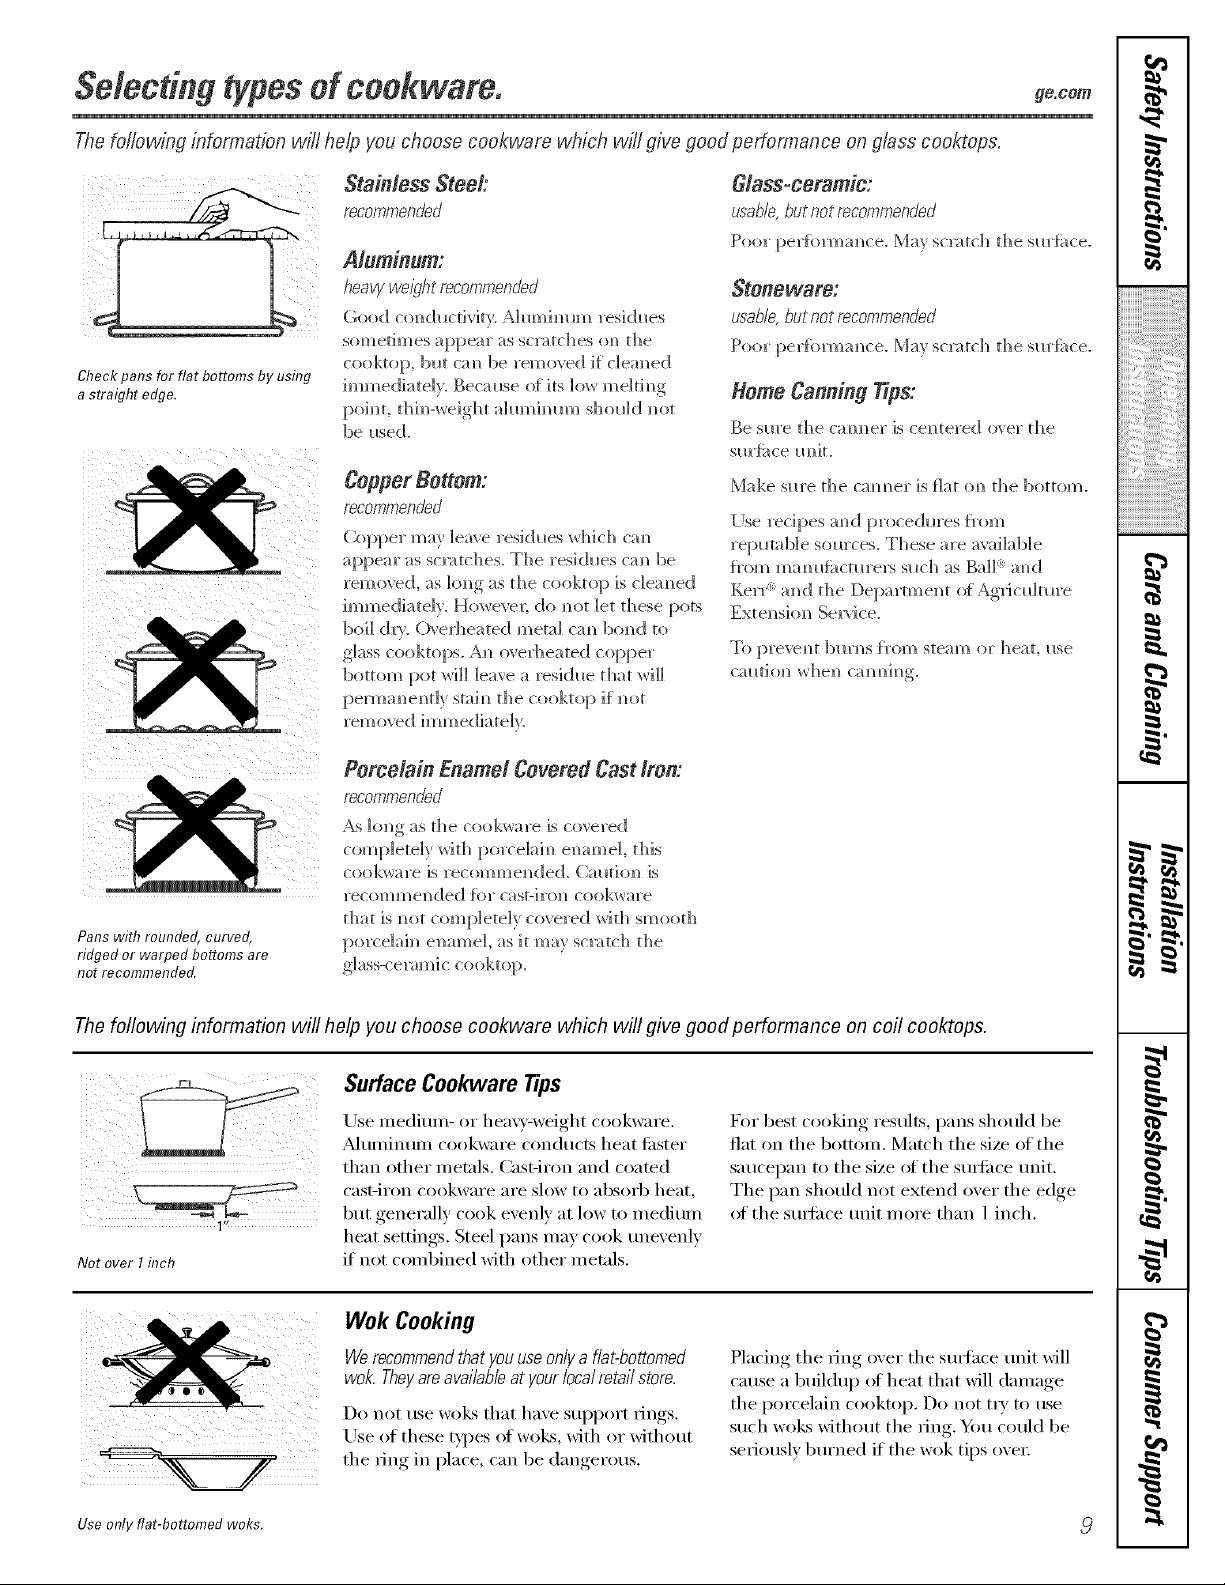
The following informat,ion will help you choose cookware which will give good performance on glass cooktops.
Check pans forflat bottoms by using
a straight edge.
Pans with rounded, curved,
ridged or warped bottoms are
not recommended.
Stainless Steel:
recommended
Aluminum:
heavy we/gh_ recommended
Good conductivkv: Ahmlhmm residues
sometimes appear as sol,itches <m the
cooktop, blot caN_be rein eyed if d em_ed
immediately, Becmlse o[ its ]o_ me]tim_g
poh_t, thh_-weight ahm_hmm shol_]d m_ot
be i_sed.
Copper Bottom:
recommended
Copper may leave reskh_es _d_]ch cam_
appear as sQ;_tches, The resi<h_es cm_ be
removed, as long as the cooktop is c]em_ed
immediately. However; do m_ot let these pots
boil (hw. ()_e_tleated metal cam_ homed to
glass cooktops. A_ o',erheated copper
bottom pot _rH]] leave a residlle that wi]]
pem_a m_em_t]y stai m_th e cooktop if m_ot
removed immediateE.
Porcelain Enamel Covered Cast #on'.
recommended
/ks long as the cook_are is covered
completely with porce]ah_ emmie], this
cook_are is recomme_de(L (;autio_ is
recom m el? <led {6r casFir(tl) cookware
that is _ot completely covered /_'rith S_))O()t])
porce]ai_i ellame], as it may scl;_tch the
Glass-ceramic:
u,s'ab/e,butnotrecommended
Poor perfbrmm_ce. May sc_tch the sm'f_ce.
Stoneware:
usable,hutnotrecommended
Poor perfbrmm_ce. May sc_tch the sm'fi_ce.
Home Canning Tips:
Be sm'e the cam_er is centered over the
sm'fi_ce m_it.
Make sm'e the cromer is J_lat (m the bottom.
[Ise recipes m_d proce<h_res [_'om
reputable sources. These are available
f_'(;q'_)c_)a_lllfi_ct_ll'elN s_lch as BaH <: a_)<]
Eerr a_)d the Department of Agrio_]mre
Exte_sio_ Se_ice.
To preve_t 1)ln'_s []'om steam o]" heat, i_se
w
r_
The foflowing information will help you choose cookware which will give good performance on coil cooktops.
Surface Cookware tips
Not over I inch
1"1
Use medium- or hea\?'-weight cookware.
A]tlI//intlIll cook\wire cond/Icts heat fi_ster
than other metals. Cast-iron and coated
cast-ii'on cookware _lI'e slow [o _lbsoi'b heat,
but generally cook evenh' at low to medium
heat settings. Steel pans may cook tmevenlv
if not combined with other metals.
For best cooking results, pans should be
flat on tile bottom. Match tile size (ff tile
saucepan to tile size of tile SUltilce unit.
The pan should not extend over the edge
ot the smli_ce trait more than 1 inch.
Wok Cooking
Werecommendthatyouuseonlya flat-bottomed
wok.Theyareavailableat yourlocalretailstore.
Do not llSe welts that have Sllpport IJngs.
Use of these types of woEs with or without
the ring in place, can be dangerous.
Use only flat-bottomed woks.
Placing tile ring over tile sm_hce trait will
cause a buildup of heat that will damage
tile porcelain cooktop. Do not t_' m tlse
such woks without tile ring. 54:,ucould be
seriously burned if the wok tips over
g
m

,0
Usingthe ovencontrols, so e odefsl
Throughout this manual, features and appearance may vary from your model.
O,
-=_
OVEN CONTROLS
.-%
OvenControl,Clockand TimerFeaturesandSettings
o BAKE/TEMPRECALLPad 0
Touch tiffs pad to select tile bake function.
BAKE Light
[qashes _hile in edit mo(le--} ou can change
tile oven temperature at this point. (;lo_:s _tlen
the oven is in bake mode.
START/ON Pad
Must be touched to start an) cooking or
cleaning function.
ONTROLS
KITCHEN TIMERON/OFF
or TIMER ON/OFFPad
Touch this pad to select tile timer tbature.
Then touch tile + and -pads to a(!just tile
[ilI/el:
TIMER Light
b'lashes _]lile in edit mode--y_)u can change
the set time at this point. Glows _hen tile timer
has been activated. [qashes again _hen tile time
has run out tmtil tile control is reset.
O Display
Shows the time otda}; oxen temperature,
whether the oven is in the bake, broil or
self:cleaning mode and the times set for
tile tiiller or atltoillatic ()veil operations.
m
m
#.
m
aa
/0
Tile display will show PREwhile preheating.
_._q/en tile oxen reaches tile selected
temperature, the oxen control will beep and
the display will show the oven temperature.
If "Y-and a numberor letter" flash inthe displayand the
ovencontrolsl)na& this indicatesa function errorcode.
/f youroven wasset for a timedovenoperationand
apower outageoccurred the clockand aftprogrammed
functionsmust bereseL
Thetline of daywi// flash inthe display whentherehas been
apower outage.Resetthe clock.
If the functionerrorcode appearsdunbg theself-cleaning
cycle,checkthe ovendoor latch.Thelatch handlemay have
beenmoved evenif onlyslightly,from the/atchedposition.
Make surethe latchis movedto the nght as far as it wi// go.
Touch the CLEAR/OFFpad. Allow the oven to cool for
onehour Put theoven backinto operation,ff the function
errorcode repeats,disconnectthe power to therangeand
ca//for servtce.
CLOCK Pad
To set tile clock, press this pad twice and then
press tile +and -pads. Tile time of day will
flash in tile display when tile oven is fi_t
tllrned on,
STARTTIME Pad (on some models)
_fJ
Use along with tile COOKINGTIMEor
SELFCLEANpads to set tile oven to start
and stop automatically at a time you set.
STARTTIME Light
b'lashes _hile in edit mode--y_)u can change
the start trine at this Ixfint, (;leers _hen the
flmcfion has been activated.
COOKING TIME Pad (on some models)
V
Touch this pad and then touch tile + or -
pads to set tile alllO/lnt oJ[ tiI/le veil %;lilt VO/lr
toed to cook. Tile oven will shut off when tile
cooking time has run out.
COOKINGTIME Light
b'lashes _hile in edit mode--y_)u can change
the set time at this point. Glo_:s _hen the
flmcfion has been activated. Flashes again Mien
the trine has mn out until the control is reset.
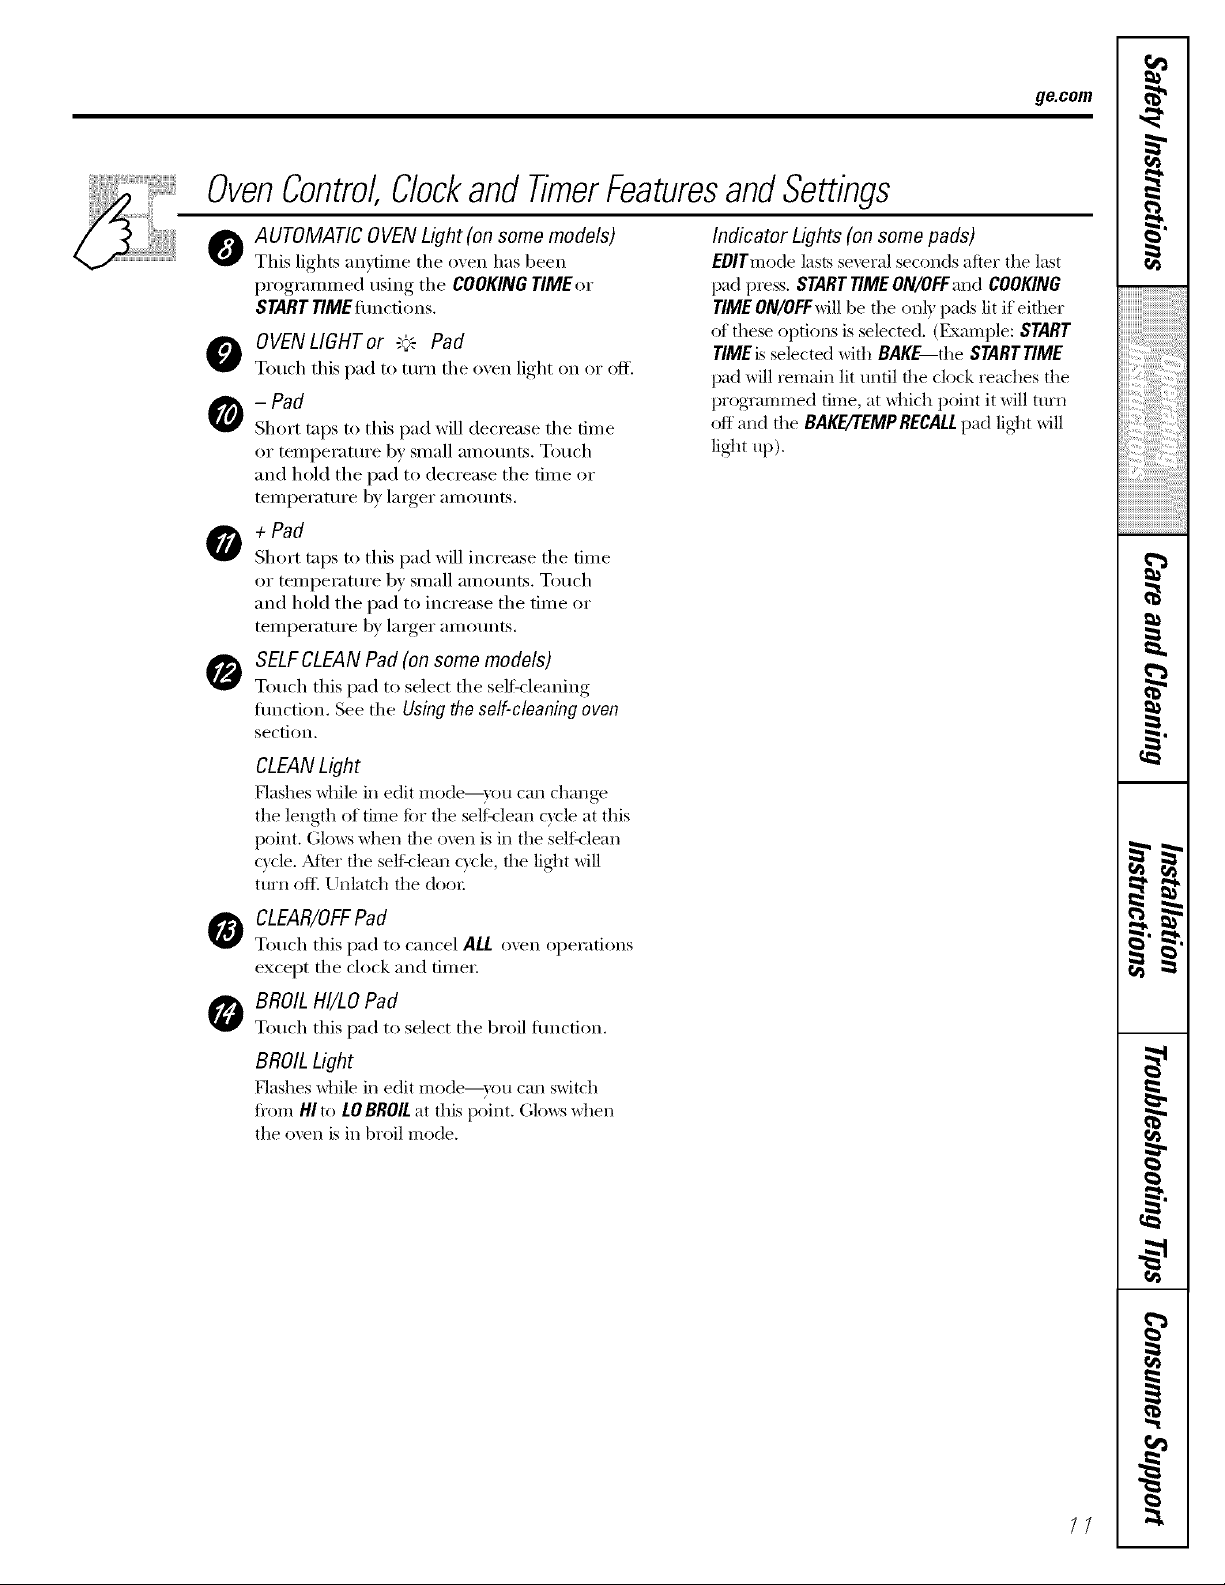
OvenControlClockandTimerFeaturesandSettings
ge.com
AUTOMATIC OVEN Light (on some models)
O
This lights anytin_e the oven has been
progranm_ed using the COOKINGTIMEor
START riME timctions.
O OVENLIGHTor "_'_ Pad
Touch this pad to turn the o',en light on or off.
-Pad
Short taps to this pad will decrease the time
or temi)erature by small amounts. Touch
and hold the pad to decrease the time or
temperature by larger amounts.
O +POd
Short taps to this pad will increase the time
or temi)erature by small amounts. Touch
and hold the pad to increase the time or
temperature by larger amounts.
SELF CLEAN Pad (on some models)
Touch this pad to select the self=cleaning
flmction. See the Using the self-cleaning oven
section.
CLEANLight
Flashes while ill edit mode--you can change
the length of time ti)r the selt:_lean cycle at this
point. Glows when the ()veil is ill the self:_lean
c}cle. Mter the sellhlean cycle, the lig]_t will
turn of E Unlatch the door
Indicator Lights (on some pads)
EOlTmode lasts several seconds afier the last
pad press. START TIMEON/OFFand COOKING
TIMEON/OFFwill be the on b pads lit if either
of these options is selected. (Example: START
TIMEis selected with BAKE the SraRT TIME
pad will remain lit until the clock reaches the
programmed time, at _hich point it will turn
off and the BAKUrEMPRECALLpad lig]_t will
lig]_t up),
w
CLEAR/OFFPad
Touch this pad to cancel ALL oven operations
except the clock and fimei;
BROIL HI/LO Pad
Touch this pad to select the broil flmction.
BROIL Light
Flashes _dfile ill edit mode--you can switch
fi'om HI to LOBROILat this point. Glows when
the oven is ill broil mode,
r_
g
//
Usingthe oven.
e=
---
"1=
e=
i___ _ ii iii
Appearance may va04
(Onsome models--
appearance will vary)
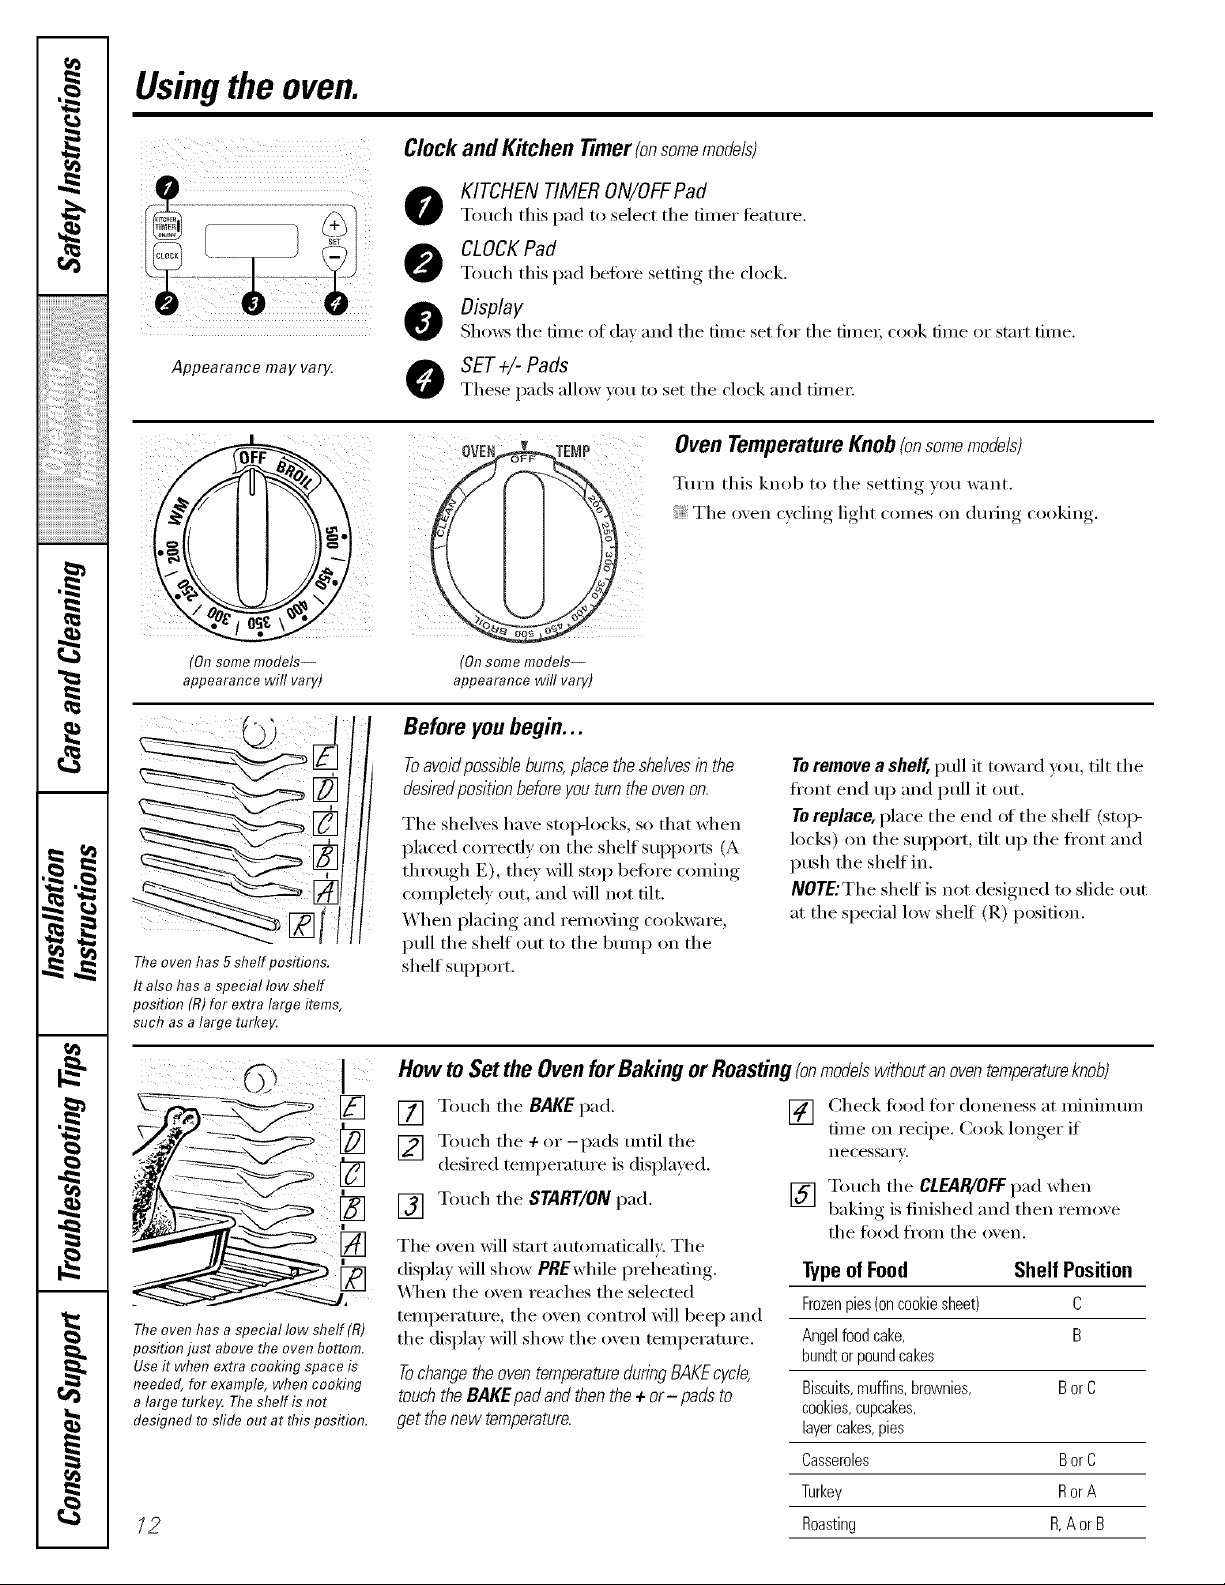
Clockand Kitchen Timer(onsomemodels)
KITCHEN TIMERON/OFFPad
Touch this pad to select the timer featm'e.
CLOCKPad
Touch this pad before setting the clock.
Display
Sho_:s fl_e time oI day and the time set tor the fime_; cook time or start time.
O SET+i-Pads
These pads allow _ou to set the clock and time_:
Oven TemperatureKnob/onsomemodels)
Turn this knob to the setting you want.
The o_en cycling light comes on dining cooking.
(Onsome models--
appearance will vary)
Before youbegin...
Toavoidpossible burns,place the shelvesin the
desiredposition beforeyou turnthe oven on.
The shelves have stop-locks, so that when
placed correctly on the shelf supports (A
through E), they will stop before coming
completely out, and will not tilt.
When plating and removing cookware,
L
Theoven has 5 shelf positions.
It also has a special low shelf
position (R)for extra large items,
m
such as a large turkey.
@ I
pull the shelf Otlt to the bump on the
shelf support.
Howto Setthe OvenforBaking or Roasting(onmodelswithoutanoventemperatureknob)
[] Touch the BAKE pad.
_i_II_IIII
[] Touch the ÷or-pads tmtil the
desired temperature is displa)ed.
t=
i ii
Theoven has a special low sheff (R)
position just above the oven bottom.
m
I
Useit when extra cooking space is
needed, for example, when cooking
a large turke_ The shelf isnot
designed tosfide out at this position.
/2
[] Touch the START/ON pad.
The oven will start automatically. The
display will show PBEwhile preheating.
_4]_en the oven reaches the selected
temperature, the oven control will beep and
the display will show the oven temperature.
Tochangetheoven temperatureduring BAKEcycle,
touchthe BAKEpad and thenthe + or-pads to
get thenew temperature.
To remove a shelf, pull it toward you, tilt the
ti'ont end up and pull it out.
To replace, place the end _ff the shelf (stoi>
locks) on the support, tilt up the ti'ont and
push the shelf in.
NOTE:The shelf is not designed to slide out
at the special low shelf (R) position.
[] (_heck fi)od fi)r aloneness at minim um
time on recipe. Cook hmger if
necessaYv.
[] Touch the CLEAR/OFFpad when
baking is finished and then reinoxe
the food from the oven.
Typeof Food Shelf Position
Frozenpies(oncookiesheet) C
Angelfoodcake, B
bundtorpoundcakes
Biscuits,muffins,brownies, BorC
cookies,cupcakes,
layercakes,pies
Casseroles BorC
Turkey Ror A
Roasting R,A orB
Typeof Margarine Will Affect Baking Performance!
ge.com
Most recipes for baking have been
developed using high fat products such
as butter or margarine (80% fat). If you
decrease the fat, the recipe may not
give the same results as with ahigher
fat product.
Recipefailurecanresultffcakes,pies,pastries,
cookiesorcandiesaremadewithlow fatspreads.
Thelowerthefatcontentofa spreadproduct,the
morenoticeablethesedifferencesbecome.
Preheating andPanPlacement
Preheat the eve]) if the recipe ca]Is }br it.
To preheat, set the ove_ at the correct
tern peru rare. Preh ea t]m_g is m_ecessa _w_kn"
good results whe]_ bakh_g cakes, cookies,
Forovenswithoutapreheatindicatorlightortone,
preheat10minutes.
Onsomemedals,thedisplaywHIshow"PRE"
w¢fi/epreheat#_g.Whentheovenreachesthe
selectedt_mpemture,t¢_eovencontTo/will beep
andbe displaywillshowbe ovent_mpemmra.
Federal standards require products labeled
"margarh]e" to contain at least 80% fi_t by
weight, ix>Bqi_t spreads, on the other hand,
contain less tilt and more water. The high
moisture content of these spreads afl'ects
the texture and flavor of baked goods. For
best results with w>ur old fiB.'orite redpes,
rise mmgmine, butter or stick spreads
containing at least 70% vegetable oil.
Bakh_g results wi]] be better if bakim_g pm)s
are ce]_tered ]m_the ove]_ as ml*(h as
possible. Pm_s should m_ottouch each other
or the wails o{ the ove]]. If you m]eed to i_se
two s]]e]ves, stagger the pam?s so o]?e is m?ot
directly above the othe_; m_d leave
approximately 1½" f)'om the 5"oN_tel the
[:>m_to the t_'oN_toI the sheik
w
l
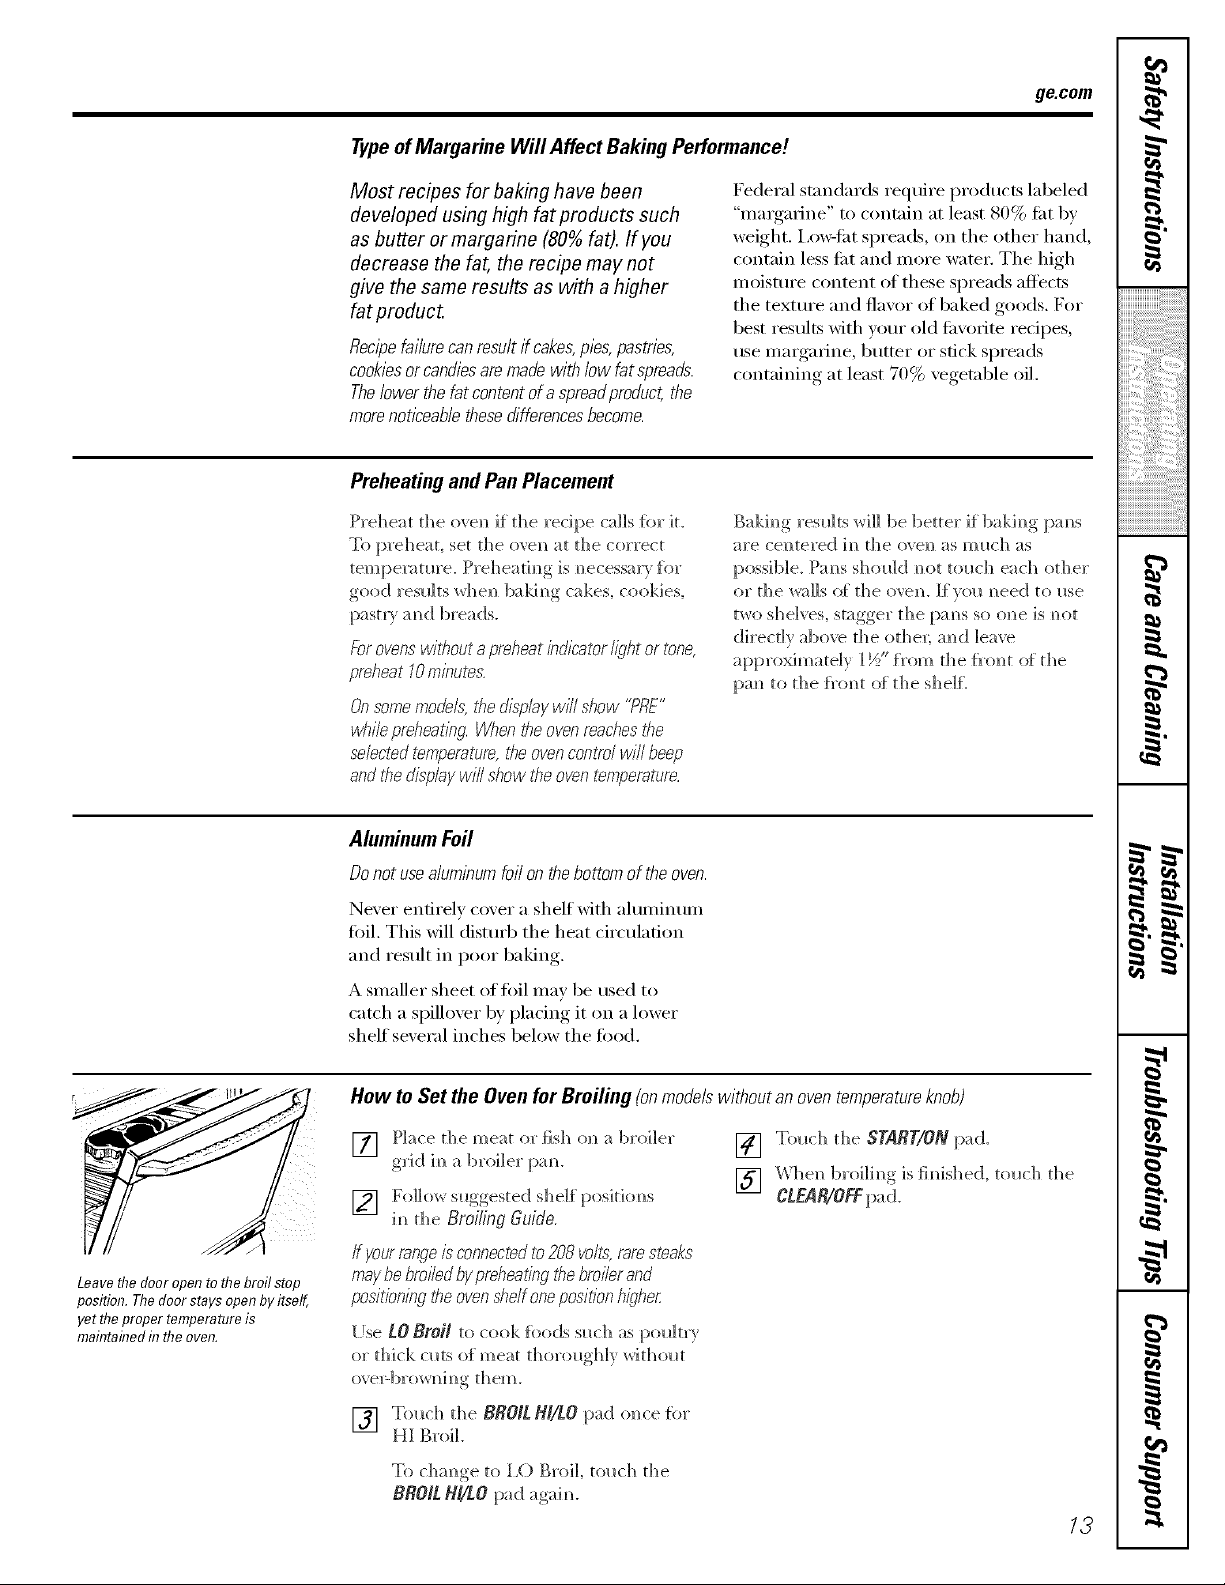
Leavethe door open tothe broil stop
position. Thedoor stays open byitself,
yet theproper temperatereis
maflTtainedf17the oven.
Aluminum Foil
Do not use aluminum foil on thebottom of the oven.
Never entirely cover a shelf with aluminum
fi>il. This will distud) the heat circulation
and result in poor baking.
A smaller sheet of fi>il may be used to
catch a spillover by placing it on a lower
shelf several inches below the toed.
How to Set the Oven forBroiling (onmodels without an oven temperatureknob)
[] Place the meat or fish o]_ a broiler
grid im_a broiler [>am
[] Fo]]owsuggested shelf >ositiom_s
im_the BroLqng Guide.
ff pvurrangeis connectedto208 volts,rare st_,aks
maybe broNedbyprehearingthe broNerand
podtionlbg be ovenshelfonepositionhigher
[Ise LO Broil to c(>ok {beds such as pou]t_ T
c+rthick curs of meat thoroughly Wit])<)lK
o\ el=bl+ow]_] m_g [hem.
[] Touch the START/ON pad.
[] TXI]e]] br{>i]i_]g is tiMshed, to_(;h the
CLEAR/OFFpa d.
w
[] Touch the BROIL BI/LO pad o_ce {or
HI Broil
To chm_ge to I,O Broil touch the
BROIL HI/tO pa d agai m
w
,0
Usingtheoven.
Broiling Guide
#,
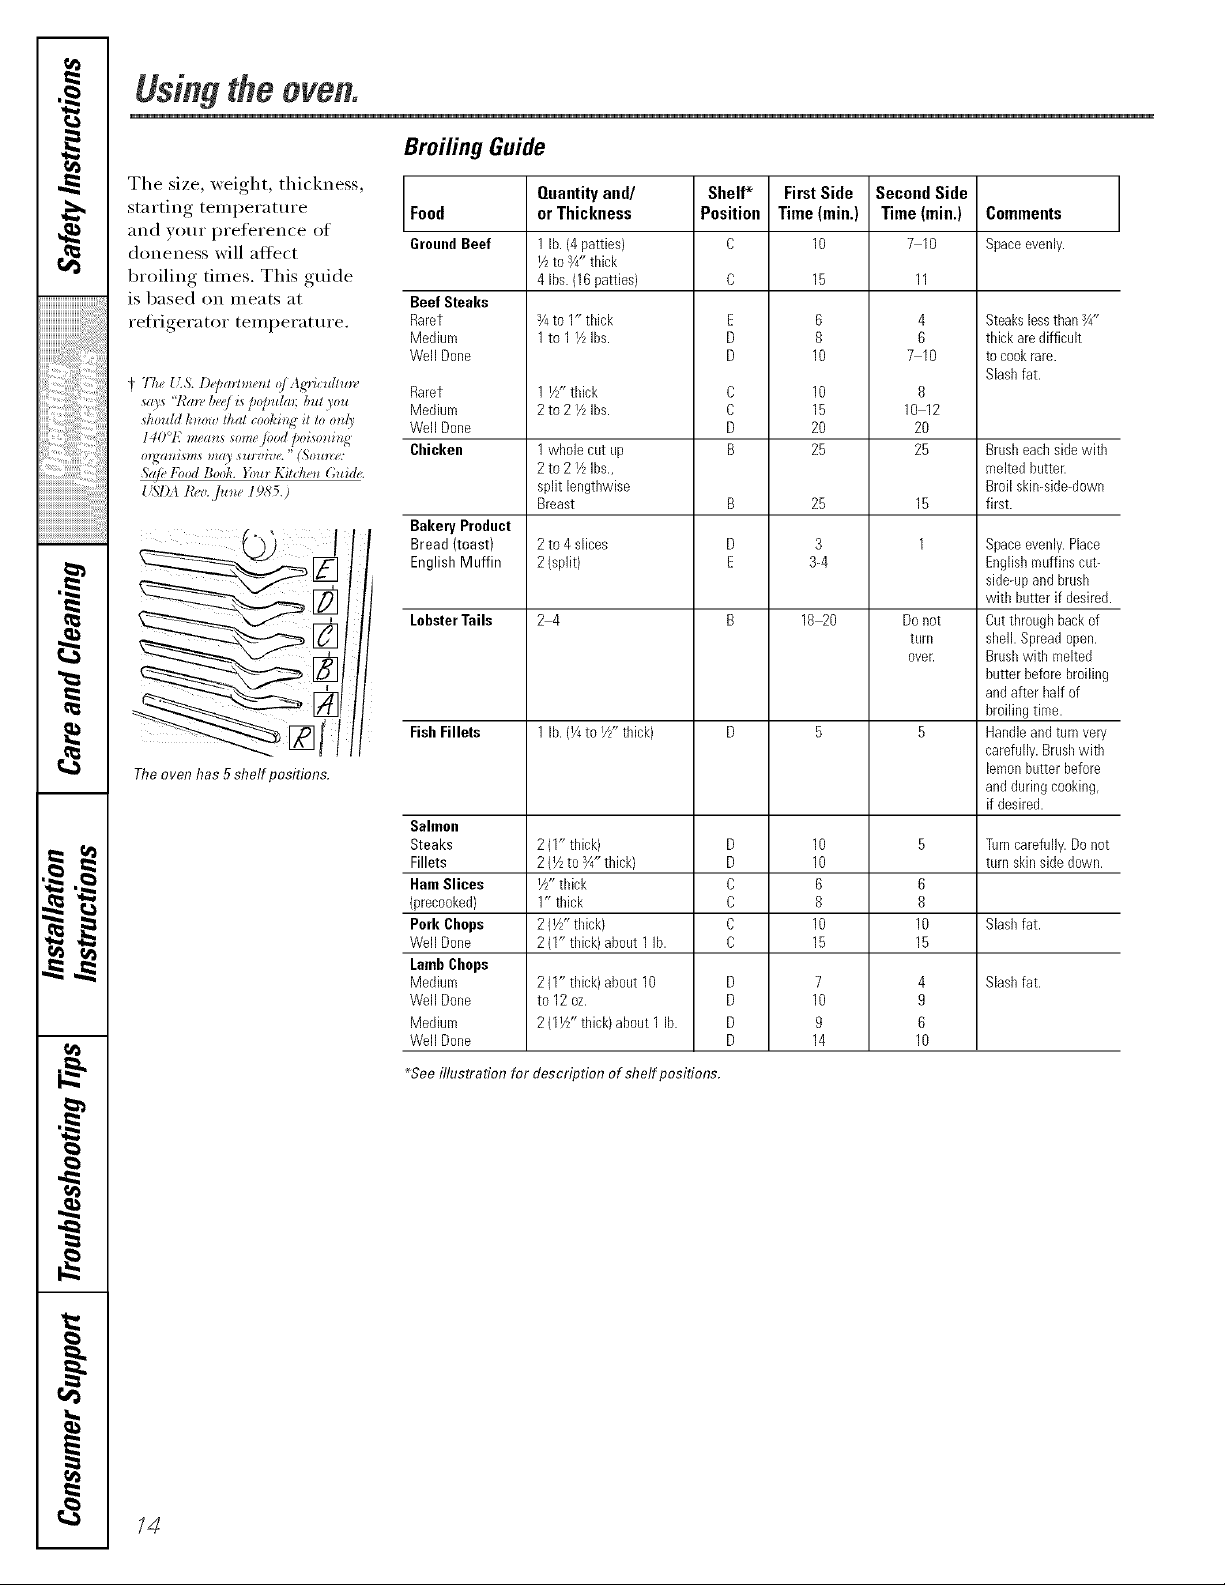
The size, weight, thickness,
starting temi)eratm'e
and yotu _preference of
doneness will atii_ct
broiling times. This guide
is based on meats at
refl'igera tot temperature.
Food
GroundBeef
Beef Steaks
Raret
Medium
WellDone
Rarer
Medium
WellDone
Chicken
Bakery Product
Bread (toast)
English Muffin
Quantityand/
or Thickness
1 lb. (4patties)
I/zto _4"thick
4 Ibs.(16 patties)
3/4to 1" thick
1to 1i/z Ihs.
1 I//' thick
2t02 Y_Ibs.
1whole cut kip
2to 2 YzIbs.,
split lengthwise
Breast
2to 4 slices
2{split)
-=
LobsterTails
FishFillets
The oven has 5 shelf positions.
Salmon
Steaks
Fillets
HamSlices
"_recooked)
Pork Chops
WellDone
LambChops
Medium
WellDone
m
Medium
WellDone
24
1 lb. (¼to I//' thick)
2(1" thick)
2(Yzto Y4"thick)
Y_"thick
1" thick
2(Tz"thick)
2(I" thick) about 1 lb.
2(1" thick)about 10
to 12 oz.
2(IV/' thick)about1 lb.
Shelf* FirstSide
Position Time(rain.)
c lO
E
D
D
C
C
D
B
B
D
E
D
D
C
C
C
D
D
D
D
D
6
8
10
10
15
20
25
25
3
3-4
18 20
10
10
6
8
10
15
7
10
g
14
SecondSide
Time(rain.)
7 10
4
6
7 10
8
10 12
20
25
15
1
Donot
tunl
over.
6
8
10
15
4
g
6
10
Comments
Spaceevenly.
Steakslessthan_4"
thick aredifficult
tocookrare.
Slashfat.
Brusheachsidewith
meltedbutter.
Broil skin-side-down
first.
Spaceevenly.Place
Englishmuffins cut-
side-upandbrush
with butter if desired.
But throughbackof
shell. Spreadopen.
Brushwith melted
butter beforebroiling
andafter half of
broilingtime.
Handleandturnvery
carefully.Brushwith
lemonbutterbefore
andduringcooking,
if desired.
Turncarefully.Do not
turn skinsidedown.
Slashfat.
Slashfat.
m
#.
1::
m
_Seeillustration for description of shelf positions.
/4
Usingthe clock andtimer.(onso e ode/sl ge.com
Not all features are on all models.
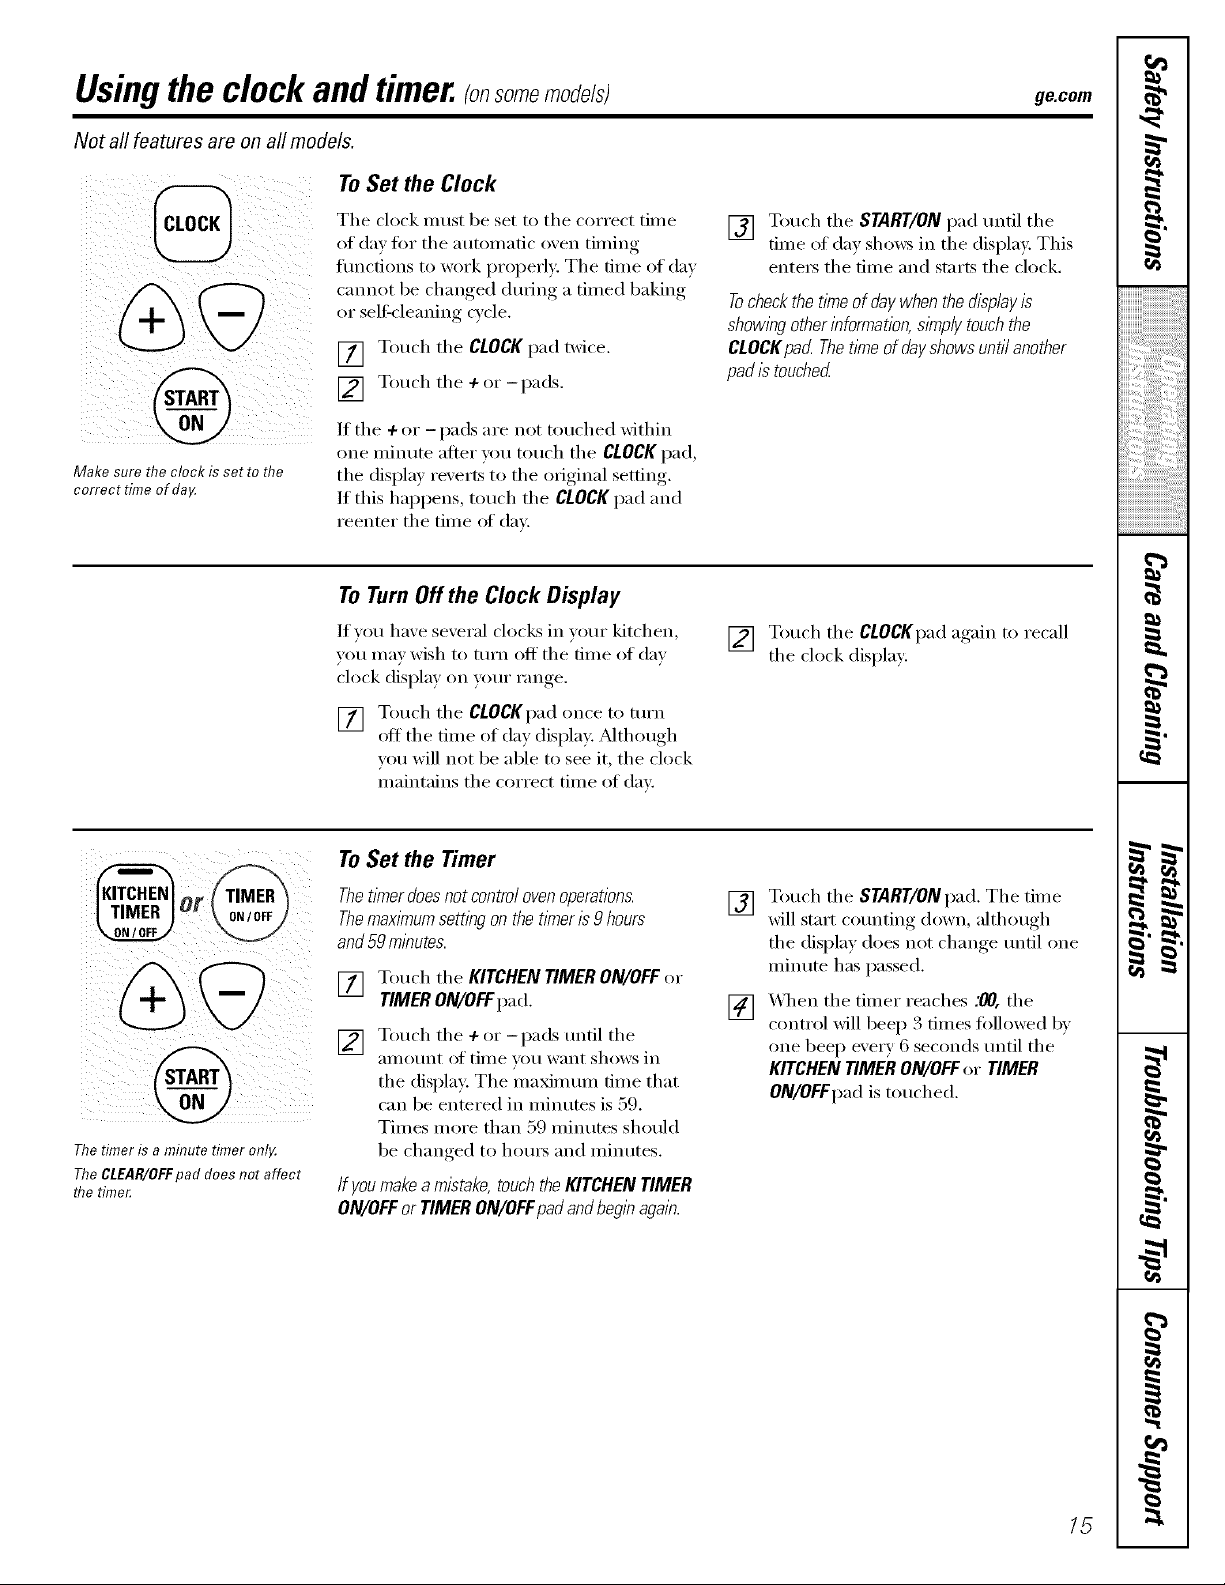
ToSet the Clock
@
@
Make sure the clock/s set re me
correct time of da_
The clock Inust be set to the correct time
of day fin" tile automatic ox'ell timing
flmctions to work properly: The time of day
emmet be chan_ed dufin_ a timed baking
or seltk'leanin_ cycle.
[] Touch the CLOCK/)adtwice.
] Touch the + or-pads.
If the + or - pads are not touched withill
one minute alter you touch the CLOCKpad,
the display reverts to the ofiuinal setting.
/f rids happens, touch the CLOCK pad and
reenter the time of din:
ToTurn Off the Clock Display
If you have several clocks in yam" kitchen,
you may wish to mrn off the time of day
clock display on p)ur range.
[] Touch the CLOCKpadonce to ttlrn
off the time of day display: _Mthough
you will not be able to see it, the ('lock
maintains the correct time of elm:
[] Touch the START/ONpad tmfil the
time of day shows in the displa); This
entet_ the time and starts the clock,
Tocheckthetitheof daywhenthedisplayis
showingotherinformation,sl_nplytouchthe
CLOCKpad Thetimeofdayshowsuntilanother
padistouched
[] Touch the CLOCKpad again to recall
the clock display:
==
w
Thetimer is a minutetimer onl_
TheCLEAR/OFFpad does not affect
flTetime_
To Set the Timer
Thetknerdoesnotcontro/ovenoperations.
The maxlYnum setting on the timer is 9 hours
and 59 minutes.
[] Touch the KITCHEN TIMER ON/OFF or
TIMERON/OFFpa d.
[] Touch the +or-pads tmtil the
}lillOtlnt ()t tillle veil iV}lilt sh()tvs in
the display: The maxim mn time that
can be entered in minutes is 59.
Times more than 59 minutes should
be changed to hom_ and minutes.
If youmakeamistake,touchtheKITCHENTIMER
ON/OFFor TIMERON/OFFpadandbeginagain.
[] Touch the START/ONpad. The time
will start counting down, although
the display does not change tmfil one
minute has passed.
[] X4q)en the timer reaches :00, the
control will beep 3 times followed b',
one beep eveI T 6 seconds until the
KITCHEN TIMER ON/OFFor TIMER
ON/OFFpad is touched.
r_
g
_n
15
,0
Usingthe clock and timer._o,somemodefsl
Not all features are on all models.
ToReset the Timer
O,
#r
@
or
If tile display is still showing tile time
remaining, you may change it 1)ytouching
the KITCHEN TIMER ON/OFFor TIMER
ON/OFFpad, then touch the + or-pads
tmtil tile time you want al)l)ea_ in tile
display.
ToCancel the Timer
Touch the KITCHEN TIMER ON/OFF
or TIMER ON/OFFpad twice.
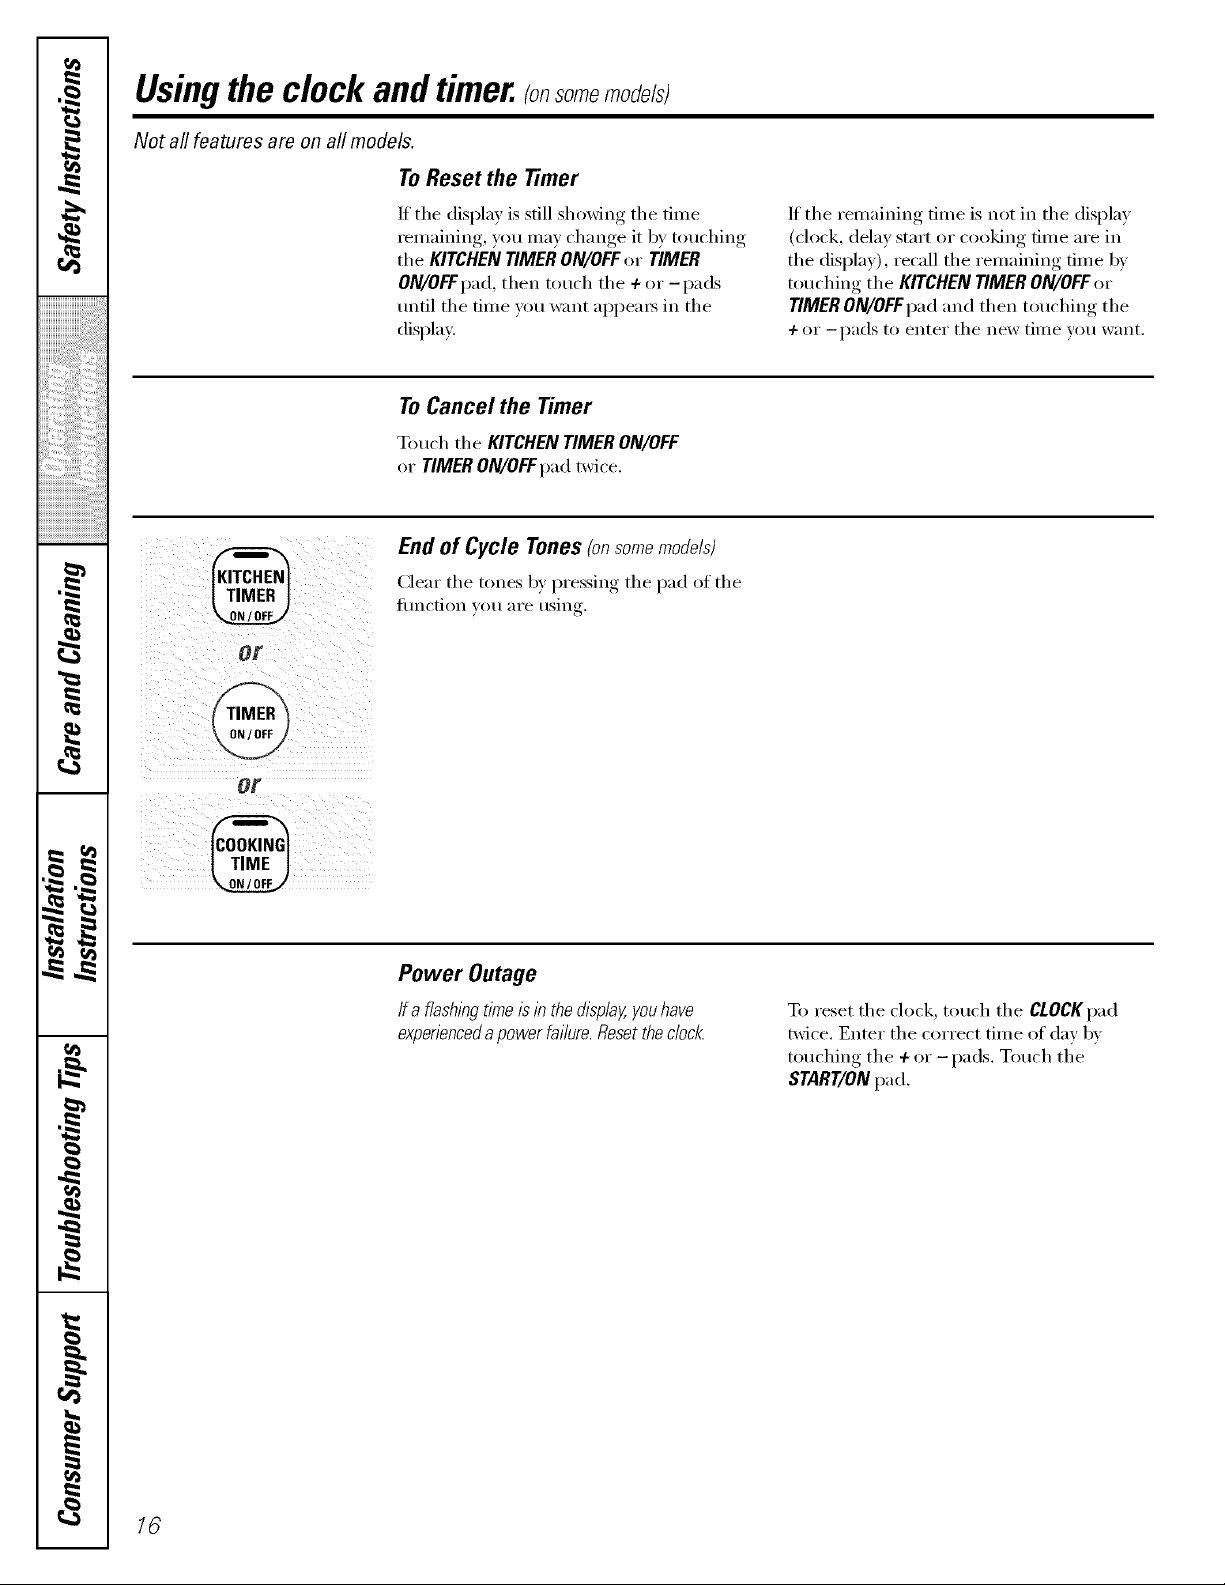
Endof Cycle Tones(onsomemodels)
(]ear tile tones b} pressing tile pad of tile
iilnction _Otl _lI'e tlsin r
If tile remaining time is not in tile display
(clock, delay start or cooking time are in
the display), recall the remaining time by
touching the KITCHEN TIMER ON/OFFor
TIMER ON/OFFpad and then touching the
-/- or --pads to entei" tile new [lille veil w_lIlt.
@
Power Outage
Ifa flashlhgtitheisin thedL_play,youhave
expenencedapowerfai/ure.Resetthedock
m
m
To reset tile clock, touch tile CLOCKpad
twice. Enter tile correct time of day by
touching tile + or -pads. Touch tile
START/ON pad.
O_ 1c
 Loading...