Hotpoint BCB 31 A T User Manual

BCB 31 A T (EX)

English

Operating Instructions

REFRIGERATOR/FREEZER COMBINATION

Contents

Operating Instructions, 1

Assistance, 2

Description of the appliance, 4

Installation, 6

Start-up and use, 7

Maintenance and care, 8

Precautions and tips, 8

Troubleshooting, 9

Français

Mode d’emploi

COMBINE REFRIGERATEUR/CONGELATEUR

Sommaire

Mode d’emploi, 1

Assistance, 2

Description de l’appareil,4

Installation, 10

Mise en marche et utilisation, 11

Entretien et soin, 12

Précautions et conseils, 12

Anomalies et remèdes, 13

Español

Manual de instrucciones

COMBINADO FRIGORÍFICO/CONGELADOR

Sumario

Manual de instrucciones, 1

Asistencia, 2

Descripción del aparato, 5

Instalación, 14

Puesta en funcionamiento y uso, 15

Mantenimiento y cuidados, 16

Precauciones y consejos, 16

Anomalías y soluciones, 17

Portuges

Instruções para a utilização

COMBINADO FRIGORÍFICO/CONGELADOR

Índice

Instruções para a utilização, 1 Assistência, 3

Descrição do aparelho, 5 Instalação, 18

Início e utilização, 19 Manutenção e cuidados, 20 Precauções e conselhos, 20 Anomalias e soluções, 21

Assistance

Before calling for Assistance:

Check if the malfunction can be solved on your own (see Troubleshooting).

If after all the checks, the appliance still does not operate or the problem persists, call the nearest Service Centre

Communicating:

type of malfunction

appliance model (Mod.)

serial number (S/N)

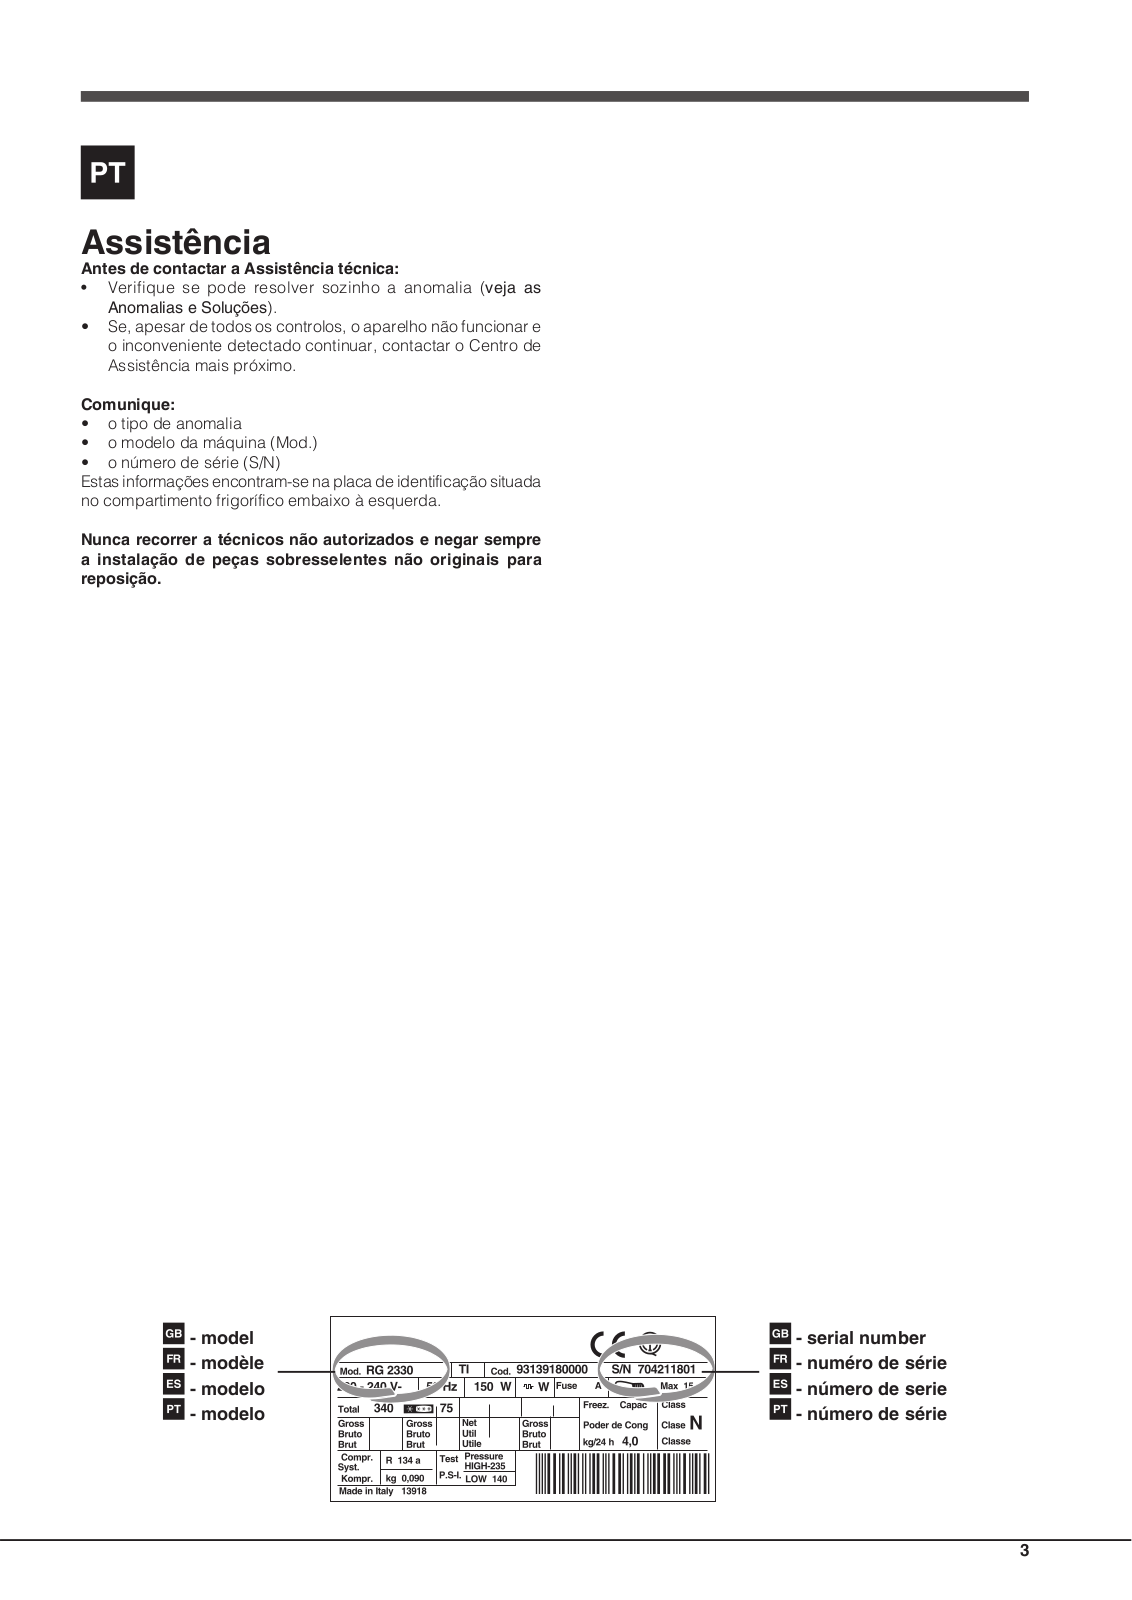
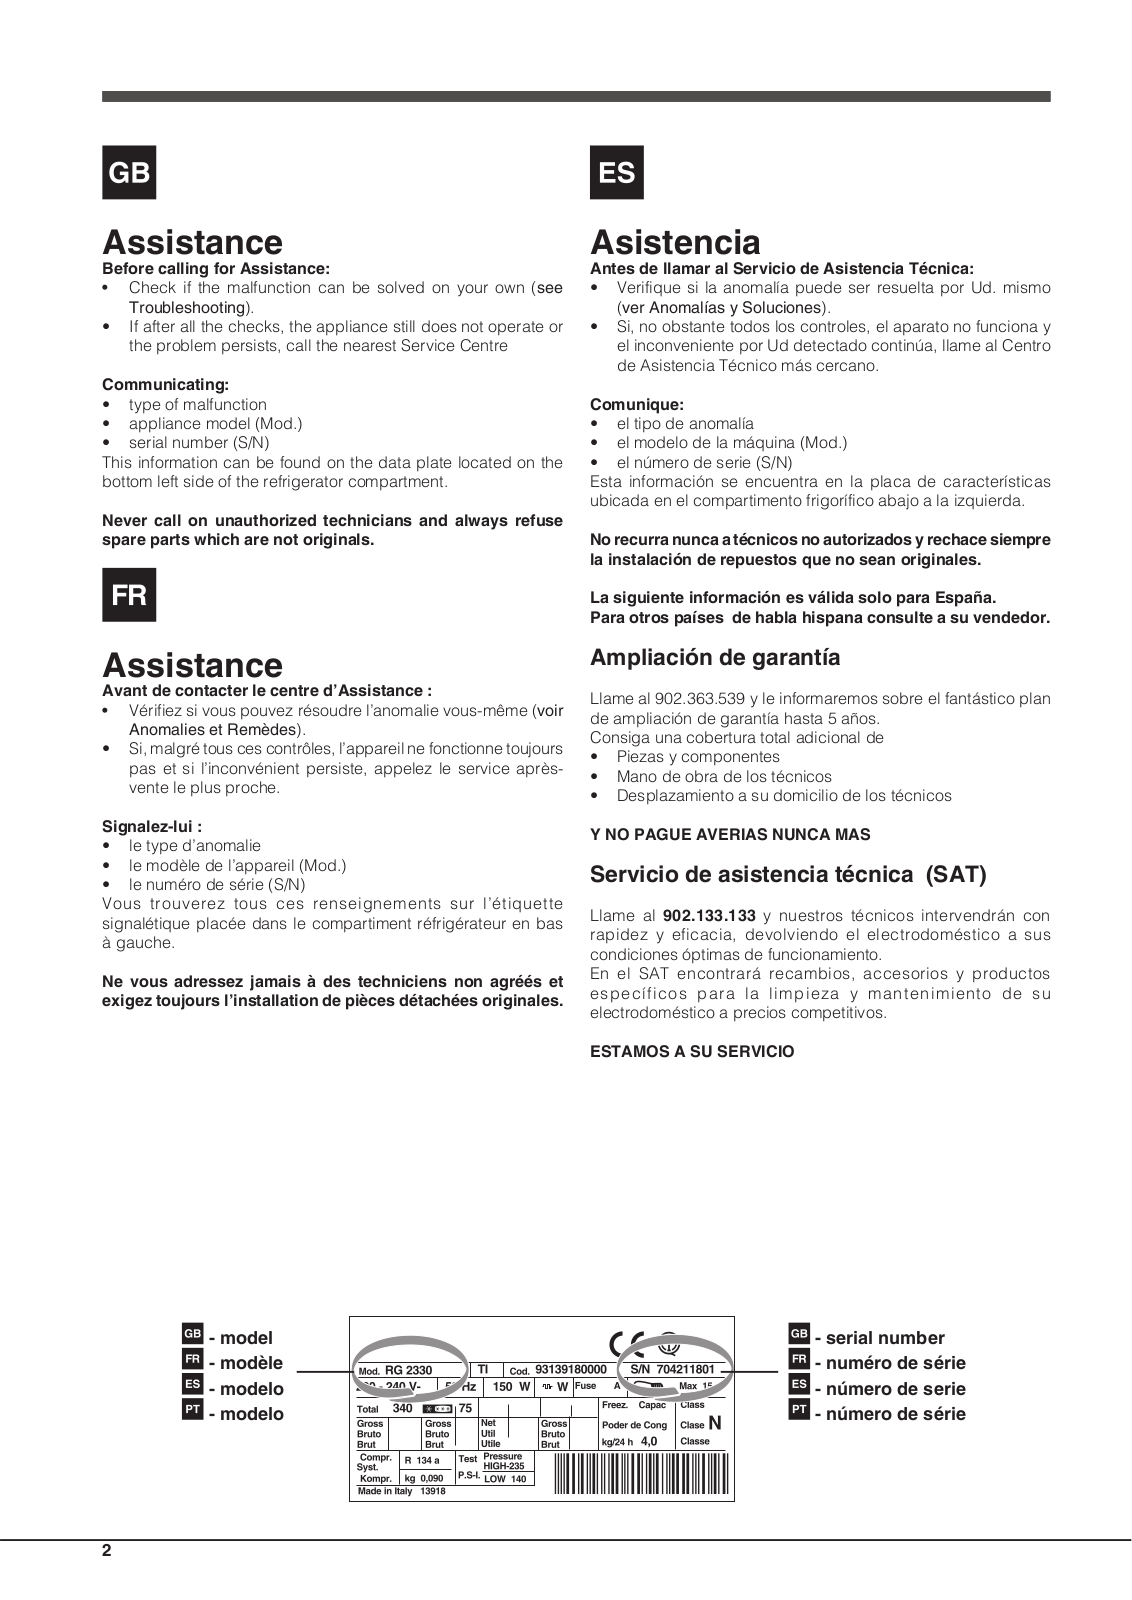
This information can be found on the data plate located on the bottom left side of the refrigerator compartment.

Never call on unauthorized technicians and always refuse spare parts which are not originals.

Asistencia

Antes de llamar al Servicio de Asistencia Técnica:

Verifique si la anomalía puede ser resuelta por Ud. mismo

(ver Anomalías y Soluciones).

Si, no obstante todos los controles, el aparato no funciona y el inconveniente por Ud detectado continúa, llame al Centro de Asistencia Técnico más cercano.

Comunique:

el tipo de anomalía

el modelo de la máquina (Mod.)

el número de serie (S/N)

Esta información se encuentra en la placa de características ubicada en el compartimento frigorífico abajo a la izquierda.

No recurra nunca a técnicos no autorizados y rechace siempre la instalación de repuestos que no sean originales.

La siguiente información es válida solo para España.

Para otros países de habla hispana consulte a su vendedor.

Assistance

Avant de contacter le centre d’Assistance :

Vérifiez si vous pouvez résoudre l’anomalie vous-même (voir Anomalies et Remèdes).

Si, malgré tous ces contrôles, l’appareil ne fonctionne toujours pas et si l’inconvénient persiste, appelez le service aprèsvente le plus proche.

Signalez-lui :

le type d’anomalie

le modèle de l’appareil (Mod.)

le numéro de série (S/N)

Vous trouverez tous ces renseignements sur l’étiquette signalétique placée dans le compartiment réfrigérateur en bas

à gauche.

Ne vous adressez jamais à des techniciens non agréés et exigez toujours l’installation de pièces détachées originales.

- model - modèle

- modelo - modelo

Ampliación de garantía

Llame al 902.363.539 y le informaremos sobre el fantástico plan de ampliación de garantía hasta 5 años.

Consiga una cobertura total adicional de

Piezas y componentes

Mano de obra de los técnicos

Desplazamiento a su domicilio de los técnicos

Y NO PAGUE AVERIAS NUNCA MAS

Servicio de asistencia técnica (SAT)

Llame al 902.133.133 y nuestros técnicos intervendrán con rapidez y eficacia, devolviendo el electrodoméstico a sus condiciones óptimas de funcionamiento.

En el SAT encontrará recambios, accesorios y productos específicos para la limpieza y mantenimiento de su electrodoméstico a precios competitivos.

ESTAMOS A SU SERVICIO

- serial number

- numéro de série

- número de serie - número de série

2

Assistência

Antes de contactar a Assistência técnica:

Verifique se pode resolver sozinho a anomalia (veja as Anomalias e Soluções).

Se, apesar de todos os controlos, o aparelho não funcionar e o inconveniente detectado continuar, contactar o Centro de Assistência mais próximo.

Comunique:

o tipo de anomalia

o modelo da máquina (Mod.)

o número de série (S/N)

Estas informações encontram-se na placa de identificação situada no compartimento frigorífico embaixo à esquerda.

Nunca recorrer a técnicos não autorizados e negar sempre a instalação de peças sobresselentes não originais para reposição.

- model

- serial number

- modèle

- numéro de série

- modelo

- número de serie

- modelo

- número de série

3

Hotpoint BCB 31 A T User Manual

Description of the appliance

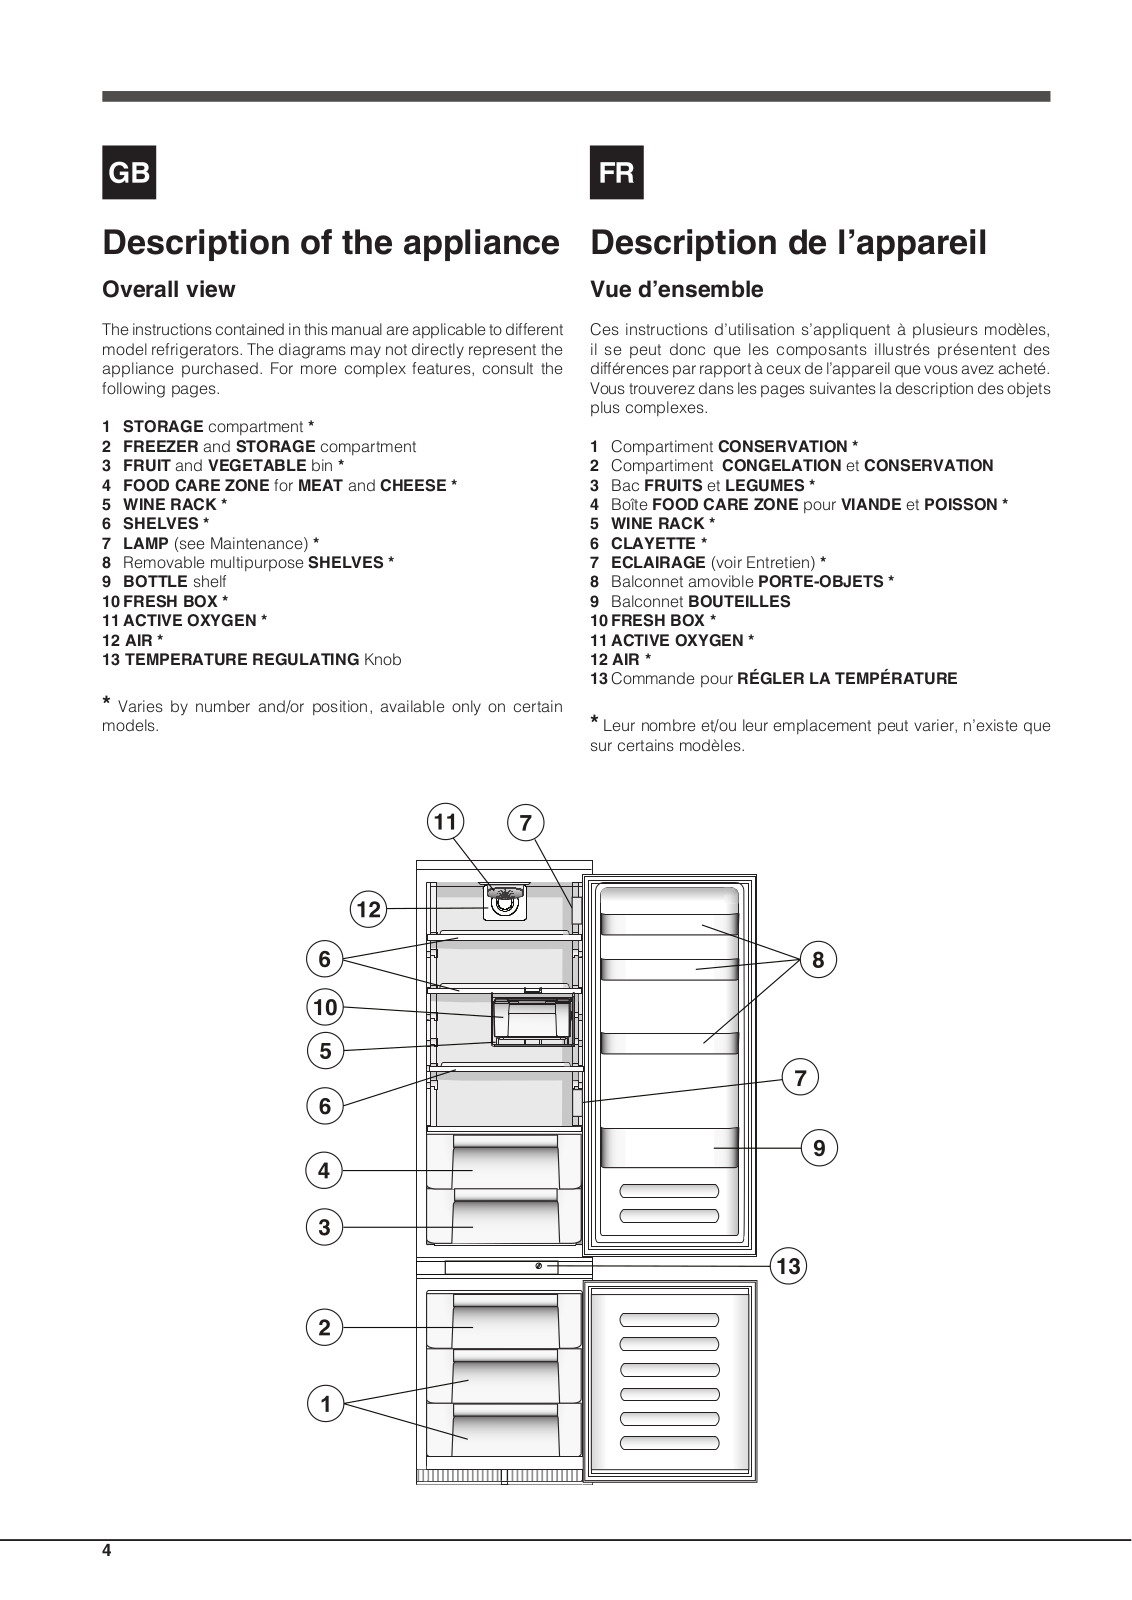
Overall view

The instructions contained in this manual are applicable to different model refrigerators. The diagrams may not directly represent the appliance purchased. For more complex features, consult the following pages.

1STORAGE compartment *

2FREEZER and STORAGE compartment

3FRUIT and VEGETABLE bin *

4FOOD CARE ZONE for MEAT and CHEESE *

5WINE RACK *

6SHELVES *

7LAMP (see Maintenance) *

8Removable multipurpose SHELVES *

9BOTTLE shelf

10FRESH BOX *

11ACTIVE OXYGEN *

12AIR *

13TEMPERATURE REGULATING Knob

*Varies by number and/or position, available only on certain models.

Description de l’appareil

Vue d’ensemble

Ces instructions d’utilisation s’appliquent à plusieurs modèles, il se peut donc que les composants illustrés présentent des différences par rapport à ceux de l’appareil que vous avez acheté. Vous trouverez dans les pages suivantes la description des objets plus complexes.

1Compartiment CONSERVATION *

2Compartiment CONGELATION et CONSERVATION

3Bac FRUITS et LEGUMES *

4Boîte FOOD CARE ZONE pour VIANDE et POISSON *

5WINE RACK *

6CLAYETTE *

7ECLAIRAGE (voir Entretien) *

8Balconnet amovible PORTE-OBJETS *

9Balconnet BOUTEILLES

10FRESH BOX *

11ACTIVE OXYGEN *

12AIR *

13Commande pour RÉGLER LA TEMPÉRATURE

* Leur nombre et/ou leur emplacement peut varier, n’existe que sur certains modèles.

4

Descripción del aparato

Vista en conjunto

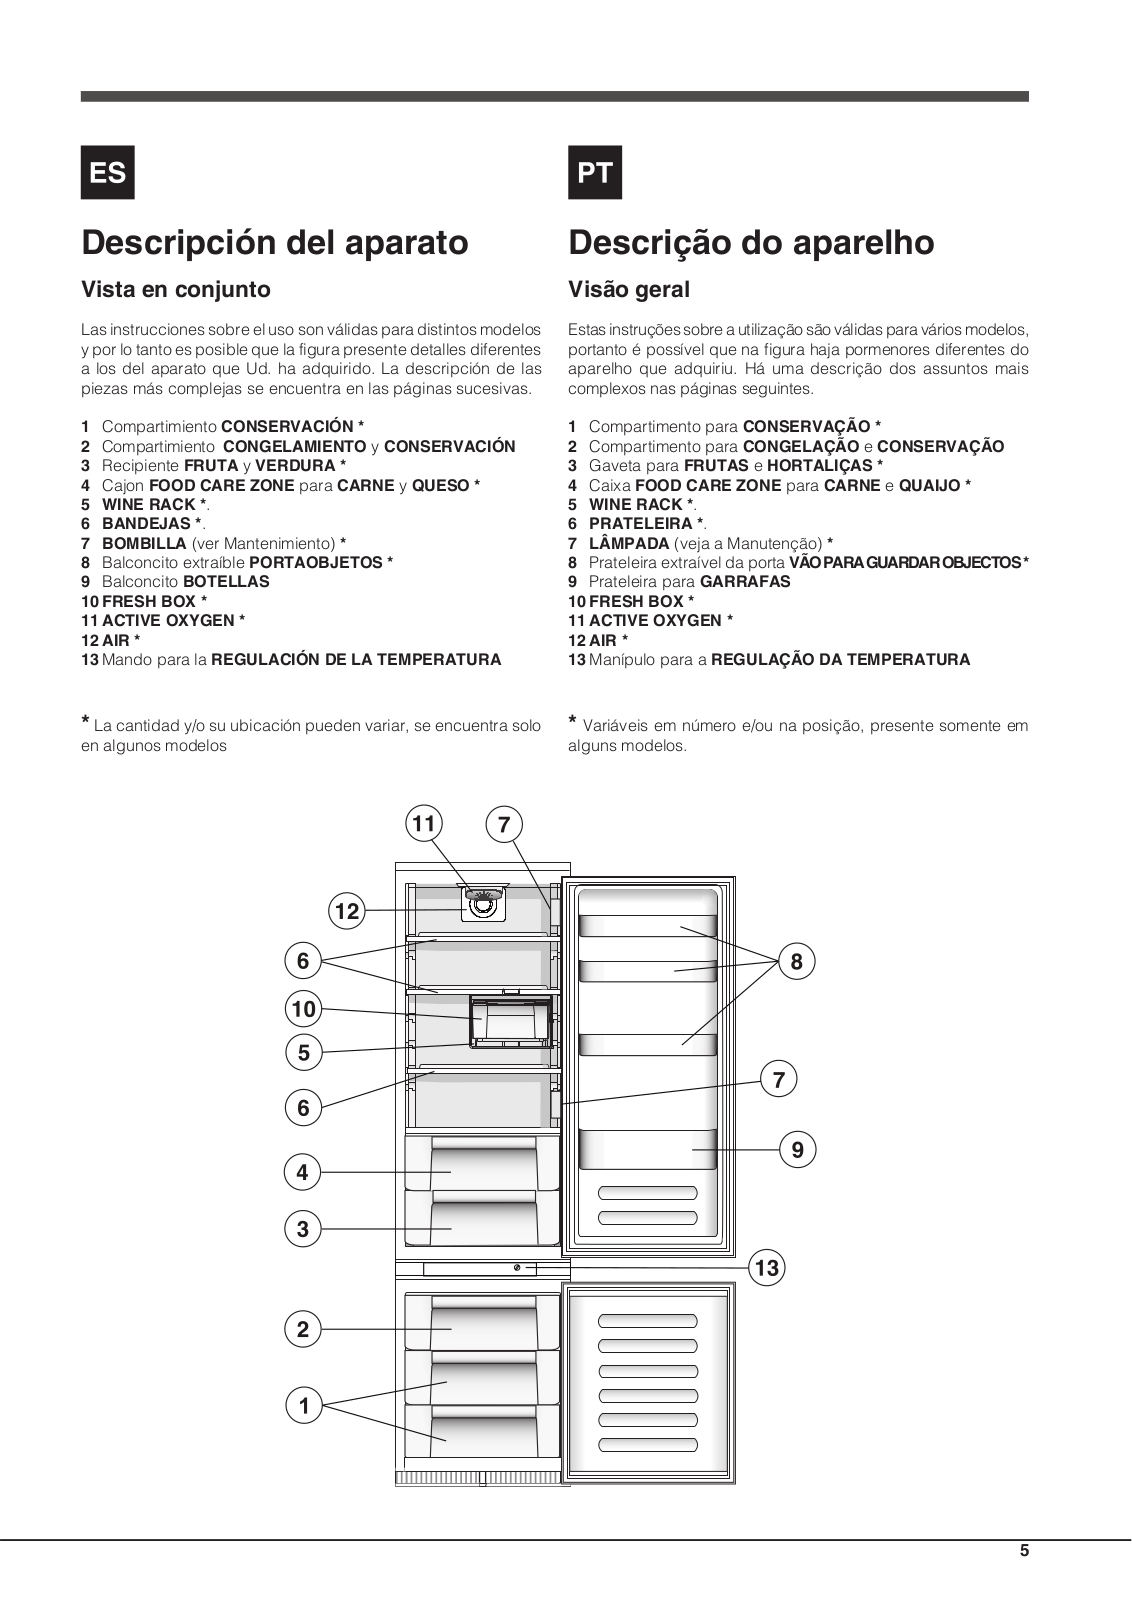
Las instrucciones sobre el uso son válidas para distintos modelos y por lo tanto es posible que la figura presente detalles diferentes a los del aparato que Ud. ha adquirido. La descripción de las piezas más complejas se encuentra en las páginas sucesivas.

1Compartimiento CONSERVACIÓN *

2Compartimiento CONGELAMIENTO y CONSERVACIÓN

3Recipiente FRUTA y VERDURA *

4Cajon FOOD CARE ZONE para CARNE y QUESO *

5WINE RACK *.

6BANDEJAS *.

7BOMBILLA (ver Mantenimiento) *

8Balconcito extraíble PORTAOBJETOS *

9Balconcito BOTELLAS

10FRESH BOX *

11ACTIVE OXYGEN *

12AIR *

13Mando para la REGULACIÓN DE LA TEMPERATURA

*La cantidad y/o su ubicación pueden variar, se encuentra solo en algunos modelos

Descrição do aparelho

Visão geral

Estas instruçõessobre a utilizaçãosão válidaspara vários modelos, portanto é possível que na figura haja pormenores diferentes do aparelho que adquiriu. Há uma descrição dos assuntos mais complexos nas páginas seguintes.

1Compartimento para CONSERVAÇÃO *

2Compartimento para CONGELAÇÃO e CONSERVAÇÃO

3Gaveta para FRUTAS e HORTALIÇAS *

4Caixa FOOD CARE ZONE para CARNE e QUAIJO *

5WINE RACK *.

6PRATELEIRA *.

7LÂMPADA (veja a Manutenção) *

8Prateleira extraível da porta VÃOPARAGUARDAROBJECTOS*

9Prateleira para GARRAFAS

10FRESH BOX *

11ACTIVE OXYGEN *

12AIR *

13Manípulo para a REGULAÇÃO DA TEMPERATURA

*Variáveis em número e/ou na posição, presente somente em alguns modelos.

5

GB Installation

!Before placing your new appliance into operation please read these operating instructions carefully. They contain important information for safe use, for installation and for care of the appliance.

!Please keep these operating instructions for future reference. Pass them on to possible new owners of the appliance.

Positioning and connection

Positioning

1.Place the appliance in a well-ventilated humidity-free room. 2.Do not obstruct the rear fan grills. The compressor and condenser give off heat and require good ventilation to operate correctly and save energy.

3.Ensure the appliance is away from any sources of heat (direct sunlight, electric stove, etc.).

Electrical connections

After the appliance has been transported, carefully place it vertically and wait at least 3 hours before connecting it to the electricity mains. Before inserting the plug into the electrical socket ensure the following:

The appliance is earthed and the plug is compliant with the law.

The socket can withstand the maximum power of the appliance, which is indicated on the data plate located on the bottom left side of the fridge (e.g. 150 W).

The voltage must be in the range between the values indicated on the data plate located on the bottom left side (e.g. 220-

240V).

The socket is compatible with the plug of the appliance. If the socket is incompatible with the plug, ask an authorised technician to replace it (see Assistance). Do not use extension cords or multiple sockets.

!Once the appliance has been installed, the power supply cable and the electrical socket must be easily accessible.

!The cable must not be bent or compressed.

!The cable must be checked regularly and replaced by authorised technicians only (see Assistance).

!The manufacturer declines any liability should these safety measures not be observed.

Start-up and use

Starting the appliance

!Before starting the appliance, follow the installation instructions (see Installation).

!Before connecting the appliance, clean the compartments and accessories well with lukewarm water and bicarbonate.

1.Insert the plug into the socket and ensure that the internal light illuminates.

2.Turn the TEMPERATURE ADJUSTMENT knob to an average value. After a few hours you will be able to put food in the refrigerator.

Setting the temperature

The temperature inside the refrigerator compartment automatically adjusts itself according to the position of the thermostat knob.

= warmest

= coldest

We recommend, however, a medium position.

The cooling section of the refrigerator is located inside the back wall of the refrigerator compartment for increased space

and improved aesthetics. During operation, the back wall will be covered in frost or water droplets depending on whether the compressor is operating or paused. Do not worry, the refrigerator is functioning normally.

Freezer Compartment

When the product is switched on the freezer compartment is set to its default value of -18°C. We recommend that the SUPER FREEZE * function is set (the freezer status bar continues to display the set value) in order to accelerate the cooling process of the compartment; when the inside of the compartment has reached its optimal temperature the function will be deactivated and the food may be placed inside.

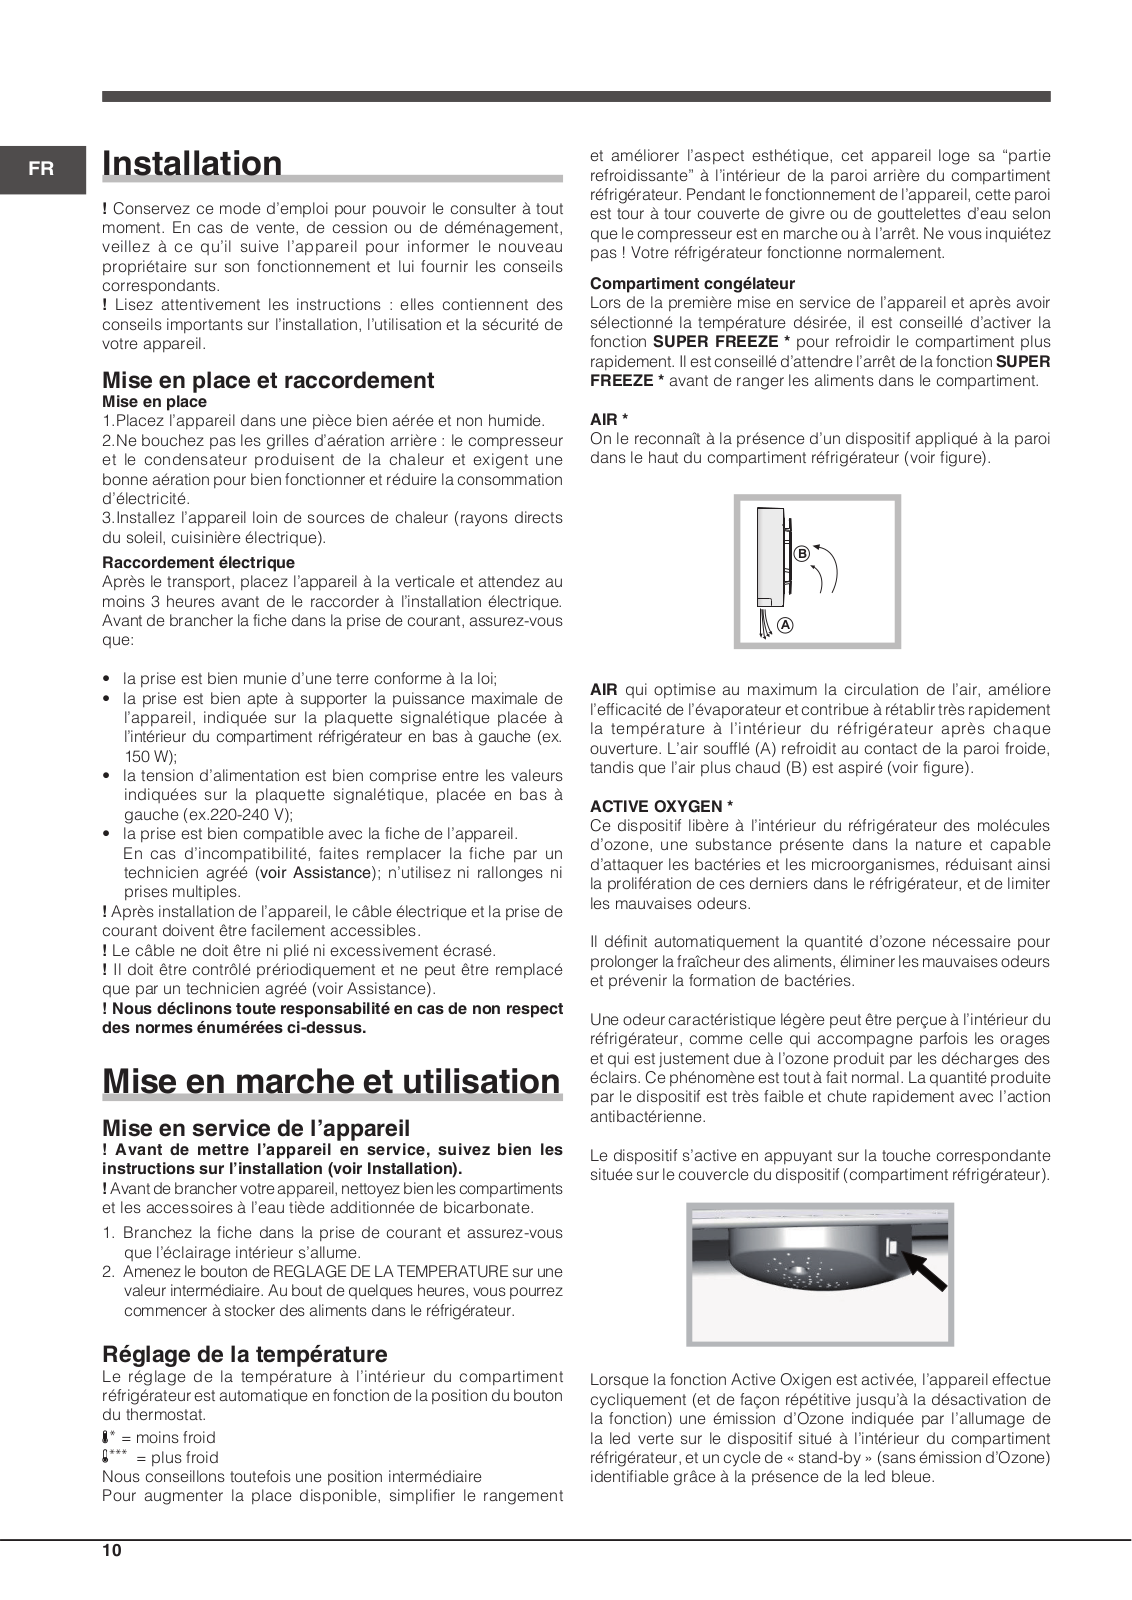
AIR *

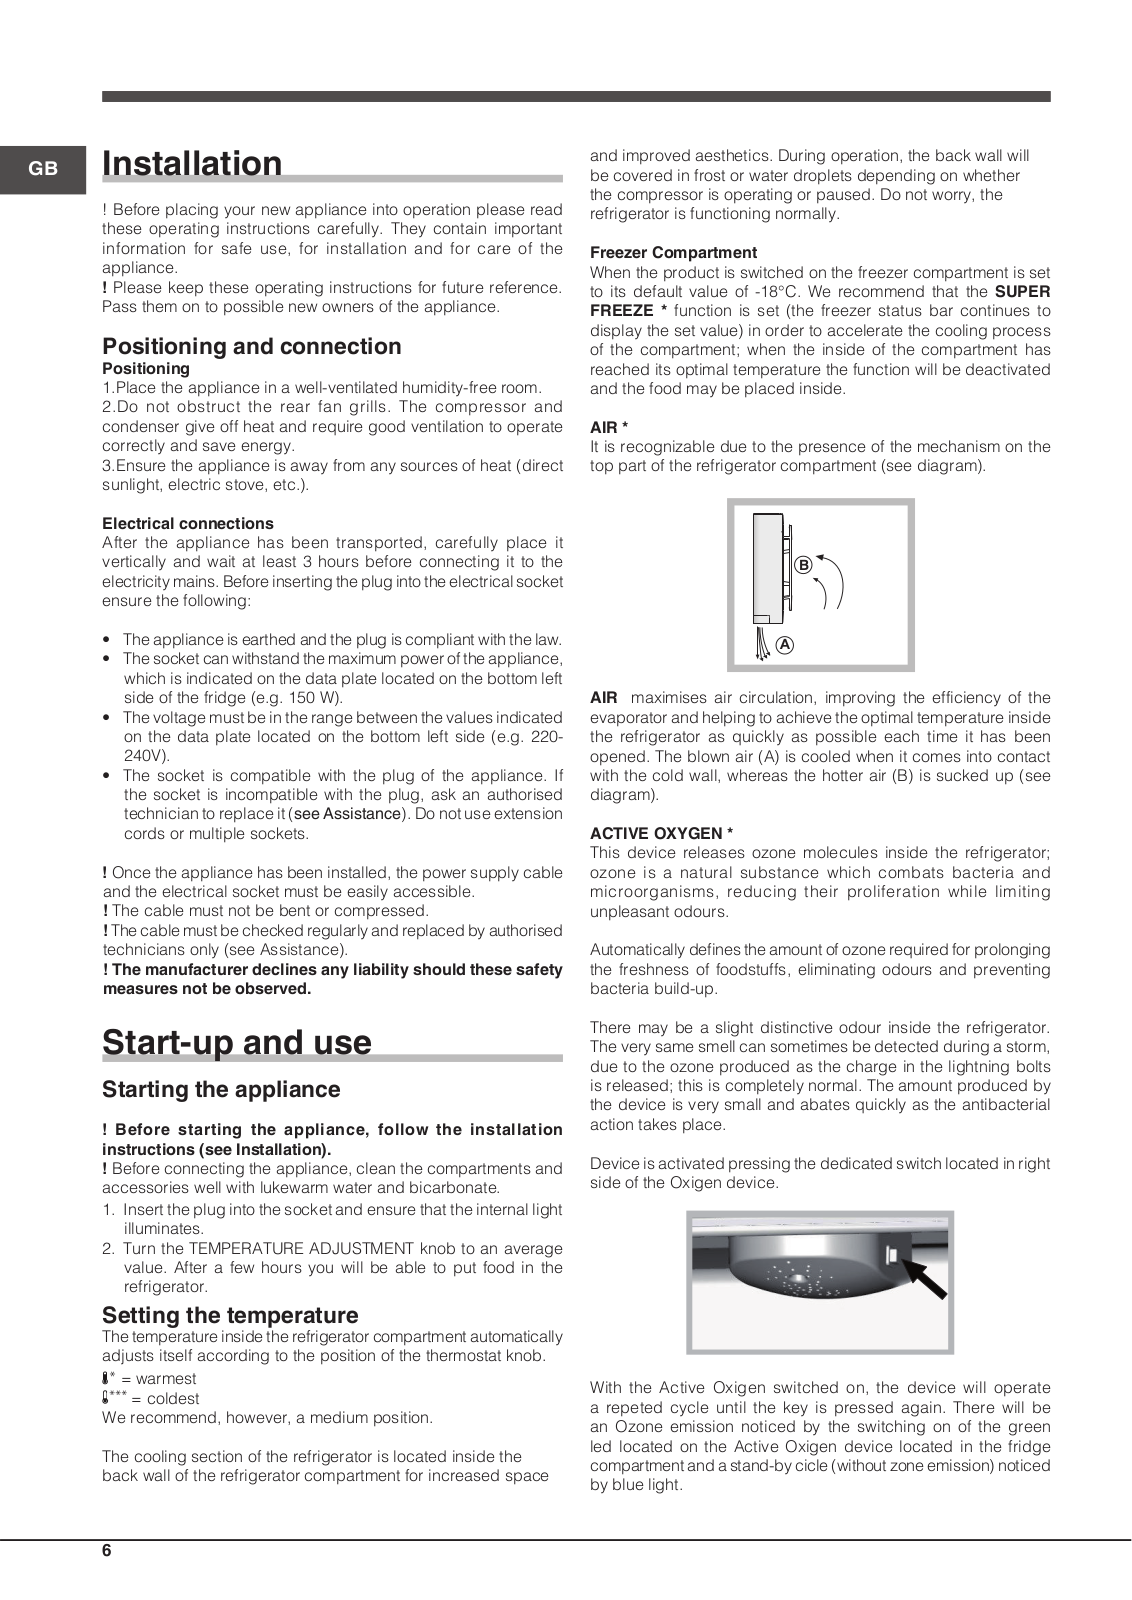
It is recognizable due to the presence of the mechanism on the top part of the refrigerator compartment (see diagram).

B

A

AIR maximises air circulation, improving the efficiency of the evaporator and helping to achieve the optimal temperature inside the refrigerator as quickly as possible each time it has been opened. The blown air (A) is cooled when it comes into contact with the cold wall, whereas the hotter air (B) is sucked up (see diagram).

ACTIVE OXYGEN *

This device releases ozone molecules inside the refrigerator; ozone is a natural substance which combats bacteria and microorganisms, reducing their proliferation while limiting unpleasant odours.

Automatically defines the amount of ozone required for prolonging the freshness of foodstuffs, eliminating odours and preventing bacteria build-up.

There may be a slight distinctive odour inside the refrigerator.

The very same smell can sometimes be detected during a storm, due to the ozone produced as the charge in the lightning bolts is released; this is completely normal. The amount produced by the device is very small and abates quickly as the antibacterial action takes place.

Device is activated pressing the dedicated switch located in right side of the Oxigen device.

With the Active Oxigen switched on, the device will operate a repeted cycle until the key is pressed again. There will be an Ozone emission noticed by the switching on of the green led located on the Active Oxigen device located in the fridge compartment and a stand-by cicle (without zone emission) noticed by blue light.

6

Using the refrigerator to its full potential

Use the TEMPERATURE ADJUSTMENT knob to adjust the temperature (see Description).

Place only cold or lukewarm foods in the compartment, not hot foods (see Precautions and tips).

Remember that cooked foods do not last longer than raw foods.

Do not store liquids in open containers. They will increase humidity in the refrigerator and cause condensation to form.

SHELVES: with or without grill.

Due to the special guides the shelves are removable and the height is adjustable (see diagram), allowing easy storage of large containers and food. Height can be adjusted without complete removal of the shelf.

FOOD CARE ZONE *

Area dedicated to the storage of fresh food, such as meat and fish. Thanks to the low temperature inside the compartment, the Food Care Zone extends the period of time for which the food can be stored, keeping it fresh for up to a week.

FRESH BOX *

This is the new container, designed to keep various foods (such as cheese and cold meats) fresher for longer. If it is not needed, it can easily be removed from the refrigerator compartment. If there is a Bottle Shelf, more internal space can be created by placing the Fresh Box directly inside it.

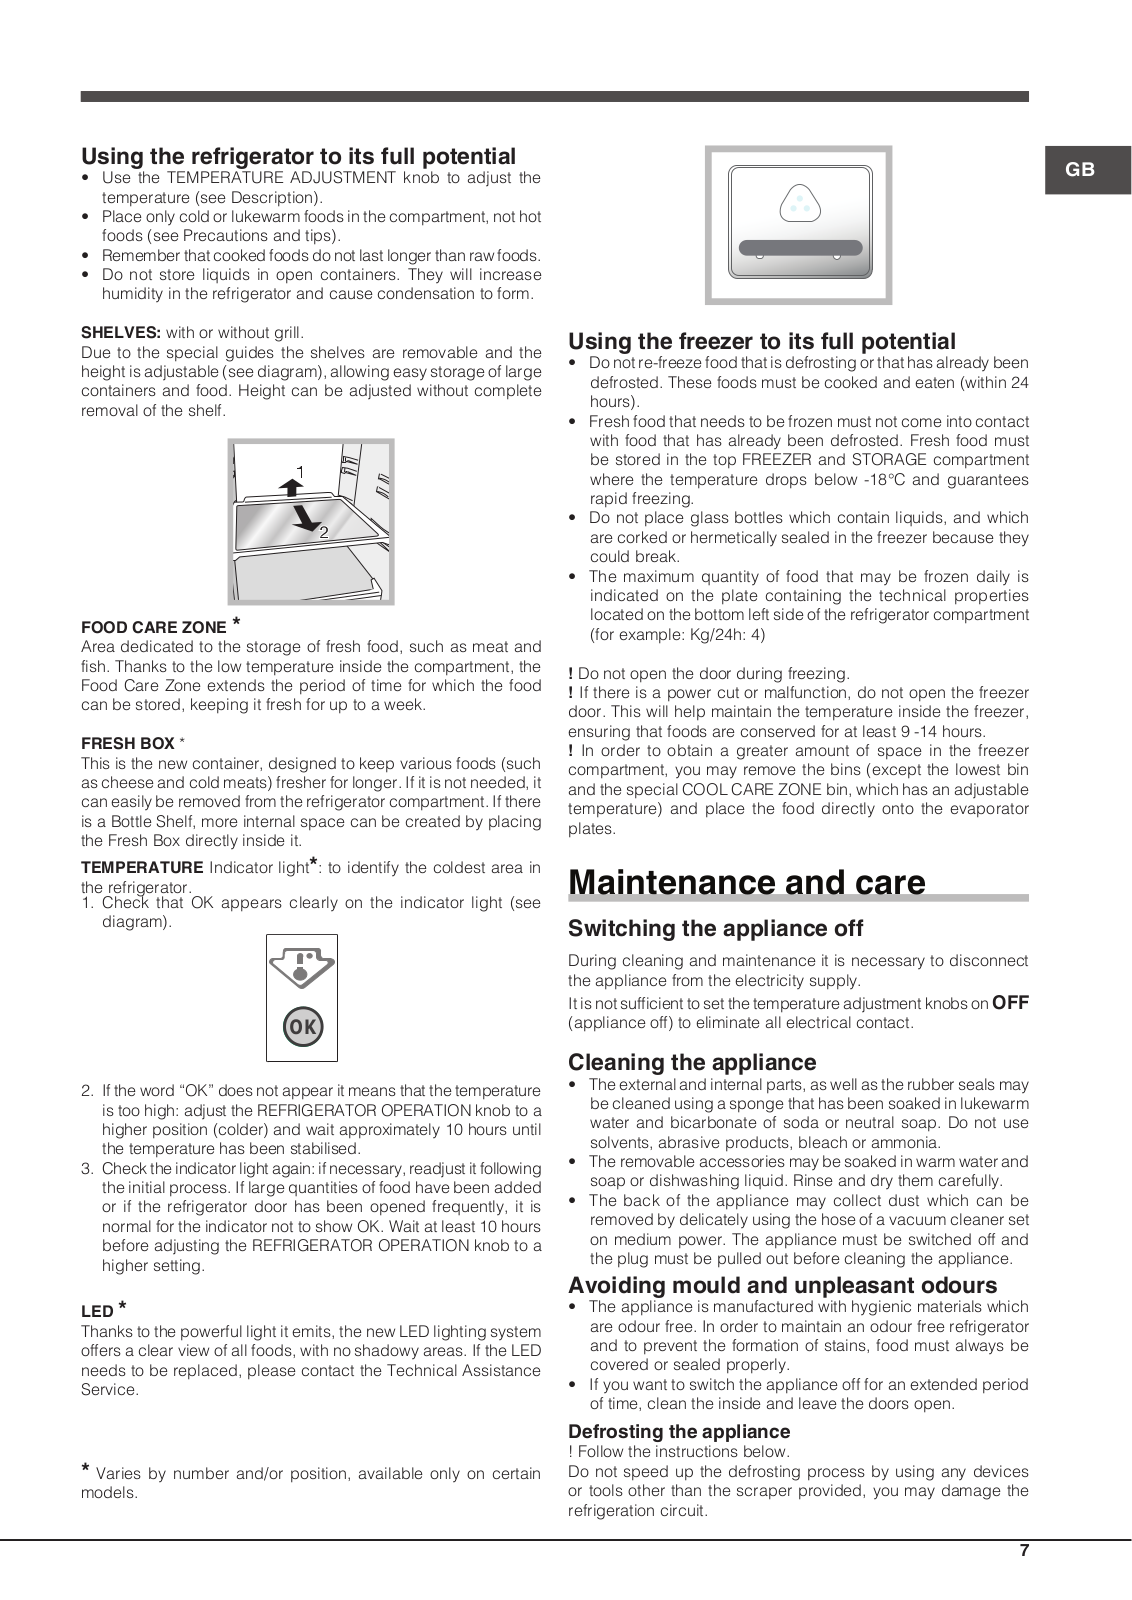
TEMPERATURE Indicator light*: to identify the coldest area in

the refrigerator.

1. Check that OK appears clearly on the indicator light (see diagram).

2. If the word “OK” does not appear it means that the temperature is too high: adjust the REFRIGERATOR OPERATION knob to a higher position (colder) and wait approximately 10 hours until the temperature has been stabilised.

3. Check the indicator light again: if necessary, readjust it following the initial process. If large quantities of food have been added or if the refrigerator door has been opened frequently, it is normal for the indicator not to show OK. Wait at least 10 hours before adjusting the REFRIGERATOR OPERATION knob to a higher setting.

LED *

Thanks to the powerful light it emits, the new LED lighting system offers a clear view of all foods, with no shadowy areas. If the LED needs to be replaced, please contact the Technical Assistance Service.

* Varies by number and/or position, available only on certain models.

GB

Using the freezer to its full potential

Do not re-freeze food that is defrosting or that has already been defrosted. These foods must be cooked and eaten (within 24 hours).

Fresh food that needs to be frozen must not come into contact with food that has already been defrosted. Fresh food must be stored in the top FREEZER and STORAGE compartment where the temperature drops below -18°C and guarantees rapid freezing.

Do not place glass bottles which contain liquids, and which are corked or hermetically sealed in the freezer because they could break.

The maximum quantity of food that may be frozen daily is indicated on the plate containing the technical properties located on the bottom left side of the refrigerator compartment (for example: Kg/24h: 4)

!Do not open the door during freezing.

!If there is a power cut or malfunction, do not open the freezer door. This will help maintain the temperature inside the freezer, ensuring that foods are conserved for at least 9 -14 hours.

!In order to obtain a greater amount of space in the freezer compartment, you may remove the bins (except the lowest bin and the special COOL CARE ZONE bin, which has an adjustable temperature) and place the food directly onto the evaporator plates.

Maintenance and care

Switching the appliance off

During cleaning and maintenance it is necessary to disconnect the appliance from the electricity supply.

It is not sufficient to set the temperature adjustment knobs on OFF (appliance off) to eliminate all electrical contact.

Cleaning the appliance

The external and internal parts, as well as the rubber seals may be cleaned using a sponge that has been soaked in lukewarm water and bicarbonate of soda or neutral soap. Do not use solvents, abrasive products, bleach or ammonia.

The removable accessories may be soaked in warm water and soap or dishwashing liquid. Rinse and dry them carefully.

The back of the appliance may collect dust which can be removed by delicately using the hose of a vacuum cleaner set on medium power. The appliance must be switched off and the plug must be pulled out before cleaning the appliance.

Avoiding mould and unpleasant odours

The appliance is manufactured with hygienic materials which are odour free. In order to maintain an odour free refrigerator and to prevent the formation of stains, food must always be covered or sealed properly.

If you want to switch the appliance off for an extended period of time, clean the inside and leave the doors open.

Defrosting the appliance

! Follow the instructions below.

Do not speed up the defrosting process by using any devices or tools other than the scraper provided, you may damage the refrigeration circuit.

7

GB

Defrosting the refrigerator compartment

The refrigerator has an automatic defrosting function: water is


ducted to the back of the appliance by a special discharge outlet


(see diagram) where the heat produced by the compressor causes


it to evaporate. It is necessary to clean the discharge hole regularly


so that the water can flow out easily.


Defrosting the freezer compartment

If the frost layer is greater than 5 mm, it is necessary to defrost manually:

1.Set the TEMPERATURE ADJUSTMENT knob to the position

OFF

2.Wrap frozen foods in newspaper and place them in another freezer or in a cool place.

3.Leave the door open until the frost has melted completely. This can be made easier by placing containers with lukewarm water in the freezer compartment.

4.Clean and dry the freezer compartment carefully before switching the appliance on again.

Replacing the light bulb *

To replace the light bulb in the refrigerator compartment, pull out the plug from the electrical socket. Follow the instructions below.

Access the light bulb by removing the cover as indicated in the diagram. Replace it with a similar light bulb within the power range indicated on the cover.

General safety

The appliance was designed for domestic use inside the home and is not intended for commercial or industrial use.

The appliance must be used to store and freeze food products by adults only and according to the instructions in this manual.

The appliance must not be installed outdoors, even in covered areas. It is extremely dangerous to leave the appliance exposed to rain and storms.

Do not touch the appliance with bare feet or with wet or moist hands and feet.

Do not touch the internal cooling elements: this could cause skin abrasions or frost/freezer burns.

When unplugging the appliance always pull the plug from the mains socket, do not pull on the cable.

Before cleaning and maintenance, always switch off the appliance and disconnect it from the electrical supply. It is not sufficient to set the temperature adjustment knobs on OFF(appliance off) to eliminate all electrical contact.

In the case of a malfunction, under no circumstances should you attempt to repair the appliance yourself. Repairs carried out by inexperienced persons may cause injury or further malfunctioning of the appliance.

Do not use any sharp or pointed utensils or electrical equipment - other than the type recommended by the manufacturer - inside the frozen food storage compartments.

Donotputicecubestakendirectlyfromthefreezerintoyourmouth.

This appliance is not intended for use by persons (including children) with reduced physical, sensory or lack of experience and knowledge unless they have been given supervision or instruction concerning use of the appliance by a person responsible for their safety. Children should be supervised to ensure that they do not play with the appliance.

Keep packaging material out of the reach of children! It can become a choking or suffocation hazard.

Disposal

Observe local environmental standards when disposing packaging material for recycling purposes.

The European Directive 2002/96/EC on Waste Electrical and Electronic Equipment (WEEE), requires that old household electrical appliances must not be disposed of in the normal unsorted municipal waste stream. Old appliances must be collected separately in order to optimise the recovery and recycling of the materials they contain and reduce the impact on human health and the environment. The crossed out

“wheeled bin” symbol on the product reminds you of your obligation, that when you dispose of the appliance it must be separately collected. Consumers should contact their local authority or retailer for information concerning the correct disposal of their old appliance.

Precautions and tips

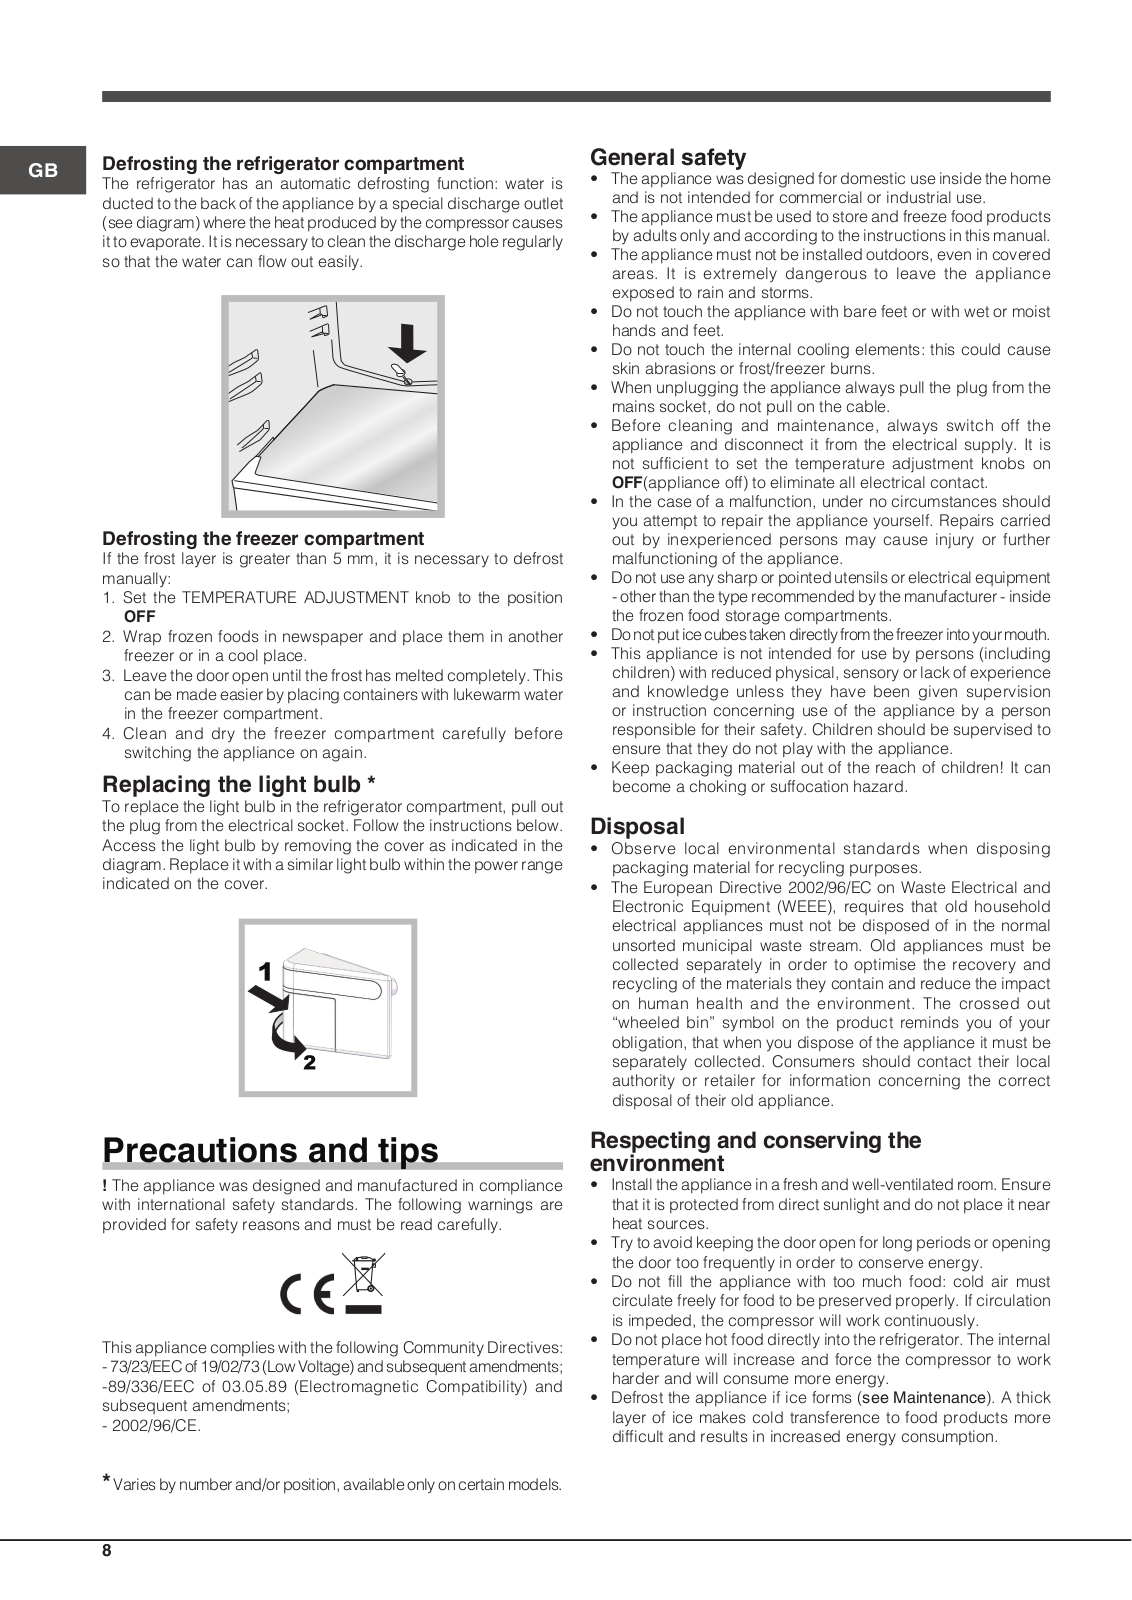
! The appliance was designed and manufactured in compliance with international safety standards. The following warnings are provided for safety reasons and must be read carefully.

This appliance complies with the following Community Directives:

-73/23/EECof19/02/73(LowVoltage)andsubsequentamendments; -89/336/EEC of 03.05.89 (Electromagnetic Compatibility) and subsequent amendments;

-2002/96/CE.

*Variesbynumberand/orposition,availableonlyoncertainmodels.

Respecting and conserving the environment

Install the appliance in a fresh and well-ventilated room. Ensure that it is protected from direct sunlight and do not place it near heat sources.

Try to avoid keeping the door open for long periods or opening the door too frequently in order to conserve energy.

Do not fill the appliance with too much food: cold air must circulate freely for food to be preserved properly. If circulation is impeded, the compressor will work continuously.

Do not place hot food directly into the refrigerator. The internal temperature will increase and force the compressor to work harder and will consume more energy.

Defrost the appliance if ice forms (see Maintenance). A thick layer of ice makes cold transference to food products more difficult and results in increased energy consumption.

8

Troubleshooting

GB

If the appliance does not work, before calling for Assistance (see Assistance), check for a solution from the following list.

The internal light does not illuminate.

• The plug has not been inserted into the electrical socket, or not far enough to make contact, or there is no power in the house.

The refrigerator and the freezer do not cool well.

The doors do not close properly or the seals are damaged.

The doors are opened too frequently.

The TEMPERATURE ADJUSTMENT knob is not in the correct position.

The refrigerator or the freezer have been over-filled.

The atmospheric temperature of the area surrounding the appliance is lower than 14°C.

The food inside the refrigerator is beginning to freeze.

The TEMPERATURE ADJUSTMENT knob is not in the correct position.

The food is in contact with the back inside wall of the refrigerator.

The AIR fan does not rotate

The refrigerator door is open.

The AIR system is only activated automatically when it becomes necessary to restore perfect operational conditions inside the refrigerator compartment.

The motor runs continuously.

The door is not closed properly or is continuously opened.

The outside ambient temperature is very high.

The thickness of the frost exceeds 2-3 mm (see Maintenance).

The appliance makes a lot of noise.

The appliance has not been installed on a level surface (see Installation).

The appliance has been installed between cabinets that vibrate and make noise.

The internal refrigerant makes a slight noise even when the compressor is off. This is not a defect, it is normal.

Some of the external parts of the refrigerator become hot.

These raised temperatures are necessary in order to avoid the formation of condensation on certain parts of the product.

The back wall of the refrigerator unit is covered in frost or droplets of water

• This shows the appliance is operating normally.

There is water at the bottom of the refrigerator.

• The water discharge hole is blocked (see Maintenance).

9

FR Installation

!Conservez ce mode d’emploi pour pouvoir le consulter à tout moment. En cas de vente, de cession ou de déménagement, veillez à ce qu’il suive l’appareil pour informer le nouveau propriétaire sur son fonctionnement et lui fournir les conseils correspondants.

!Lisez attentivement les instructions : elles contiennent des conseils importants sur l’installation, l’utilisation et la sécurité de votre appareil.

Mise en place et raccordement

Mise en place

1.Placez l’appareil dans une pièce bien aérée et non humide. 2.Ne bouchez pas les grilles d’aération arrière : le compresseur et le condensateur produisent de la chaleur et exigent une bonne aération pour bien fonctionner et réduire la consommation d’électricité.

3.Installez l’appareil loin de sources de chaleur (rayons directs du soleil, cuisinière électrique).

Raccordement électrique

Après le transport, placez l’appareil à la verticale et attendez au moins 3 heures avant de le raccorder à l’installation électrique. Avant de brancher la fiche dans la prise de courant, assurez-vous que:

la prise est bien munie d’une terre conforme à la loi;

la prise est bien apte à supporter la puissance maximale de l’appareil, indiquée sur la plaquette signalétique placée à l’intérieur du compartiment réfrigérateur en bas à gauche (ex. 150 W);

la tension d’alimentation est bien comprise entre les valeurs indiquées sur la plaquette signalétique, placée en bas à gauche (ex.220-240 V);

la prise est bien compatible avec la fiche de l’appareil.

En cas d’incompatibilité, faites remplacer la fiche par un technicien agréé (voir Assistance); n’utilisez ni rallonges ni

prises multiples.

!Après installation de l’appareil, le câble électrique et la prise de courant doivent être facilement accessibles.

!Le câble ne doit être ni plié ni excessivement écrasé.

!Il doit être contrôlé prériodiquement et ne peut être remplacé que par un technicien agréé (voir Assistance).

!Nous déclinons toute responsabilité en cas de non respect des normes énumérées ci-dessus.

Mise en marche et utilisation

Mise en service de l’appareil

!Avant de mettre l’appareil en service, suivez bien les instructions sur l’installation (voir Installation).

!Avantdebranchervotreappareil,nettoyezbienlescompartiments et les accessoires à l’eau tiède additionnée de bicarbonate.

1.Branchez la fiche dans la prise de courant et assurez-vous que l’éclairage intérieur s’allume.

2.Amenez le bouton de REGLAGE DE LA TEMPERATURE sur une valeur intermédiaire. Au bout de quelques heures, vous pourrez commencer à stocker des aliments dans le réfrigérateur.

Réglage de la température

Le réglage de la température à l’intérieur du compartiment réfrigérateur est automatique en fonction de la position du bouton du thermostat.

= moins froid

= plus froid

Nous conseillons toutefois une position intermédiaire

Pour augmenter la place disponible, simplifier le rangement

et améliorer l’aspect esthétique, cet appareil loge sa “partie refroidissante” à l’intérieur de la paroi arrière du compartiment réfrigérateur. Pendant le fonctionnement de l’appareil, cette paroi est tour à tour couverte de givre ou de gouttelettes d’eau selon que le compresseur est en marche ou à l’arrêt. Ne vous inquiétez pas ! Votre réfrigérateur fonctionne normalement.

Compartiment congélateur

Lors de la première mise en service de l’appareil et après avoir sélectionné la température désirée, il est conseillé d’activer la fonction SUPER FREEZE * pour refroidir le compartiment plus rapidement. Il est conseillé d’attendre l’arrêt de la fonction SUPER FREEZE * avant de ranger les aliments dans le compartiment.

AIR *

On le reconnaît à la présence d’un dispositif appliqué à la paroi dans le haut du compartiment réfrigérateur (voir figure).

B

A

AIR qui optimise au maximum la circulation de l’air, améliore l’efficacité de l’évaporateur et contribue à rétablir très rapidement la température à l’intérieur du réfrigérateur après chaque ouverture. L’air soufflé (A) refroidit au contact de la paroi froide, tandis que l’air plus chaud (B) est aspiré (voir figure).

ACTIVE OXYGEN *

Ce dispositif libère à l’intérieur du réfrigérateur des molécules d’ozone, une substance présente dans la nature et capable d’attaquer les bactéries et les microorganismes, réduisant ainsi la prolifération de ces derniers dans le réfrigérateur, et de limiter les mauvaises odeurs.

Il définit automatiquement la quantité d’ozone nécessaire pour prolonger la fraîcheur des aliments, éliminer les mauvaises odeurs et prévenir la formation de bactéries.

Une odeur caractéristique légère peut être perçue à l’intérieur du réfrigérateur, comme celle qui accompagne parfois les orages et qui est justement due à l’ozone produit par les décharges des éclairs. Ce phénomène est tout à fait normal. La quantité produite par le dispositif est très faible et chute rapidement avec l’action antibactérienne.

Le dispositif s’active en appuyant sur la touche correspondante située sur le couvercle du dispositif (compartiment réfrigérateur).

Lorsque la fonction Active Oxigen est activée, l’appareil effectue cycliquement (et de façon répétitive jusqu’à la désactivation de la fonction) une émission d’Ozone indiquée par l’allumage de la led verte sur le dispositif situé à l’intérieur du compartiment réfrigérateur, et un cycle de « stand-by » (sans émission d’Ozone) identifiable grâce à la présence de la led bleue.

10

Loading...
+ 22 hidden pages