

Page 1
Operator’s Manual
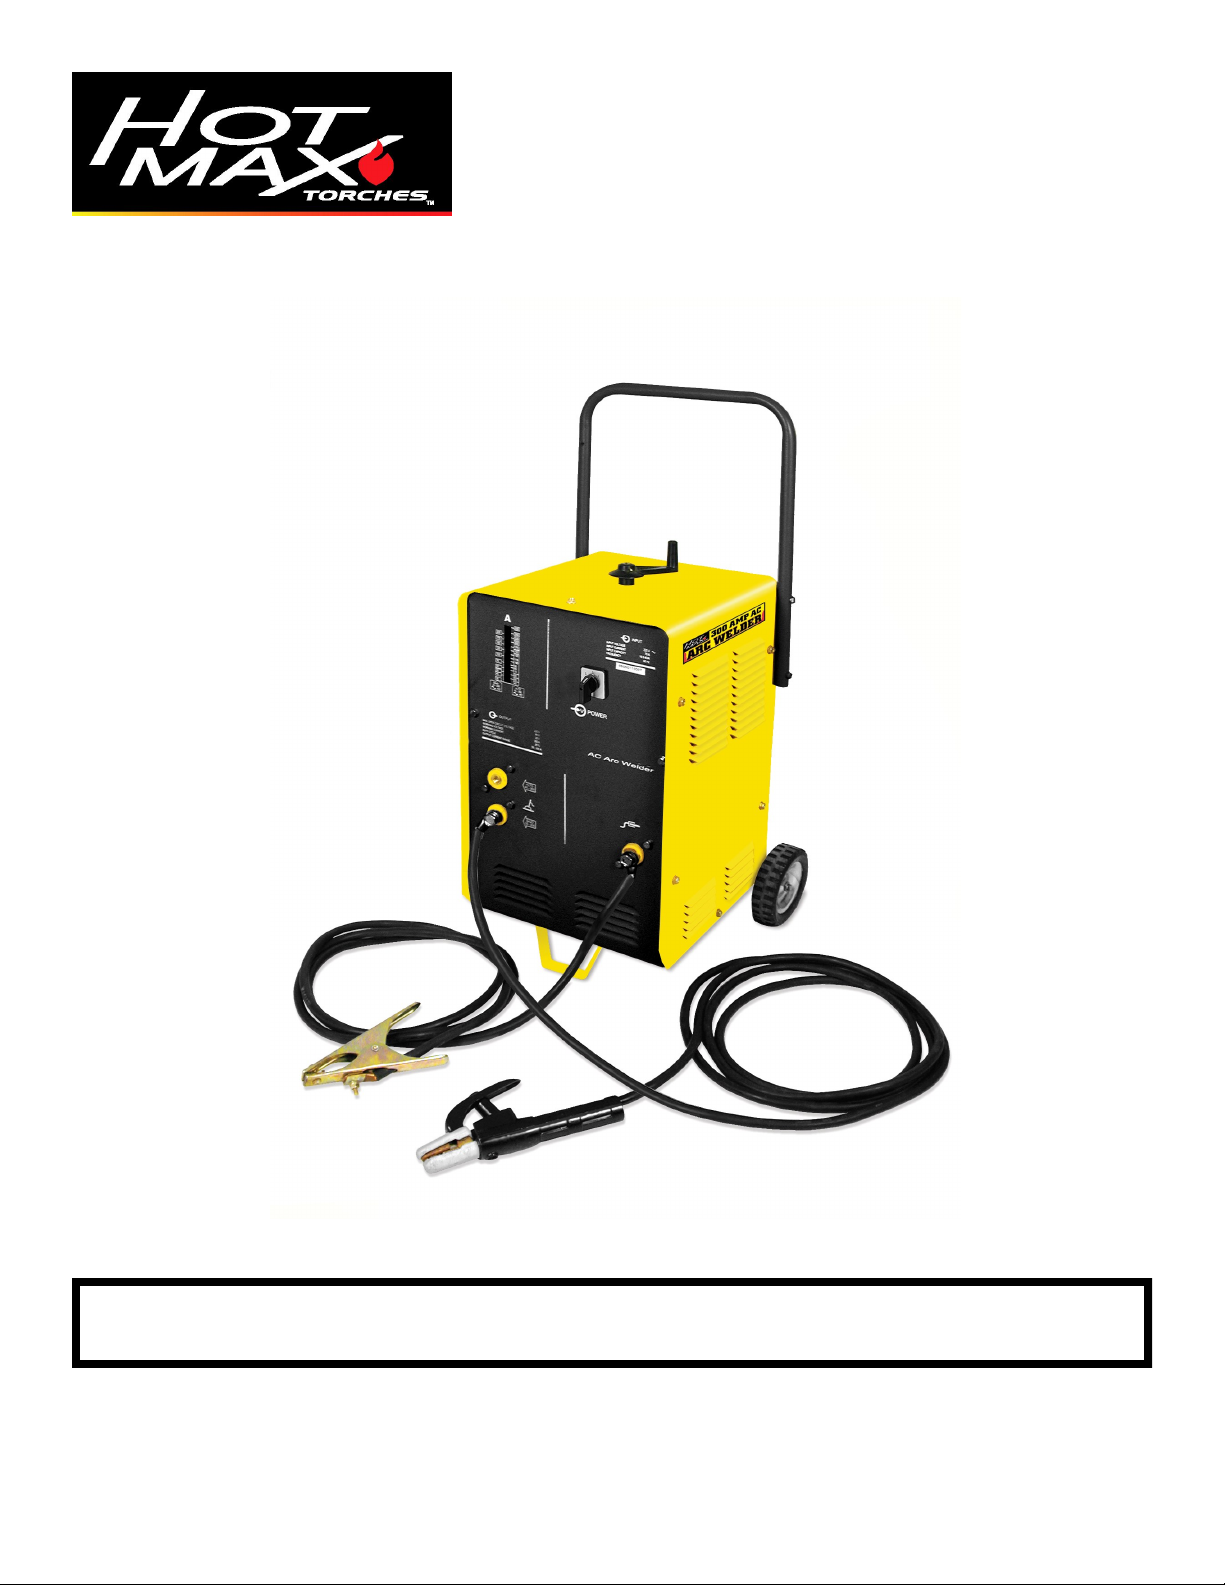
Model AC300
ARC Welder
WARNING: Do not assemble, install, or operate this equipment without reading ALL of this manual
and the safety precautions and warnings illustrated in this manual.
KDAR Company Tel: (314) 692-8555
1 Mulch Lane Fax: (314) 692-8578
St. Louis, MO 63044 Web Site: www.hotmaxtorches.com
Page 2
SAFETY PRECAUTIONS AND WARNINGS
PLEASE READ BEFORE USING EQUIPMENT
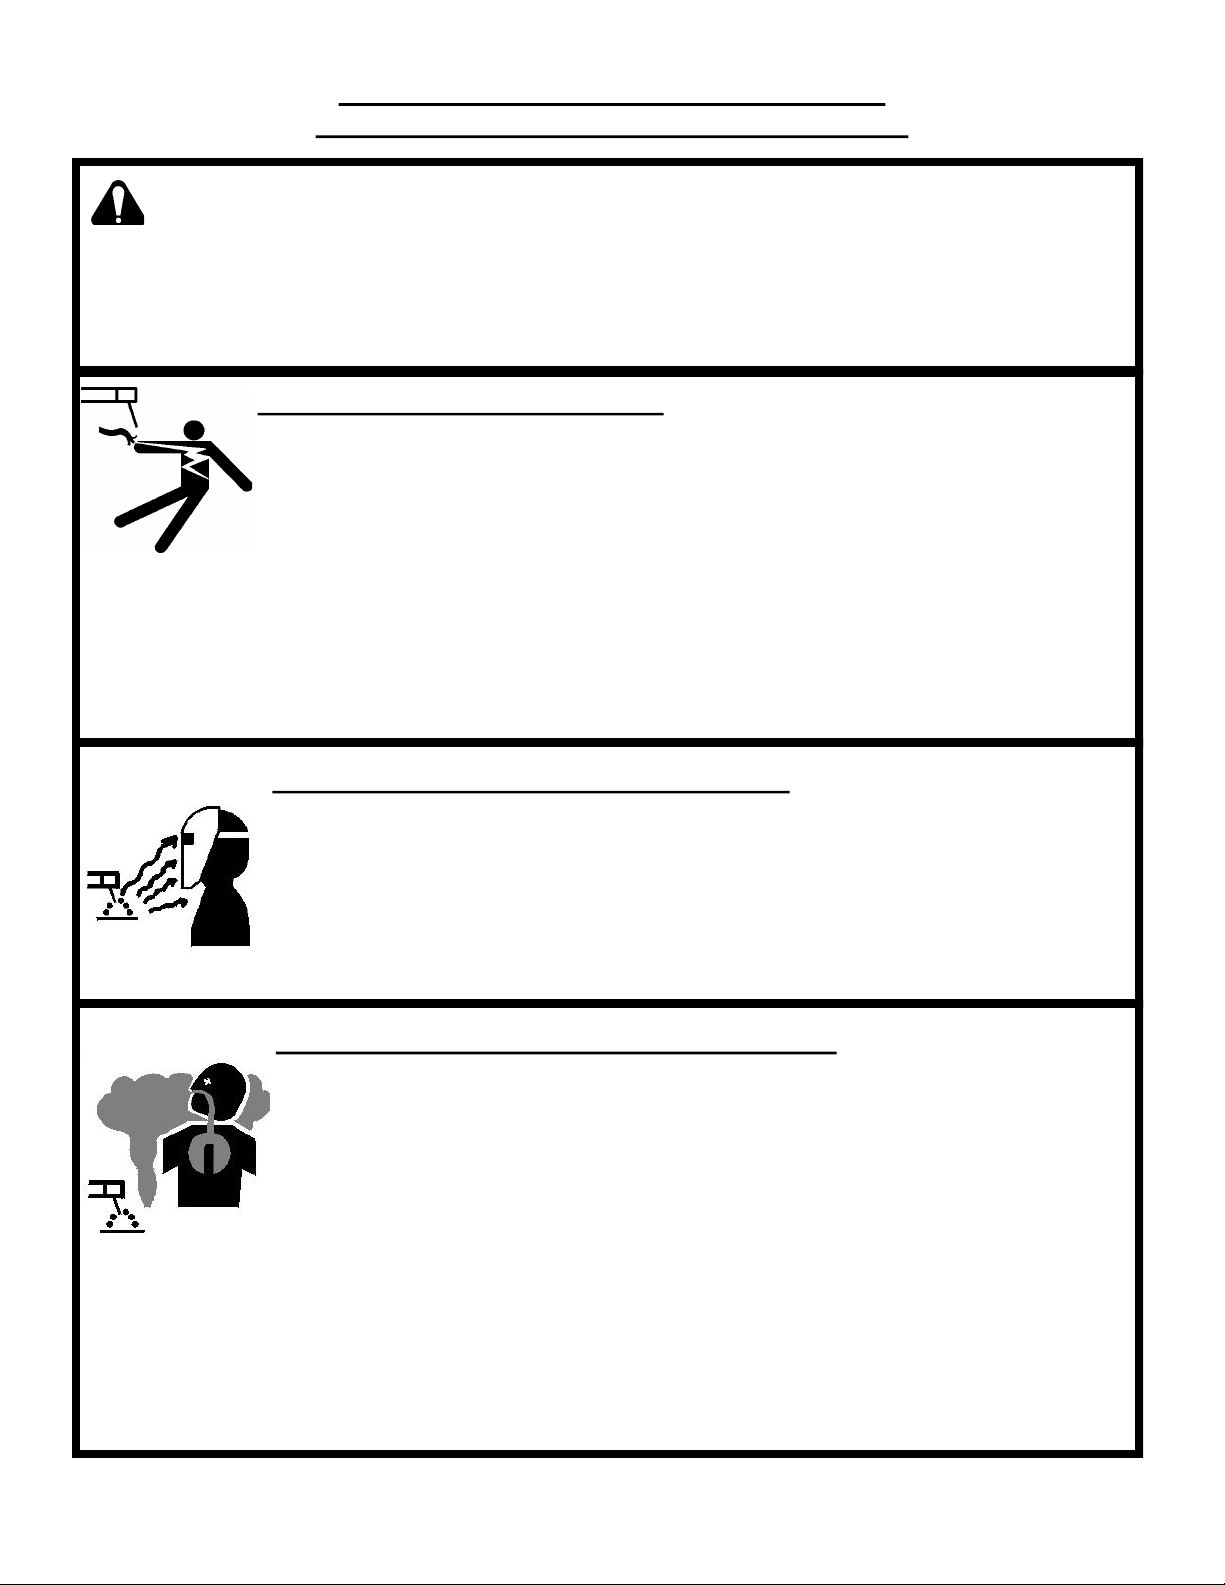
WARNING
ELECTRIC SHOCK CAN KILL.
The input circuits are live and hot when the power is on
Do not touch live electrical parts
Wear dry, hole free insulated work gloves and body protection when operating
Do not touch torch components if in contact with the work piece or ground
Always turn off power before cleaning, checking, or changing parts
Properly ground this piece of equipment per state and federal requirements
Inspect and replace any worn or damaged torch cables or leads
Keep all panels and covers securely in place
Do not touch any part of the welding electrodes (rods) when welding
Ground the metal or work piece to the ground cable (Earth Clamp)
Never dip the tip into water to cool or attempt to use cutter in or under water
This equipment holds a lot of power in the off position, before touching, make sure voltage is near
zero on input capacitors before touching any parts.
Keep children away from this equipment
Protect your self and others from possible injury
Pacemaker wearers should consult with their doctor before operating
Read and follow all instructions in this manual before operating
All installation, operation, and maintenance procedures are performed
only by qualified individuals
ARC RAYS CAN BURN SKIN AND EYES
Arc rays when cutting produce intense ultraviolet and infrared rays that can burn skin and eyes
Where face protection, either helmet or shield when operating with ANSI Z49.1 approved #10
shade (minimum) recommended for all welding currents less than 300 amperes. The lens should
conform to ANSI Z87.1 standards for testing.
Wear approved safety glasses with side shields under the face protection
Warn others not to stare at the arc as it can cause damage to the eyes. Provide barriers to protect
other workers in the area from the arc while operating
Wear flame resistant gloves, clothing, and shoes when operating
FUMES AND GASES CAN BE HAZARDOUS
ARC welding produces fumes and gases and breathing these gases is hazardous to your health
Keep your head out of the fumes and do not breath the fumes while welding
Work only in a confined area if it has sufficient ventilation, or while wearing an air supplied
respirator. Fumes from welding can deplete the oxygen supply and can be harmful. Always be
sure there is ample breathing air
Read the MSDS sheets and the instructions from manufacturers for metals to be cut, coatings,
cleaners, and welding electrodes
Do not use the welder near hydrocarbon vapors coming from degreasing, cleaning, or spraying
operations. The heat and rays can react with solvent vapors to create a gas phosgene, a very toxic
gas, as well as other irritating gases
Do not weld coated metals, such as galvanized, lead, or cadmium plated steel. Before welding, all
plating must be removed. The area must be well ventilated or an air supplied hood must be used.
The coatings and chemicals when burned cause highly irritating and toxic fumes.
Do not cut containers with toxic, flammable, or reactive elements stored in them. They must be
emptied and properly prepared before cut. They must be cleaned and prepared to cut by the AWS
F4.1 guidelines for cutting containers or tubes
KDAR Company 1
Page 3
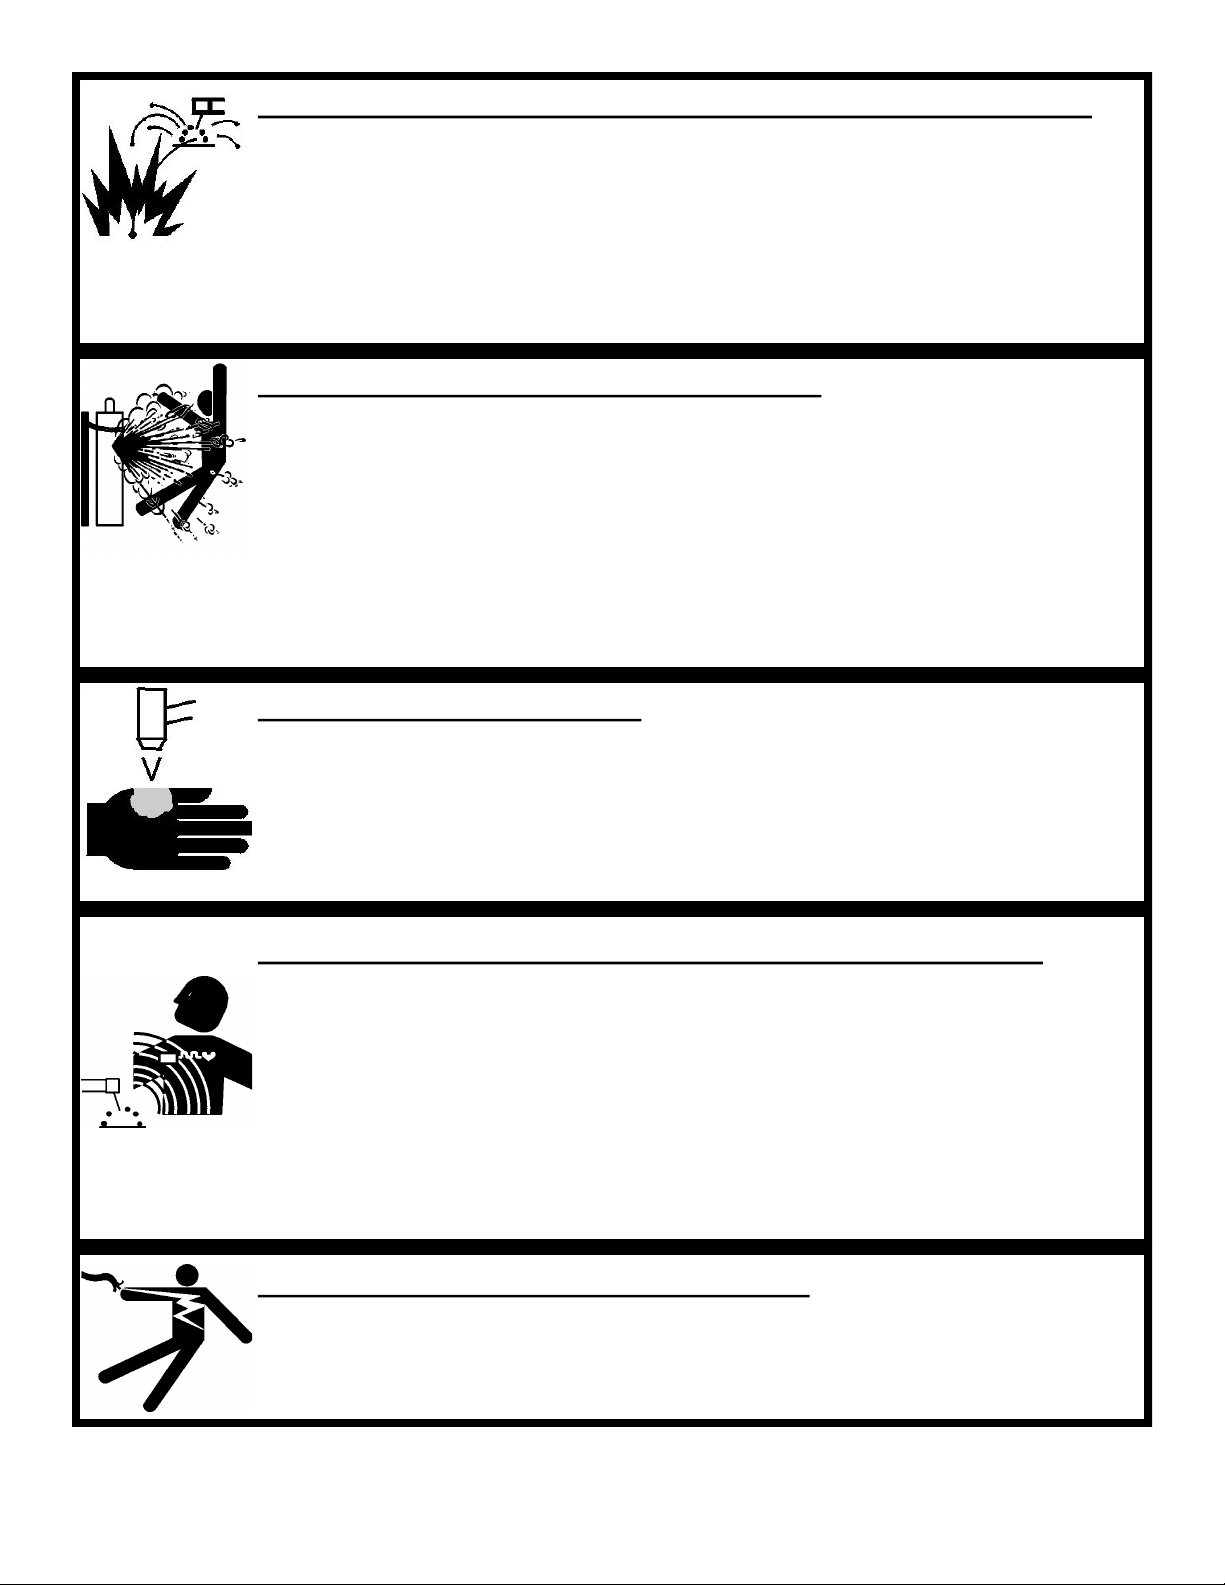
CUTTING SPARKS CAN CAUSE INJURY, FIRE, OR EXPLOSION
Remove all flammable materials from the welding area
Always have a charged fire extinguisher available in the cutting area
When not welding make sure the welding electrode is not grounded, this causes a heat build up and
possible fire
Avoid welding near hydraulic lines, fuel lines, electrical cords, air hoses, or welding guns and cables
Sparks and hot metal fly out from the arc when welding, wear approved safety glasses with side
shields under approved helmets, wear proper body and hand protection, and wear flame resistant ear
plugs to keep sparks from entering the ears
CYLINDERS CAN EXPLODE IF DAMAGED
Gas cylinders contain gas under very high pressure. If damaged they can result in that cylinder ex-
ploding. Gas cylinders are a major part of metalworking and must be treated with care.
Protect gas cylinders from excessive heat, mechanical shocks, slag, open flames, sparks, and arcs
Always keep cylinders in an upright position securely fastened to a fixed support
Valve protection caps should always be in place and hand tight except when the cylinder is in use
Keep all cylinders away from any cutting or electrical circuits
Never allow the arc from a welder to contact a cylinder
Never cut any type of pressurized cylinder, an explosion could result
Always turn your face away from the valve when opening the cylinder
Read and follow all instructions on compressed gas cylinders, associated equipment, and CGA pub-
lication P-1 listed in the Safety Standards before using
WELDING ARC CAN INJURE
The heat from the welding arc is very intense and forceful and can burn through protective clothing
and pierce skin causing serious burns
Check your protective clothing for holes, tears, or worn spots before welding. Replace any clothing
that is worn or damaged
Do not hold or grip the material being welded too close to the weld pool
Always wear protective clothing when operating the welder, cover all exposed body areas
Turn off power source and unplug unit when dis-assembling electrode holder or ground clamp
ELECTRIC AND MAGNETIC FIELDS MAY BE DANGEROUS
Electric current used in welding create Electric and Magnetic Fields (EMF)
Magnetic fields can affect pacemakers and wearers should avoid proximity to EMF. Wearers need to
contact their doctors before operating this type of equipment
Exposure to EMF during operation of this equipment may have other health effects which are not
yet known
Route the work and ground cables together and not around your body
Do not place your body between the work and ground cable. They both need to be on the same side
of your body when operating
Do not work next to the cutting or welding machine. Provide 3 feet of space between you and the
machine
ELECTRICALLY POWERED EQUIPMENT
Disconnect power source or turn off the circuit breaker before working on any equipment
Only install equipment using the US National Electrical Code, all local codes, and the manufactur-
er’s recommendations
Ground the equipment in accordance with the US National Electrical Code
KDAR Company 2
Page 4

HOT PARTS CAN CAUSE SERIOUS BURNS
Do not touch hot parts without wearing protection.
Allow the electrode to cool sufficiently before working with parts that could potentially
be hot.
NOISE CAN DAMAGE HEARING
Prolonged noise exposure from cutting and welding equipment can cause damage if levels of noise
exceed the OSHA standards
Wear approved hearing protectors
Warn other workers nearby of the high noise level and hazard
CALIFORNIA PROPOSITION 65 WARNINGS
Welding or cutting equipment produces fumes or gases which contain chemicals known to the State of California to
cause birth defects, and in some cases, cancer. (California Health and Safety Code Section 25249.5 et seq.)
PRINCIPAL SAFETY STANDARDS
AMERICAN WELDING SOCIETY
AWS C5.2, Recommended Practices for Plasma Arc Cutting
AWS F4.1, Recommended Safe Practices for the Preparation for Welding and Cutting
OSHA STANDARDS
OSHA 29 CFR 1910, Safety and Health Standards
NATIONAL FIRE PROTECTION ASSOCIATION
NFPA Standard 70, National Electric Code
NFPA Standard 51B, Cutting and Welding Processes
AMERICAN NATIONAL STANDARDS INSTITUTE
ANSI Standard Z87.1, Safe practices for Occupation and Educational Eye and Face Protection
ANSI Standard Z49.1, Safety in Welding and Cutting
KDAR Company 3
Page 5

Input Voltage 220 Volts AC
Input Amps 60
Phase 1
Output Amps (Low) 50 - 210
Output Amps (High) 55 - 250
Open Circuit Voltage (High) 58 V
Working Voltage 29 V
Duty Cycle
100% @ 100 Amps
20% @ 225 Amps
Specifications
Package Contents
Installation & Set Up
MODEL AC300
1. Welder Assembly
Welder Assembly
2. Electrode Holder & Cable
Assembly
3. Ground Clamp & Cable
Assembly
Wheels Axle Cotter Pins Crank
4. Handle
5. Wheels (2)
Front Support Hardware Bag 16 MM Wrench Manual
6. Axle
7. Cotter Pins (3)
8. Crank
9. Front Support
10. Hardware Bag
Hardware Bag Contents
11. 16mm Wrench
12. Manual
1. (4) 6mm x 35mm Bolts
2. (4) 6mm x 16mm Bolts
3. (8) 6mm Lock Washers
4. (12) 6mm Flat Washers
5. (4) 6mm Nuts
Electrode Holder &
Cable Assembly
Ground Clamp &
Cable Assembly
Handle
6. (2) 10mm x 16mm Bolts
7. (2) 10mm Lock Washers
8. (4) 10mm Flat Washers
9. (3) Cotter Pins
KDAR Company 4
Page 6

Installation & Set Up
Assembly Instructions
Retain packing material for use during assembly
of the welder.
1. Line holes in the handle with the holes in
the upper back of the welder. Place a 6mm
flat washer on a 6mm x 35mm bolt and
place through one of the holes. Repeat for
the remaining three 6mm x 35mm bolts.
Place a second 6mm flat washer and a 6mm
lock washer over the bolt. Thread a 6mm
nut on each of the bolts and tighten with a
10mm wrench.
2. Using the corrugated packing blocks to support the top front of the unit, lean the welder
forward and rest it on the blocks. Line the
holes in the axle tabs with the holes at the
bottom of the rear of the welder. Place a
6mm lock washer and 6mm flat washer over
a 6mm x 16mm bolt, thread into one of the
welded nuts and tighten with a 10mm
wrench. Repeat for the other side. Note:
Occasionally paint over spray will accu-
mulate at the opening of axle nuts. Clean
the paint away carefully and tread the
bolts.
3. Place one wheel on each end of the axle and
thread a cotter pin through the hole at each
end of the axle. Bend the longer end of the
cotter pin around the axle.
4. Again using the packing block, tip the welder back and support the handle with the
packing blocks. Line the holes in the front
support bracket with the holes in the bottom
front of the welder. Place a 6mm lock wash-
er and 6mm flat washer over the 6mm x
16mm bolt, thread into the welded nut and
tighten with 10mm wrench. Repeat for the
other side. Stand the unit upright. Note: Oc-
casionally paint over spray will accumulate at the opening of axle nuts. Clean the
paint away carefully and tread the bolts.
6 x 35 mm Bolt,
Lock Washer,
Flat Washer
6 x 16 mm Bolt,
Lock Washer,
Flat Washer
Cotter Pin
6 x 16 mm Bolt,
Lock Washer,
Flat Washer
5. Place the crank handle down over the shaft on
the top of the welder, lining up the hole in the
crank handle body with the hole in the shaft.
Slide cotter pin through the hole and bend the
longer end of the cotter pin around the handle.
Assembly is now complete.
KDAR Company 5
Page 7

Installation & Set Up
Plug Installation
Do to the wide variety of 240V plug types, the Hot
Max AC300 is shipped with out a plug. The user will
have to purchase and install a plug. These welders require a 240V 50 Amp plug.
Please refer to the instructions packaged with the plug
for proper installation. The unit is shipped with a 6’
three conductor power cord with a blue and red hot
conductor and a yellow and green (ground) conductor.
Electrode & Ground Cable Connection
Warning
Before connecting the electrode and ground clamp
cables be sure the welder is turned off and disconnected from the input power supply.
AC300
1. Slide a 10mm lock washer and 10mm flat washer
onto the 10mm x 16mm bolt and attach the ground
clamp cable to the negative cable terminal on the
right side of the welder (as you face the welder).
2. Slide a 10mm lock washer and 10mm flat washer
onto a 10mm x 16mm bolt and attach the electrode
cable to the desired positive cable terminal on the
left side of the welder (as you face the welder).
The positive cable terminal selection is determined
by the power output required for the welding operation being performed. The lower terminal is for
operating ranges of 50 –210 Amps and the upper
terminal is for operating ranges of 55 –250 Amps.
Note: Very few operations require amperage as
low as 35 , therefore, it is recommended the
electrode be connected to the upper terminal.
Location
Place the welder in a location that allows the free flow
of air through the ventilation louvers
Negative
Terminal
Positive
Terminals
KDAR Company 6
Page 8

Operation
Powering Up the Welder
For most users, and 40Amp, 2 pole, 240V breaker will
work for most applications. If you find that you are
welding at the upper range of the rated output current
or if you find that you are overloading (tripping) the
breaker while welding, we suggest upsizing the breaker to a 50 Amp, 2 Pole, 240V breaker. Once the
breaker size is confirmed, plug the welder into the appropriate matching receptacle and turn the rotary power switch to the on position.
Welding Current Selection
Welding current selection is made by turning the crank
handle on the top of the welder. Turning clockwise
increases the amperage and turning counter clockwise
decreases the amperage. Amperage selected lines up
with the middle of the red indicator.
For the best results, the proper current selection is essential. Check the electrode manufacturer’s recommendations for the proper settings.
Ground Clamp
The ground clamp must be connected so that a circuit
can be completed in order create the arc required for
welding. The ground clamp can be connected directly
to the work piece or can be connected to a base metal
the work piece is in contact with.
Electrode
To insert the electrode into the 7 position electrode
holder, squeeze the holder to open the jaw and put the
bare end of the electrode into the desired position in
the holder. Release the jaw.
Welding
Strike an arc and begin to weld.
Maintenance
Regular preventative maintenance is not required for
the AC300 other than keeping dust/dirt away from the
machine. If the louvers become dusty or clogged,
simply wipe the cover off to remove the dust/dirt.
These welders have no user serviceable parts. Please
contact KDAR for any necessary repairs or replacement parts.
Current Selection
Crank
Note: If you are new to welding, KDAR suggests you get instruction from a qualified welder prior to attempting to weld. Welding can be
dangerous if proper safety precautions are not
followed.
KDAR Company 7
Page 9

Warranty
KDAR Company, and its affiliates, warrants that
all welders covered under this warranty is free
from defects in material and workmanship for one
year from the date of purchase. KDAR also warrants that the electrode holder assembly and
ground clamp assembly iss free from defects in
material and workmanship for 90 days from the
date of purchase. This warranty is extended to the
original purchaser who uses the product in a consumer application (personal, residential or household usage). All welders covered under this lim-
ited warranty which are used in commercial appli-
cations (i.e. income producing) are warranted to
be free from defects in material and workmanship
for 90 days from the date of original purchase.
The products covered under this warranty are the
ARC100, ARC200, AC300, and ACDC300/200.
KDAR Company, and its affiliates, will repair or
replace, at KDAR’s sole discretion, parts found to
be defective in material or workmanship within
the warranty period. Warranty service will be
scheduled according to the normal work flow and
business hours of the service center doing the
work as well as the availability of replacement
parts. All decisions from KDAR Company regarding this limited warranty shall be final.
Original Purchaser’s Responsibility:
1. Retain the original cash register receipt as
proof of purchase.
2. Follow manual instructions regarding the care
and operation of your welder.
3. If warranty work is required, DO NOT RE-
TURN THIS WELDER TO THE RETAIL-
ER. Contact KDAR Company for instr uc-
tions. Visit www.hotmaxtorches.com or call
KDAR Company M-F 8AM-5PM CST to locate the nearest Authorized Service Center.
Not Covered:
1. Transportation charges for sending or delivering the welder to the Authorized Service Center or returning the repaired or replacement
welder back to the customer. These charges are
the responsibility of the customer.
2. Damages caused by ordinary wear, abuse, rain,
freeze damage, negligence, accident or failure
to operate or maintain the welder in accordance
with the instructions in the operator’s manual
supplied with the welder.
3. Damage caused by unauthorized repair or alterations including extending power or electrode cables.
Exclusions and Limitations:
KDAR Company makes no other warranty of
any kind, express or implied. Implied warranties, including warranties of merchantability
and of fitness for a particular purpose, are
hereby disclaimed. The warranty service described above is the exclusive remedy under
this warranty; liability for incidental and consequential damages is excluded to the extent permitted by law.
This warranty gives you specific legal rights, and
you may have other rights which vary from state to
state. Some states do not allow a disclaimer of implied warranties, or the exclusion of incidental and
consequential damages, so the above disclaimers
and exclusions may not apply to you.
For warranty service or to obtain service parts
or accessories:
Call: (314) 692-8555 M-F 8-5 PM, CST
Visit: www.hotmaxtorches.com
Write: KDAR Company
1 Mulch Lane
St. Louis, MO 63044
KDAR Company 8
 Loading...