

Page 1
2281R 1978-1988 GM A Body
2281R
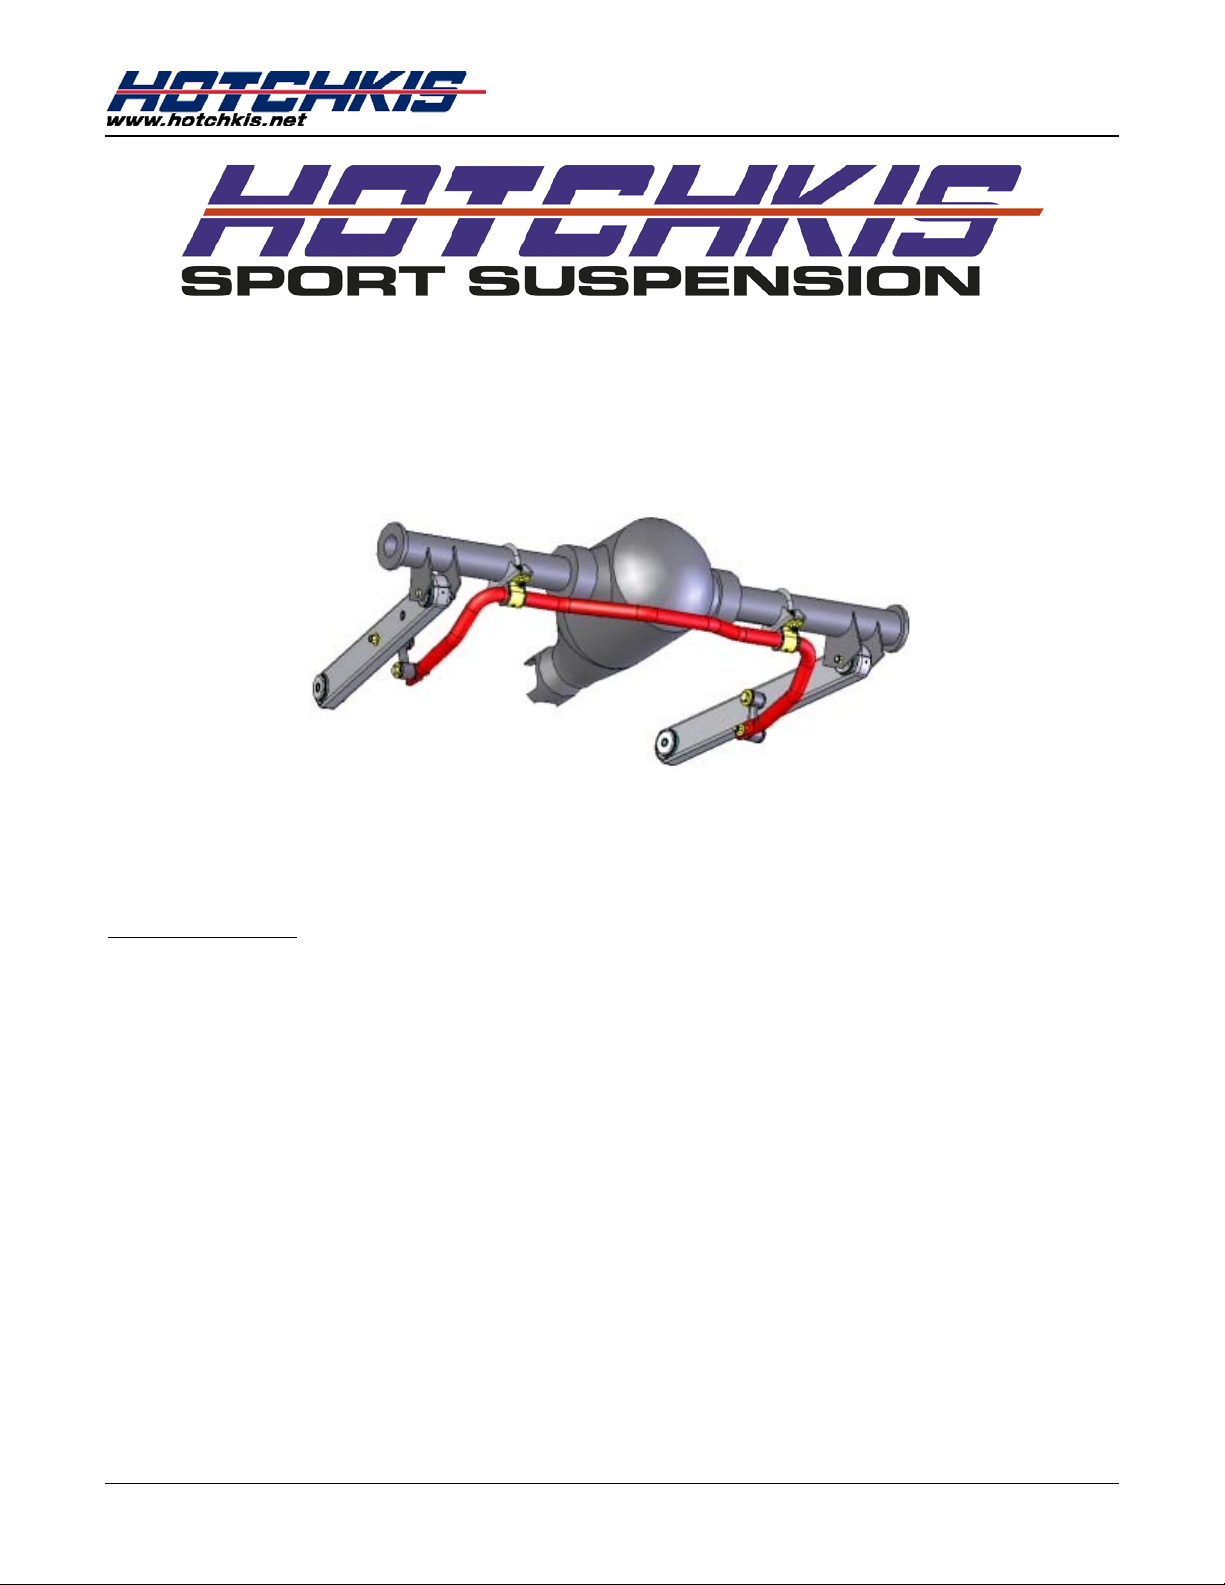
1978-1988 GM A/G Body
Extreme Rear Sway Bar
Thank you for your purchase from our new line of GM parts.
Please call us at (877) 4NO - ROLL if you have any questions
regarding the service or installation of your Hotchkis products.
Before You Start
Please read this entire instruction manual before starting. Being prepared with the right tools
and procedures will aid in the ease of this installation.
This sway bar kit requires Hotchkis Trailing Arms (p/n 1301) to be installed beforehand. You
will not be able to install this kit using stock trailing arms due to end link interference.
1. Raise Rear of the Vehicle
To properly install the rear sway bar you must have the rear suspension at ride height.
Please use a 4-post lift or alignment rack to raise the vehicle. If these are not available,
you may use floor ramps to gain access to the underside of the vehicle. Floor ramps
can be found at most local auto parts stores.
2. Install Hotchkis End Links
:
Hotchkis Sport Suspension LLC. 1
Page 2
2281R 1978-1988 GM A Body
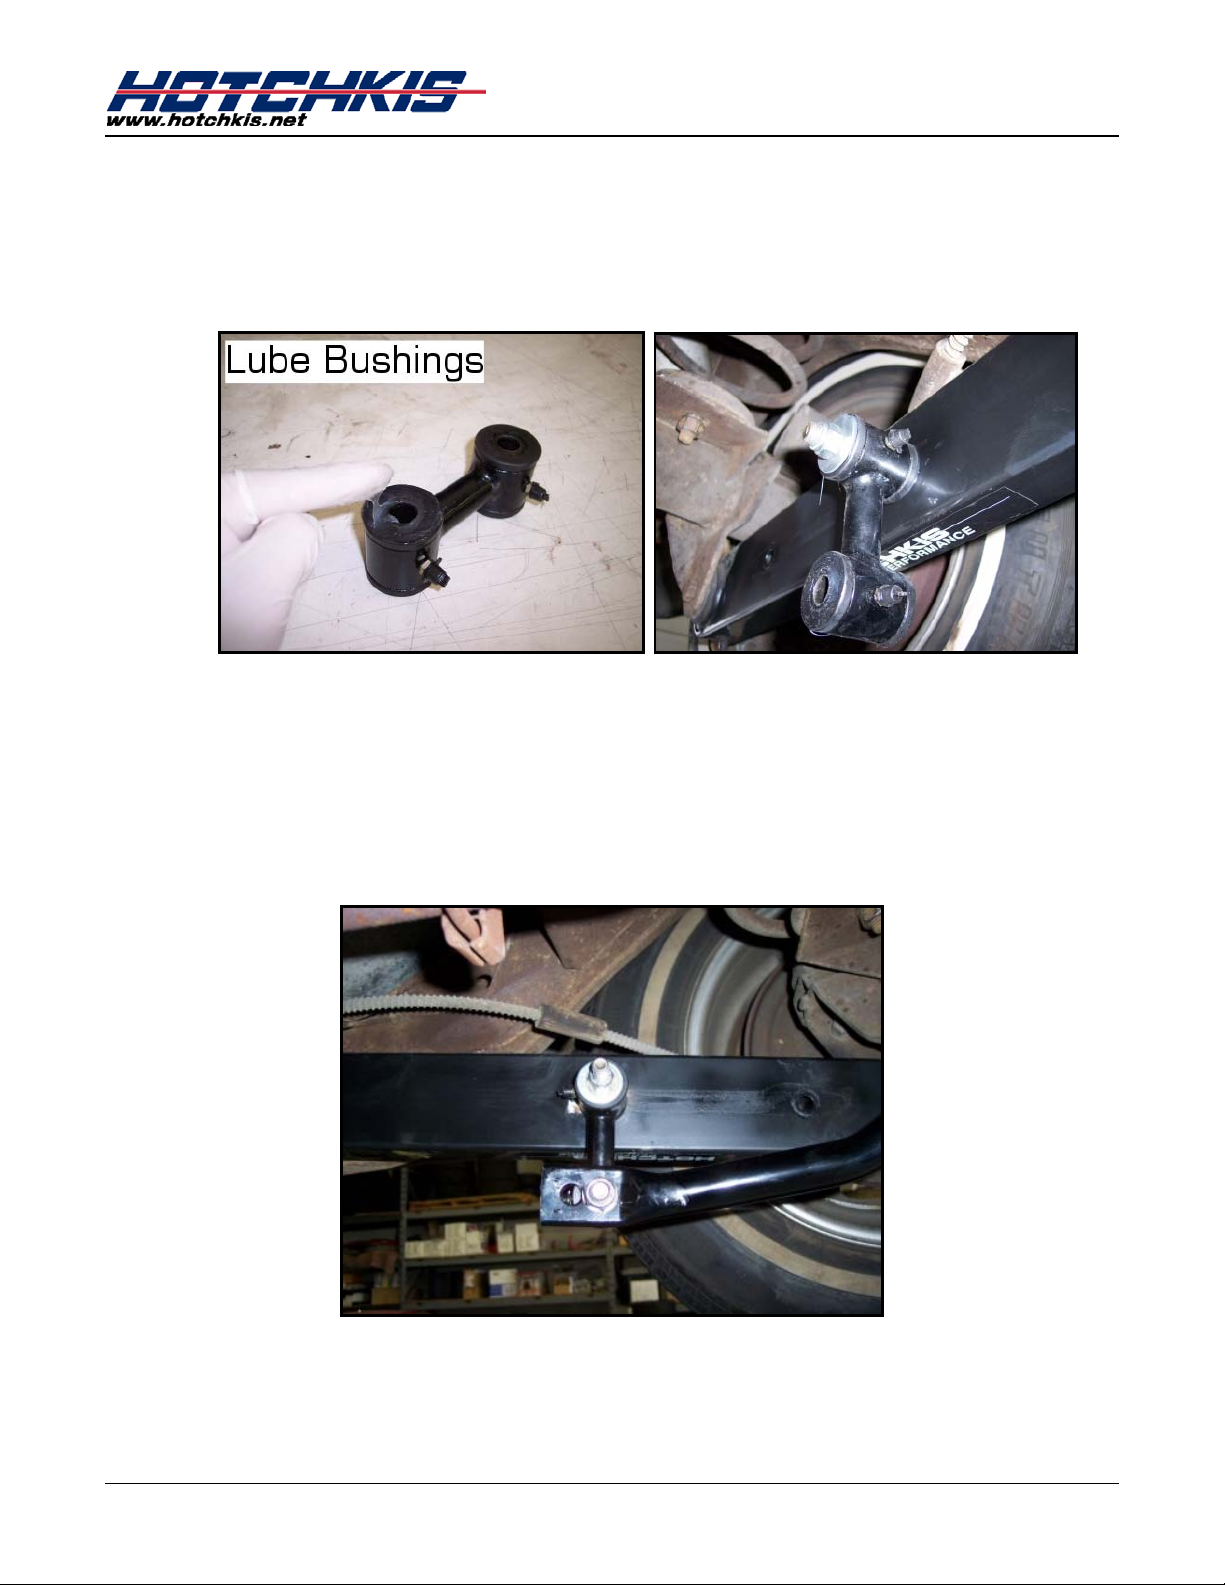
Lube the polyurethane bushing surface on both dogbone end links. Look at your
dogbone and notice that the bushing sleeves on each end have different inner
diameters. The trailing arm bolt will use the small sleeve and the sway bar bolt will use
the large hole. Use the 7/16” x 4” bolt to attach the end link to the trailing arm. The bolt
should be pointing inboard. Use the 7/16” SAE washer (small) on the bolt head side
and the 7/16” USS washer (larger) on the nut side. Do not fully tighten at this time.
3. Attach Sway Bar to the End Links
Orient the sway bar so that the Hotchkis sticker is right side up. At this time you can
choose the stiffness setting by using the hole at the end for a softer setting or the 2
hole from the end for a harder setting. Use the ½” x 3” bolt to attach the sway bar to the
end link. The bolt should be pointing inboard. Use the ½” SAE washer (small) on the
bolt head side and the ½” USS washer (larger) on the nut side. Do not fully tighten at
this time.
nd
4. Install Axle Brackets
First step is to install the provided stainless steel U-bolts. Each U-bolt will install a little
inboard of the spring mount. You will have to unclip the brake line from the axle tab and
Hotchkis Sport Suspension LLC. 2
Page 3

2281R 1978-1988 GM A Body
carefull pull the brake line away from the axle tube to give enough clearance for the Ubolts.
Next, apply the provided lube on the inside surface of the polyrethane bushings. Pop
the bushings onto the sway bar. Slide the bushing brackets onto the bushings.
Apply a small amount of anti-seize to the threads of the U-bolts. Next position the axle
bracket up against the axle tube. Raise the sway bar up to meet the axle bracket and
allow the U-bolts to poke through the bushing bracket. Fasten the assembly together
with the provided nut and washer. Do not fully tighten.
Hotchkis Sport Suspension LLC. 3
Page 4
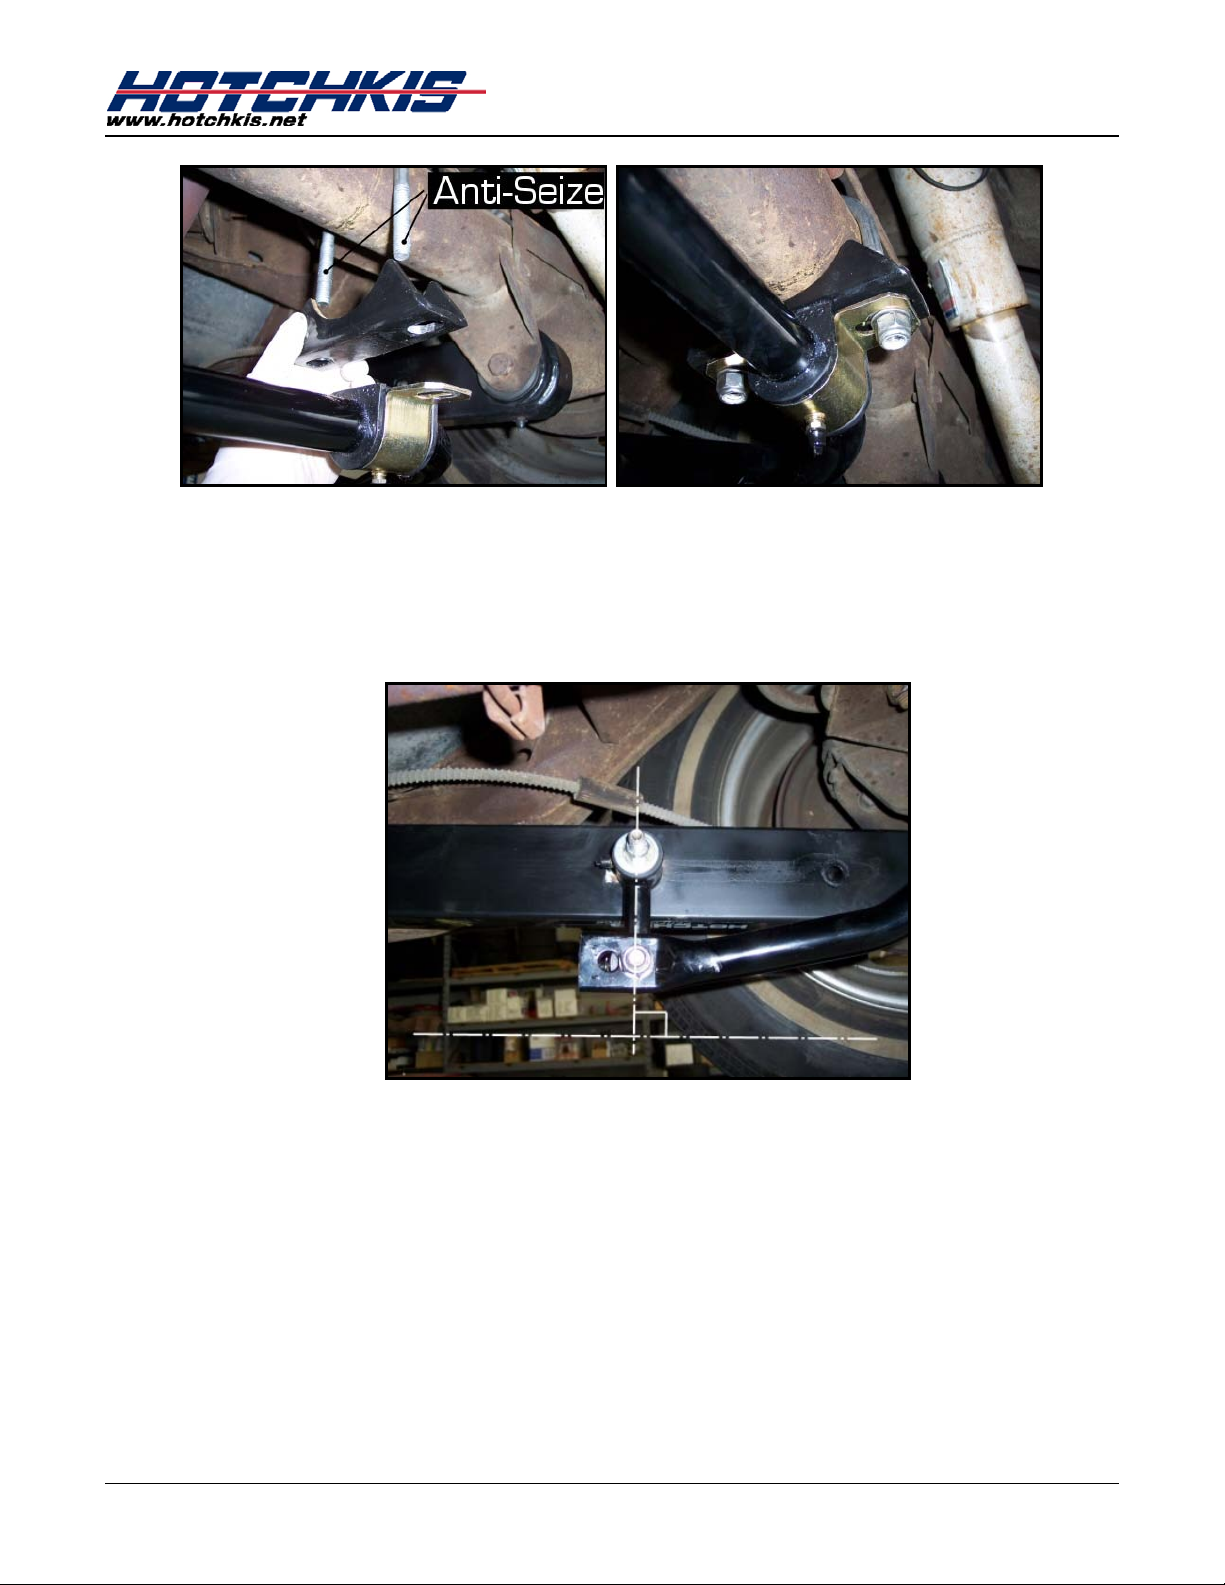
5. Position the Sway Bar
Since all of the hardware is still semi-loose, we can position the sway bar so that the
end links are perpendicular to the trailing arm. Once the bar is positioned, fully tighten
the axle bracket U-bolts. Then fully tighten the rest of the hardware. You are finished
with this installation.
2281R 1978-1988 GM A Body
6. Optional Reinforcement
If the vehicle is going to be drag racing or road racing, it is recommended that you weld
the axle brackets to the axle tubes. Sand off the paint on the mating edge of the axle
bracket and axle tube. MIG weld a few beads on each side of the bracket. Finish it off
with a little spray paint to keep it from rusting.
Hotchkis Sport Suspension LLC. 4
Page 5
2281R 1978-1988 GM A Body
Hotchkis Performance LLC
Return Policy & Limited Warra nty
Effective December 1, 2010 all Hotchkis products must be registered to qualify for warranty at
www.hotchkis.net or via t he mail-in warranty card, included with the product, within 30 days of
the original purchase date.
IMPORTANT: This warranty supersedes all other warranties included with this product.
Return Policy
We want you to be completel y satisfied with your Hotchk is Perform ance product. For products, presenting signs
of shipping damage pleas e contact the freight carrier immediately. All our products are guaranteed to be free
from manufacturer’s defects. If your order arrives with a manufacture defect, please contact our Customer
Service Department at ( 562) 907-7757. You will be ass igned a Returned Goods Authorizat ion Number (RGA).
The package you ret urn must show the RGA on the outside of t he package, include the original invoice and be
shipped prepaid to our fac ility. The product has t o be unused and in its original pack aging m aterials. Exchanges
or refunds m ade after 30 days will be subject to a 20% restocking charge. If you purchased your Hotchkis
Performance product from an authorized dealer, you are still covered by this return policy. All returns
however, should be made to your dealer, not to Hotchkis Performance directly.
Limited Warranty
Hotchkis Performance offers a Limited Warranty against defects in materials and workmanship for the term of 36
months (3 years) from the date of purchase of this product. This Warranty only applies to the original retail
purchaser who retains ownership of the vehicle on which the product was originally installed. If the product is
determined to be defective, Hotchkis Performance will repair, replace or refund the purchase price of the defective
product at Hotchkis Performance's sole discretion, which shall fully satisfy and discharge any and all warranty
claims. Any repaired or replaced product will be returned to the sender excluding the cost of freight.
must be registered to qualify for warr anty at www.hotchkis.net or via the mail-in warranty card, included
with the product, within 30 days of the original purchase date.
Products
Exclusions from Warranty
Items offered but not manufactured by Hotchkis Performance are warranted according to the manufacturer's
terms and are not co vered by this l imited warr anty. Hotchk is Perform ance shal l not be r esponsibl e for an y labor,
removal, installation, re-installation or maintenance cos ts. This warranty does not cover the cosmetic finish or
plating of any product or any norm al wear and t ear to any prod uct incl uding , but not l im ited to bushi ngs, bra ck ets,
end-links, hardware, steer ing components, shocks or springs. In ad dition, this warranty does not apply to any
products that have been:
Improperly installed or installed by someone other than a qualified, licensed auto mechanic
experienced in the installation and removal of suspension products;
Improperly serviced, misused, or modified, altered or subjected to abuse, negli g ence, accident or
collision;
Installed in any vehicle that has been mod ified;
Installed on any vehicle that has carried loads in excess of automobile manufacturer suggested
weight limits; or
Installed on any vehicle that has been subject to abnormal or excessive use, including rallying,
racing, or racing-type activities or off-road use.
Limitation of Warranty
This limited warranty is the entire a nd on ly warranty for the produc ts and may not be modified or supplemented by
any other person or company in an y form. Any description of the pr oducts, by an yone, is for the sole pur pose of
identifying them and is not part of the basis of the bargain, a nd does not constitute a warranty that the products
Hotchkis Sport Suspension LLC. 5
 Loading...