

Page 1
B5 Audi S4/A4
#22801
Front and Rear Anti-Roll Bar Kit Installation
Instructions
Tools Required: Included In Kit:
1/ 4-wheel lift/ramps or jack stands 1/ front and rear anti-roll bars
2/ 13mm socket 2/ 4 bushings & 4 brackets
3/ 13mm wrench 3/ 2 front bushing mounting plates
4/ (2) 16mm wrenches 4/ reinforcement bracket kit
5/ 5mm allen 5/ ha rdware kit
6/ (2) 14mm wrenches 6/ 1 grease pack
7/ Blue Locktight
START WITH THE REAR BAR/REINFORCEMENT BR ACKETS.
1/ Raise vehicle using a 4-wheel lift, drive-on ramps or jack stands at the
proper jack points. When using jack stands, always utilize a level surface.
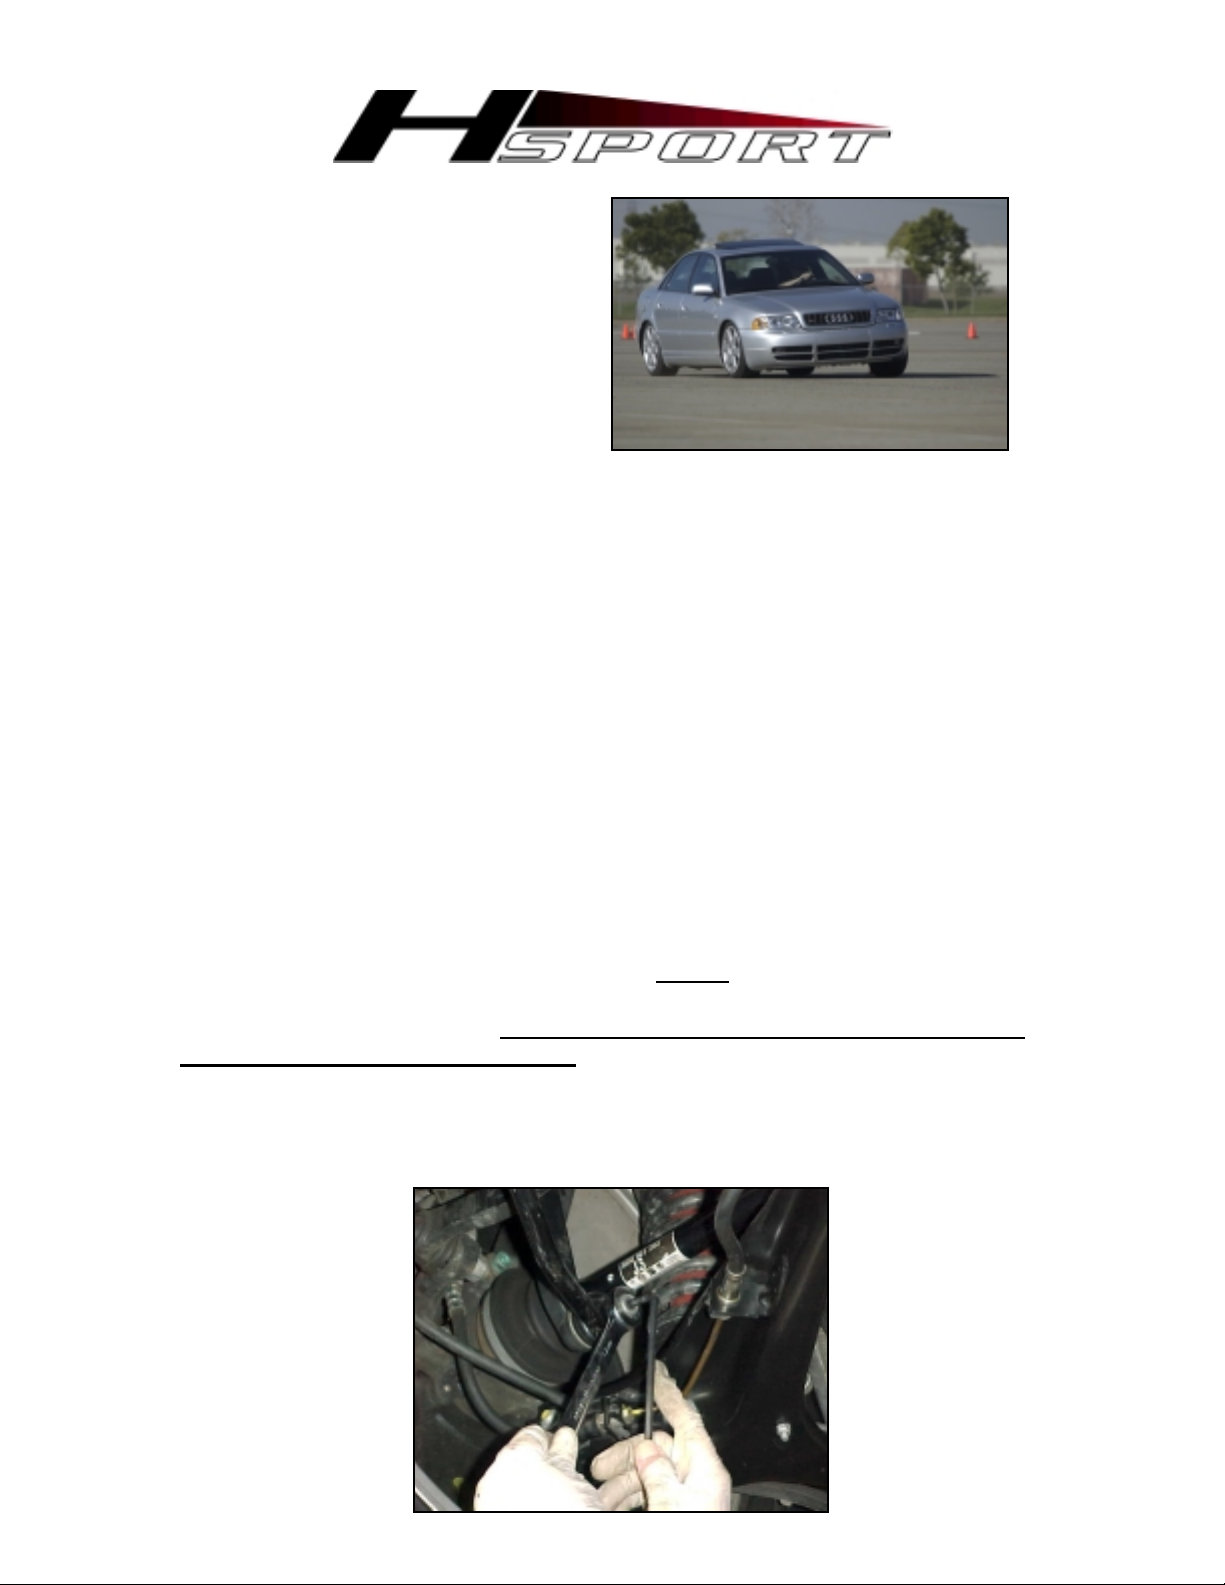
2/ Once vehicle is raised, take a moment and observe the stock rear bar
and the way in which it is mounted.
3/ Rear bar can be removed and installed without releasing exhaust but
detach if necessary at rear. Remove the two lower end link nuts (16mm wrench)
which may require holding the stud steady with the 5mm allen.
Page 2
4/ Remove the four bracket bolts and nu t s. Slowly remove the bar by rolling
it over the exhaust. WAIT TO INSTALL HSPORT BAR.
5/ Now install the reinforcement brackets. The driver’s side frame has two
holes above the rear portion of the lower a-arm. Use the flange-headed bolts
and place the head on the inside of the frame facing out. Take the black bracket
marked ‘D’ and place it up against frame as shown. The ‘D’ sticker will end up
against the frame, with the gusset towards the ground. Use the lock washers
and lock nuts provided. Assemble with 14mm wrenches and leave loose, DO
NOT TIGHTEN.
6/ Take one of the supplied billet pieces and remove one of the bolts. This
allows you to open the piece and slide over the driver’s side toe link. Reattach
the bolt and washer (13mm wrench) with the HSport sticker pointing towards
the outside of the vehicle and tighten both bolts. You may angle the brace
up against the toe link itself to get enough leverage to tighten the bolts
Page 3
7/ Using the (2), 8mm x 20mm bolts and washers, attach the billet piece to
the black bracket (13mm wrench) but DO NOT TIGHTEN. The black
bracket is slotted, so use the slots to maneuver the pieces in order to
thread the bolts.
8/ REPEAT THIS EXACT PROCESS FOR THE PASSENGER SIDE USING
THE REMAINING BLACK BRACKET. DO NOT TIGHTEN ALL THE WAY.
9/ Now, you can install the rear HSport bar but without the bushings and
brackets.
Page 4

10/ Grease the inner portion of the smaller provided bushings using about
one-quarter of the supplied grease pack. With the bar in, at the approx. stock
location, install the smaller provided bushings in the approx. stock location.
Then, install the bushing brackets with the grease fittings pointing down to the
ground.
Page 5

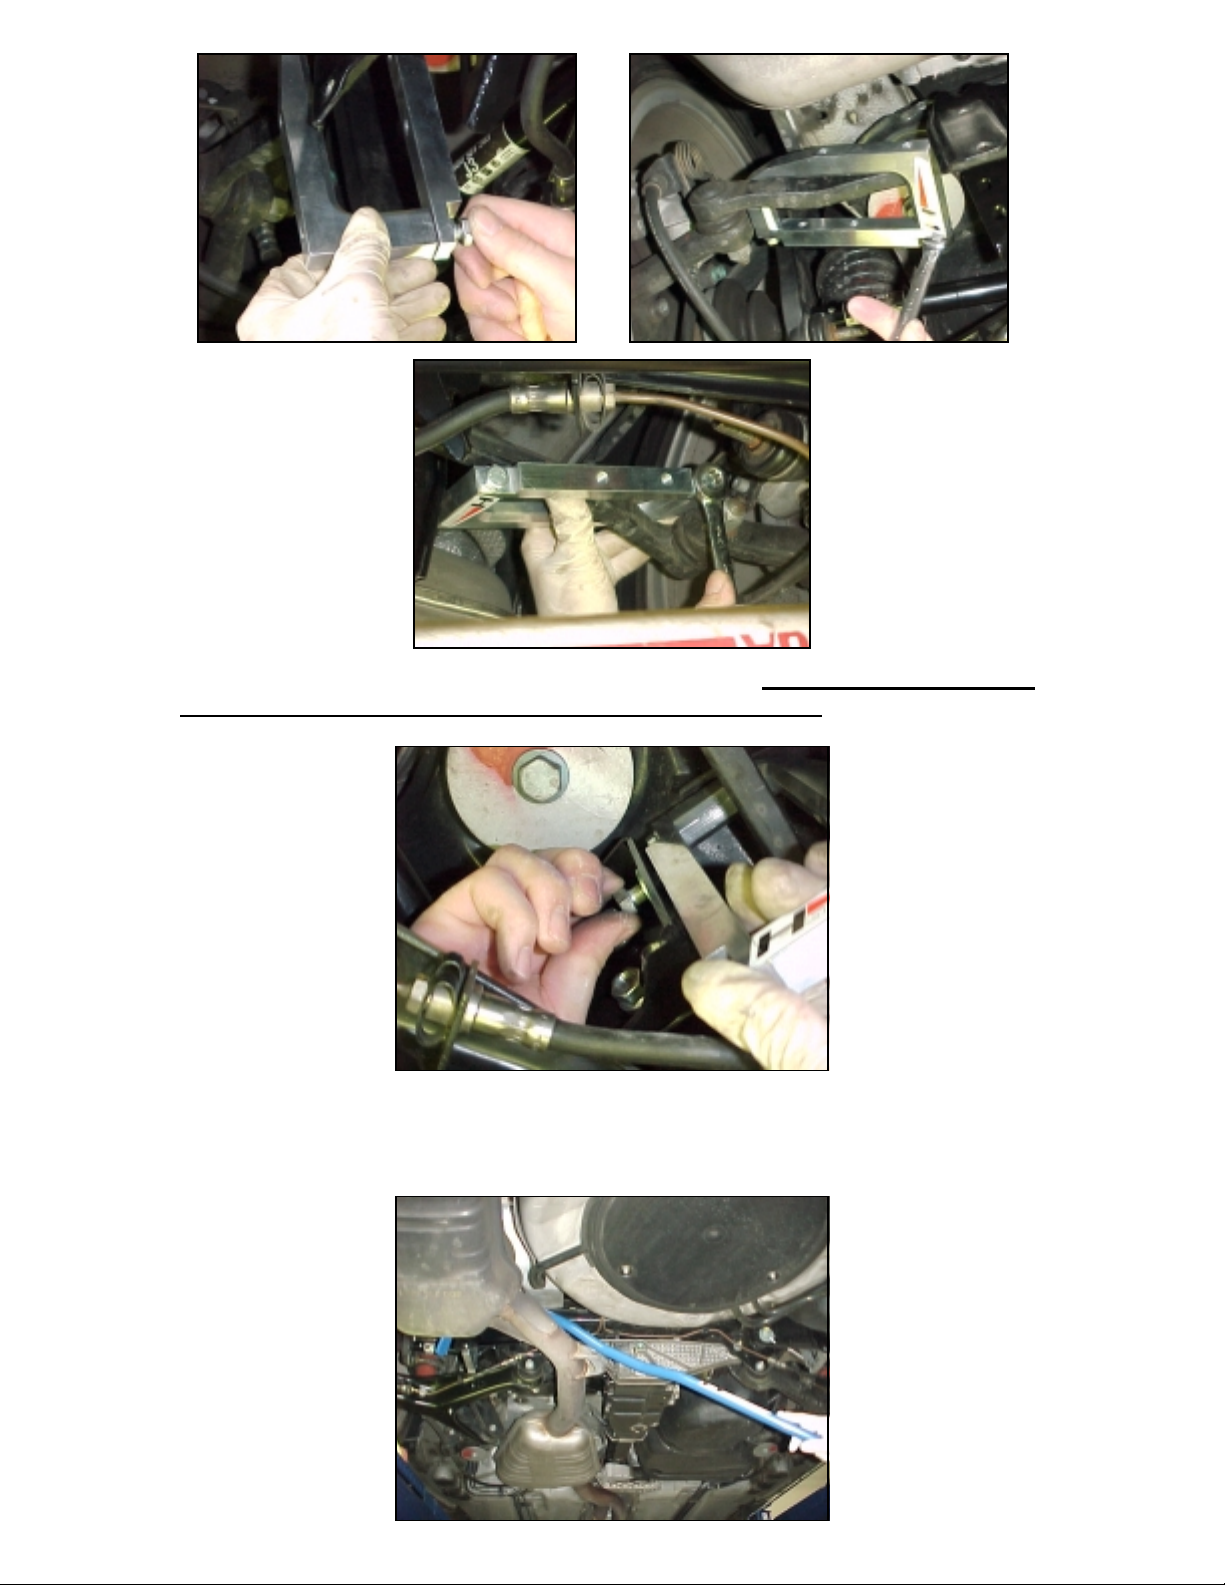
11/ Now, install the last 4 bushing bracket bolts and washers using the 13mm
wrench and tighten. Remember, the black bracket is slotted so if all
hardware is loose enough, you will be able to thread the bushing bracket
bolts through the sub-frame and into the aluminum.
12/ Finally, choose the ‘soft’ or ‘hard’ setting for the end links and reinstall the
nuts using the 16mm wrench and 5mm allen.
13/ Now that the end link nuts and bushing bracket bolts are tight, tighten the
bolts that attach the black brackets to the aluminum pieces (13mm wrench).
Then, tighten the black brackets to the frame using the 14mm w r enches.
*BY NOW, ALL 12 BOLTS AND 4 NUTS SHOULD BE SECURE
YOU’RE DONE WITH THE REAR, NOW THE FRONT!!
1/ Raise vehicle using a 4-wheel lift or ‘drive-on’ ramps preferably, or the
front using jack stands at the named jack points. When using jack stands,
always utilize a level surface.
2/ Once vehicle is raised, use a standard screwdriver and remove the aeropan fasteners. Then remove the pan entir ely exposi ng the anti-r oll bar .
3/ Take a moment and observe the stock front bar and the way in
which it is mounted.
4/ Remove the lower end link bolts and nuts (16mm wrench) to the bar and
save only the bolts for re-installation. Remove the four bracket nuts and save.
(13mm wrench) Remove the stock bar.
Page 6

5/ Apply a quarter tube of grease to each inner portion of
the two new front bushings and attach to HSport bar against the outside of the
washers on the bar. Slip the new brackets over the bushings.
6/ Lift the bar up to the vehicle. The two smaller HSport stickers at the bar’s
ends should be right-side-up. As you lift the bar up to the mounting points, you
must place one mounting plate per side between the bushing and the
mounting point. This relocates the bushing out of the stock bushing pocket.
7/ Re-install the bracket nuts and tighten. Apply Blue threadlocker to the end
link bolts and tighten well. **Note** If vehicle is raised using jack stands or
other, the bar end and the end link may not align properly. Lower vehicle
so that front suspension is not at full droop and ends will align. Be sure to
thread end link bolt by hand at first to prevent cross-threading.
8/ Re-install the aero pan.
Page 7

8/ Reinstall the aero pan and make sure it is secure.
Enjoy your new tubular anti-roll bar kit from HSport! If you need assistance with
the install or have any other questions, go to the ‘instructions’ button on our site
or call us at the number below.
Thank you for choosing the best anti-roll bar kit available for your A4/S4!
HSport
Mark Hotchkis
562.907.7757 ext 227
www.h-sport.com
12035 Burke St. Suite 11
Santa Fe Springs, CA 90670
 Loading...