

Page 1

#22810 & #22800
Competition & Spor t
Sway Bar Kit
Installation Instructions
Thank you for choosing Hotchkis Performance Sway Bars. This kit
requires both front and rear sub-frames to be dropped for stock bar
removal and HSport installation. Professional installation is recomme nded
but not required.
Note: Total installation time could be as much as three to four hours.
Tools Required:
16mm socket and wrench w/ exten sio n 13mm socket and wrench
5mm allen 21mm socket
E12 Torx socket or wrench
Start With The Front
1/ Raise the vehicle using a four-wheel lift, ramps or jack stands. Only use a
level surface and only use the manufacturer’s named jack points.
2/ Once raised, you should be able to see the stock bar at the center of the
vehicle, just behind the front axle line. Take a moment and observe the way in
which this bar is mounted.
4/ Before starting on the sub-frame, di sco n nect the low er end-link from the
bar using a 16mm wrench and 5mm allen.
3/ Remove the front plastic aero pan.
4/ Now, you will remove the bolts which attach the front sub-frame to the
vehicle. Note: By removing the hardware, nothing will fall from the
underside. In fact, the sub-frame, once the hardware is removed, will have
to be pried-open to reach the bar.
Page 2
a) Using a 16mm socket, remove the 6 bolts (3 per side) at the rear most
point of the front sub-frame.
b) Using the same 16mm socket, remove the 2 bolts (1 per side)
located at the rear-inboard edge of each wheel well.
c) Using the same 16mm socket and a long extension, remove the
two bolts (1 per side) as the sub-frame turns up and just forw ard of
the axle line.
Page 3
d) Finally, using the same 16mm socket, remove the 4 bolts (2 per
side) at the front of the sub-frame where it slips into the two solid
frame points.
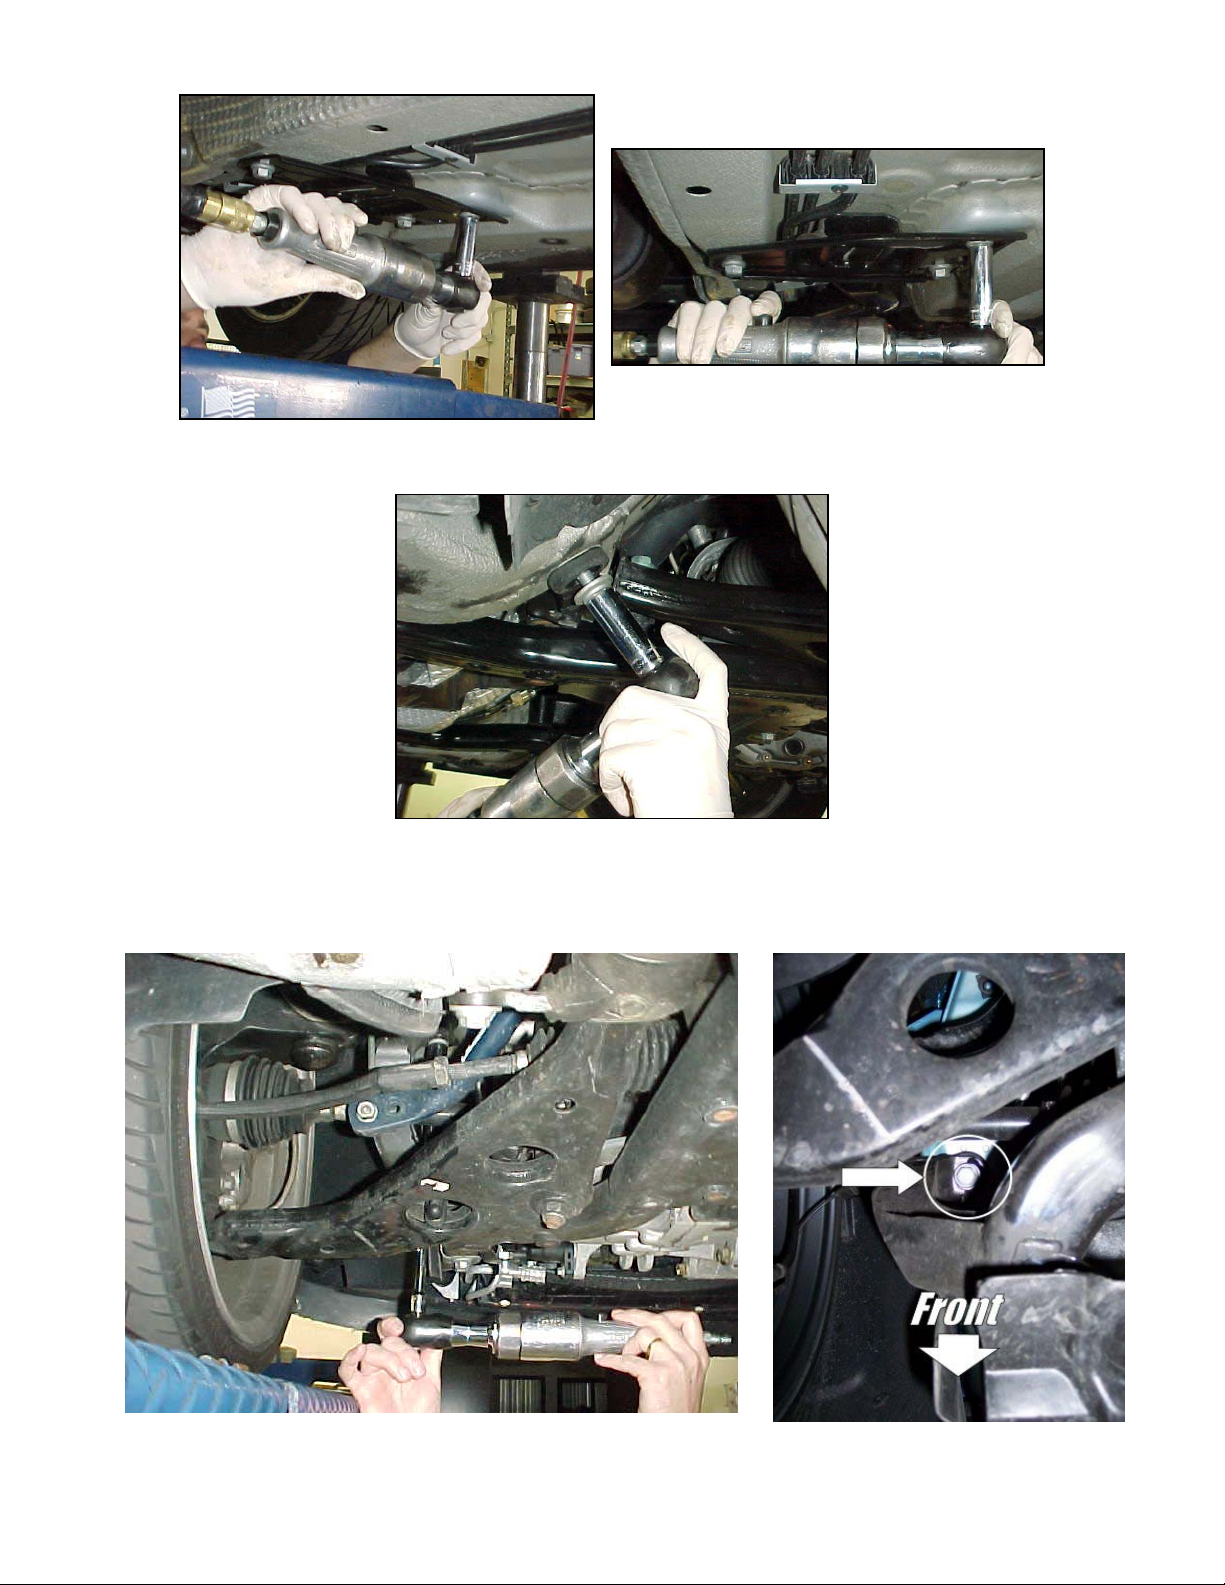
5/ That’s it for the sub-frame. Now you must disconnect the lower motor
mount. Using the same 16mm socket, or a wrench, remove the horizontal bolt.
Then, remove the vertical bolt as shown.
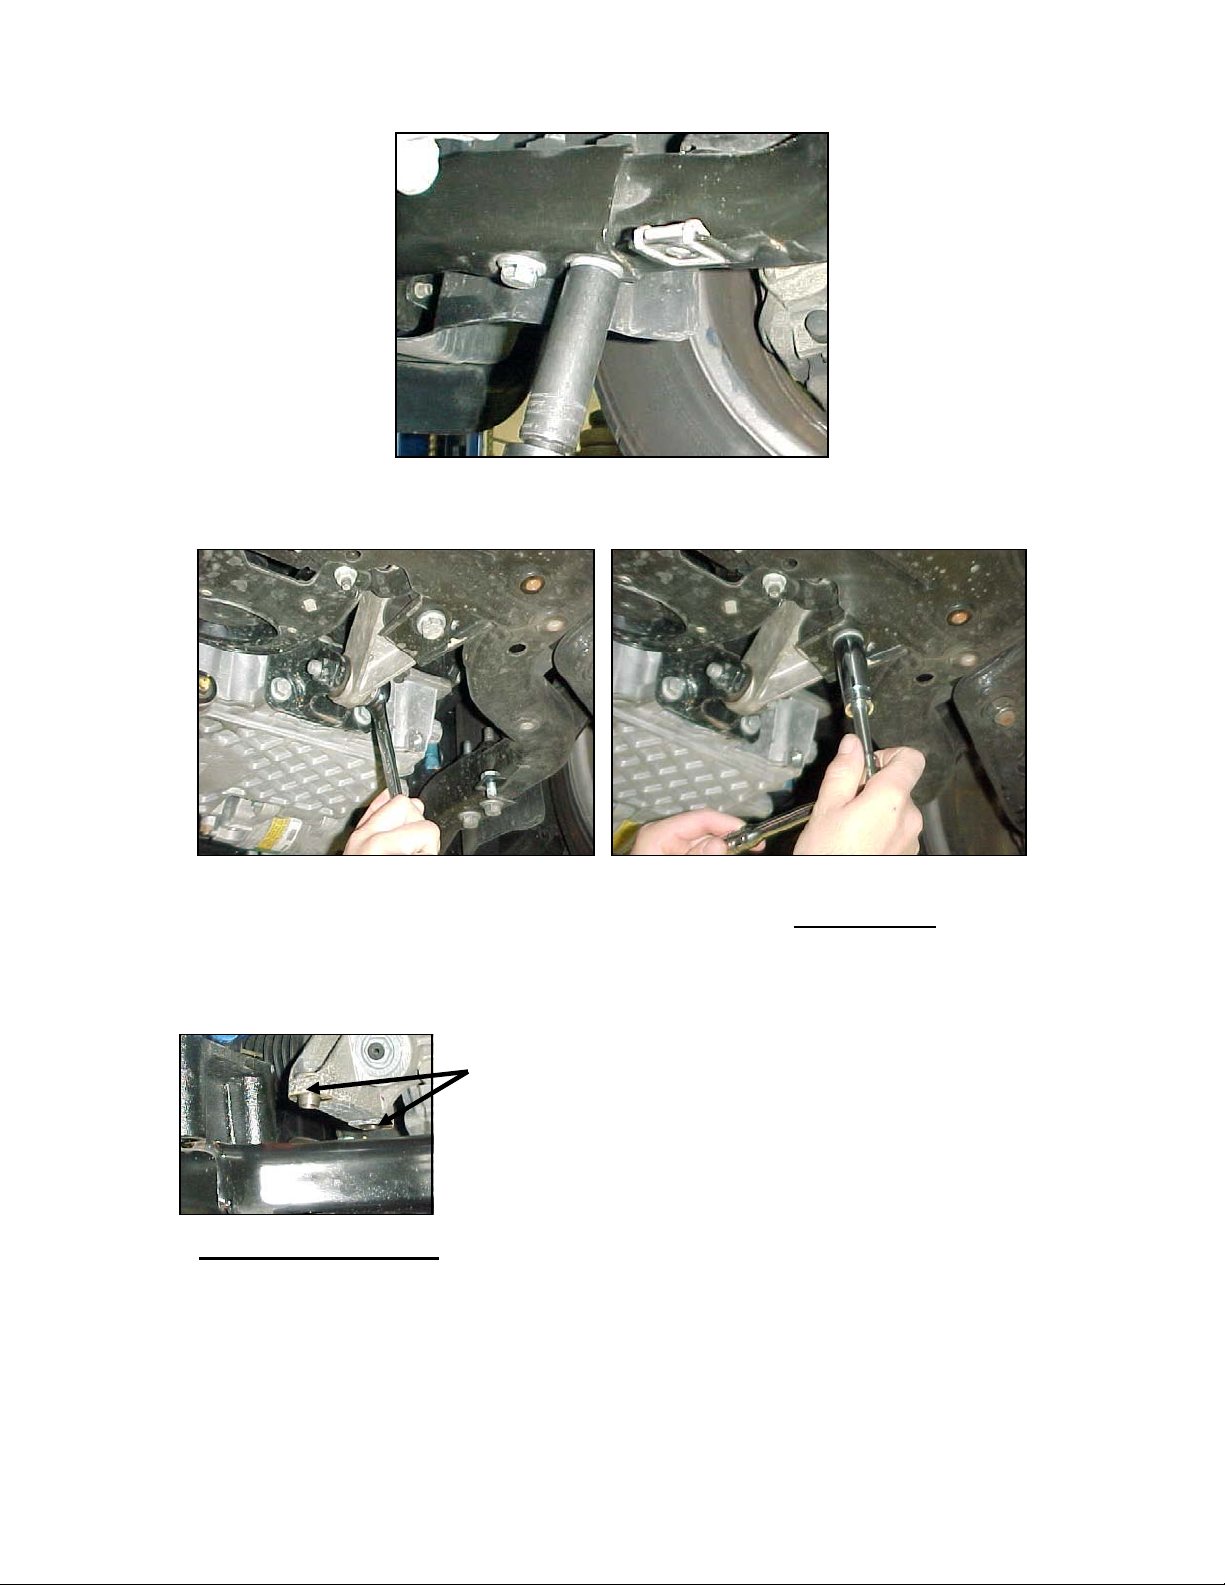
6/ Before removing the front anti roll bar bracket bolts, we highly
recommend you remove the four steering rack bolts. Not required but if
the sub-frame is pulled down with the rack still attached, this may pop the
rubber grommet from the firewall. Removing the four bolts is time
consuming but so is reinstalling the grommet – you choose! Use a torx (E
12) socket or wrench.
2 bolts per side; allows more open space without
pulling on firewall grommet.
**Ride Stability Sensor : If included with your Mini, this sensor is located on
the left-front suspension. Disconnect the connector before step 7**
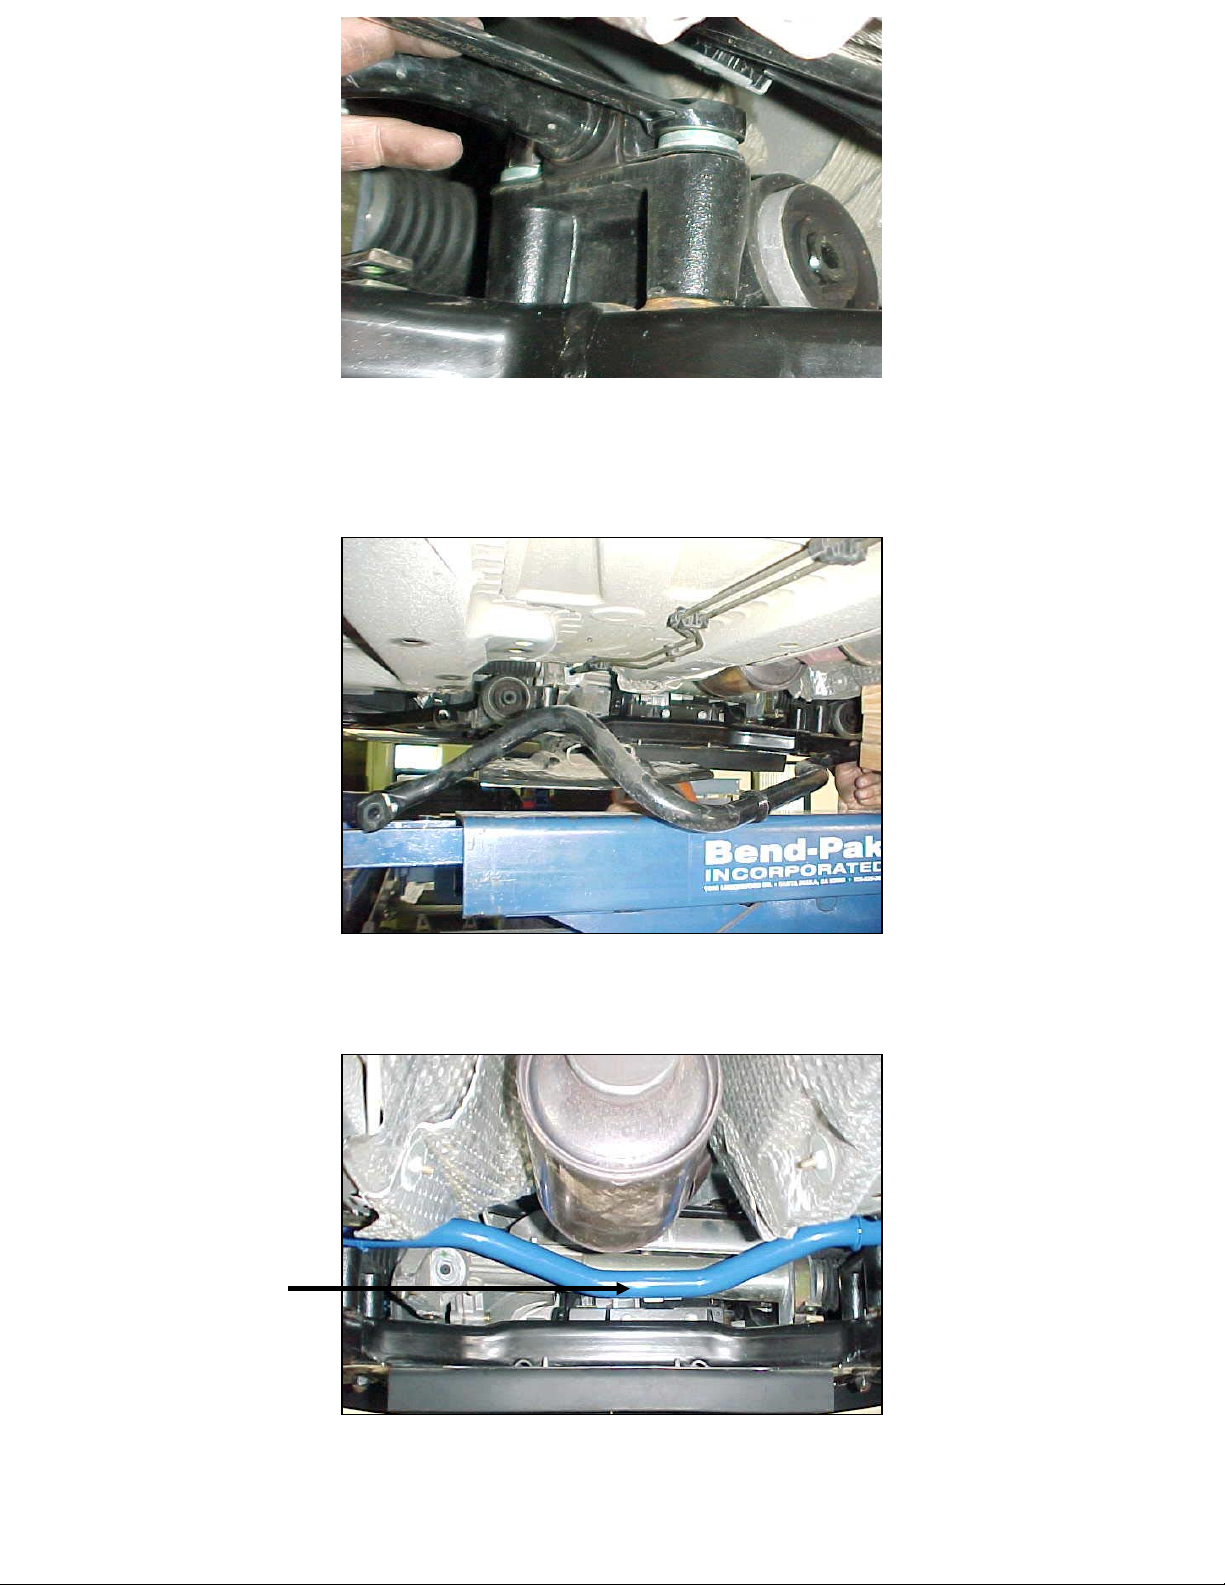
7/ Now that the sub-frame is free, simply apply pressure to the rear to allow
for more room to remove the bar. You can prop the end down using a piece of
wood. Only a few inches are needed. Then, remove the four bushing bracket
bolts using the 18mm wrench. These are long bolts and take great pressure
to break free.
Page 4
8/ Finally, the bar is free and you are ready to remove it. Do this by simply
rotating the center to lift the ends over the steering arms, then pull straight out
towards the rear of the vehicle. You may have to maneuver the bar to better
position it as it comes out but be patient.
9/ Before installing the bushings or brackets, install the HSport bar the
same way in which you removed the stock bar. The center HSport sticker faces
righ-side up and to the rear of the vehicle.
HSport
Sticker
Page 5
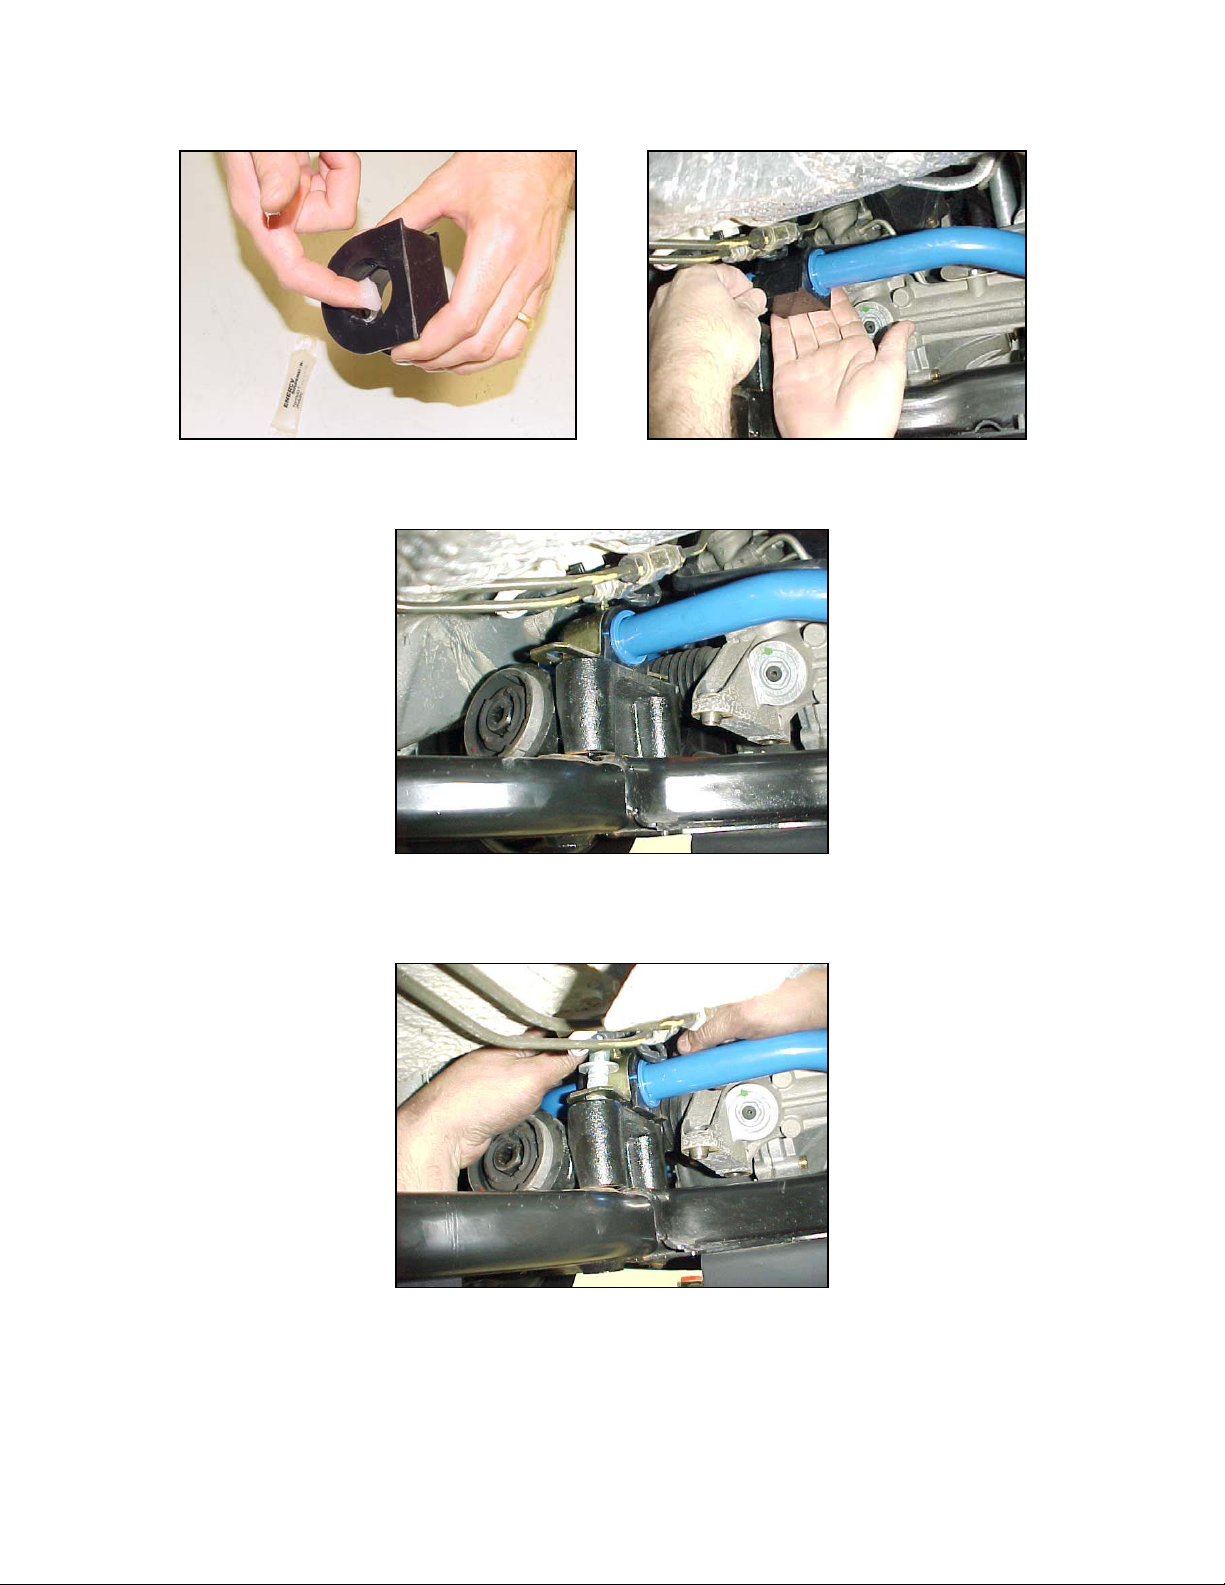
10/ Once the HSport bar is positioned, grease the inner portion of the two
supplied front bushings (1/4 of the tube for each). Then, install the bushings over
the bar on the outside of the washers as shown.
11/ Then, install the larger supplied bushing brackets over the bushings with
the grease fittings facing inwards or towards each other.
12/ Now, start with the bushing bracket bolts, then the steering rack torx bolts
and reinstall all the rest of the sub-frame hardware. Make sure ALL bolts are
reinstalled and that they are tight and secure!
13/ Finally, make sure that the end-link nuts are secure by using the 5mm
allen with the wrench. We recommend that you start in the ‘soft’ position which is
the hole towards the bar end.
You Are Done With The Front! Now The Rear!
Page 6

1/ Raise the vehicle using a four-wheel lift, ramps or jack stands. Only use a
level surface and only use the manufacturer’s named jack points.
2/ Once raised, you should be able to see the stock bar tucked up within the
sub-frame. Take a moment and observe the way in which this bar is
mounted.
3/ Remove the two rear wheels. The bar ends are now exposed.
Disconnect the end links from the bar using the 16mm wrench and 5m m alle n.
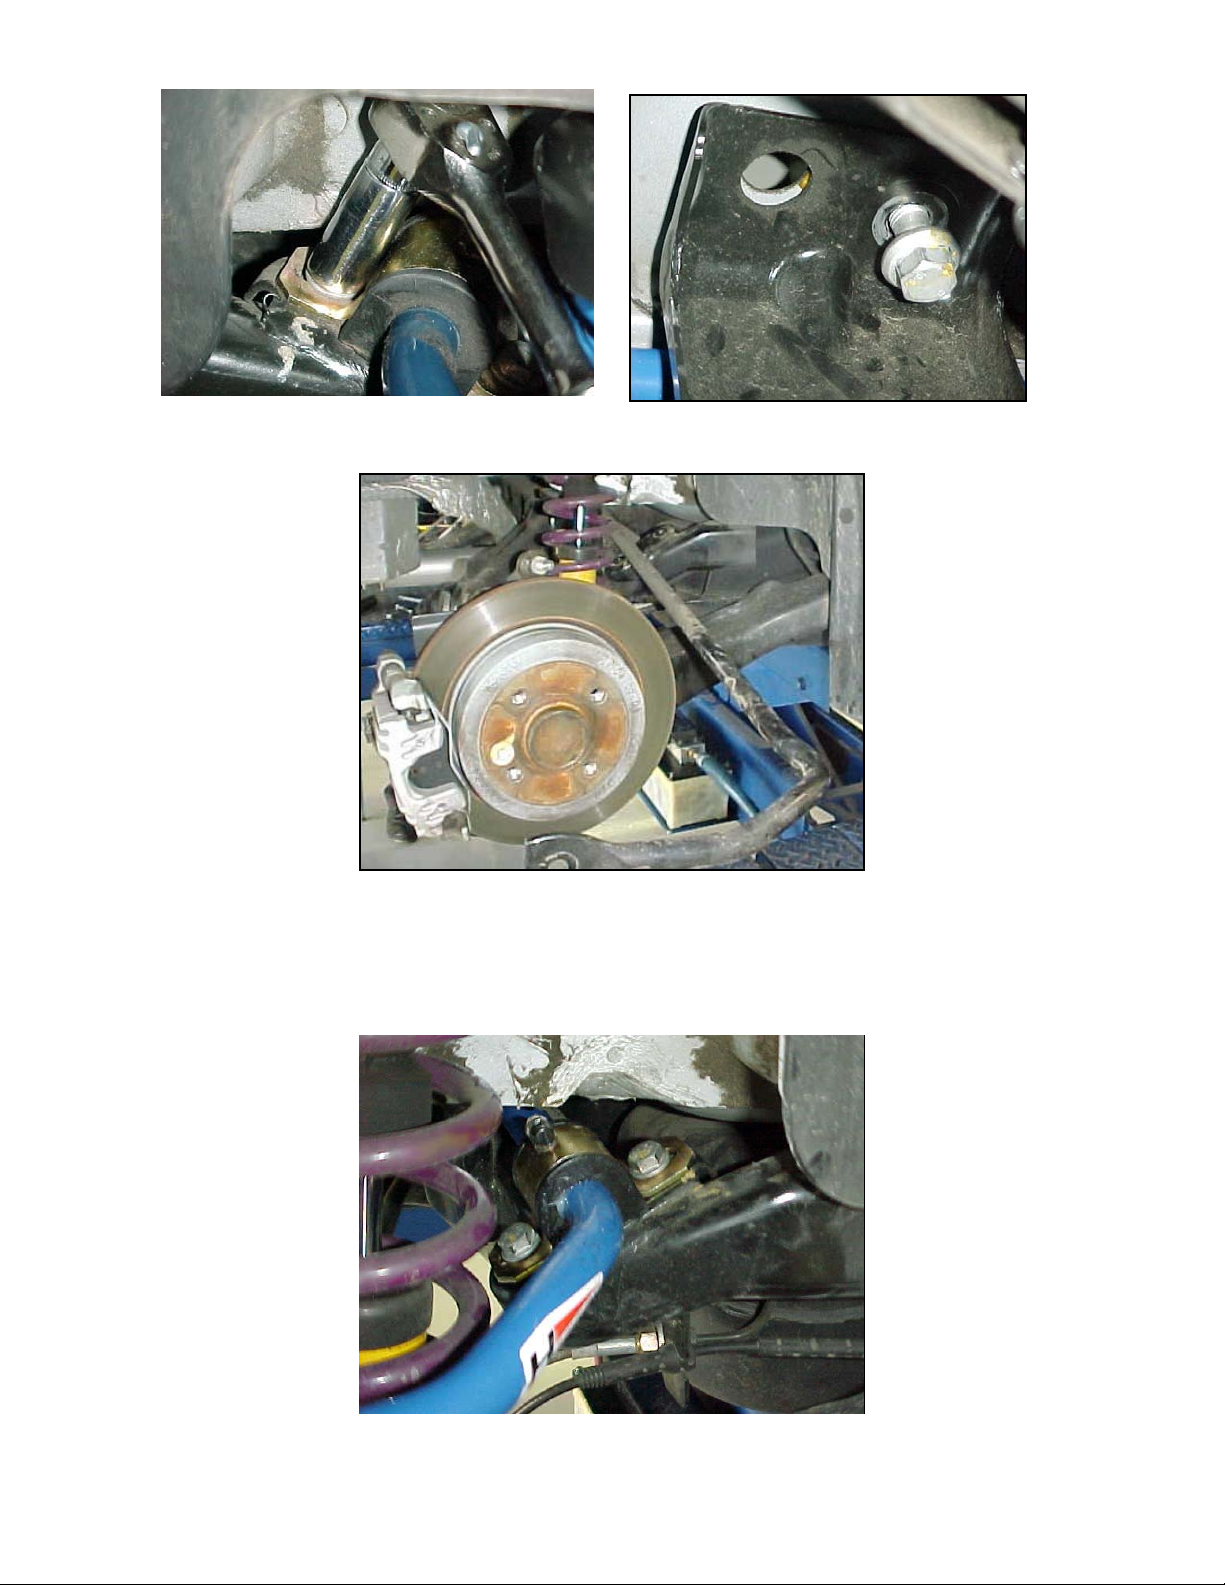
4/ Next, remove the two-spring/shock assemblies (only one side is required
but both removed makes the job easier) using a 13mm socket with extension for
the two upper bolts and a 21mm socket for the lower bolt as shown.
5/ Before removing the sub-frame hardware, remove the four anti roll bar
bushing bracket bolts using a 13mm wrench or socket.
6/ Now, remove the sub-frame hardware. Using a 16mm socket, remove the
2 bolts (1 per side) located just forward and up of the brake line and se nsor -
Page 7
shared bracket. The other 2 (again, 1 per side) are located just inboard. You’ll
see one just above the stability sensor on the left upper link.
7/ The sub-frame should be loose. Apply pressure to the sub-frame so that
the bar (without the brackets and bushings) can be pulled out from one side.
8/ Once the stock bar is out, slide the Hotchkis bar in without the bushings
and brackets attached. Once the bar is in the approximate stock location, use
the remaining grease on the inside of the rear bushings and slip them over the
bar. Then install the supplied bushing brackets with the grease fittings pointing
to the outside.
Page 8

9/ Now, reinstall the 4 sub-frame bolts, bushing bracket bolts, spring/shock
assemblies and end–links. Start the end links in the middle position and tune
from there. Make sure all hardware is secure and tight.
Enjoy your new HSport Sway Bar Kit on the street or the track!
If you have any further questions, please contact us at www.hotchkis.net or
562.907.7757 ext 227.
Thank you for choosing Hotchkis.
12035 Burke Street
Suite 13
Santa Fe Springs, CA 90670
 Loading...