

Page 1
2000+ Tahoe Sway Bar Installation
P/N 2240, 2245, 2249, 2250
Thank you for your purchase of this Hotchkis product. Your Hotchkis Sway Bars were
designed with the performance and durability you’ve come to expect from Hotchkis
Performance. If you have any questions regarding installation, please do not hesitate to
call Hotchkis Performance directly, we will be more than happy to help. (562) 907-7757
8:00 AM – 5:30 PM PT Mon. – Fri.
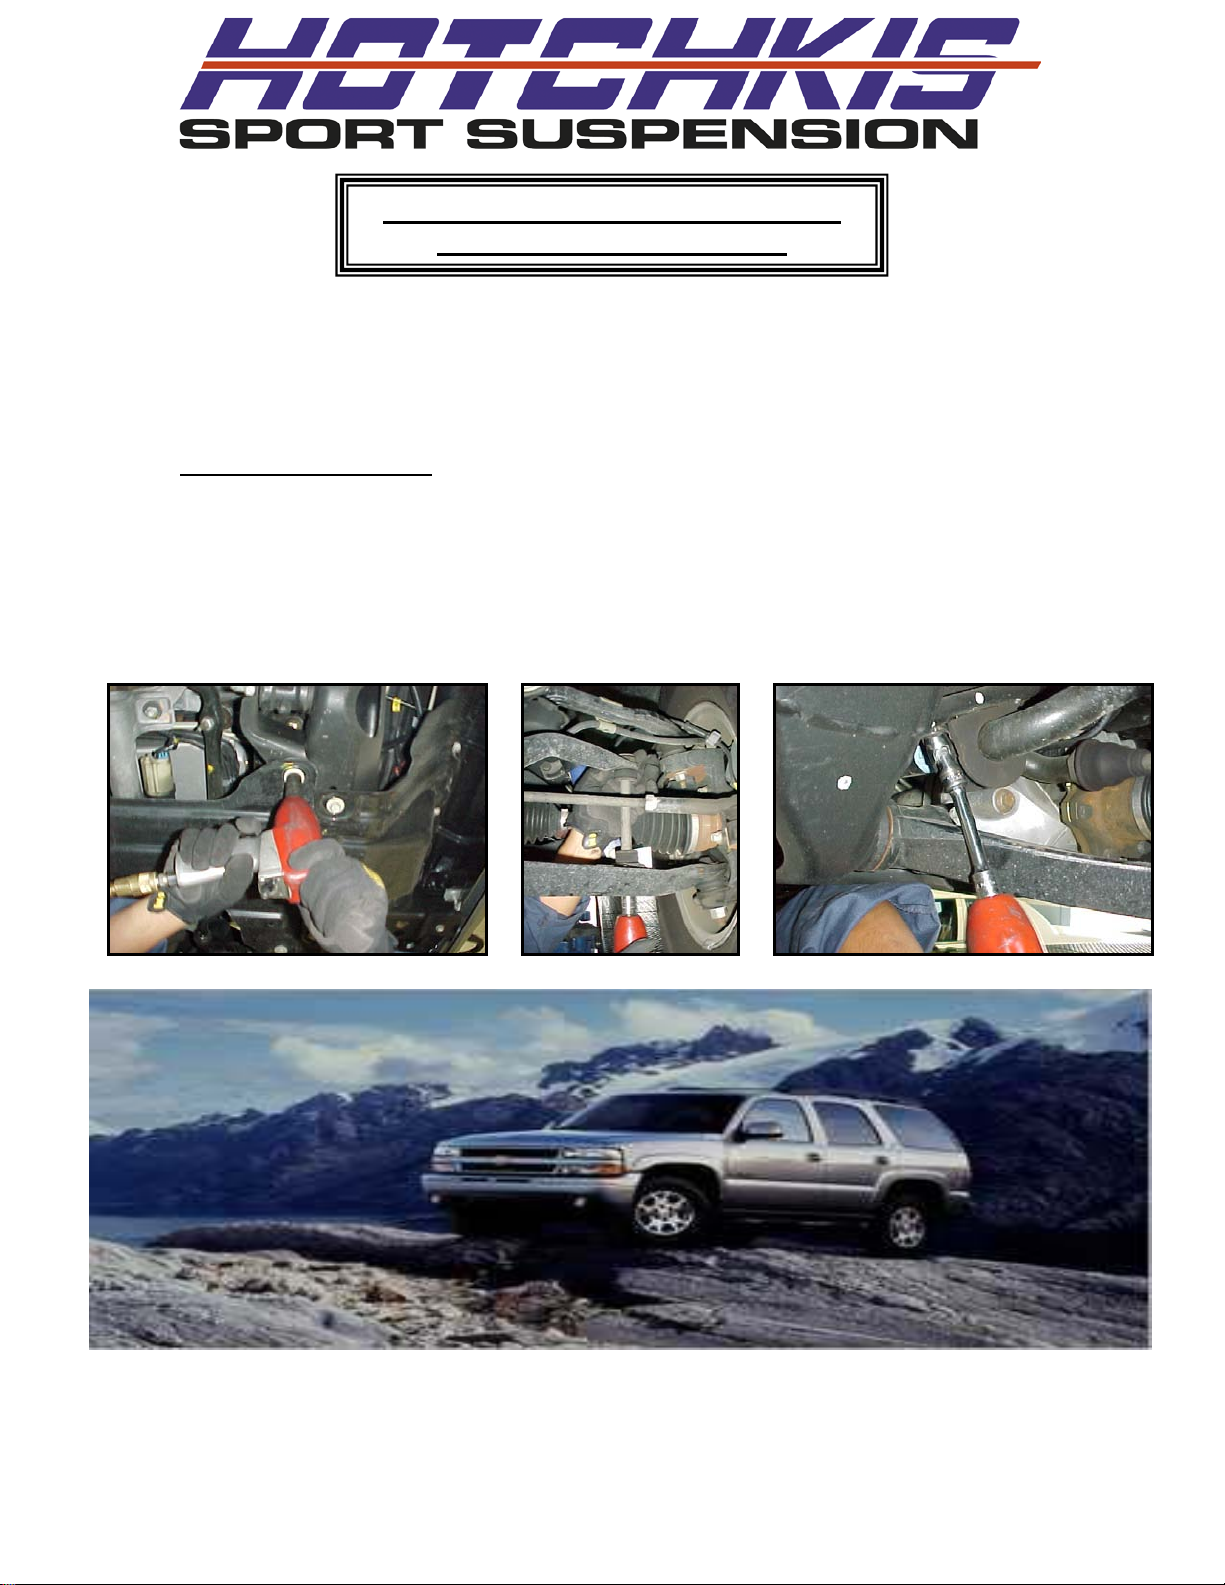
►Front Bar Installation :
1.) Look at the current factory sway bar installation and note its position in the
vehicle. Jack your vehicle up and add jack stands for safety and support
2.) Remove the skid plate, then remove the factory end links from the sway
bar and lower control a r ms.
3.) Loosen, and remove the four bolts that hold the sway bar brackets
to the frame of the vehicle and remove the sway bar.
4.) Using the included white silicone grease, grease the inside of the urethane
sway bar bushings. (The silicone grease can be cleaned up with WD40.)
5.) Now begin to feed the sway bar in.
Page 2
6.) Place the greased bushings on the sway bar.
7.) Place the sway bar brackets over the sway bar bushings and put the four
bolts in that hold the sway bar mounts to the frame and tighten about half
way.
8.) Install the new end links and tighten. Now tighten the four bolt bolts
holding the sway bar brackets to the frame.
9.) Make sure ever y thing is tight and enjoy!
Page 3

Tweak the end link towards the
passenger side to remove the bolt.
2
2
2
Rear Bar Installation
1.) Look at the current factory sway bar installation and note the position of
everything.
2.) Find the upper bolts that hold the end links to the frame. Take out these
two bolts. Grab the bar and remove the four bolts that hold the sway bar to the
rear axle. Remove the rear sway bar.
Page 4

Driver Side
Passenger Side
3
3
4
5
5
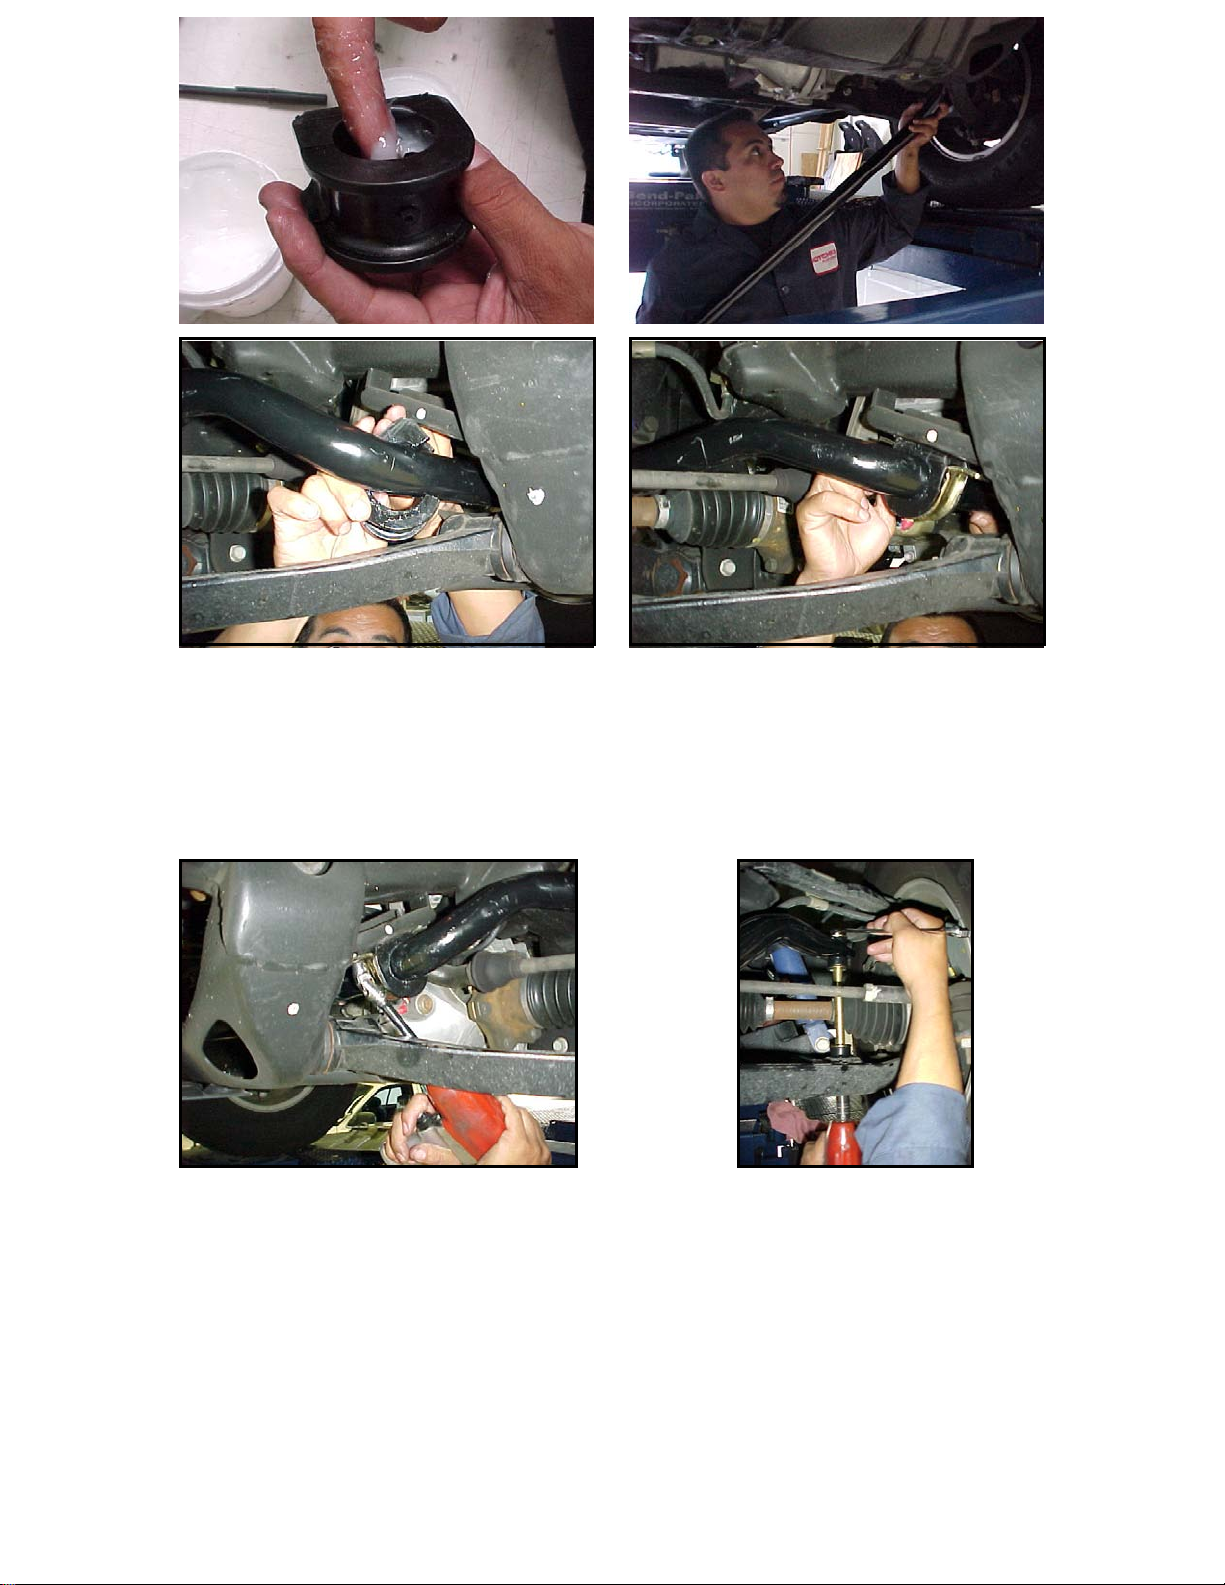
3.) Please take note: Some of the GM factory brackets may be bent inwards
from the factory narrow endlinks,(as seen in pic 2) so you may have to use
an adjustable wrench to "tweak" the brackets open to fit the beefier
Hotchkis endlinks
4.) Lube the sides of the Hotchkis dog-bone style end links.
5.) Install HP endlinks into the axle brackets, then place The bolt through and
hand tight the nut on. Repeat on other side.
Page 5

6
6
*Make sure sway bar arm is
8 8 8
*Position the brake lines so you
6.) Place the new sway bar on the rear end and start, but do not tighten, the
rear end bolts (4).
7.) Connect the sway bar using the bolts to the end links.
8.) Now tighten every thing up and your ready to go!
have the least amount of tension.
pointing up.
Page 6

Hotchkis Performance LLC
Return Policy & Limited Warra nty
Effective December 1, 2010 all Hotchkis products must be registered to qualify for
warranty at
product, within 30 days of the original purchase date.
IMPORTANT: This warranty supersedes all other warranties included with this
product.
Return Policy
We want you to be com pletely satisfied with your Hotchkis Perform ance product. For products,
presenting signs of shipping damage please contact the freight carrier immediately. All our
products are guaranteed to be free from manufacturer’s defects. If your order arrives with a
manufacture defec t, please contact our Custom er Service Department at (562) 907-7757. You
will be assigned a Returne d Goods Authorizati on Number (RGA). T he package you return m ust
show the RG A on the outsi de of the pac k age, inclu de the or iginal invo ice and be shipp ed prepa id
to our facility. The product has to be unused and in it s original pack aging materials. Exc hanges
or refunds made after 30 days will be subject to a 20% restoc king charge. If you purchased
your Hotchkis Performance product from an authorized dealer, you are still covered by
this return policy. All returns however, should be made to your dealer, not to Hotchkis
Performance directly.
Limited Warranty
Hotchkis Performance offers a Limited Warranty against defects in materials and workmanship
for the term of 36 months (3 years) from the date of purchase of this product. This Warranty only
applies to the original retail purchas er who retains ownership of the vehicle on which the product
was originally installed. If the product is determined to be defective, Hotchkis Performance will
repair, replace or refund the purchase price of the defective product at Hotchkis Performance's
sole discretion, which shall fully satisfy and discharge any and all warranty claims. Any repaired
or replaced product will be returned to the sender excluding the cost of freight.
be registered to qualify for warran ty at www.hotchkis.net or via the mail-in warranty card,
included with the product, within 30 days of the original purchase date.
www.hotchkis.net or via the mail-in warranty card, included with the
Products must
Exclusions from Warranty
Items offered but not manufactured by Hotchkis Performance are warranted according to the
manufacturer's terms and are not covered by this lim ited warranty. Hotchkis Perf ormance shall
not be responsible for any labor, rem oval, installation, r e-installation or m aintenance cos ts. This
warranty does not co ver t h e c osmetic finish or plat in g of an y prod uc t or any normal wear and tear
to any product including, but not limited to bushings, brackets, end-links, hardware, steering
components, shocks or springs. In addition, this warranty does not appl y to any products that
have been:
Improperly installed or installed by someone other than a qualified, licensed auto mechanic
experienced in the installation and removal of suspension products;
Improperly serviced, misused, or modified, altered or subjected to abuse, negligence, accident or
collision;
Installed in any vehicle that has been modified; Installed on any vehicle that has carried loads in excess of automobile manufacturer suggested weight
limits; or
Installed on any vehicle that has been subject to abnormal or excessive use, including rallying, racing,
or racing-type activities or off-road use.
Limitation of Warranty
This limited warrant y is the entire and on ly warrant y for the products an d may not be m odified or
supplemented by an y other person or company in an y form. Any description of the products, by
 Loading...