

Page 1
64-72 A/Body, 78-88 A/G Body
Front Bar Installation
1. Look carefully at the current installation.
2. This installation can be performed without removing the front wheels.
Always use proper safety devices such as jack stands or lift jacks to
properly support the vehicle.
3. Loosen front bushing retaining bolts, leave a few threads engaged to
support the bar.
4. Remove the factory end link from the car.
5. Support or hold the center of bar and carefully remove front bushing bolts.
6. Remove factory bar from vehi cl e, taking note of the placement of the
swaybar bushings.
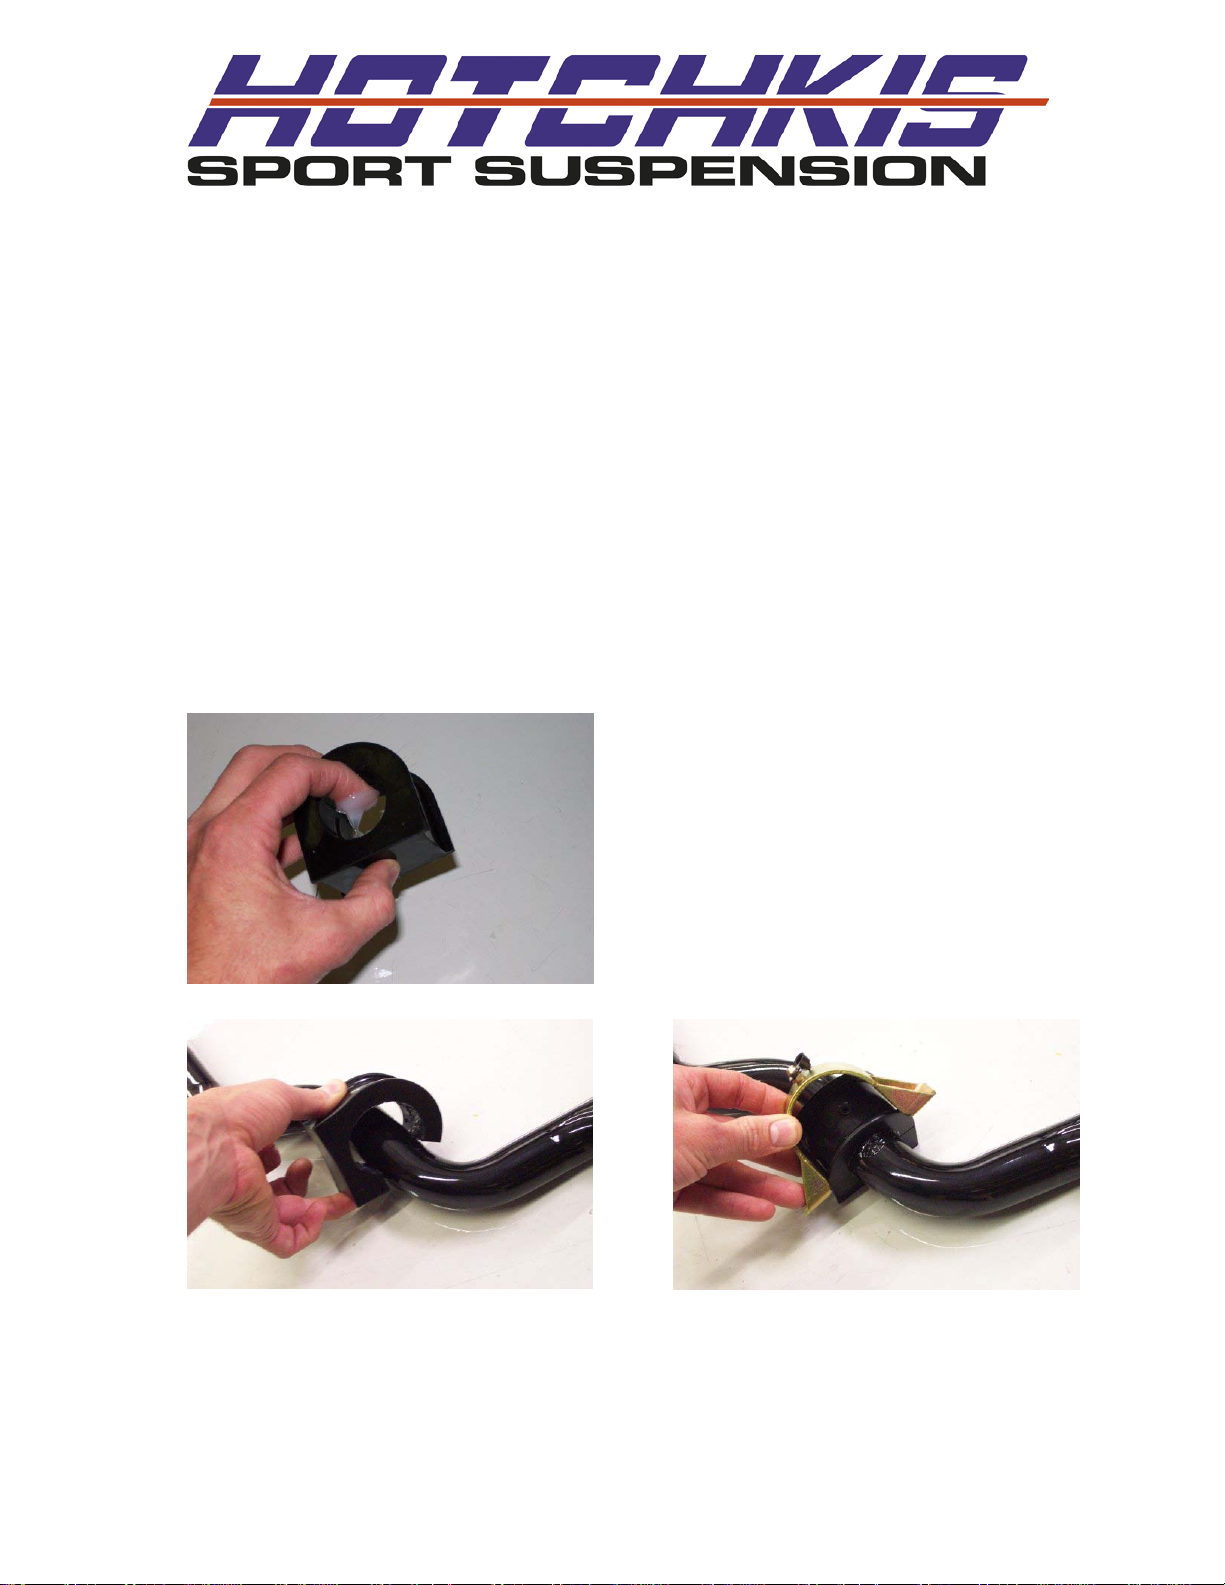
7. Using the included white silicone grease, grease the inside of the urethane
1 3/8” in sway bar bushings. (The silicone grease can be cleaned up with
WD40.)
8. Install the urethane bushings on
the bar. Make sure you position
the bushing so when the bar is
installed in the vehicle, the split
will face the front of the car.
9. Place the bushing’s bracke t over
top the bushing.
Page 2
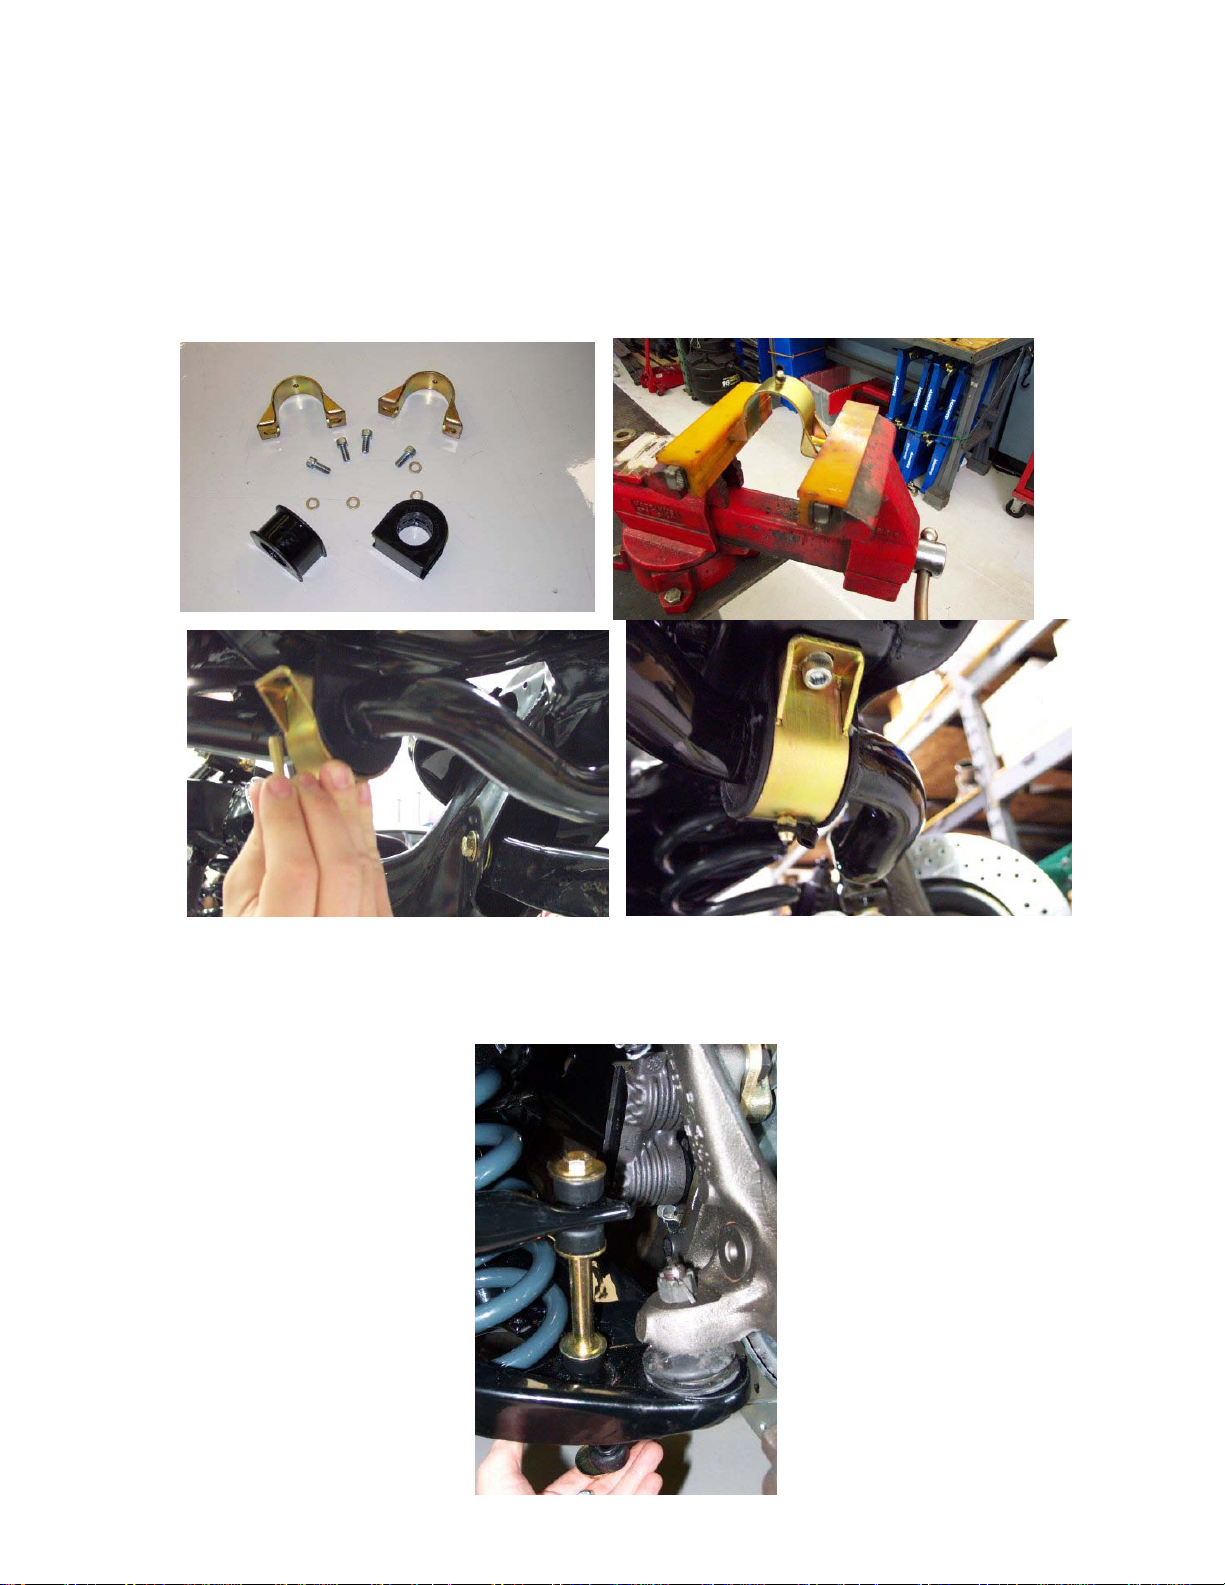
10. Install the new swaybar into the car using the included Cap Screws on the
new brackets. This step will take some manipulating, as the original car
was designed for a very small sway bar. You will need a ¼” or a 6mm
Allen Driver Socket for this. Our swaybar set is a much larger diameter
than stock bar, and our Heavy Duty sway bar bushings and brackets are
larger as well. You might find it easier to slightly squeeze the brackets
together in a vice to allow you to better align the bracket holes with the
original factory holes. Using a ratchet or air impact, install the screws with
a washer under each head. This does work very well, you just need to
use some torque to install these bolts. Have patience with this step.
11. Install the new A-Arm endlinks using a ratchet and wrench.
12. Tighten end link nut to the point where the end link bushing’s diameter is
just larger than it’s support washer.
Page 3

Rear Bar Installation
1. Look at the current sway bar installation.
2. Support the vehicle by the frame with lift jacks or jack stands, allowing the
suspension to be unsupported.
3. Remove the four bolts holding the sway bar to the trailing arms.
4. Remove the factory sway bar from the vehicle.
5. Place the new Hotchkis swaybar up to the trailing arms and push the bolts
through the sway bars.
6. Tighten up the new bar.
7. Double check that all fasteners are tightened.
Your installation is finished. Enjoy your new sway bars!
Page 4

Hotchkis Performance LLC
Return Policy & Limited Warra nty
Effective December 1, 2010 all Hotchkis products must be registered to qualify for
warranty at
product, within 30 days of the original purchase date.
IMPORTANT: This warranty supersedes all other warranties included with this
product.
Return Policy
We want you to be com pletely satisfied with your Hotchkis Perform ance product. For products,
presenting signs of shipping damage please contact the freight carrier immediately. All our
products are guaranteed to be free from manufacturer’s defects. If your order arrives with a
manufacture defec t, please contact our Custom er Service Department at (562) 907-7757. You
will be assigned a Returne d Goods Authorizati on Number (RGA). T he package you return m ust
show the RGA on the outsi de of the pac k age, inclu de the or iginal invo ice and be shipp ed prepa id
to our facility. The product has to be unused and in it s original pack aging materials. Exc hanges
or refunds made after 30 days will be subject to a 20% res tocking charge. If you purchased
your Hotchkis Performance product from an authorized dealer, you are still covered by
this return policy. All returns however, should be made to your dealer, not to Hotchkis
Performance directly.
Limited Warranty
Hotchkis Performance offers a Limited Warranty against defects in materials and workmanship
for the term of 36 months (3 years) from the date of purchase of this product. This Warranty only
applies to the original retail purchaser who retains ownership of the vehicle on which the product
was originally installed. If the product is determined to be defective, Hotchkis Performance will
repair, replace or refund the purchase price of the defective product at Hotchkis Performance's
sole discretion, which shall fully satisfy and discharge any and all warranty claims. Any repaired
or replaced product will be returned to the sender excluding the cost of freight.
be registered to qualify for warran ty at www.hotchkis.net or via the mail-in warranty card,
included with the product, within 30 days of the original purchase date.
www.hotchkis.net or via the mail-in warranty card, included with the
Products must
Exclusions from Warranty
Items offered but not manufactured by Hotchkis Performance are warranted according to the
manufacturer's terms and are not covered by this lim ited warranty. Hotchkis Perf ormance shall
not be responsible for any labor, rem oval, installation, r e-installation or m aintenance cos ts. This
warranty does not co ver t h e c osmetic finish or platin g of any product or an y norm al wear a nd tear
to any product including, but not limited to bushings, brackets, end-links, hardware, steering
components, shocks or springs. In addition, this warranty does not appl y to any products that
have been:
Improperly installed o r installed by someone ot her than a qualified, licensed auto mechanic
experienced in the installation and removal of suspension products;
Improperly serviced, misused, or modified, altered or subjected to abuse, negligence, accident or
collision;
Installed in any vehicle that has been modified; Installed on any vehicle that has carried loads in excess of automobile manufacturer suggested
weight limits; or
Installed on any vehicle t hat has been subject to abnormal or excessive use, including rallying,
racing, or racing-type activities or off-road use.
 Loading...