

Page 1
Rear Camber Links
#13800/13810
Mini Cooper and Cooper S
Install time: one hour
Before You Install, Read These Important Notes
1/ The HSport Camber Links are pre-set to the approximate
stock lengths. Always confirm these lengths to one of your
stock arms before installation, especially of the upper arms.
2/ If you intend to replace the upper arms, you must confirm
that the lengths are the same before installation or your Mini will
not be aligned correctly!
3/ Because the links are not in line with the rear axle line,
adjusting camber angle will change the rear toe slightly.
Remember, significant toe adjustment may be made by
adjusting the control arm at the forward mounting point. The
mount is slotted and can be adjusted when the 3 bolts per side
have been loosened as shown below.
Page 2
Installation Instructions
Tools Required:
18mm wrench / 18mm socket / one inch extension / 1-1/8 wrench
1/ Raise the rear of the vehicle using a proper lift or jack stands. Always
utilize a level surface and always use the named jack points for the vehicle.
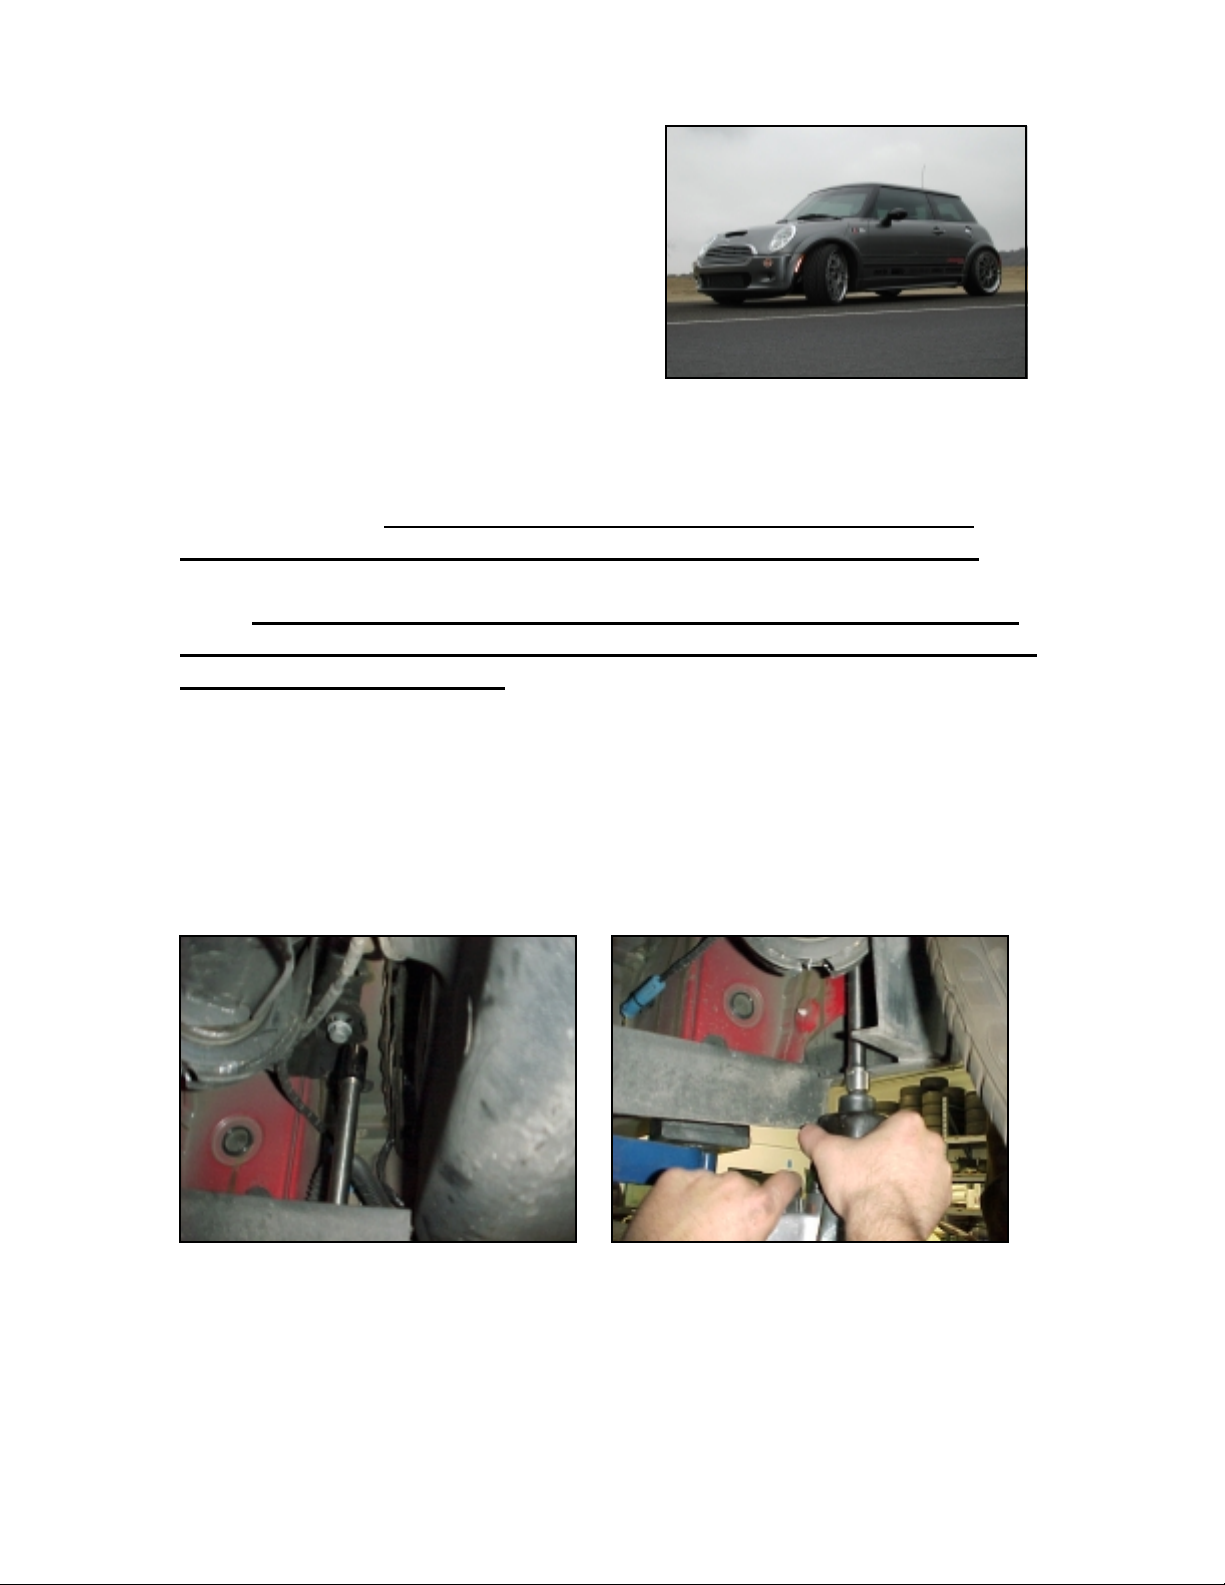
2/ Once the rear of the vehicle is slightly off the ground, begin by removing
either the driver’s side or passenger side lower link. Use a 18mm wrench to
remove the outside bolt and the same 18mm wrench and a 18mm socket with a
1” extension for the inside. For the inside bolt and nut, you must cut or push
the insulation back towards the exhaust in order to free the bolt.
3/ Once you have removed the inside hardware, remove the arm and place it
on a flat surface. Take one of the HSport arms and place it over the stock
piece and line up the sleeves at either end. This ensures that the HSport
arms are in fact at the stock lengths. It will also serve as a BASELINE so
when the HSport arms are reinstalled you can adjust from the stock
BASELINE. Use a 1-1/8” wrench for the jamb nuts.
Use the supplied grease pack to grease the exposed bushing
surface on each arm before installation.
Page 3

4/ Now, install the HSport arm with the longer section mounted at the inboard
side and the short section at the outboard side. Slide the arm into the inboard
mount first before the outboard side. Make sure the grease fittings are pointed
down.
5/ Secure all hardware and repeat the same process for the opposite
side.
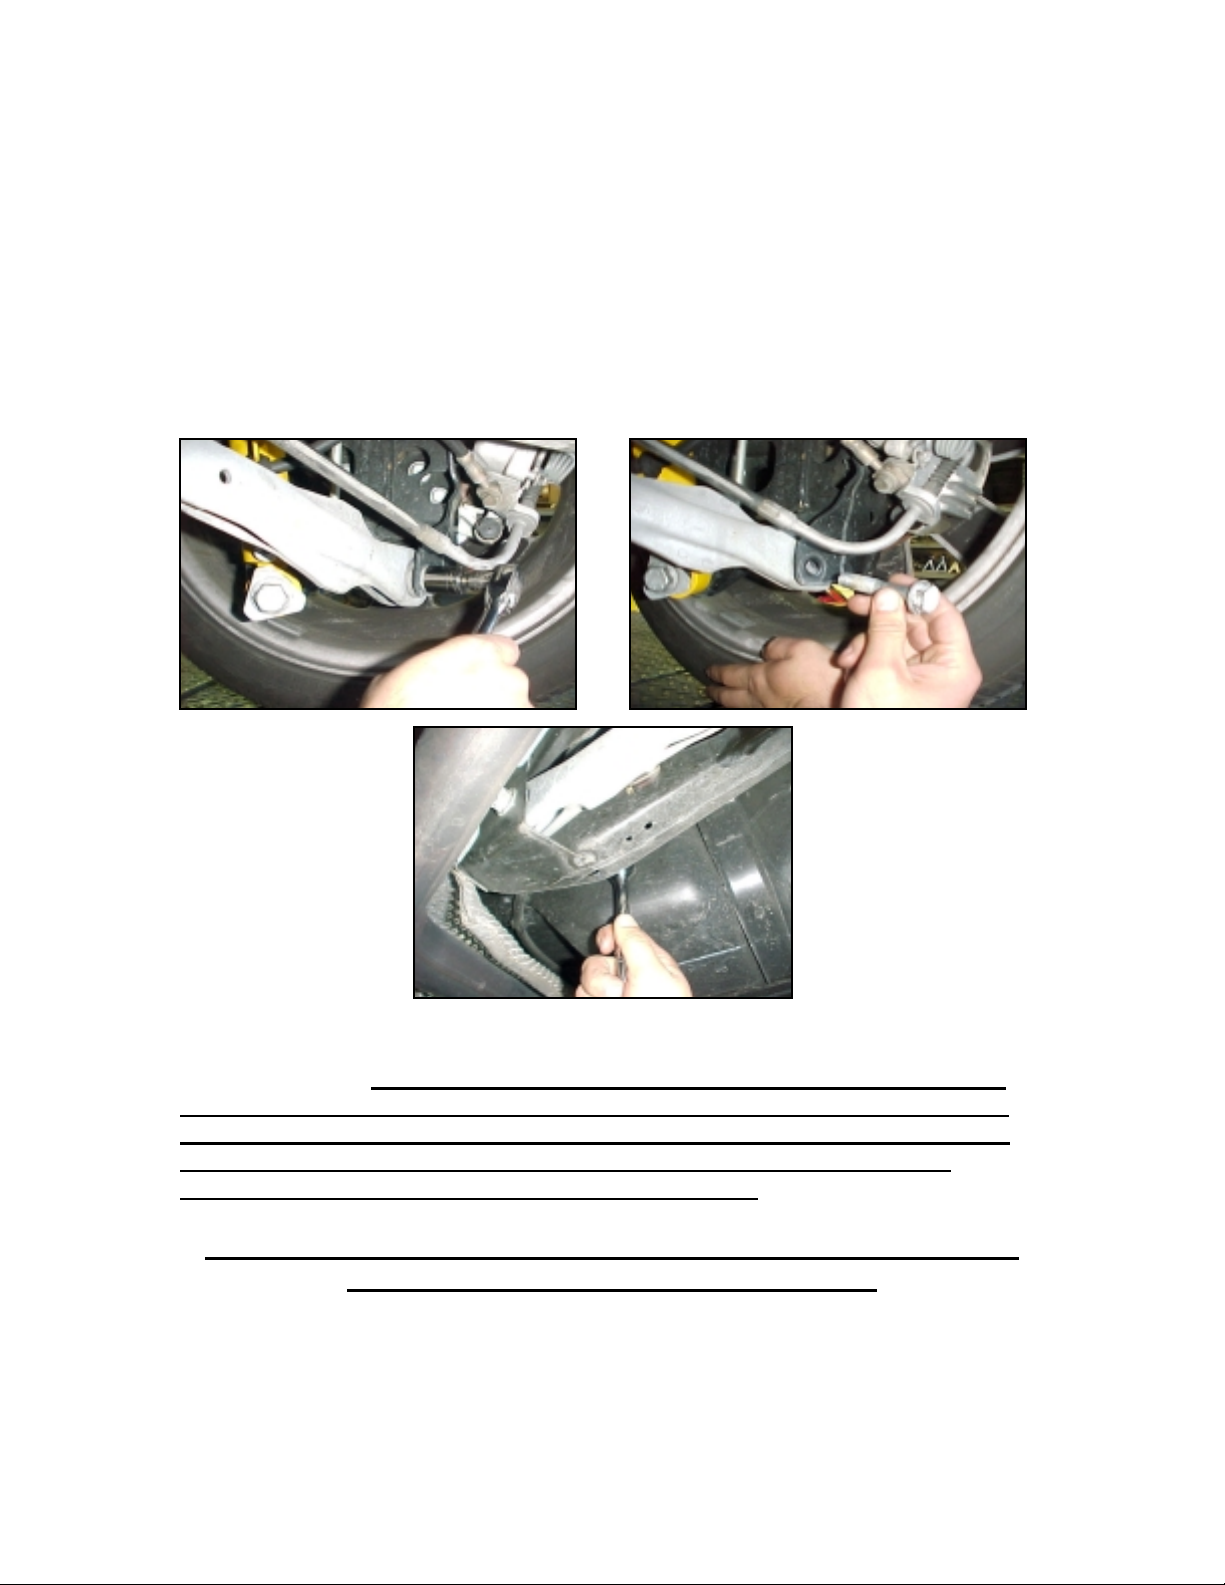
Upper Arm Installation
For those of you that have purchased uppers also, simply follow the above
instructions. Long end of the HSport arm to the inboard side with the grease
fittings pointing down. For those vehicles with the stability option, HSport
provides a bracket to reconnect the stability arm to the camber link. Use the
supplied clamp and install bracket as shown below.
Page 4

Adjustability
The best method for measuring camber is by using a proper camber gauge.
Remember to use the stock camber as a baseline even though stock camber on
a lowered Mini will already have some negative camber. It is simply a reference
point.
Hex Center: 1 turn = 1 degree, approx.
Suggested Street Camber: negative ½ to ¾
Track or AutoX Camber: Your Choice!
Thank you for choosing HSport Rear Camber Links for your Mini Cooper and
Cooper S.
HSport
12035 Burke Street
Suite 11
Santa Fe Springs, CA
90670
562.907.7757
 Loading...