

Page 1
0
-
F
-
Tubular Upper Control Arms
64-72 GM A-Body P/N 1102
7
Thank you for your purchase from our new line of GM parts.
Please call us at 877 - 4NO - ROLL if you have any questions
regarding the service or installation of your Hotchkis Performance products.
81 GM
Body P/N 1106
Installation of Hotchkis Upper Control Arms
1
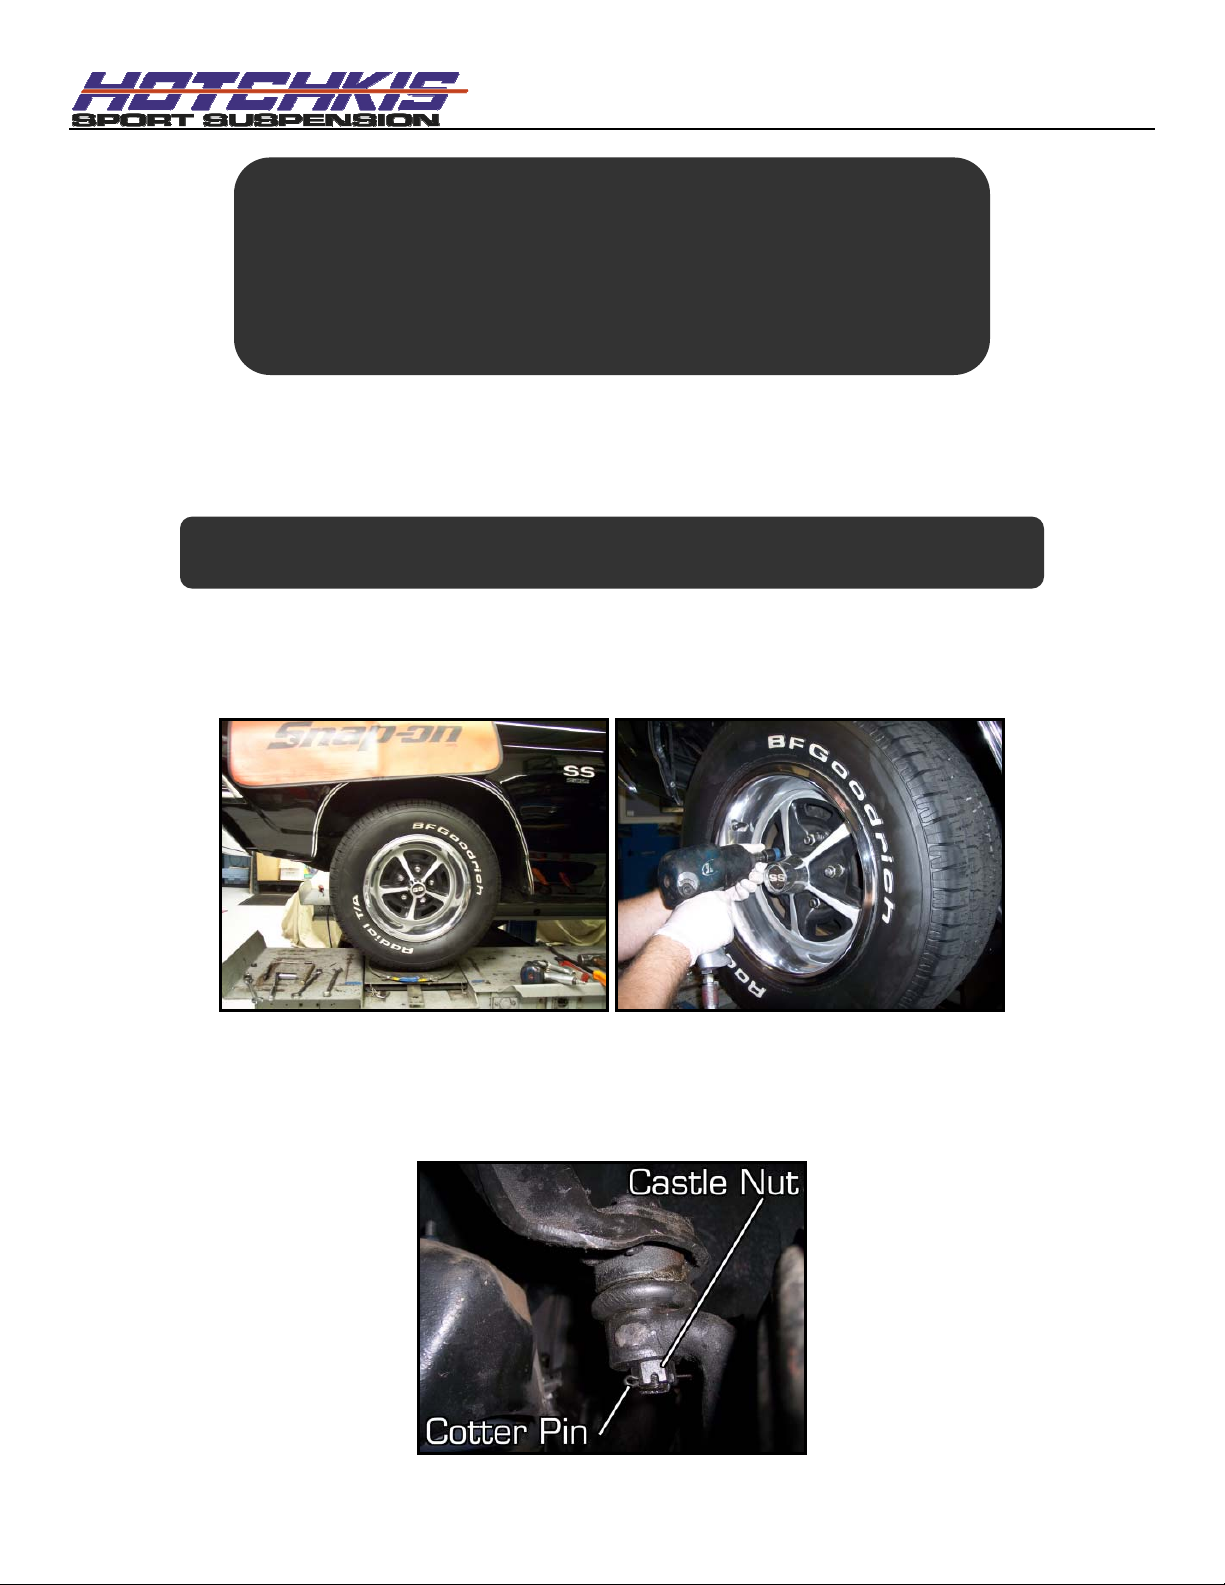
Jack up the front end of the vehicle and secure with jack stands. Remove both front wheels.
Raising Vehicle
2
Locate and remove the cotter pin. Loosen the castle nut a couple of turns. DO NOT
Loosen the Upper Ball Joint Nut
REMOVE THE NUT AT THIS TIME.
Page 2
3
The ball joint stud is press fitted into the steering upright. In order to break it loose, use a
4
Place a floor jack underneath the front lower control arm to support the spring load. Once the
Break loose the Ball Joint Stud
hammer and hit the steering upright near the stud. After a few hits the stud should pop loose.
The castle nut is the only thing keeping the rest of the suspension from springing down, so do
not remove the castle nut yet!
Detach the Ball Joint Stud Completely
load is off of the castle nut you can safely remove the nut and allow the ball joint stud to
detach from the steering upright.
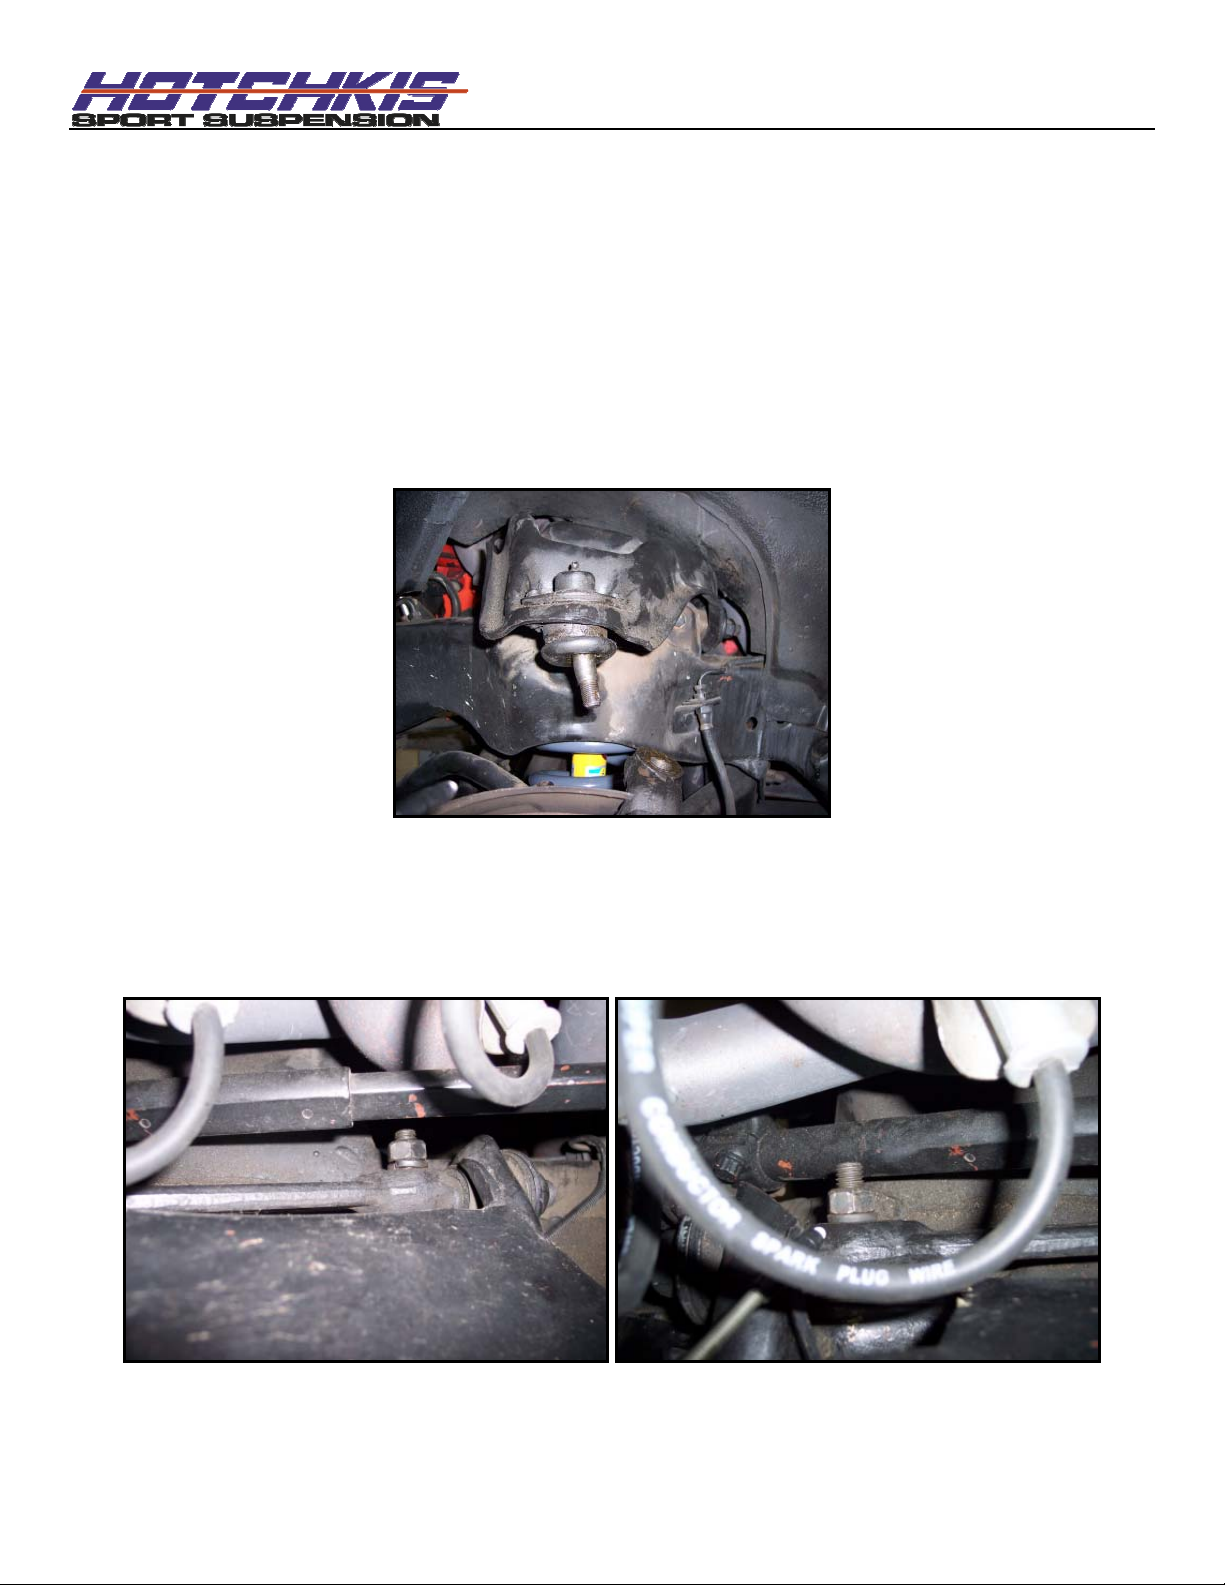
5
The only thing left holding the a-arm in place is the cross shaft. There are 2 nuts that secure
Detach the Upper A-Arm Cross Shaft
the cross shaft to the subframe. Loosen and remove these nuts. You will also need to pop
the cross shaft bolts out in order to remove the a-arm completely.
Page 3
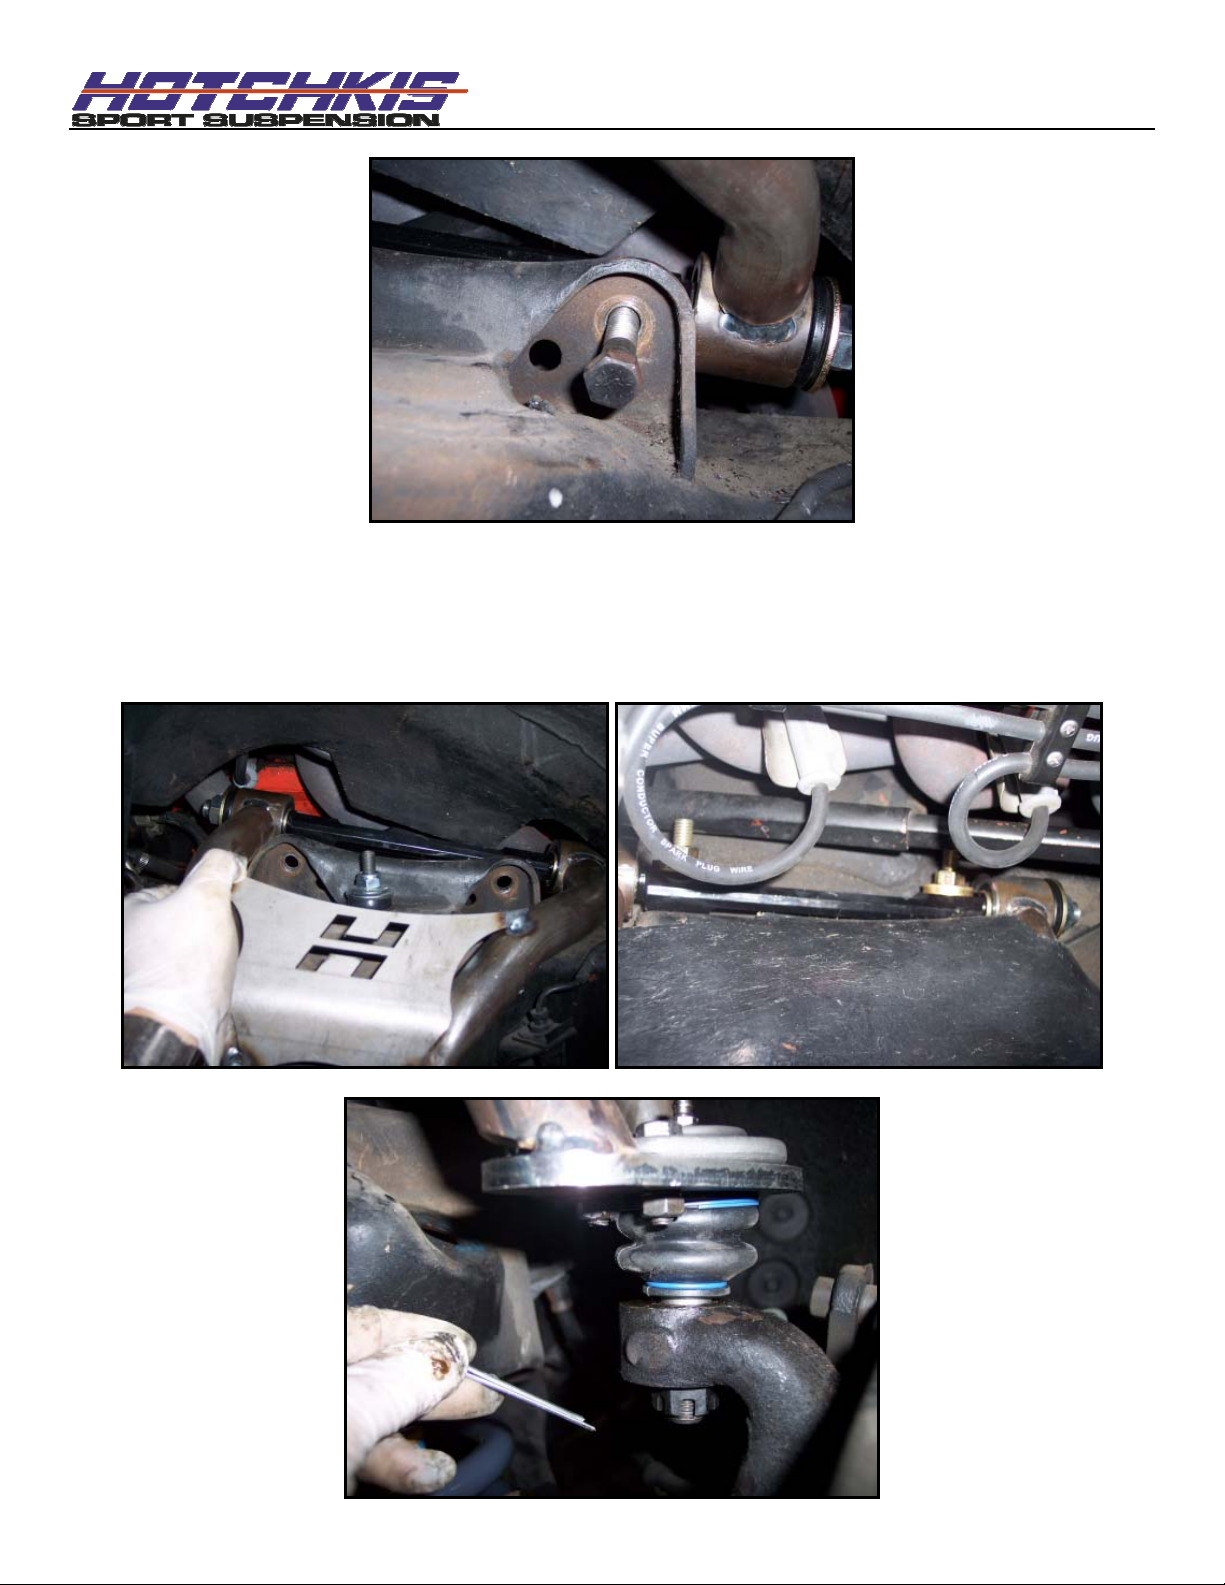
6
Install the Hotchkis a-arms in the same manner as stock removal. Reuse the stock nuts &
Install Hotchkis A-Arms
bolts for the cross shaft. You’re Hotchkis a-arm comes with a new castle nut and cotter pin
for the upper ball joint. Make sure all fasteners are fully tightened before driving the vehicle.
Page 4

7
After this installation, you will need to get a professional alignment done. Recommended front
Camber: -1° to –1.5°
Caster: +4° to +5°
Toe-in: 1/16”
Special Note for 1102 kits: At full droop (suspension hanging all the way down) and at full
Get an Alignment
alignment specs:
steering lock left or right, your tires may contact the a-arms slightly. This is nothing to worry
about since the suspension does not experience this type of situation under normal driving
conditions.
Page 5

Hotchkis Performance LLC
Return Policy & Limited Warranty
Effective January 1, 2009 all Hotchkis products must be registered to qualify for warranty at
www.hotchkis.net
original purchase date.
Return Policy
We want you to be completely satisfied with your Hotchkis Performance product. For products, presenting signs of
shipping damage please contact the freight carrier immediately. All our products are guaranteed to be free from
manufacturer’s defects. If your order arrives with a manufacture defect, please contact our Customer Service Department
at (562) 907-7757. You will be assigned a Returned Goods Authorization Number (RGA). The package you return must
show the RGA on the outside of the package, include the original invoice and be shipped prepaid to our facility. The
product has to be unused and in its original packaging materials. Exchanges or refunds made after 30 days will be
subject to a 20% restocking charge. If you purchased your Hotchkis Performance product from an authorized
dealer, you are still covered by this return policy. All returns however, should be made to your dealer, not to
Hotchkis Performance directly.
Limited Warranty
Hotchkis Performance offers a Limited Warranty against defects in materials and workmanship of its products. This
Warranty only applies to the original retail purchaser who retains ownership of the vehicle on which the product wa s
originally installed. If the product is determined to be defective, Hotchkis Performance will repair, replace or refund the
purchase price of the defective product at Hotchkis Performance's sole discretion, which shall fully satisfy and discharge
any and all warranty claims. Any repaired or replaced product will be returned to the sender excluding the cost of freight.
Products must be registered to qualify for warranty at www.hotchkis.net or via the mail-in warranty card,
included with the product, within 30 days of the original purchase date.
Exclusions from Warranty
Items offered but not manufactured by Hotchkis Performance are warranted according to the manufacturer's terms a nd
are not covered by this limited warranty. Hotchkis Performance shall not be responsible for any labor, removal,
installation, re-installation or maintenance costs. This warranty does not cover the cosmetic finish or plating of any
product or any normal wear and tear to any product including, but not limited to bushings, brackets, end-links, hardware,
steering components, shocks or springs. In addition, this warranty does not apply to any products that have been:
Improperly installed or installed by someone other than a qualified, licensed auto mechani c experienced in the
installation and removal of suspension products;
Improperly serviced, misused, or modified, altered or subjected to abuse, negligence, accident or collision;
Installed in any vehicle that has been modified;
Installed on any vehicle that has carried loads in excess of automobile manufacturer suggested weight limits; or
Installed on any vehicle that has been subject to abnormal or excessive use, including rallying, racing, or racing-type
activities or off-road use.
Limitation of Warranty
This limited warranty is the entire and only warranty for the products and may not be modified or supplemented by any
other person or company in any form. Any description of the products, by anyone, is for the sole purpose of identifying
them and is not part of the basis of the bargain, and does not constitute a warranty that the products will conform to that
description. The statements of any salesperson do not constitute part of this limited warranty and cannot be relied upon
as a warranty.
THERE ARE NO WARRANTIES, EXPRESSED OR IMPLIED, INCLUDING AN Y IMPLIED W ARRANTIE S OF
MERCHANTABILITY OR FITNESS FOR A PARTICULAR PURPOSE, WHICH EXTEND BEYOND THE
DESCRIPTION ON THE FACE HEREOF. ANY IMPLIED WARRANTIES ARE DISCLAIMED TO THE
FULLEST EXTENT PERMITTED BY LAW. THIS WARRANTY DOES NOT COVER CONSEQUENTIAL
DAMAGES, LOSS OF TIME OR REVENUES, INCONVENIENCE, LOSS OF USE OF THE VEHICLE,
DAMAGE TO THE VEHICLE OR COMPONENTS OF THE VEHICLE, ANY OTHER TYPE OF
CONSEQUENTIAL DAMAGES, OR OTHER INCIDENTAL OR INDIRECT DAMAGES. HOTCHKIS’
or via the mail-in warranty card, included with the product, within 30 days of the
Page 6

MAXIMUM LIABILITY UNDER THIS WARRANTY SHALL I N NO EVENT EXCEED THE PURCHASE PRICE
OF THE PRODUCT.
limitation of incidental or consequential damages and in such states the above limitations or exclusions may not apply.
This limited warranty gives the purchaser specific legal rights and the purchaser may have other rights that may vary from
state to state.
Technical Information
Hotchkis Performance makes every effort to ensure that you are provided with the most accurate and up-to-date technical
information. However, all technical information is approximate and may vary upon application. Additional suspension
components may be needed in some applications, depending upon the make, model, engine and chassis of the vehicle.
Hotchkis Performance is not responsible for any consequences re sulting from manufacturer’s technical mid-year changes.
Hotchkis Performance products should only be installed by a qualified, licensed auto mechanic experienced in the
installation of such products.
Warranty Claim Procedure:
The answer to ALL the following questions should be YES before making a warranty claim:
Some states do not allow limitations on how long an implied warranty lasts or the exclusion or
Did you register the product at www.hotchkis.net or via the mail-in warranty card within 30 days of purchase?
Is the product appropriate to your application?
Did you carefully and thoroughly read the instructions provided along with the product?
Do you have the original invoice or sales receipt?
Are you the original purchaser?
Was the product properly installed by a qualified, licensed auto mechanic?
Has the product been installed on the original vehicle on which it was installed at all times?
Is the product unmodified and clean?
Is the reason for return a legitimate product defect?
If the answer to all these questions is YES, please contact our Customer Service Department at (562) 907-7757. You will
be given a Returned Goods Authorization Number (RGA) valid for 60 days. You will also be asked to ship the product
prepaid to our facility. All shipments MUST be (i) prepaid, (ii) include the original invoice or sales receipt, (iii) show the
RGA on the outside of the package and (iv) include your name, address, make and model of the vehicle, and a brief
description of the claimed defect, including the circumstances under which the defect occurred. If the warranty claim is
deemed valid then Hotchkis will estimate shipping costs to return the repaired or replacement part and contact you for
payment. Hotchkis’s Limited warranty requires that any repaired or replaced product will be returned to the sender
excluding the cost of freight. Warranty related inquires should be sent to the following address:
HOTCHKIS PERFORMANCE, LLC
C/O CUSTOMER SERVICE
12035 BURKE ST. SUITE 13
SANTA FE SPRINGS, CA 90670
Hotchkis Performance will not accept product returns without the RGA number, receipt and the information described
above. C.O.D. or collect shipments will be refused. Once the returns are received at Hotchkis Performance, we will
evaluate the products, verify the sales receipt, and investigate the warranty claim. Any repaired or replaced product will
be returned to the sender.
Effective January 1, 2009. This return policy and limited warranty supersedes all previous policy and
warranty statements. Policies and warranties are subject to change without notice. Hotchkis
Performance is not responsible for printing errors.
 Loading...