

Page 1
USER’S MANUAL
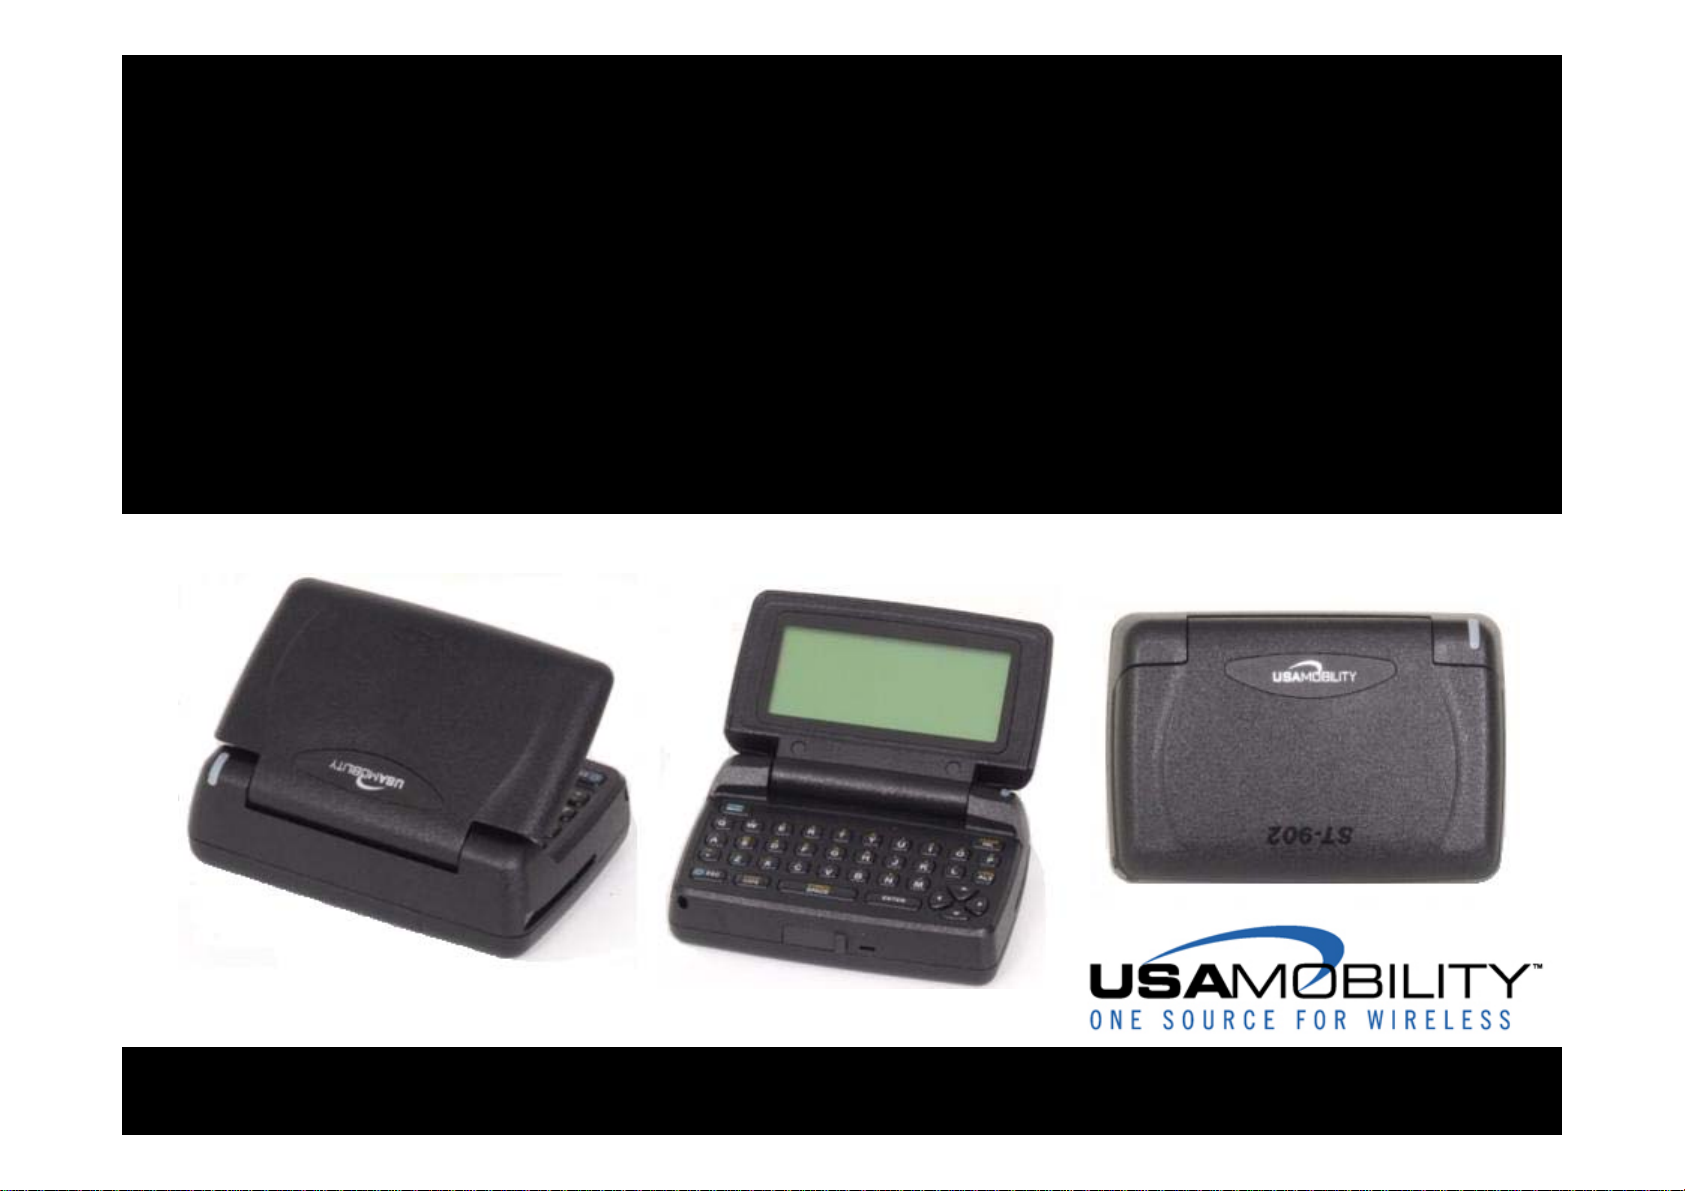
ST902
TwoWay Pager
SUN TELECOM
Page 2

Page 3

Turning Device On
• Ensure that a AA alkaline battery is properly installed.
• Open the lid and press the ENTER key to power on the device. Upon powering on, the ST902 will
take several seconds to initialize before displaying the Home Screen.
• From the Home Screen, press any key (except ESC key) to display the Main Menu.
z If a menu item is not selected, the device reverts to Standby mode after a predefined amount
of time (configurable in the Display/Keyboard/Screen Saver section of Preferences)
z If the device contains one or more unread messages, a circle indicator icon on the left side of
the screen will flash (while in Standby mode).
Replacing Battery
• Remove the old battery
• Wait 10 seconds for the device to clear its “Low Battery” condition
• Insert a new alkaline AA battery
Turning Device Off
• From the Main Menu, press the Navigation button to scroll down to Power Off and press ENTER.
• Highlight Yes and press Enter.
Backlight
In low-light conditions, press and hold ESC to turn on the backlight.
The backlight remains illuminated until the ST902 times out and returns to the Standby screen.
To manually turn the backlight off, press and hold ESC again.
3
Page 4

Using the Main Menu
Use the Main Menu for the following features:
z Read the received or sent messages
z Send messages
z Access contact information
z Change preferences
z Set the alarm
z Access quiet mode
z Turn the transmitter off and on
z Turn the device off
Press navigation keys to highlight the desired feature and then press Enter.
4
Page 5

Setting the Time and Date
• From the Main menu, press the navigation keys to highlight Preferences and press Enter.
• Press navigation keys to highlight Setup and press Enter.
• Press navigation keys to highlight Set Time & Date and press Enter.
• Use Left/Right keys to select the desired Network Sync type. They are:
z Yes : The minutes value of the time is automatically set.
z No : Allows complete manual setting of the time and date.
• Use Up/Down keys to move the cursor up and down.
• Use Left/Right keys to select the desired date format while the cursor is on the Format.
• Use Left/Right keys to move the cursor field to field while the cursor is on the Time and Date
setting.
• Use Enter key to increase the time and date while the cursor is on the Time and Date setting.
5
Page 6

Sending a Message
This section discusses how to compose a message, select addresses and send a message with the
device.
Composing a Message
From the Main Menu, press the navigation keys, highlight Write and then press Enter.
Enter a message. After composing the message, press the Menu key (located at the upper left corner of
the keyboard).
Menu Options
The device will display six menu items. Menu items include: Select Address, Send, Add-replies, QuickText, Back and Cancel. Use the navigation key to highlight the desired item and then press Enter to
execute.
z Select Address: The user can select addresses to send the message to.
z Send: The device sends the message. The Send icon will only be highlighted after an address
has been selected.
z Quick-Text: The user can insert pre-defined text into the message being composed.
z Back: Exits the Write menu.
z Cancel: Removes the menu items from the bottom of the screen.
6
Page 7

Selecting Addresses
Up to twenty addresses from existing contacts can be selected for sending a single message to.
• Use Navigation Keys to move the cursor and highlight the desired address.
• Press Enter and then use navigation key to select the desired address type.
• Press Enter to select the address.
• A wireless address or email can be manually entered by selecting Enter Address and then
selecting One Time Wireless or One Time Email from the list.
• Use Navigation Keys to move the cursor to highlight “Done Selecting” when you have finished
adding all desired recipients. This will return you to the Write Menu to send the message.
Sending a Message
Once message composition is completed and the addresses selected, the cursor can be moved to the
Send item. Pressing Enter sends the message.
‘Message Transmitting’ is displayed to confirm that the message is being sent to the selected addresses.
7
Page 8

Reading a Message
z When a Personal is received, the device displays a pop-up window and alerts according to the
InBox Alert setting. (Please see the Setting Alert section of this manual for details on how to set
the InBox Alert and the “Setting News/Info InBox” section of this manual for adjusting the alert for
News/Info messages)
z To Stop the alert press any key, or open the flip cover. The InBox or News/Info icon will flash until
all received messages have been read.
z If reminder alerts were preset from Preferences, the device periodically alerts as a reminder of any
unread InBox messages.
Previewing Message
• From the Main menu, press navigation keys to highlight Read and press Enter to display InBox,
OutBox, News/Info InBox and Message Folder.
• Use the navigation keys to move the cursor and press Enter to open the InBox, OutBox, News/Info
InBox or Message Folder.
• The screen will display first six messages.
Reading Messages
• To read a message, (while previewing) press navigation keys to highlight the desired message and
press Enter.
• Press up/down navigation keys to scroll through the text of a message or press Enter to page
through the message.
• At the end of the message, a highlighted menu bar is displayed. Press Menu or Enter to Reply,
Forward, Move, or Delete the message.
Note: At any time, while previewing or reading a message, press Menu to access the Message Options
menu.
8
Page 9

Setting an Alert
InBox Alert
• From the Main menu, press navigation keys to highlight Preferences and press Enter.
• Press navigation keys to highlight Alert Setting and press Enter.
• Press navigation keys to highlight InBox Alert and press Enter.
• Press Enter to select the desired type.
• Press ESC to exit.
Reminder Alert
When this feature is enabled, the device will periodically emit a reminder alert if there are any unread
personal messages. (The device does not emit reminder alerts for News/Info messages)
To enable or disable the Reminder Alert feature, proceed as follows.
• From the Main menu, press navigation keys to highlight Preferences and press Enter.
• Press navigation keys to highlight Alert Setting and press Enter.
• Press navigation keys to highlight Reminder Alert and press Enter.
• Press Left/Right keys to select the desired Mode (Enable/Disable/Endless).
• NOTE: The Endless mode will have the device alert continuously without a Repeat or Interval selection.
• Press Up/Down keys to move the cursor up and down.
• Press Left/Right keys to select the desired alerts while the cursor is on the Alert.
• Press Left/Right keys to select the desired number of repeats while the cursor is on the Repeat.
• Press Left/Right keys to select the desired interval while the cursor is on the Interval.
• Press Enter or ESC to save and exit.
Page 10

Alert Volume
• From the Main menu, press navigation key to highlight Preferences and press Enter.
• Press navigation keys to highlight Alert Setting and press Enter.
• Press navigation keys to highlight Alert Volume and press Enter.
• Use navigation key to select the desired alert volume. Press Menu to listen the alert.
• Press enter or ESC to save and exit.
Page 11

Replying to Messages
For convenience, the device has several pre-programmed reply messages. To reply to a message using
one of the pre-programmed replies, proceed as follows.
Sending a Pre-Programmed Reply
• While previewing or reading a message, press Menu to access the Message Options menu.
• Press navigation keys to highlight Reply and press Enter.
The device displays the list of pre-programmed reply messages from which to choose.
• Press navigation keys to highlight the desired reply and press Enter.
The device displays ‘Message Transmitting’ to confirm that the reply has been sent.
Sending a Custom Reply
• While viewing a message, press Menu to display the Message Options menu.
• Press navigation keys to highlight Reply and press Enter.
• Press navigation keys to highlight Custom Reply and press Enter.
• Type the message reply and press Menu.
• To send the reply, press navigation keys to highlight Send and press Enter. The device displays
‘Message Transmitting’ to confirm that the reply has been sent.
11
Page 12

Forwarding Messages
Received messages can be appended to and forwarded from the device. To do so, proceed as follows.
• While viewing a message, press Menu to display the Message Options menu.
• Press navigation keys to highlight Forward and press Enter. Add text to the message if desired.
• To send the message, follow Sending a Message routine.
Resending Messages from the OutBox
Messages sometimes cannot be sent initially or fail to be sent due to coverage problems. This can be
corrected by resending the message
• From the OutBox, press navigation keys to highlight the message to be resent and press Menu.
• Press navigation keys to highlight Resend and press Enter.
Deleting Messages
Any or all messages on the device can be deleted.
To delete the message currently being viewed, proceed as follows.
• While viewing a message, press Menu to display the Message Options menu.
• Press navigation keys to highlight Delete and press Enter.
12
Page 13

Deleting All Read Messages
All read messages in the InBox can be deleted.
• While previewing messages, press Menu To display the Message Options Menu.
• Press navigation keys to highlight Delete Read and press Enter.
Deleting All Messages
All messages in the InBox can be deleted.
• While previewing messages, press Menu to display the Message Options menu.
• Press navigation keys to highlight Delete All and press Enter.
Deleting Sent Messages
All sent Message in the OutBox can be deleted.
• While previewing messages in the OutBox, press Menu to display the Message Option menu.
• Press navigation keys to highlight Delete Sent and press Enter.
13
Page 14

Setting News/Info InBox
The device may have a number of News/Info Inboxes. Each News Inbox can be configured with its own
alert and history depth. The steps for previewing and reading the News messages are same as
those for the InBox.
Set History
The number of messages that will be stored in each of the News/Info InBox folders can be limited. To
set the desired number of messages, proceed as follows.
• Move the cursor to Read from Main Menu and press Enter.
• Move the cursor to News/Info InBox and press Enter.
• Move the cursor to the desired slot of the News/Info then press Menu.
• Use the navigation keys to highlight Set History and press Enter.
• Use the navigation keys to highlight the desired number (from no history to 8 history messages)
and press Enter to select.
• Use ESC to exit.
Set Alert
The alert type for each News Info Inbox can be selected. To do so, proceed as follows.
• Move the cursor to the desired News/Info inbox, then press Menu.
• Use the navigation keys to highlight Set Alert and press Enter.
• Use the navigation keys to highlight the desired alert type.
• To listen the alert press Space. To select the alert press Enter.
• Use ESC to exit.
14
Page 15

Contacts
An individual contact entry may include First Name, Last Name, Wireless Address, Work Email, Home
Email, Company, Home Phone, Work Phone, Mobile, Fax, Street, City, State, Zip and Note. In addition,
address groups can be defined.
Creating a Contact
• From the Main menu, press navigation keys to highlight Contacts and press Enter.
• Press navigation keys to highlight New Contact and press Enter.
• Type the appropriate text in each field and use navigation keys to move the cursor from one field
to the next. Note that some fields will limit the characters that can be entered into them.
• Press ESC or move the cursor to Save Entry to save the record.
Creating a Group
• From the Main menu, press navigation keys to highlight Contacts and press Enter.
• Press navigation keys to highlight New Group and press Enter.
• Type the desired Group Name. Cursor down to Select Addresses and press Enter.
Select the desired addresses.
• Use Enter key to select the desired contact.
• Press ESC to return to the previous screen.
• Press ESC or move the cursor to Save Entry and press Enter to save the record.
15
Page 16

Searching the Contacts
Use the Search feature to search the list of Contacts.
• Type the first few characters of the Contact’s name to begin the search.
• To select the desired Contact, press Enter.
Editing a Contact
• From the Contacts menu, press navigation keys to highlight the desired Contact and press Enter.
• Press Enter to select the Contact.
• Press Menu to display the Options menu.
• Use navigation keys to highlight Edit and press Enter.
Deleting a Contact
• From the Contacts menu, press navigation keys to highlight the desired Contact.
• Press Enter to select the Contact.
• Press Menu to display the Options menu.
• Use navigation keys to highlight Delete and press Enter.
16
Page 17

Setting the Alarm
The alarm can be set for either a specific time and date, or it can be used as a daily alarm.
• From the Main menu, press navigation keys to highlight Set Alarm and press Enter.
• Use Left/Right keys to select the desired mode (Disable, Once, or Daily).
• Use Up/Down keys to move the cursor up and down.
• Press Enter to increase the time and date while the cursor is on Time and Date option.
• Press Left/Right keys to select the desired Snooze (Disable, 5 Min, 10 Min, or 15 Min) while the
cursor is on Snooze option.
• Press Left/Right to select the desired alert type while cursor is on Alert option.
Press Menu to listen the alert.
• Use ESC to save and exit.
Quiet Mode
When active, Quiet Mode allows the audible alerts to be temporarily changed to to Silent or Vibrator
alerts.
• From the Main menu, press navigation keys to highlight Quiet Mode and press Enter.
• Press navigation keys to select the desired type (Disable, Silent, or Vibrate).
• Press Enter to select the desired type.
• Press ESC to exit.
17
Page 18

Turning the Transmitter Off
Note: When the transmitter is turned off, the device cannot send messages or replies. However, it may
still receive messages.
• From the Main menu, press navigation keys to highlight Transmitter and press Enter.
• Press navigation keys to highlight On or Off as desired.
• Press Enter to select the desired option.
• Press ESC to exit.
Setting Quick Text
Up to 10 Quick Texts entries can be created for use with composing a message. To edit Quick Text,
proceed as follows.
• From the Main menu, press navigation keys to highlight Preferences and press Enter.
• Press navigation keys to highlight Quick Text and press Enter.
• Use navigation keys to highlight the desired quick text and press Enter.
• Edit the text.
• Press ESC to save and exit.
18
Page 19

Setting Private Time
Private Time mode allows a time period to be specified during which the device receives messages and
performs all functions without an audible or vibrate alert.
• From the Main menu, press navigation keys to highlight Preferences and press Enter.
• Press navigation keys to highlight Private Time and press Enter.
• Press Left/Right keys to select the mode (Disable/Enable).
• Press Up/Down keys to move the cursor up and down.
• Press Left/Right keys to move the cursor from field to field while the cursor is on Time setting.
• Press Enter to increase the time while the cursor is on Time Setting.
• Press Left/Right keys to enable or disable the alert at the end of the private time.
• Use ESC to save and exit.
Set Owner Info
User personal information, such as Name, Street, City, State, Zip, Home Phone, Work Phone, Mobile
and Fax can be entered into the device.
• From the Main menu, press navigation keys to highlight Preferences and press Enter.
• Press navigation keys to highlight Setup and press Enter.
• Press navigation keys to highlight Set Owner Info and press Enter.
• Type appropriate text for each field.
• Press navigation keys to move the cursor up, down, left and right.
• Press ESC or Enter to save and exit.
19
Page 20

Creating a Signature
The device allows a signature to be created for the message and automatically append it to each
message sent. To do so, proceed as follows.
• From the Main menu, press navigation keys to highlight Preferences and press Enter.
• Press navigation keys to highlight Setup and press Enter.
• Press navigation keys to highlight Signature and press Enter.
• Using the keyboard, type the signature text as it should appear in the messages.
• Press ESC to save and exit.
Setting the Contrast
• From the Main menu, press navigation keys to highlight Preferences and press Enter.
• Press navigation keys to highlight Setup and press Enter.
• Press navigation keys to highlight Display / KeyBD and press Enter.
• Press navigation keys to highlight Contrast and press Enter.
• Press navigation keys to change the contrast.
• Press ESC or Enter to save and exit.
20
Page 21

Setting the Screen Saver
• From the Main menu, press navigation keys to highlight Preferences and press Enter.
• Press navigation keys to highlight Setup and press Enter.
• Press navigation keys to highlight Display / KeyBD and press Enter.
• Press navigation keys to highlight Screen Saver and press Enter.
• Press Left/right keys to select the desired Timeout period.
• Press ESC or Enter to save and exit.
About
The About menu item includes information regarding memory, battery and software version.
From the Main menu, press navigation keys to highlight Preferences and press Enter.
Then, Press navigation keys to highlight About and press Enter.
Memory Status
Press navigation keys to highlight Memory Status and press Enter.
The device will display memory used for the InBox, OutBox, News/Info, Message Folder and Contacts.
Battery Status
Press navigation keys to highlight Battery and press Enter.
The device will display the percentage of remaining battery power.
Software Version
Press navigation keys to highlight Software Version and press Enter.
21
Page 22

Safety Information
Read this information before using a wearable two way pager.
First introduced in 2000, the two way pager is one of the most exciting an d innovative electronic
products ever developed. With it, you can stay in contact with your family, your office, information
services, and others. For the safe and efficient operation of your two way pager,
Observe these guidelines:
Your communicator is a radio transmitter and receiver. When it is ON, it receives and also sends
out radio frequency (RF) energy.
The communicator (ST902) transmitter operates in the frequency range of 896 MHz to 902 MHz,
and there receiver operates in the range of 929 MHz to 942 MHz. It utilizes commonly used frequency
modulation (FM) techniques. The unit transmits at a power level of max 2W for short periods of time
( from
seconds of a page that has been received or when the unit is first turned on. In 1991, the Institute of
Electrical and Electronics Engineers (IEEE), and in 1992, the American National Standards Institute
(ANSI), updated the 1982 ANSI Standard for sa fety levels with respect to human exposure to RF
energy. Over 120 scientists, engineers, and physicians from universities, government health agencies
and industry, after reviewing the available body of research, developed this updated standard.
In March, 1993, the U.S. Federal Communications Commission (FCC) proposed the adoption of the
updated Standard. The design of your communicator (PIC) complies with this updated Standard.
You may choose to turn the transmitter off in your communicator at any time. Refer to “ Turning the
transmitter Off “ on page 18.
0.07867 ~ 0.16 seconds ). Transmissions occur infrequently and usually follow within a few
22
 Loading...