

Horntones FX 550 Owner's Manual

HORNTONES
Give your ride a voice!
FX 550
HORNTONES SYSTEM
Owner’s Manual
UG-FX550 Rev A2

FX-550 USERS GUIDE
Table of Contents
1 Introduction 3
2 What’s in the Box 3
3 Installation 4
3.1 Installation Preparation 4
3.2 Player Installation 4
3.2.1 Mounting the Player 4
3.2.2 The Player Cable 5
3.3 Amplifier Installation 7
3.3.1 Power & Speaker Connection 7
3.4 Sounder Installation 8
4 Using Your System 9
4.1 Naming Your Player 9
4.2 Pre- Installed Tones 9
4.3 Adding new tones 9
4.4 Custom tones 10
5 Limited Warranty 10
6 Legal Disclosure 11
Page 2 of 12

FX-550 USERS GUIDE
1 Introduction
Congratulations on your purchase of the Horntones FX550 system, the first mobile audio system that allows you
to supplement the sound of your vehicle’s horn function
using virtually any standard audio file!
2 What’s in the Box
Your Horntones FX-550 system includes the following
items. Please check to be sure that you have everything.
1. One Horntones Player, Model FX-550, including
mounting bracket and two thumbscrews.
2. One player cable.
3. One audio amplifier, Model AP-150.
4. One Horntones Sounder, Model SR-100.
5. This User Guide.
Page 3 of 12
FX-550 USERS GUIDE
3 Installation
IMPORTANT: It is recommended that you have a
professional audio installer install your Horntones FX-550
system. Horntones will not be responsible for damaged
components due to improper installation.
3.1 Installation Preparation
Before installing any FX-550 components, disconnect the
positive terminal from your vehicles battery.
3.2 Player Installation
Installing the FX-550 player consists of two steps
described in the following sections:
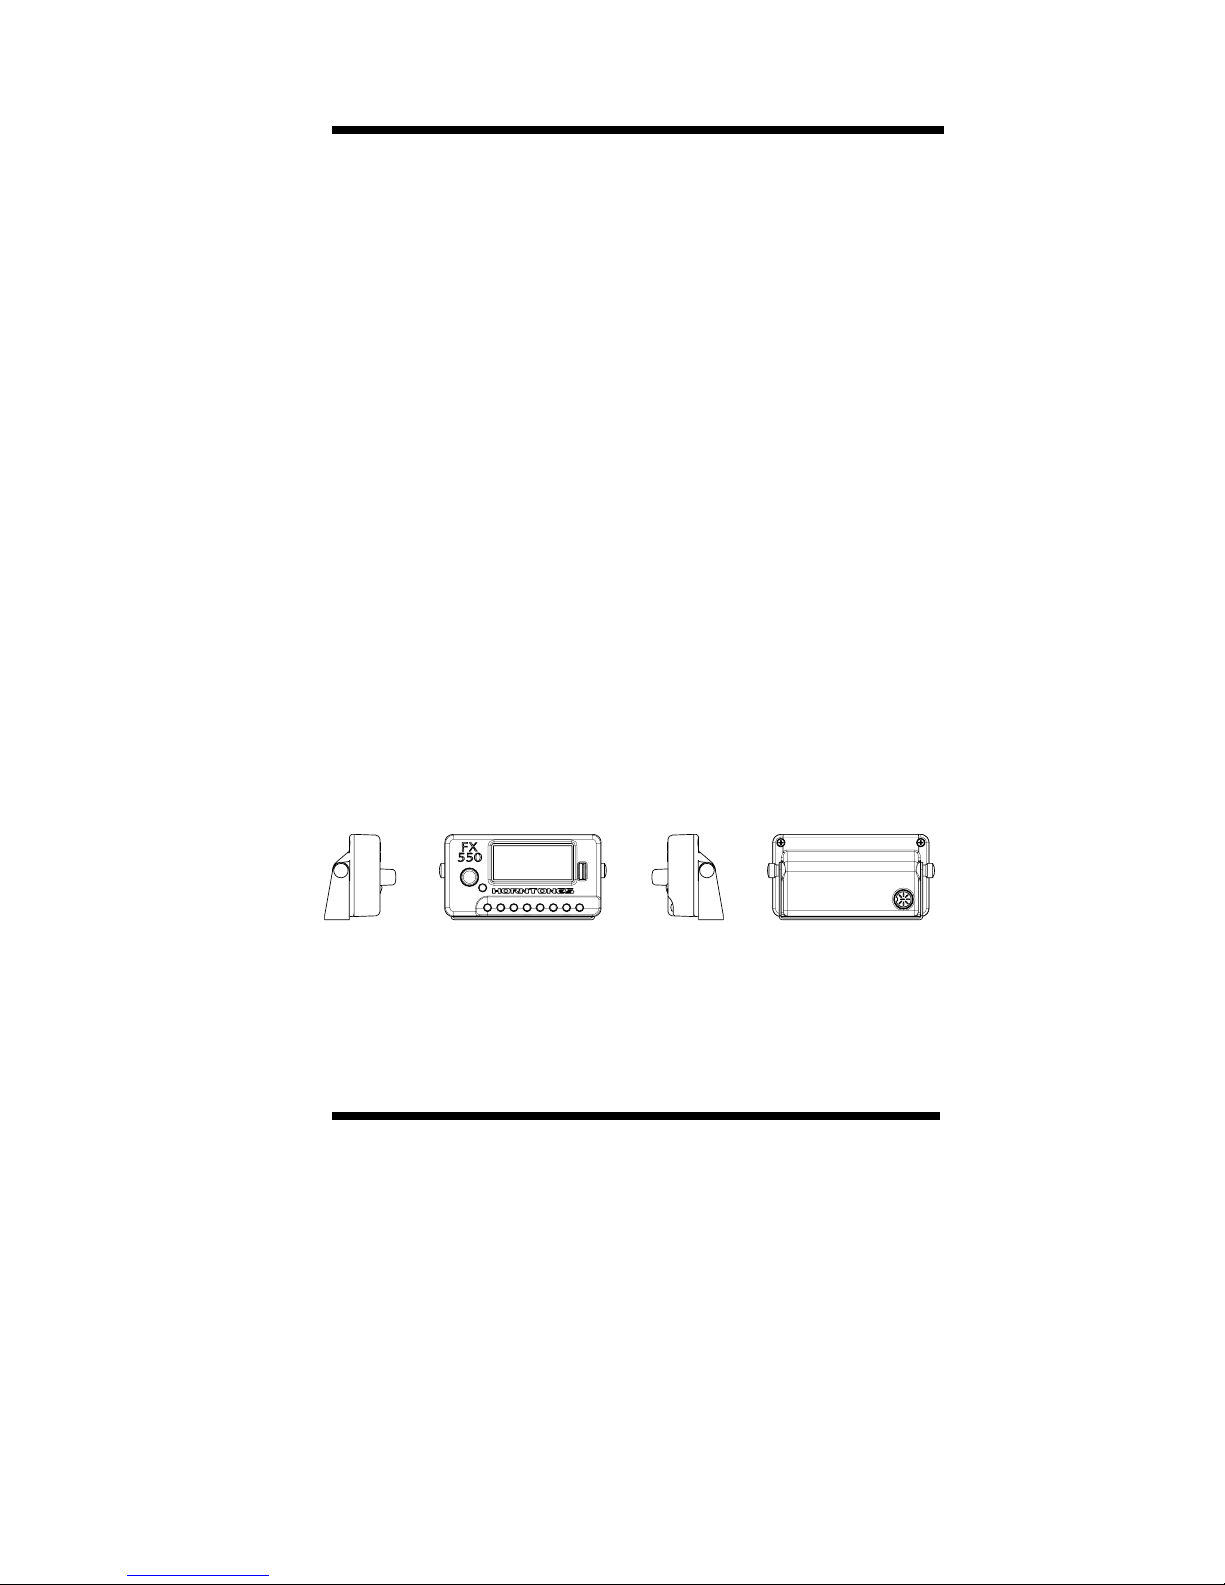
3.2.1 Mounting the Player
First, determine the location for the FX-550. It can be
mounted on, in or under the dash or any other convenient
location. The U bracket is provided to facilitate securing the
unit to the desired location.
Page 4 of 12
 Loading...