

Page 1
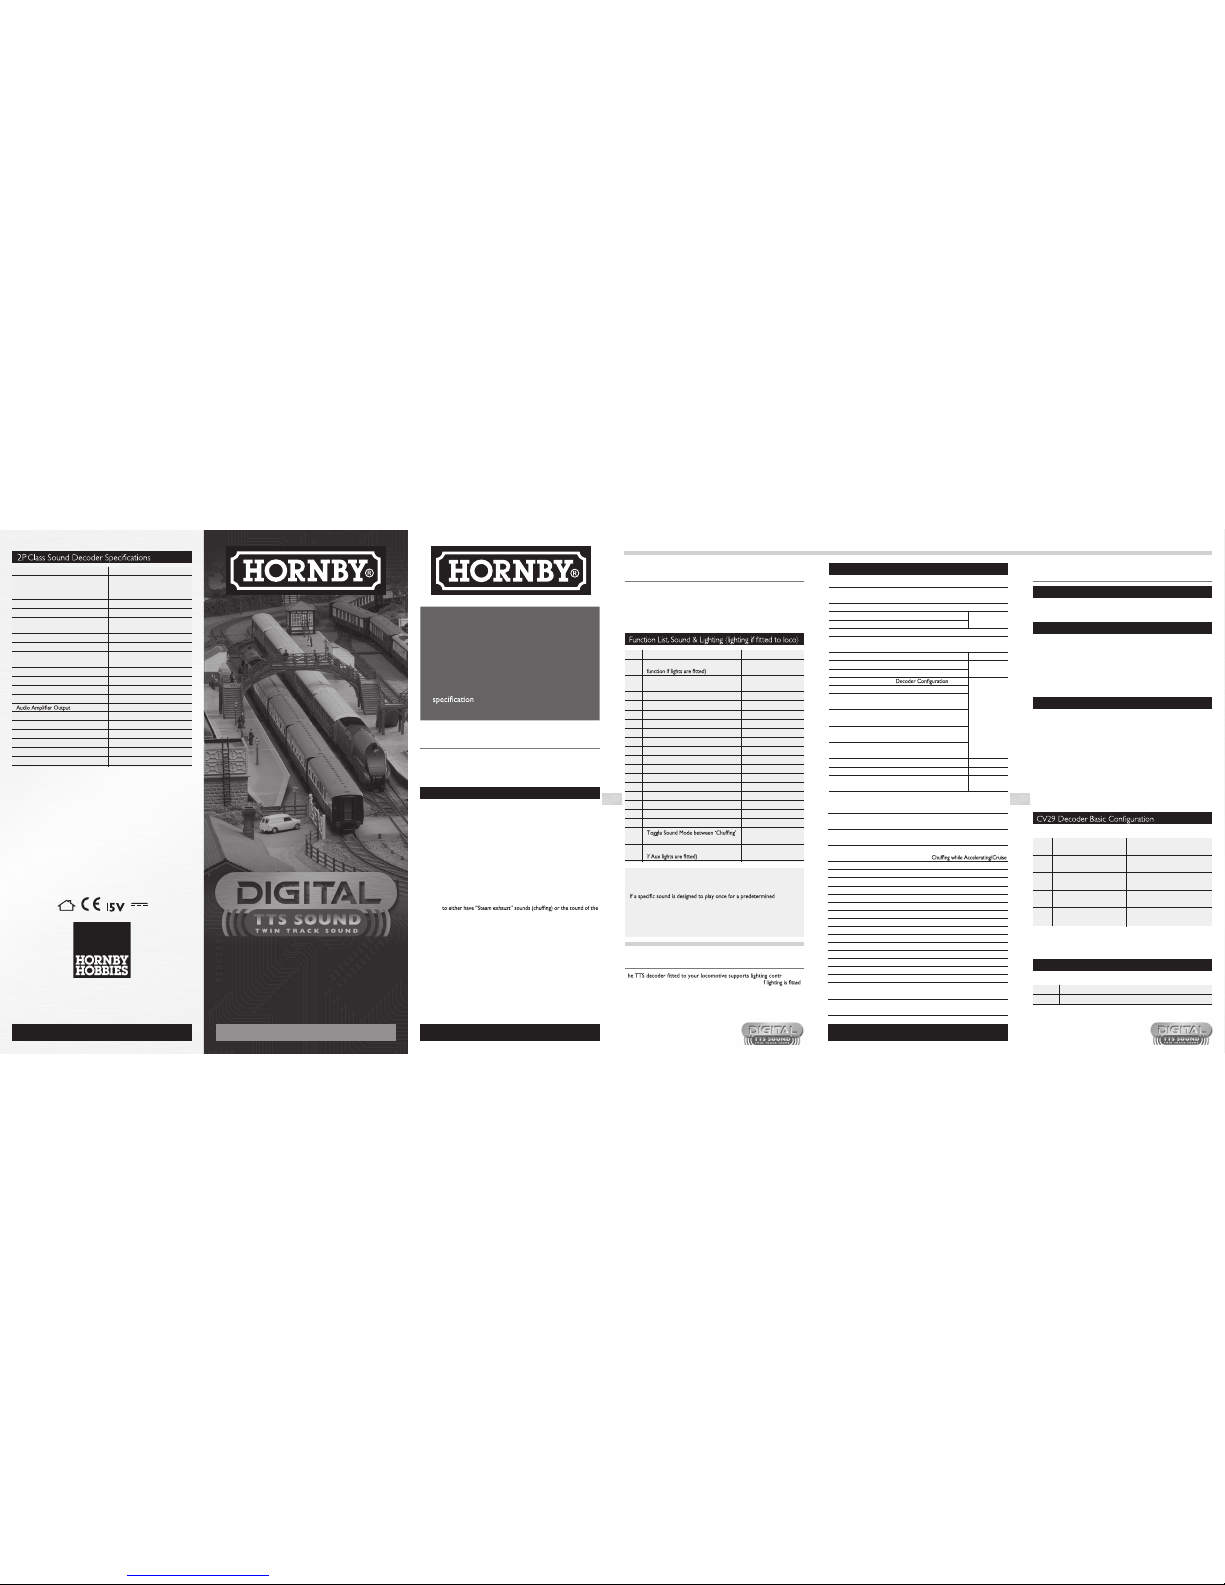
2. Using the Sound Functions etc.
4. CV Notes
For more information visit:
www.hornby.com
•
Background and steam exhaust plus deceleration sounds are activated by F1
on the controlle r. Individual sounds can be played at an y time without the
idle/steam ex haust/decelera tion sounds be ing active. T his is achieve d by
activating the appropriate Function on the controller (F2-F16).
•
Some individual sounds play once for a short duration e.g. ‘whistles,’ while other
sounds play continuously until deactivated i.e. they are ‘Looped’ sounds.
•
Front and Rear Lights are activated by F0 on the c ontroller. (Dec oder
hardware
function out puts 1 and 2.)
•
The Auxiliary Function output is activated by F18 on the controller. (Decoder
hardware function output 3.)
Any value le ss than the de fault of ‘15’ is likely to c ause steam exha ust and
deceleration (coasting) sound playback to operate incorrectly.
For more information visit:
www.hornby.com
2 3 4 5
1. Introduction
Track Sound’
decoder” which offers adjustable motor control and a range of realistic sounds
including full acceleration/deceleration sounds, whistles and other appropriate
locomotive noises associated with the 2P Class locomotive.
This Hornby 2P Class Locomotive is fitted with a “Hornby Twin
•
Supports Short and Long decoder addresses.
•
Adjustable Acceleration and Deceleration.
•
Back EMF Load Compensation.
•
Two different selectable and fully adjustable motor control methods for optimal
motor control.
•
Two sound channels allowing for simultaneous play of full locomotive steam
exhaust sounds (chuff) and coasting, while using individual sounds e.g. Whistles,
Brakes, Coal Shovelling, Wheel Slip, Injectors, e tc.
Main Features
CV3 and CV4 Acceleration and Deceleration
The supported functions are:
Please note the followin g CVs are subject to change.
Add the desired values for each fun ction to obtain the needed value of CV 29.
Example: The default value for CV29 is 6 , i.e. 28/128 Speed Steps + E nable
analogue ope ration = 2+4 = 6.
Read Only CVs that contain version information
If read, thi s CV will repo rt the manufac turer’s ID for Hornby Hobbies 48.
Writing the value ‘8’ to CV8 will perform a ‘general reset’ of all CV variables
to factory default valu es.
The decoder also has a unique feature, i.e. writing the value ‘5’ to CV8 will
reset all sound volume levels to default levels, i.e. CV160 to CV177 will be
returned to default values. All other CV values (non-sound relat
ed) will be left as
programmed by the user.
CV8 Manufacturers ID and Reset
The decoder supports ‘load’ compensation. This is a feature that tries to
maintain a constant speed of the locomotive as the load on the motor changes,
i.e. when negotiating inclines and curves, etc.
This is achi eved by monito ring the actua l speed of the motor via the motors
BEMF (Back Electromotiv e Force) and comparing the voltage level detected to
the Speed Step command sent to the decoder. Speed Ste
ps are in the value range
1-128. Using thi s CV allows a cut-of f point to be set f or the Speed Step va lue
where the BEMF load compensation ac tion ceases to be a pplied.
Generally this value is left as default (128). In some rare cases adjustment of this
CV can assist smoothness of lower speed running.
Example: If the CV is set to a value of 100, the l oad compensation will not be
applied above Speed Step 100.
CV10 Back EMF Cut-Off Point
Contents
1. Introduction P2
2. Using the Sound Functions etc. P3
3. Lighting Control P3
4. CV Notes P5
5. The Mixer Section P7
6. Driving Hints and Tips P8
7. Decoder Plug and Socket connections
P10
8. Troubleshooting P11
Full CV Table
Ref Function Add this value to activate
function
Bit0 Default Direction Control Add 1 to reverse direction
~ Normal or Reversed
Bit1 Speed Step Lighting Direction Add 2 to use 28/128 mode
Command 14 or 28/128
Bit2 DCC Only or DCC and Add 4 to enable both DC and
DC Running DCC Running
Bit5 Long or Short Address Add 32 if required to manually
control long address selection
CV7 Decoder Version number
CV158 Decoder Sound Version number
CVs... 2P Class Running Parameters and Decoder setup
CV Default Value Description
Value Range
CV1 3 1-127 Short decoder address (1-127)
CV3 15 0-255 Acceleration
See CV Notes
CV4 15 0-255 Deceleration
CV7 4 Read only Decoder Firmware Version
CV8 48 Read only** Manufacturer ID **(All Reset = 8)
(Sound Volume Reset Only = 5)
CV10 128 1-128 Back EMF cut off point See CV Notes
CV17 192 192-231 Long address high byte
(128 - 10239)
CV18 100 0-255 Long address low byte
CV29 6 0-48
CV150 0 0-1 Motor algorithm 1 & 2
CV151 255 0-255 P1, parameter of Motor
algorithm 1
CV152 1 0-255 I1, parameter of Motor
See CV Notes
algorithm 1
CV153 215 0-255 P2, parameter of Motor
algorithm 2
CV154 115 0-255 I2, parameter of Motor
algorithm 2
CV158 010 Read only Decoder Sound Version
CV159 143 Read only Decoder Sound ID
CV201 25 70 Loco Start delay 0 = No delay
70 = 7 Seconds Delay
•
A total of 15 different ‘spot sounds’ in addition to the locomotive’s steam exhaust
and deceleration sounds are available. When the locomotive is stationary an
idle steam sound is played.
Note: Only one of the 15 individual ‘spot sounds’ may be played at a time.
•
When the locomotive is cr uising at a con stant speed th ere is a switcha ble
option
locomotive ‘Coasting’ under its own momentum, thus, giving added realism to
the sounds the locomotive makes in action. See driving tips for more details.
•
It is possible to alter the volume of each sound through an individual dedicated
CV. i.e. there is effectively a simple volume mixer on board the decoder. The
Volume may be adjusted in 9 steps, 0-8.
•
The decoder is equipped to support Front and Rear Light operation via F0 on
the controller providing the locomotive is equipped with lighting connected to
hardware function Channels 1 and 2 of the decoder.
•
The decoder is equipped with 1 Aux function output controlled by F18 on the
c
ontroller. (This is hardware function Channel 3 on the decoder.)
•
IMPORTANT. The decoder do es not support sound under D C operation.
Sounds can only be played under DCC operation. This statement applies to all
sounds both running and individual.
See the Function List in Section 2 for a complete list of decoder features.
Sound Decoder Manual
Operation
Control Modes DC and DCC.
(Sound only available in DCC mode. i.e.
no sound support under DC operation)
Electrical Limits
Track Voltage Maximum 27V
Motor Current - Maximum Continuous 500mA
(overload/short circuit protection)
Motor Current - Peak 1A (No function load)
Function Output Current - Maximum 100mA (Unprotected)
Decoder Current - Maximum
Total Continuous 800mA
(Shared i.e. motor + functions)
Sound and other Functions
Number of Spot Sound Functions 15
Number of Running Sounds 3
(i.e. Steam Exhaust/Coasting/Idle)
Number of Digital Functions (Lighting) 3 (Headlight/rear Light and Auxiliary)
Class D. Power 1.68W @ 8 ohm
Speaker Impedance & Power Rating 8Ω 1 Watt
Number of Sound Channels 2
Physical
Speaker Diameter 26mm
Dimensions Sound Decoder 27mm x 14mm x 5mm
Termination 8 Pin Plug NEM652 NMRA
WARNING Not suitable fo r children under 14 years of age. Han dle with
care. Please retain these details and the address for future r eference.
www.hornby.com
3. Lighting Control Only if loco is equipped with lights etc.
Please note
Some controllers only offer ‘toggle’ control for function activation. i.e. Once
the function key is pressed it remains ‘On’.
duration,
the function key will n eed to be pressed again to retu rn the controller to
‘Function Off’ status before it is possible to activate the same function again.
e.g. the Hornby ‘Select’ operates in this manner while the Hornby ‘Elite’
has both ‘to ggle’ and ‘mom entary’ contro l of functions , which is idea l for
controlling both ‘Play Onc e’ and ‘Looped ’ spot sounds.
T ol as
standard. However, the following functions are only available i
to the locomotive.
F# Description Play Structure
F0 Headlight/Rearlight (Standard decoder Dependent on
locomotive direction
F1 Background Steam/Steam exhaust
/Coasting ON-OFF Various
F2 Whistle Long Plays Once
F3 Whistle Medium Plays Once
F4 Whistle Short Plays Once
F5 Whistle Two Bursts Plays Once
F6 Wheel Slip Plays Once
F7 Coal Shovelling Loops until disabled
F8 Blow Down Loops until disabled
F9 Safety valve Loops until disabled
F10 Injector Loops until disabled
F11 Cylinder Cock Loops until disabled
F12 Brake Plays Once
F13 Blower Loops until disabled
F14 Guard’s Whistle Plays Once
F15 Coupler Clank Plays Once
F16 Fireman’s Breakfast Loops until disabled
F17
and ‘Coasting’ Various
F18 Aux Lighting. (Standard decoder function
Dependent on user
Volume Settings (Mixer Section)
See section 7 on page 7 ‘The Mixer Section’ for CV explanations, etc.
CV
Default Value 2P Class Sound CV Description
Value Range
CV160 4 0-8 Volume Loc omotive Backgr ound Steam and
Cylinder Cocks on start
CV161 4 0-8 F1 Volume Locomotive Running - Exhaust/
CV162 4 0-8 F2 Volume Whistle Long
CV163 4 0-8 F3 Volume Whistle Medium
CV164 4 0-8 F4 Volume Whistle Short
CV165 4 0-8 F5 Volume Whistle Two Bursts
CV166 4 0-8 F6 Volume Wheel Slip
CV167 4 0-8 F7 Volume Coal Shovelling
CV168 4 0-8 F8 Volume Blow Down
CV169 4 0-8 F9 Volume Safety Valve
CV170 4 0-8 F10 Volume Injector
CV171 4 0-8 F11 Volume Cylinder Cock
CV172 4 0-8 F12 Volume Brake
CV173 4 0-8 F13 Volume Blower
CV174 4 0-8 F14 Volume Guard’s Whistle
CV175 4 0-8 F15 Volume Coupler Clank
CV176 4 0-8 F16 Volume Fireman’s Breakfast
CV177 4 0-8 F1 Volume Locomotive Running - Decelerating
(Cruise, Sound Mode 2)
CV178
Not
Readable
0-8 Quick Set Volume level
4/1523
For more information visit:
www.hornby.com
Hornby Hobbies Ltd. 3rd Floor, The Gateway,
Innovation House, Discovery Park, Sandwich, CT13 9FF, UK.
Tel: +44 (0) 1843 233525
2P Class
Page 2
For more information visit:
www.hornby.com
For more information visit:
www.hornby.com
8. Troubleshooting
No Sound Turn on sound (F1).
The decoder does not support DC
running with sound. Reset Decoder.
Jerky Running Reset Decoder.
Clean Rails / Wheels / Pickups.
No Control from the Locomotive Check Decoder Address.
Reset Decoder.
Reset Controller.
Clean Rails / Wheels / Pickups.
No Response Check Decoder Address.
Reset Decoder.
Reset Controller.
Clean Rails / Wheels / Pickups.
Bit0 (Add 1 to activate) is used to control the default direction of the
locomotive and a wiring error has been made re connection to the motor. Other
uses are where the model railway layout requires reversed direction operation.
Bit1 (Add 2 to activate) is used to set the decoder to detect the cor rect
location of the direction command for lighting control, i.e. whether the decoder
is expecting 14 or 28 /128 Speed Steps. It is not usual to edit this feature as the
decoder will handle this function automatically in most cases.
Bit2 (Add 4 to activate) is used to control whether the decoder will operate
on both DC and DCC layout control. By default both forms of power are
enabled. It is recommended if only run ning on a DCC controlled la yout to
turn off DC operation, i.e. CV29 = 2 if only changing this feature of CV29.
Bit5 (Add
32 to activate) The decoder stores Short Addresses in CV1 and Long
Addresses in CV17 and CV18. Bit5 is used to tell the decoder wh
allocated address, i.e. for Long Addresses Bit5 is enabled. This feature is usually
handled automatically, it is not usually necessary to edit the value of this Bit.
Motor speed control is achieved using a controlled loop system (algorithm) where
the decoder checks the speed of the motor and compares the retrieved current
speed inform ation of the m otor with the ‘desired’ spee d setting, e.g. if the
locomotive is c limbing a hill, the tendency is for the locomotive to slow
down compared to the desired speed set fro m the controller.
The control sys tem will detect this and try to compens ate the speed drop
by increasing the drive to the motor.
Similarly, when a loco motive moves off
from standstill , the control system will tr y to compensat e for the tend ency
for the loco motive to rema in static (ine rtia at rest).
The control algorithms emp loyed are refe rred to as PIDs. This refers to
Proportional - Integral - Differential. Further explanation is outside the scope of
these notes but from the point of view of this n ote it is the P and I factors that
interest us, as follows.
How the decoder reacts and controls the compensation s
ystem for speed drops,
etc. can be adjusted. Adjustment of the motor drive characteristics is carried
out with the following CVs. CV150 allows the selection of one of two base
motor control algorithms. The CV value range is 0-1.
CV150-154: Motor Control Method
5. The ‘Mixer’ Section. Adjusting
the decoder’s Sound Volumes
via CVs
CV160 through to CV178 contro l the relative volume levels of the p layed back
sounds.
CV178 controls the general volume of all locomotive sounds. There are 9
possible settings i.e. 0-8. 0 is no sound, while 8 is full volume. The sound set of the
locomotive has been balanced in the factory so that sounds play at the correct
volumes relative
in volume by th e user to suit by adjusting their associated CV... see table.
Volume Settings (Mixer Section)
CV
Default Value 2P Class Sound CV Description
Value Range
CV160 4 0-8 Volu me Locomotive Ba ckground Steam
CV161 4 0-8 F1 Volume Locomotive Running - E xhaust/
CV162 4 0-8 F2 Volume Whistle Long
CV163 4 0-8 F3 Volume Whistle Medium
CV164 4 0-8 F4 Volume Whistle Short
CV165 4 0-8 F5 Volume Whistle Two Bursts
CV166 4 0-8 F6 Volume Wheel Slip
CV167 4 0-8 F7 Volume Coal Shovelling
CV168 4 0-8 F8 Volume Blow Down
CV169 4 0-8 F9 Volume Safety Valve
CV170 4 0-8 F10 Volume Injector
CV171 4 0-8 F11 Volume Cylinder Cock
CV172 4 0-8 F12 Volume Brake
CV173 4 0-8 F13 Volume Blower
CV174 4 0-8 F14 Volume Guard’s Whistle
CV175 4 0-8 F15 Volume Coupler Clank
CV176 4 0-8 F16 Volume Fireman’s Breakfast
CV177 4 0-8 F1 Volume Locomotive Running - While
Decelerating (coasting)
CV178
Not
Readable
0-8 Shortcut: Quick Set Volume level
CV160 to CV178: Description
Setting up volumes using the ‘Mixer’ Section
Decoder Current Limits
•
Function Output current limits are 100mA per function hardware connection.
•
Total Current Draw from decoder is 800mA (m otor + functions).
•
Decoder can handle 1A peak for short durat ions. (No Function Load).
Function Control
F# Sound Description Play Structure
F1 Background Steam/Cylinder Cock/Steam
exhaust/Coasting ON-OFF Various
F2 Whistle Long Plays Once
F3 Whistle Medium Plays Once
F4 Whistle Short Plays Once
F5 Whistle Two Bursts Plays Once
F6 Wheel Slip Plays Once
F7 Coal Shovelling Loops until disabled
F8 Blow Down Loops until disabled
F9 Safety valve Loops until disabled
F10 Injector Loops until disabled
F11 Cylinder Cock Loops until disabled
F12 Brake Plays Once
F13 Blower Loops until disabled
F14
Guard’s Whistle
Plays Once
F15 Coupler Clank Plays Once
F16 Fireman’s Breakfast Loops until disabled
F17
and ‘Coasting’ Various
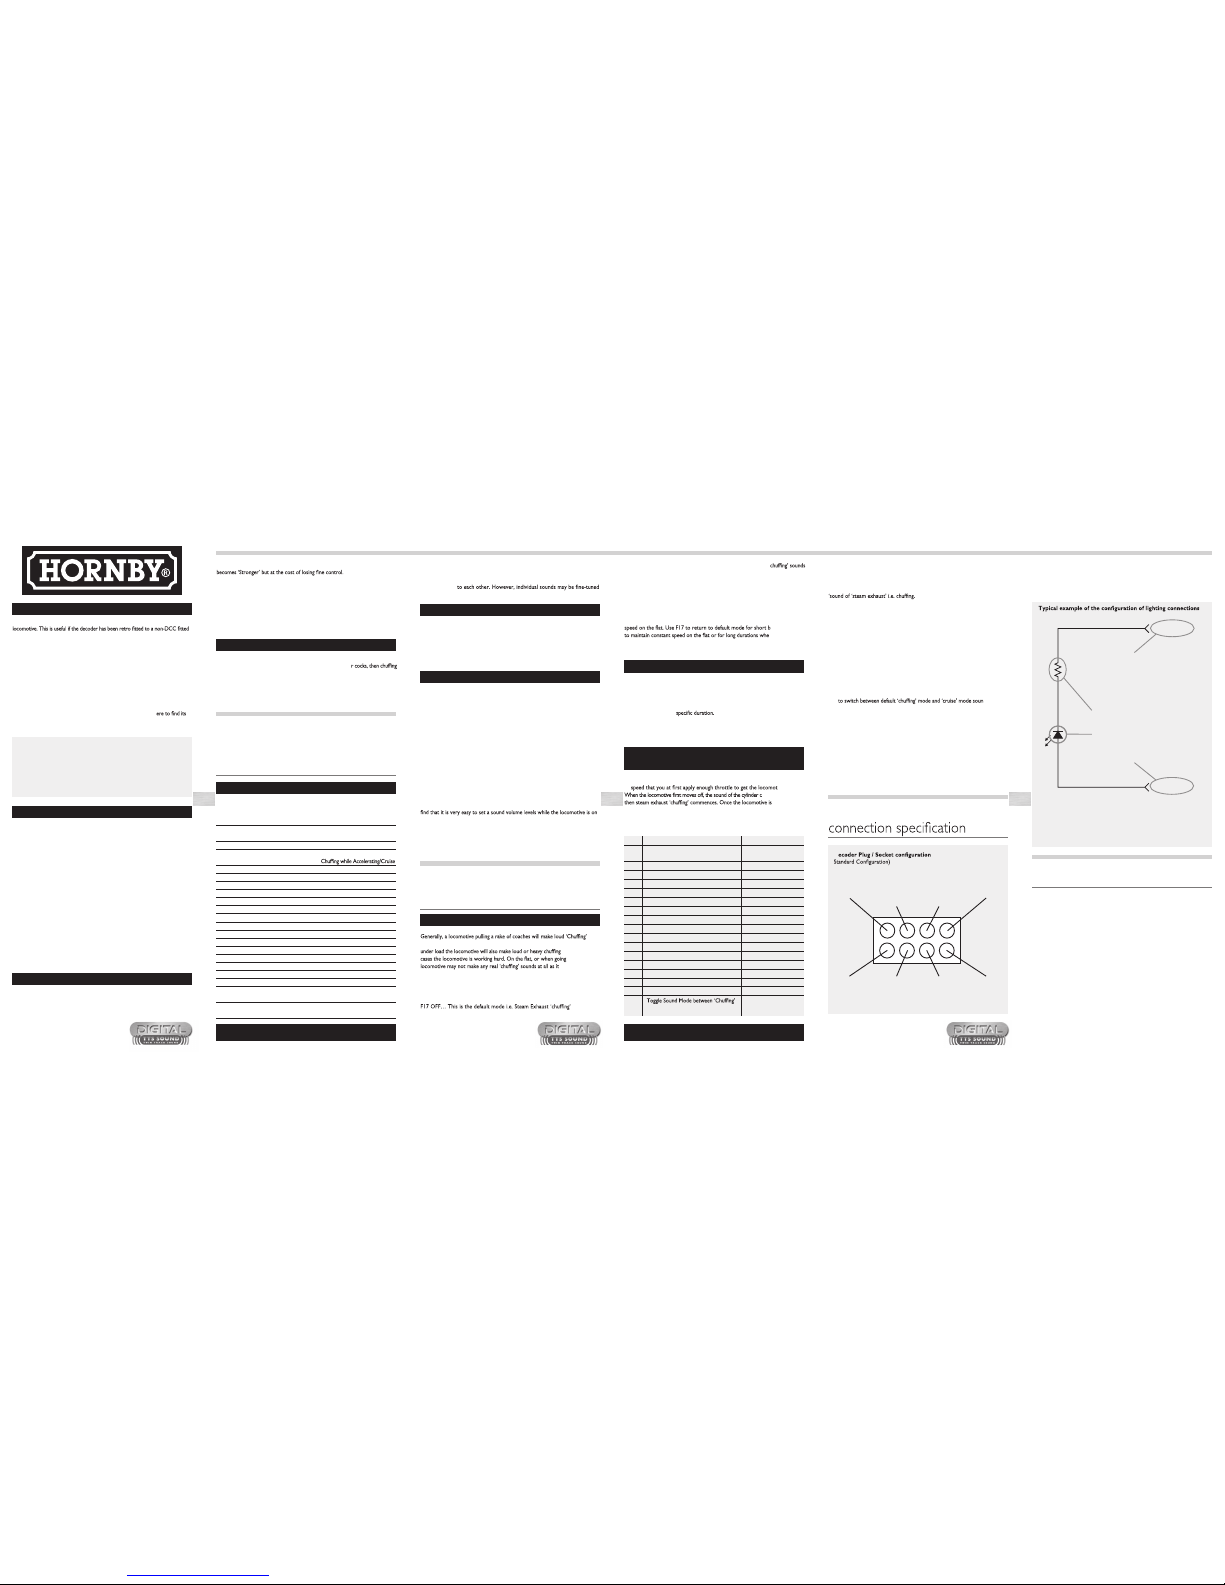
7. Decoder Plug and Socket
D viewed from above (NMRA
Pin 4
Black, Left Rail
Pickup
Pin 3
Green, Aux
Hardware
Function 3 (F18)
Pin 2
Yellow, Hardware
Function 2,
Rear Light (F0)
Pin 1
Orange, Motor +
(Right)
Pin 6
White, Hardware
Function 1,
Front Light (F0)
Pin 5
Grey, Motor (Left)
Pin 8
Red, Right Rail
Pickup
Pin 7
Blue, + Function
Common
regarding fu nction output
-12 to15VDC
Common
Please note
information for the TTS series of Hornby decoders.
The Hornby 2P Class is not fitted with lights. The above is standard
If your locomotive is equipped with incandescent light bulbs (‘Grain of Rice’)
please ensure that they are rated a current level below 100mA at 12-15VDC.
Most bulbs of this type are rated at approximately 65mA.
Decoder Hardware Functio n Output
Either:
Pin 6 Front Lights (White wire)
Pin 2 Rear Lights (Yello w wire)
Pin 3 Aux Function 3 (Green wire)
Resistor 470-1K Ohms
Light Emitting Diode (L ED)
Pin 7 (Blue wire)
Please Note
If a decoder is returned to default settings, i.e. address 03, etc., if Bit5 is
turned ‘on’ to make the decoder op erate in ‘Long Address’ mode, th e
decoder will respond to address 100. Turning Bit5 to the ‘off’ state will
return the decoder to ‘Short Address’ mode, i.e. address 03.
If the decoder has been previously used with both Short and Long Addresses
toggling this B it on/off allows the decoder to use either the Short o r Long
Address previou sl
y programmed.
Locomotive Running Sounds
By careful manipulation of the various Function controls on the DCC
controller it is possible to simulate a ‘realistic’ driving experience. It is
recommended that you stu dy the full lis t of sound functi ons (See table
below) and f amiliarise you rself as to wh ich are ‘Loop’ play sounds and those
that ‘Play O nce’ for a
It is recommend ed that you do this as it may have som e bearing on how
you use your controller. See previous note in Section 2 on page 3 regarding
controllers that do not support ‘momentary’ action function control.
For a ‘realistic’ driving experience we suggest that whe n going from stationary
to
ive moving.
ocks will be heard,
moving you
can open the
throttle to accelerate the locomotive to the desired speed.
6 7 8 9 10 11
For Customer Care contact:
+44 (0)1843 233525
or via website ww w.hornby.com
It is recommended that the following CV adjustment procedure is executed in
‘Operate Mode’ with the locomotive on the ‘Main’ track. This is sometimes referred
to as ‘Programming on the Main.’ Using this programming method greatly
speeds up the process of setting the sound balance of the decoder. However,
please note you will need to return the locomotive to the ‘Programming Track’
and use ‘DIRECT CV’ Programming mode in order to read back any CV values.
Start by setting up the general locomotive volume level by adjusting CV178
until the volume level of the loc omotive ‘Steam Exhaust’ is at the des ired level
while the locomotive is running at slow to m oderate speed.
The sounds on board the locomotive deco
der have been preset in volume to
give a ‘balanced’ sound at whatever volume CV178 is set at. However, each
individual sound component can now be adjusted in volume to suit.
The associated CV number for each locomotive sound can be found on the CV
table on page 7.
If you become confused while adjusting the sound volumes the following
will assist:
CV8. Apart from the usual ‘general reset’
function common to all Hornby decoders
(CV8=8 ) on the sound decod er CV8 has a secondar y function i.e.
writing
the value ‘5’ t o CV8 will reset all sound volume level s to default levels i.e.
CV160 to CV177 w ill be returned to default values i.e. 4. All other CVs wi ll
be left as programmed by the user.
Once you are more familiar with the sound volume set up procedure you will
the Main track. This technique allows you to instantly hear the sound volume
change as the associated CV is edited. Please see your DCC controller manual
re programming in ‘Operational Mode’ or ‘Programming on the Main’.
Note, if you wish to read back any CV se tting you must place the
locomotive on the ‘Programming Track’.
Suggested Sound Volume Set-up Procedure
Further notes re CV29
When the locomotive starts there is a particular sequence of sounds played. i.e.
Back Ground Idle steam will fade in to the sound of the cylinde
will commence. This CV controls when the locomotive actually starts to move
after the throttle is appli ed from stationary. The default is 2.5 seconds. When
left in default settings the locomotive will move just about halfway through the
cylinder cock sound. The maximum delay durati on is 7 seconds. The value
range for this CV is 0-70. Zero being no delay and 70 being the maximum value
of 7 seconds.
CV201: Locomotive Start Delay
6. Driving Hints and Tips:
Making the most of the sounds
sounds when cruising (constant speed) and accelerating. Negotiating an incline
noises. In these
‘downhill’ a
is cruising under
its own momentum. In this case the locomotive is not working so hard.
In the TTS decoder we h ave included the ability to to ggle the sound
system between two modes for added realism while driving your loco...
Use F17 to toggle betwe en the two different sound mod es.
sounds are
played all the time the locomotive is accelerating or at constant speed.
When moving off the follow ing sounds are commonly hear d in the
following or der...
There will be a short pause before the locomotive move s off as you hear th e
sound of steam entering the cylinders, the sound will then change to the familiar
1. Guard’s Whistle (F14) followed by a whistle (F2-F5.. probably
a short whistle e.g. F4 or F5)
2. Turn Throttle Control slightly, until locomotive starts to m ove
3. Apply a little Wheel Slip (F6)
4. If desired, Turn Throttle Cont rol to set the locomotive spe ed
Other sounds that may b e heard...
Blower (F13), Coal Shovellin g (F7) Occasio nally Safety V alve (F9)
When the locomotive is running the following sounds a re commonly
heard...
Safety Valve (F9), Injector s (F10), Blower (F13) follow
ed immediately by
Coal Shovelling (F7), Whist le (F2 - F5)
Also, try toggling between the two locomotive running sound modes.. i.e. use
F17 ds. See
previous explanation for more inform ation.
When the locomotive is stopping...
When the locomotive is almost at rest apply a little brake squeal (F12)
When the locomotive is s tationary e.g. in a station, the following
sounds are commonly heard ...
Safety Valve (F9), Injectors (F10), Coupler Clank (F15), Blower (F13)
followed immediately by Coal Shovelling (F7), Possibly Cylinder Cock (F11)
When the locomotive is in a siding the following sounds are commonly
heard:
Blower (F13), Coal Shovellin g (F7) Safety Valve (F9), Bl ow Down (F8)
(a rar
ely used; boiler cleani ng function) and Breakfast ( F16)
Below are some suggestions as to when certain sounds activated by the Function
controls listed below might occur during locomotive operations in ‘real life’.
F17 ON... In the second mode (Cruise Mode) all Steam Exhaust ‘
are replace d with the same sound set tha t is used when the locomotiv e is
decelerating i.e. (wind noise, w heels etc.) Th e locomotive s ound varies as the
locomotive speed change s.
Note, if you intend to use the two different sound mo des selected by F17, you
may wish to set the volume le vel of the “deceleration” sounds (CV1 77) slightly
higher than the ‘acceleration’ sounds (CV160.) It is a matter of per
sonal preference.
Typically, ‘Cruise Mode’ may be activated when running downhill or at high constant
ursts of power
n negotiating an
incline or pulling a heavy load. Switch between these two sound modes to give a
realistic ex perience of th e locomotive’s operation.
For a ‘realistic driving experience’ try the following
procedures and sounds.
Generally speaking the higher the setting for these two values the motor control
By default this algorithm
is set with the P and I of 255 and 1 respectively.
Algorithm 2 (CV150=1)
This algorithm is a linear curve which offers hig her controlled speed in the low
speed end of the curve. This is similar to some Lenz type decoders.
CVs 153 & 154 offer con trol of the P and I factors o f Algorithm 2.
By default this algorit hm is set with P and I values of 215 and 129 respectively.
Note that CV10 (BEMF cut off
) also affects motor control performance.
Motor control Algorithms: Description
This corresponds with: CV150=0 Algorithm 1 is in control.
CV150=1 Algorithm 2 is in control.
Each of the two algorithms can be further adjusted by use of their associated CVs.
Algorithm 1 (CV150=0)
This algorithm is a non-linea r curve which offers lower controlled speed in
the low speed end of the curve. This is similar to the Hornby decoder type
R8249. CVs 151 & 152 offer control of the P and I factors of the Algorithm (1).
K
 Loading...