

Page 1
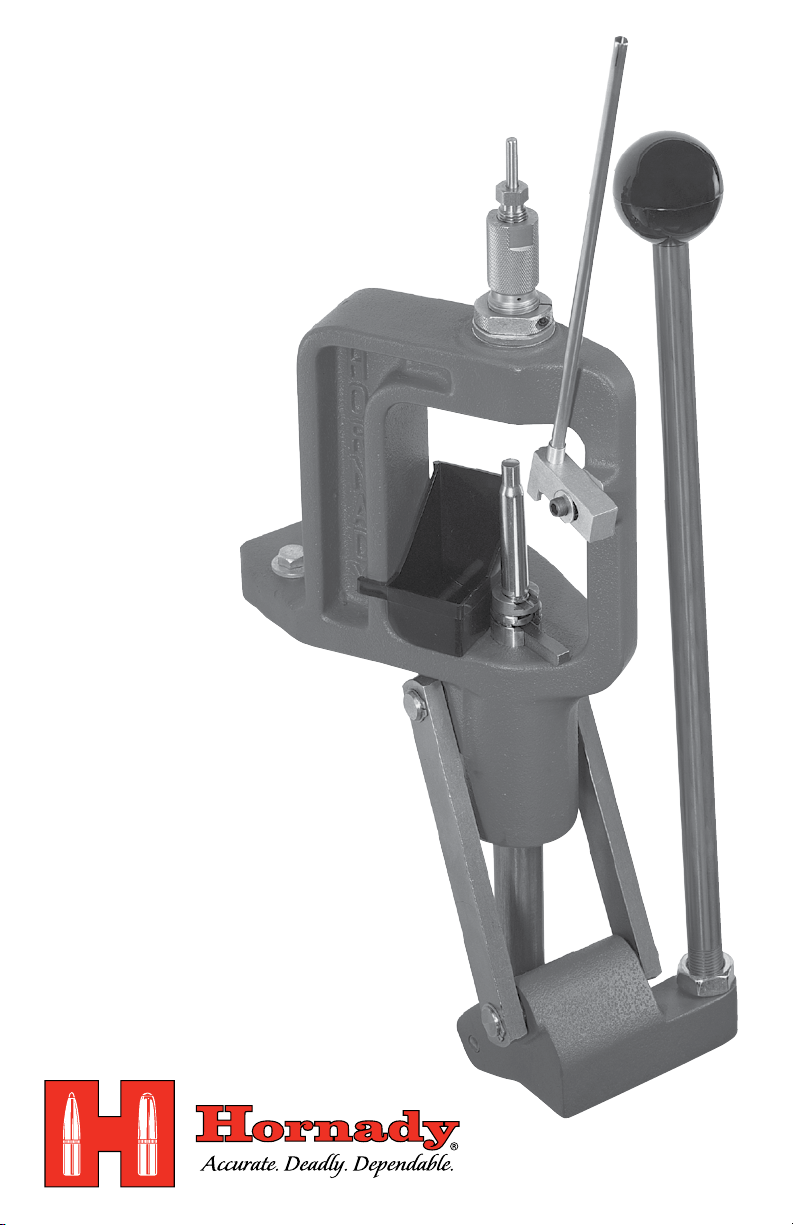
OWNER'S MANUAL
®
Lock-N-Load
™
Classic
Metallic Press
*Photo shows optional
Automatic Primer Feed
(Item No. 0 70 905)
Shell Holder and Die
Page 2
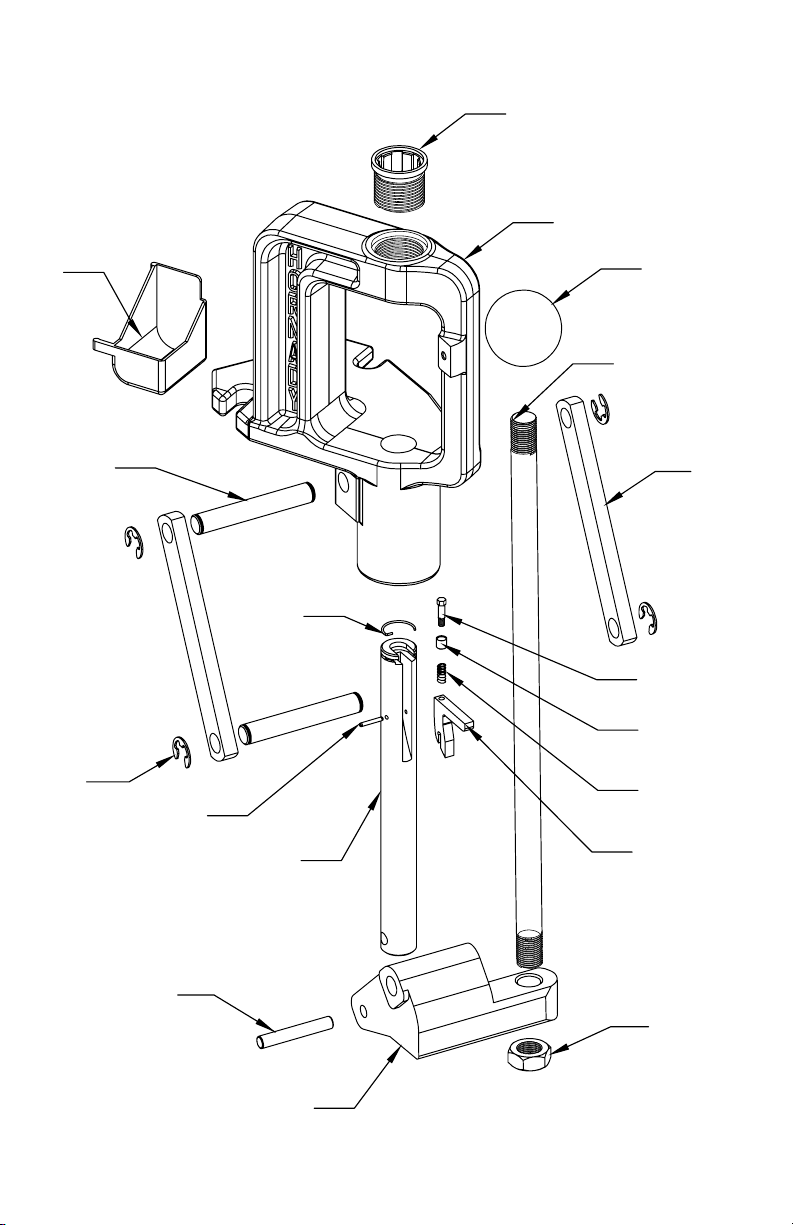
EXPLODED VIEW
1
2
3
9
6
10
8
11
4
5
7
15
16
17
18
12
14
13
- 2 - - 3 -
Page 3

PARTS LIST
Item
No. Part No. Qty. Description
1 392301 1 Bushing Press LNL
2 19 0214 1 Frame
3 480090 1 Primer Catcher
4 480003 1 Knob Handle
5 390657 1 Handle
6 390070 2 Pin Link
7 390071 2 Link
8 380053 1 Spring Shell Holder
9 390081 4 Clip E 1/2
10 390661 1 Pin Roll 3/32 x 5/8 Slotted
11 390697 1 Ram
12 390072 1 Pin Dowel 5/16 x 2
13 19 0 215 1 Toggle
14 390027 1 Nut Jam 5/8-18
POSITIVE PRIMING SYSTEM (PPS) SHOWN BELOW
15 390035 1 Large Primer Punch
16 390006 1 Large Primer Cup
17 390007 1 Primer Cup Spring
18 19 0213 1 Primer Arm
390034 1 Small Primer Punch
390005 1 Small Primer Cup
Page 4
PARTS LIST
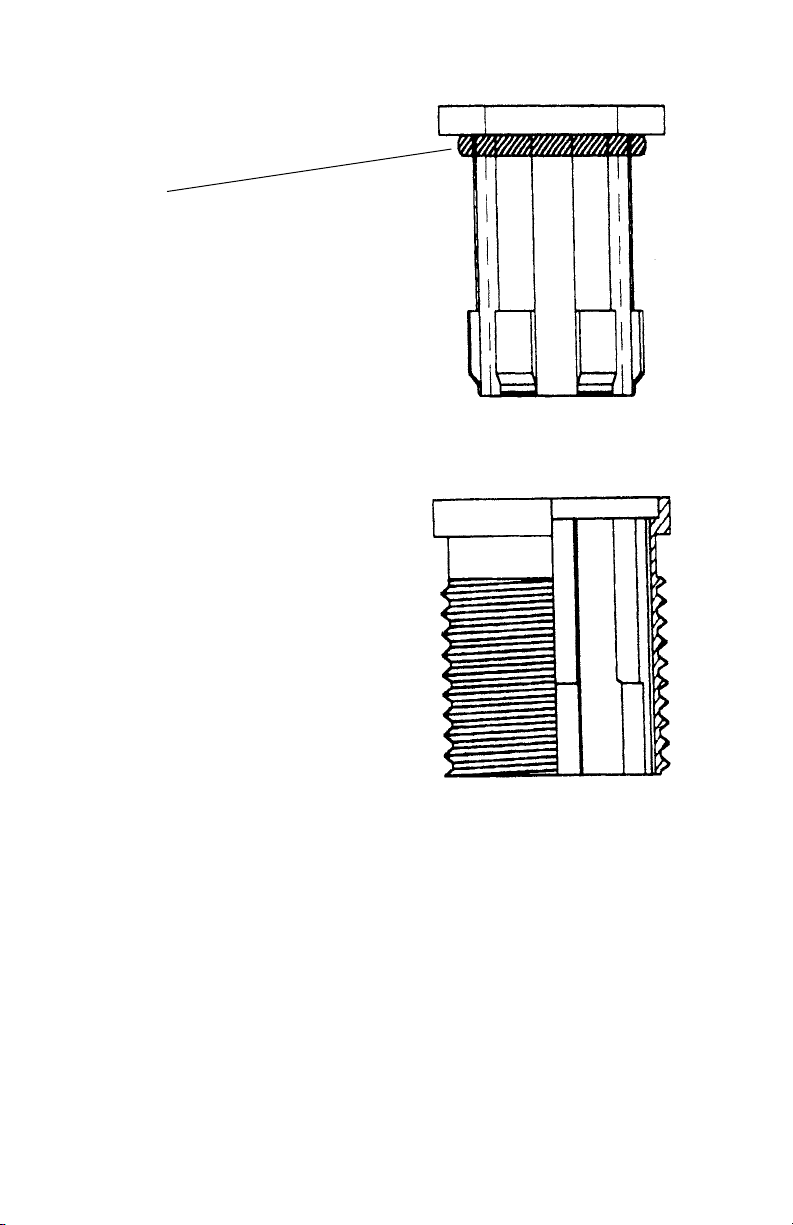
Lock-N-Load® Die Bushing
Part #392302
O – Ring
Part #392303
Lock-N-Load® Press Bushing
Part #392301
Lock-N-Load® Die Bushings
Lock-N-Load® die bushings are available in convenient packs
of two, three, or ten. Put a Lock-N-Load® die bushing on all of
your favorite dies for maximum reloading efficiency.
Lock-N-Load® Die Bushings
(2-pack) No. 044094
Lock-N-Load® Die Bushings
(3-pack) No. 044093
Lock-N-Load® Die Bushings
(10-pack) No. 044096
- 4 - - 5 -
Page 5

NO-RISK LIFETIME WARRANTY
All Hornady reloading tools and accessories are warranted against material
defects and workmanship for the life of the product. Simply stated – if it breaks,
we’ll repair it or replace it at no charge (at Hornady Manufacturing Company’s
option).
Hornady reloading tools and accessories are warranted against defective
materials and workmanship only. This warranty is void if the product (1) has
been damaged by accident or unreasonable use, neglect, improper service or
other causes not arising out of defects in material or workmanship; or (2) has
been altered or repairs have been made or attempted by other than authorized
factory personnel; (3) is used commercially; or (4) has been altered or defaced
in any way.
This warranty supersedes all other warranties for Hornady products either
written or oral. No other warranty is expressed or implied.
Page 6

INSTRUCTIONS
Mount your new press securely
1
to a solid level bench.
Position the press on the bench with
the mounting holes far enough back
to provide firm support and still allow
clearance for the toggle.
Select a shell holder for the
2
cases you will be reloading.
It is retained in the recess in the top of
the ram by a detent spring. The spring
may at first prevent easy change in the
shell holder, but it will smooth out with
a few changes. The detent spring is
easily damaged, so use extreme care if
you must remove it. Refer to pages 10-11
for installing and using Lock-N-Load®
Bushings.
1
2
Insert and adjust the sizing die.
3
Take note, these presses slightly cam
over to allow you to exert maximum
pressure with reduced effort. Screw die
down until it is firmly against the shell
holder. The sizing die must be set when
the ram is at the top of the stroke and
not after the ram has cammed over.
3
- 6 - - 7 -
Page 7

Install primer arm into ram.
4
NOTE: Screw the proper seater punch/
cup for the type of primer you are using
into the arm before placing in ram. If
you are using the automatic primer
feed, it will be necessary to adjust the
feed body. The ram should be at the
top of the stroke. Adjust the primer
feed body so the primer retainer spring
is deflected by the primer cup (on
the primer arm) far enough to allow a
primer to drop (see APF instruction). Do
not overtighten the adjusting screw. It
should be tight enough to hold the unit
in place, but still allow the body to move
to prevent a primer from being caught
or crushed. REMEMBER, primers are
explosives – do not try to force a primer
in a case. If for some reason the Positive
Priming System (PPS) does not work
properly, stop to see why. Never try to
force the operation.
4
5
Clean, inspect and lubricate all
5
cases before resizing.
Using a case lube pad or Hornady® One
Shot® Case Lube, it is easy to lubricate
the body portion of the bottle neck
cases. A minimum of lubricant should be
used on the neck portion since trapped
lubricant may cause the shoulder to
buckle. Very little or no lubricant may
easily result in a stuck case.
Page 8

Place a lubricated case in
6
the shell holder and pull the
operating handle.
As the ram moves upward, you will see
the PPS primer arm pivot forward to
allow the decapped primer to deflect off
the arm into the primer catcher. As the
primer arm pivots, it moves into position
to pick up a new primer. If you are not
using the automatic primer feed, a
primer should be inserted by hand at the
top of the ram stroke.
With a primer in the cup, return
7
the handle to the rest position.
As the ram moves downward, the PPS
primer arm pivots back into position
under the decapped case and is
held in position by the ram and the
frame casting. As the ram continues
downward, the case is brought down
over the primer cup and the primer is
seated. Use care at this stage to feel
the primer “seat” correctly without
being crushed. Release pressure on the
operating handle and raise it slightly
to allow removal of the primed case.
Then insert another case and repeat the
operation.
6
7
- 8 - - 9 -
Page 9

Check case length (for cases to be
8
crimped) and trim with Hornady
Case Trimmer.
Chamfer inside and debur outside of
case mouth with Hornady Chamfering
and Deburring tool, and wipe case free
of all lubricant with clean dry cloth.
Please Note: Sizing before trimming can
result in Case Mouth not fitting over the
Trimmer Pilot.
8
Charge prepared cases with
9
selected powder
and weigh using either a scale, or
powder measure in conjunction with a
scale. Refer to the Hornady Handbook
of Cartridge Reloading or any other
reputable source for proper loads.
Replace the sizing die with
10
the seating die according to
instructions furnished with the
die set.
Remove the PPS primer arm at this time
to simplify bullet seating. The arm is
slotted and is easily removed by lifting
it up and out of the arm. The opening
in your press is large enough to easily
handle any modern cartridge with no
dif ficulty.
9
10
Page 10

HOW LOCK-N-LOAD® WORKS
The Lock-N-Load® Reloading System is Hornady’s unique bushing system that lets you
change dies with a simple flick of the wrist. With Lock-N-Load® technology in your
reloading press, you can stop loading, change dies, and start loading another caliber
in SECONDS. If you load more than one caliber, Lock-N-Load® will dramatically speed
up your reloading efforts.
This unique technology is featured on our Lock-N-Load® Classic™ and
Lock-N-Load® AP™ (Auto Progressive) reloading presses.
The Hornady Lock-N-Load® system is as easy as 1-2-3:
01 Insert the Lock-N-Load® die bushing into the press bushing and lock it into
place with a twist. The six locking lugs on the die and press bushings will hold it
securely in position.
02 Insert your standard die into the Lock-N-Load® Bushing.
03 Adjust the die to the proper position and lock your setting into place with
Hornady’s unique Sure-Loc® lock ring.
To change calibers, simply twist the die counterclockwise, remove die and insert
your next preset Lock-N-Load® die and bushing. Because they remain locked in
their Lock-N-Load® Bushings, your dies will remain exactly as you set them. The
positive locking action of the Lock-N-Load® Bushings holds the dies in rock solid,
perfect alignment. Once you try Lock-N-Load® from Hornady, you’ll NEVER want
to go back to your old system.
SIX LOCKING LUGS
The combination of the six lugs and the close tolerance of the tooling firmly
grip the die bushing in place in the press for maximum rigidity and accuracy in
reloading.
RUBBER O-RING ON DIE BUSHING
The O-ring on our die bushings gives you a better feel when the die is inserted
and holds the die tight against the locking lugs to prevent accidental loosening.
- 10 - - 11 -
Page 11

STEP 3
3
STEP 2
2
STEP 1
1
Page 12

P.O. Box 1848 • Grand Island, NE 68802-1848
(308) 382-1390 •
68 0015 08/2014
www.hornady.com
 Loading...