

Horiba B-722 Operating Manual
CODE:GZ0000297060
Refer to page 6 to page 24 for detailed instructions.

Preface
This manual describes the operation of the COMPACT Na+ METER, B-722.
Be sure to read this manual before using the product to ensure proper
and safe operation of the instrument. Also safely store the manual so it is
readily available whenever necessary.
Product specifications and appearance, as well as the contents of this
manual are subject to change without notice.
J Warranty and Responsibility
HORIBA, Ltd. warrants that the Product shall be free from defects in
material and workmanship and agrees to repair or replace free of
charge, at option of HORIBA, Ltd., any malfunctioned or damaged
Product attributable to responsibility of HORIBA, Ltd. for a period of one
(1) year from the delivery unless otherwise agreed with a written
agreement. In any one of the following cases, none of the warranties set
forth herein shall be extended;
z Any malfunction or damage attributable to improper operation
z Any malfunction attributable to repair or modification by any person
not authorized by HORIBA, Ltd.
z Any malfunction or damage attributable to the use in an
environment not specified in this manual
z Any malfunction or damage attributable to violation of the
instructions in this manual or operations in the manner not specified
in this manual
z Any malfunction or damage attributable to any cause or causes
beyond the reasonable control of HORIBA, Ltd. such as natural
disasters
z Any deterioration in appearance attributable to corrosion, rust, and
so on
z Replacement of consumables such as the sensor and standard
solutions
HORIBA, LTD. SHALL NOT BE LIABLE FOR ANY DAMAGES
RESULTING FROM ANY MALFUNCTIONS OF THE PRODUCT, ANY
ERASURE OF DATA, OR ANY OTHER USES OF THE PRODUCT.
J Trademarks
Generally, company names and brand names are either registered
trademarks or trademarks of the respective companies. (R), (TM)
symbols may be omitted in this manual.
August, 2012 © 2012 HORIBA, Ltd.
Regulations
J Conformable Directive
This equipment conforms to the following directives and standards:
Directives: the EMC Directive 2004/108/EC
Standards: [the EMC Directive] EN61326-1:2006
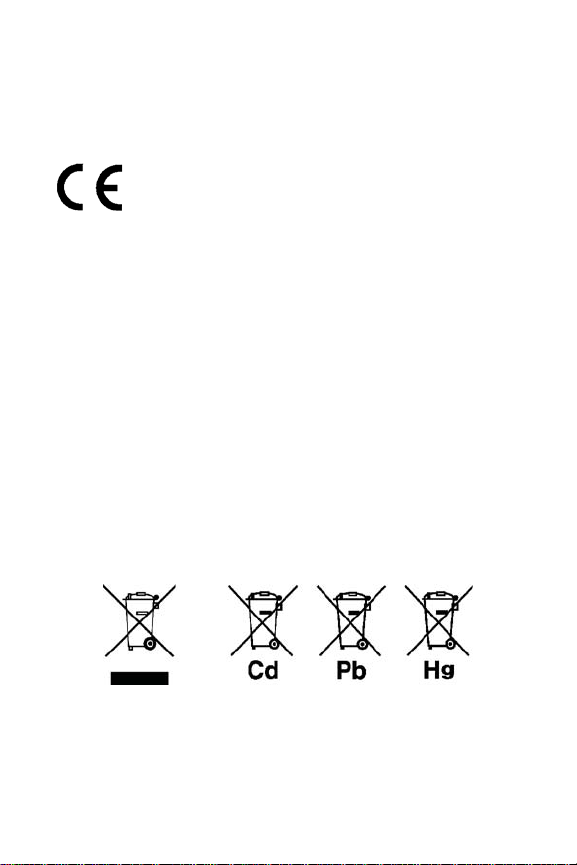
Q Information on Disposal of Electrical and Electronic
Equipment and Disposal of Batteries and Accumulators
The crossed out wheeled bin symbol with underbar shown on the
product or accompanying documents indicates the product requires
appropriate treatment, collection and recycle for waste electrical and
electronic equipment (WEEE) under the Directive 2002/96/EC, and/or
waste batteries and accumulators under the Directive 2006/66/EC in the
European Union.
The symbol might be put with one of the chemical symbols below. In this
case, it satisfies the requirements of the Directive 2006/66/EC for the
object chemical.
This product should not be disposed of as unsorted household waste.
Your correct disposal of WEEE, waste batteries and accumulators will
contribute to reducing wasteful consumption of natural resources, and
protecting human health and the environment from potential negative
effects caused by hazardous substance in products.
Contact your supplier for information on applicable disposal methods.
Class B,
Portable test and measurement equipment

J FCC Rules
iἽ ὤὤ Oᴴ㥉㟝 ⵝ㋕䋩㐔ὤ㣄㣠P
Any changes or modifications not expressly approved by the party
responsible for compliance shall void the user's authority to operate the
equipment.
Q WARNING
This equipment has been tested and found to comply with the limits for a
Class A digital device, pursuant to part 15 of the FCC Rules. These limits
are designed to provide reasonable protection against harmful
interference when the equipment is operated in a commercial
environment. This equipment generates, uses, and can radiate radio
frequency energy and, if not installed and used in accordance with the
instruction manual, may cause harmful interference to radio
communications.
Operation of this equipment in a residential area is likely to cause
harmful interference in which case the user will be required to correct the
interference at his own expense.
J Korea Certification
Q
㢨 ὤὤ⏈ ᴴ㥉㟝OiἽPG㤸㣄䑀㤵䚝ὤὤ⦐㉐ 㨰⦐ ᴴ㥉㜄㉐
㇠㟝䚌⏈ ᶷ㡸 ⯝㤵㡰⦐ 䚌⮤SG⯜☔ 㫴㜡㜄㉐ ㇠㟝䚔 ㍌ 㢼㏩⏼␘U
J Taiwan Battery Recycling Mark

Contents
1 Introduction.......................................................................................... 1
1.1 Items in package .........................................................................1
1.2 Consumable parts sold separately ..............................................1
2 Part Names and Functions ................................................................. 2
3 Handling Precautions.......................................................................... 4
4 Basic Handling..................................................................................... 6
4.1 Inserting/removing batteries ........................................................6
4.2 Attaching/detaching the sensor ................................................... 7
4.3 Power ON/OFF ............................................................................8
4.4 Storage ........................................................................................8
5 Calibration............................................................................................ 9
5.1 About calibration ..........................................................................9
5.2 One-point calibration in high concentration ...............................10
5.3 One-point calibration in low concentration .................................10
5.4 Two-point calibration .................................................................11
6 Measurement...................................................................................... 12
6.1 Sample setting ...........................................................................12
6.2 Measurement operations ...........................................................15
7 Special Setting Mode......................................................................... 16
7.1 Measurement unit setting ..........................................................18
7.2 Temperature display mode ........................................................18
7.3 Calibration point setting .............................................................19
7.4 Multiplying compensation setting ...............................................20
7.5 Adding compensation setting ....................................................21
7.6 Sensor voltage display mode ....................................................22
7.7 Low calibration value setting .....................................................23
7.8 Initialization mode ......................................................................24
7.9 Software version display mode ..................................................24

8 Appendix ............................................................................................ 25
8.1 Frequently asked questions .......................................................25
8.2 Specifications ............................................................................27
8.3 Interfering ions ...........................................................................28
1 Introduction
The COMPACT Na+ METER B-722 incorporates HORIBA original flat
sensor and enables accurate measurement of sodium ion (Na
tions from a single drop of a sample.
1.1 Items in package
Meter model B-722
Sensor S022 1
Meter B-722 1
Storage case 1
Batteries CR2032 2
+
150 ppm
Dedicated standard solutions
Pipette 1
Sampling sheet B 5 sheets 1
Instruction manual
Quick-start manual 1
Na
+
Na
2000 ppm
B-722
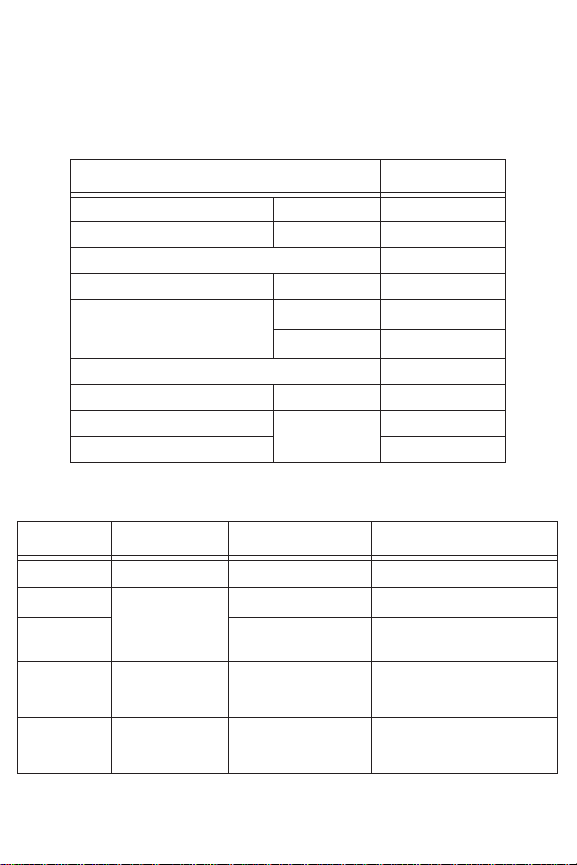
1.2 Consumable parts sold separately
Part No. Name Type Application
3200459867 Sensor
3200457724
3200457723
3200459736
3200053858 Sampling sheet B
Standard
solutions
Sampling sheet
holder cover
+
S022, Na
+
Y022L, Na
Y022H, Na
ppm
Y048
Y046,
100 sheet pack
150 ppm
+
2000
B-722
B-722 (low concentration)
B-722 (high concentration)
B-711, B-71 2, B -713, B-7 21,
B-722, B-731, B-741, B-742,
B-743, B-751
B-711, B-71 2, B -713, B-7 21,
B-722, B-731, B-741, B-742,
B-743, B-751
+
) concentra-
1
1
1
1
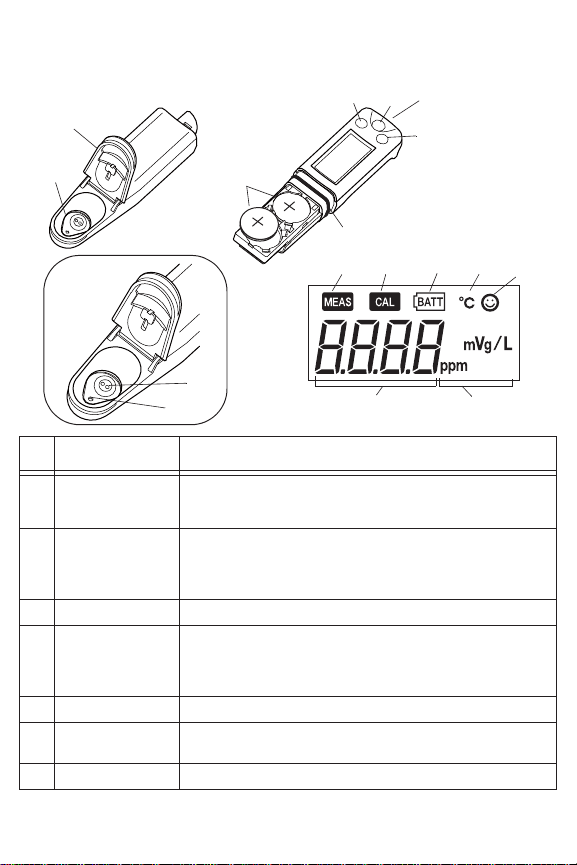
2 Part Names and Functions
9
10
11
12
13
14
15
A
B
1
2
3
4
5
6
7
8
No. Name Description
1 Flat sensor
2 Light shield cover
3 Lithium batteries CR2032 (u2)
4 MEAS switch
5 ON/OFF switch Turns ON/OFF the meter.
6 CAL switch
7 Waterproof gasket Makes the meter waterproof.
Place a sample on this sensor. This sensor consists of a
liquid junction (A) and response membrane (B). Both A and
B must be covered with the sample.
Shields the sensor from light, which affects the sensor.
Close the light shield cover before starting measurement.
If using the sampling sheet holder cover (refer to page 14),
shield the flat sensor from light with an alternative.
Switches the calibration mode to the measurement mode,
activates/deactivates the reading locking function in the
measurement mode, and starts/applies settings in the
special setting mode.
Starts calibration, and switches items/settings in the special
setting mode.
2
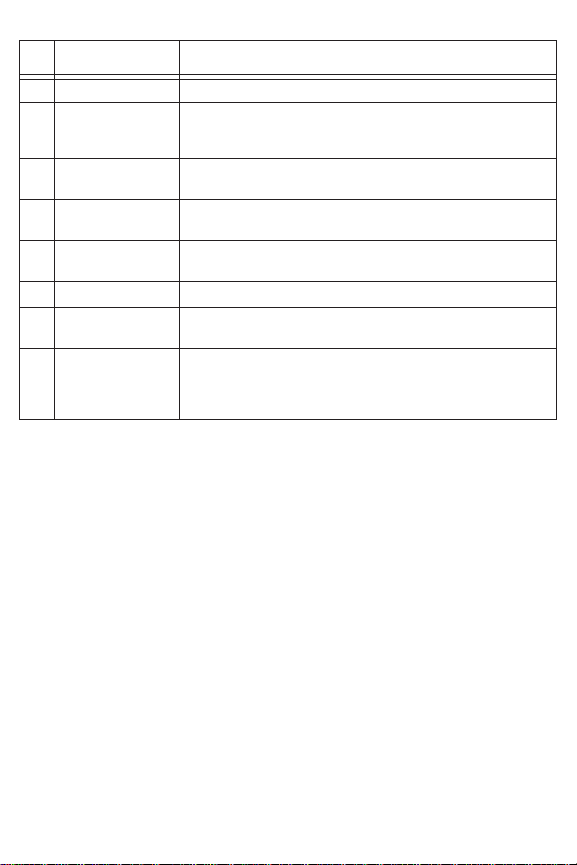
No. Name Description
8 Strap eyelet A strap can be attached here.
9 MEAS icon
10 CAL icon
11 Battery alarm icon
T emperature alarm
12
icon
13 Stability icon Lights up when the measured value is stabilized.
Measured value
14
display
Measurement unit
15
display
Blinks until the measured value is stabilized, and lights
steadily when the measured value is settled, while the
reading locking function is active.
Blinks during calibration, and lights steadily when calibration
is finished.
Lights up when the batteries are low and need to be
changed.
Blinks when the measuring environment temperature does
not meet the specified operating temperature (5qC to 40qC).
Displays a measured, set, or status value.
A unit symbol lights corresponding to the value displayed on
the measured value display (14). For sodium ion
concentrations, “ppm” or “mg/L” is selectable (refer to page
18). The default setting is “ppm”.
3
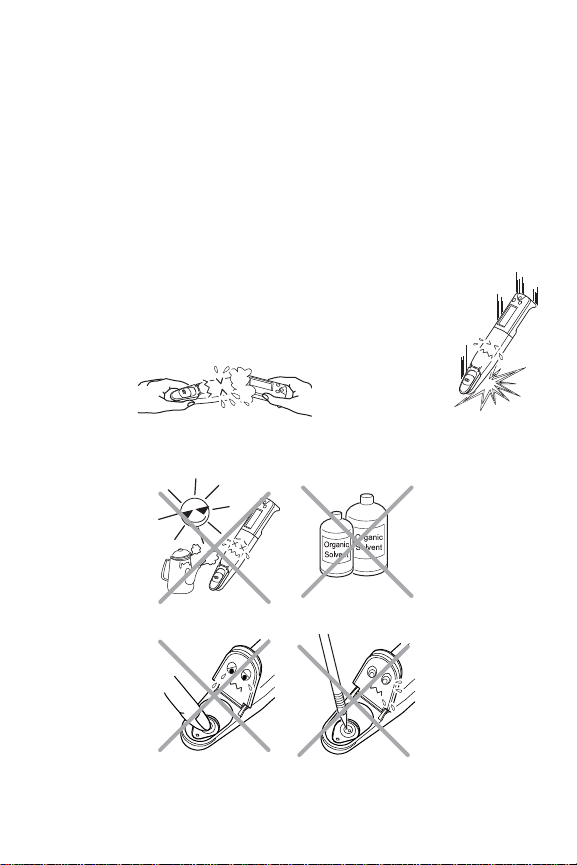
3 Handling Precautions
J Meter and sensor
z The sensor is a consumable part. If it becomes damaged or its
performance deteriorates, replace it with a new one (the sensor can not
be repaired).
z Do not swing the meter and sensor by holding a strap.
z To ensure the waterproof performance, confirm the followings when
attaching the sensor.
- The waterproofing gasket is clean and undamaged.
- The waterproofing gasket is seated properly in the groove with no
twisting or warping.
- The meter and sensor are not deformed.
z Neither the meter nor sensor is waterproof by itself.
The sensor must be securely mounted on the meter
before use.
z Do not drop the meter or apply excessive force to it.
z Do not leave the meter in areas of direct sunlight or high temperature/
humidity.
z Do not clean the meter with organic solvents.
z Take care not to scratch the flat sensor.
4
 Loading...